2003 CADILLAC SEVILLE headlamp
[x] Cancel search: headlampPage 1 of 408

Seats and Restraint Systems........................... 1-1
Front Seats
............................................... 1-2
Safety Belts
.............................................. 1-6
Child Restraints
.......................................1-24
Supplemental In¯atable Restraint (SIR)
........1-44
Restraint System Check
............................1-52
Features and Controls..................................... 2-1
Keys
........................................................ 2-3
Doors and Locks
....................................... 2-9
Windows
.................................................2-15
Theft-Deterrent Systems
............................2-19
Starting and Operating Your Vehicle
...........2-23
Mirrors
....................................................2-37
OnStar
žSystem
......................................2-42
HomeLinkžTransmitter
.............................2-44
Storage Areas
.........................................2-48
Sunroof
..................................................2-50
Vehicle Personalization
.............................2-51
Instrument Panel............................................. 3-1
Instrument Panel Overview
.......................... 3-4
Climate Controls
......................................3-28
Warning Lights, Gages and Indicators
.........3-37
Driver Information Center (DIC)
..................3-53Trip Computer
.........................................3-77
Audio System(s)
.......................................3-78
Driving Your Vehicle....................................... 4-1
Your Driving, the Road, and Your Vehicle
..... 4-2
Towing
...................................................4-31
Service and Appearance Care.......................... 5-1
Service
..................................................... 5-3
Fuel
......................................................... 5-4
Checking Things Under the Hood
...............5-10
Headlamp Aiming
.....................................5-51
Bulb Replacement
....................................5-55
Windshield Wiper Blade Replacement
.........5-62
Tires
......................................................5-63
Appearance Care
.....................................5-83
Vehicle Identi®cation
.................................5-91
Electrical System
......................................5-92
Capacities and Speci®cations
...................5-100
Normal Maintenance Replacement Parts
....5-101
Maintenance Schedule..................................... 6-1
Maintenance Schedule
................................ 6-2
Customer Assistance Information.................... 7-1
Customer Assistance Information
.................. 7-2
Reporting Safety Defects
............................ 7-9
Index................................................................ 1
2003 Cadillac Seville Owner ManualM
Page 97 of 408

Mirrors
Automatic Dimming Rearview Mirror
with OnStar
ž
Your vehicle may have an automatic dimming rearview
mirror with OnStaržsystem controls. For more
information about OnStarž, seeOnStaržSystem on
page 2-42.
When the automatic dimming feature is turned on, the
mirror automatically changes to reduce glare from
headlamps behind you. A photocell on the mirror senses
when it is becoming dark outside. Another photocell
built into the mirror face senses when headlamps
are behind you.
At night, when the glare is too bright, the mirror will
gradually darken to reduce glare. This change may take
a few seconds. The mirror will return to its clear,
daytime state when the glare is reduced.
Mirror Operation
O
(On/Off):This is the on/off button, located on the
lower left side of the mirror face.
To turn the automatic dimming feature on or off, press
the on/off button. The indicator light will be illuminated
when the automatic dimming feature is on.
Cleaning the Mirror
When cleaning the mirror, use a paper towel or similar
material dampened with glass cleaner. Do not spray
glass cleaner directly on the mirror as that may cause
the liquid cleaner to enter the mirror housing.
2-37
Page 101 of 408
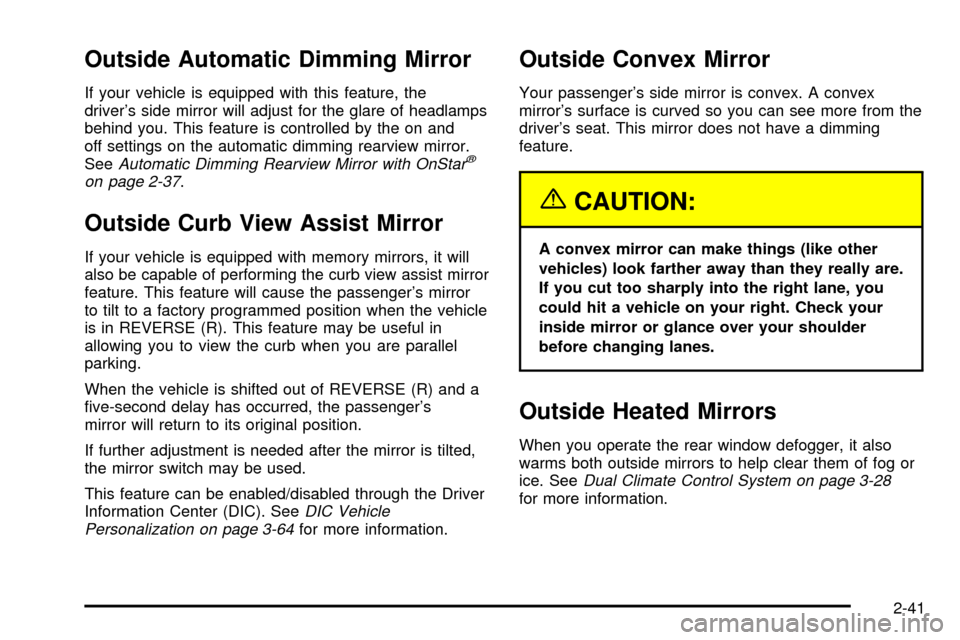
Outside Automatic Dimming Mirror
If your vehicle is equipped with this feature, the
driver's side mirror will adjust for the glare of headlamps
behind you. This feature is controlled by the on and
off settings on the automatic dimming rearview mirror.
See
Automatic Dimming Rearview Mirror with OnStarž
on page 2-37.
Outside Curb View Assist Mirror
If your vehicle is equipped with memory mirrors, it will
also be capable of performing the curb view assist mirror
feature. This feature will cause the passenger's mirror
to tilt to a factory programmed position when the vehicle
is in REVERSE (R). This feature may be useful in
allowing you to view the curb when you are parallel
parking.
When the vehicle is shifted out of REVERSE (R) and a
®ve-second delay has occurred, the passenger's
mirror will return to its original position.
If further adjustment is needed after the mirror is tilted,
the mirror switch may be used.
This feature can be enabled/disabled through the Driver
Information Center (DIC). See
DIC Vehicle
Personalization on page 3-64for more information.
Outside Convex Mirror
Your passenger's side mirror is convex. A convex
mirror's surface is curved so you can see more from the
driver's seat. This mirror does not have a dimming
feature.
{CAUTION:
A convex mirror can make things (like other
vehicles) look farther away than they really are.
If you cut too sharply into the right lane, you
could hit a vehicle on your right. Check your
inside mirror or glance over your shoulder
before changing lanes.
Outside Heated Mirrors
When you operate the rear window defogger, it also
warms both outside mirrors to help clear them of fog or
ice. See
Dual Climate Control System on page 3-28for more information.
2-41
Page 121 of 408
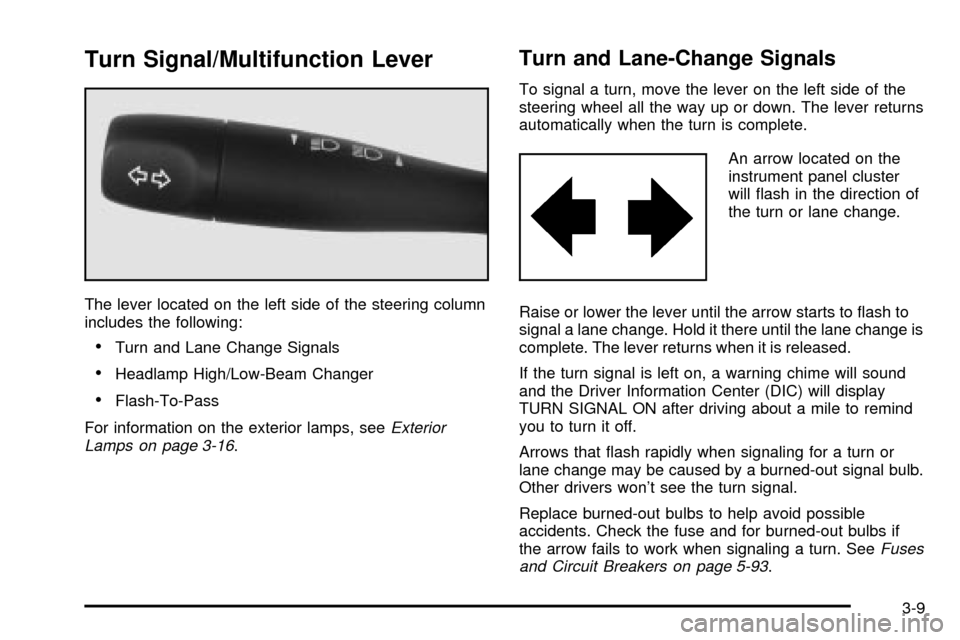
Turn Signal/Multifunction Lever
The lever located on the left side of the steering column
includes the following:
·Turn and Lane Change Signals
·Headlamp High/Low-Beam Changer
·Flash-To-Pass
For information on the exterior lamps, see
Exterior
Lamps on page 3-16.
Turn and Lane-Change Signals
To signal a turn, move the lever on the left side of the
steering wheel all the way up or down. The lever returns
automatically when the turn is complete.
An arrow located on the
instrument panel cluster
will ¯ash in the direction of
the turn or lane change.
Raise or lower the lever until the arrow starts to ¯ash to
signal a lane change. Hold it there until the lane change is
complete. The lever returns when it is released.
If the turn signal is left on, a warning chime will sound
and the Driver Information Center (DIC) will display
TURN SIGNAL ON after driving about a mile to remind
you to turn it off.
Arrows that ¯ash rapidly when signaling for a turn or
lane change may be caused by a burned-out signal bulb.
Other drivers won't see the turn signal.
Replace burned-out bulbs to help avoid possible
accidents. Check the fuse and for burned-out bulbs if
the arrow fails to work when signaling a turn. See
Fuses
and Circuit Breakers on page 5-93.
3-9
Page 122 of 408
Headlamp High/Low-Beam Changer
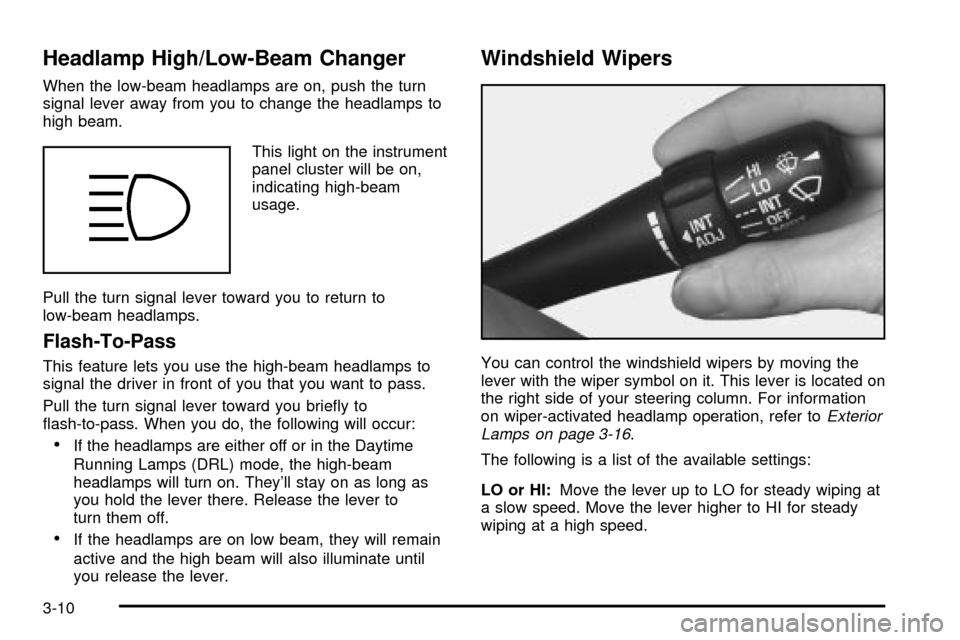
When the low-beam headlamps are on, push the turn
signal lever away from you to change the headlamps to
high beam.
This light on the instrument
panel cluster will be on,
indicating high-beam
usage.
Pull the turn signal lever toward you to return to
low-beam headlamps.
Flash-To-Pass
This feature lets you use the high-beam headlamps to
signal the driver in front of you that you want to pass.
Pull the turn signal lever toward you brie¯y to
¯ash-to-pass. When you do, the following will occur:
·If the headlamps are either off or in the Daytime
Running Lamps (DRL) mode, the high-beam
headlamps will turn on. They'll stay on as long as
you hold the lever there. Release the lever to
turn them off.
·If the headlamps are on low beam, they will remain
active and the high beam will also illuminate until
you release the lever.
Windshield Wipers
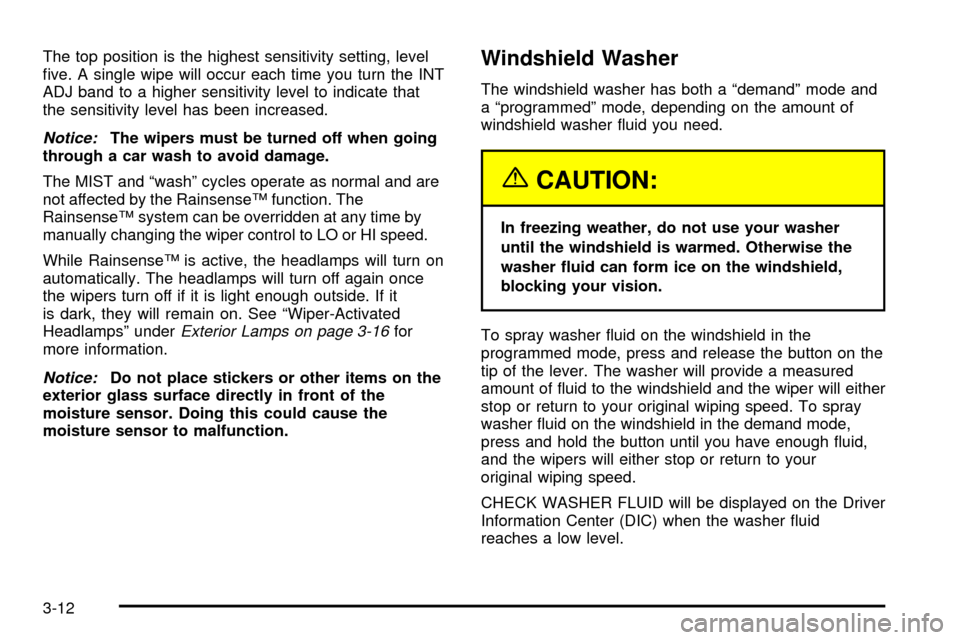
You can control the windshield wipers by moving the
lever with the wiper symbol on it. This lever is located on
the right side of your steering column. For information
on wiper-activated headlamp operation, refer to
Exterior
Lamps on page 3-16.
The following is a list of the available settings:
LO or HI:Move the lever up to LO for steady wiping at
a slow speed. Move the lever higher to HI for steady
wiping at a high speed.
3-10
Page 123 of 408

INT (Delay):Move the lever up to the INT position,
then turn the INT ADJ band, which is located on
the lever, to adjust the delay time. The higher you turn
the INT ADJ band, the more frequently the wipers
will operate.
OFF:Lower the lever to its resting position (OFF) to
turn off the wipers.
MIST:Pull the lever down once and release it for a
single wipe cycle. For more cycles, hold the lever down
in the MIST position longer.
To wash the windshield, press the button located at the
tip of the lever.
Be sure to clear ice and snow from the wiper blades
before using them. If they're frozen to the windshield,
carefully loosen or thaw them. If the blades do become
damaged, get new blades or blade inserts.
Heavy snow or ice can overload the wiper motor. A
circuit breaker will stop the motor until it cools. Clear
away snow or ice to prevent an overload.
Your vehicle is equipped with wiper-activated
headlamps. After the windshield wipers have been on
for approximately six seconds, the headlamps will
automatically turn on. See
Wiper Activated HeadlampsunderExterior Lamps on page 3-16for more
information.
RainsenseŸ II Wipers
Your vehicle may be equipped with RainsenseŸ II
wipers. The moisture sensor for this feature is mounted
on the interior side of the windshield below the
rearview mirror and is used to automatically operate the
wipers by monitoring the amount of moisture build-up
on the windshield. Wipes occur as needed to clear
the windshield depending on driving conditions and the
sensitivity setting. In light rain or snow, fewer wipes
will occur. In heavy rain or snow, wipes will occur more
frequently. The RainsenseŸ wipers operate in a
delay mode as well as a continuous low or high speed
as needed. If the system is left on for long periods
of time, occasional wipes may occur without any
moisture on the windshield. This is normal and indicates
that the RainsenseŸ system is activated.
The RainsenseŸ system can be activated by moving
the wiper stalk up to the INT position and turning the INT
ADJ band to one of the ®ve sensitivity levels. The
bottom INT ADJ position is the lowest sensitivity setting,
level one. This allows more rain or snow to collect on
the windshield between wipes. Turning the INT ADJ
band away from you to the higher sensitivity levels
allows less rain or snow to collect on the windshield
between wipes.
3-11
Page 124 of 408
The top position is the highest sensitivity setting, level
®ve. A single wipe will occur each time you turn the INT
ADJ band to a higher sensitivity level to indicate that
the sensitivity level has been increased.
Notice:The wipers must be turned off when going
through a car wash to avoid damage.
The MIST and ªwashº cycles operate as normal and are
not affected by the RainsenseŸ function. The
RainsenseŸ system can be overridden at any time by
manually changing the wiper control to LO or HI speed.
While RainsenseŸ is active, the headlamps will turn on
automatically. The headlamps will turn off again once
the wipers turn off if it is light enough outside. If it
is dark, they will remain on. See ªWiper-Activated
Headlampsº under
Exterior Lamps on page 3-16for
more information.
Notice:Do not place stickers or other items on the
exterior glass surface directly in front of the
moisture sensor. Doing this could cause the
moisture sensor to malfunction.
Windshield Washer
The windshield washer has both a ªdemandº mode and
a ªprogrammedº mode, depending on the amount of
windshield washer ¯uid you need.
{CAUTION:
In freezing weather, do not use your washer
until the windshield is warmed. Otherwise the
washer ¯uid can form ice on the windshield,
blocking your vision.
To spray washer ¯uid on the windshield in the
programmed mode, press and release the button on the
tip of the lever. The washer will provide a measured
amount of ¯uid to the windshield and the wiper will either
stop or return to your original wiping speed. To spray
washer ¯uid on the windshield in the demand mode,
press and hold the button until you have enough ¯uid,
and the wipers will either stop or return to your
original wiping speed.
CHECK WASHER FLUID will be displayed on the Driver
Information Center (DIC) when the washer ¯uid
reaches a low level.
3-12
Page 128 of 408
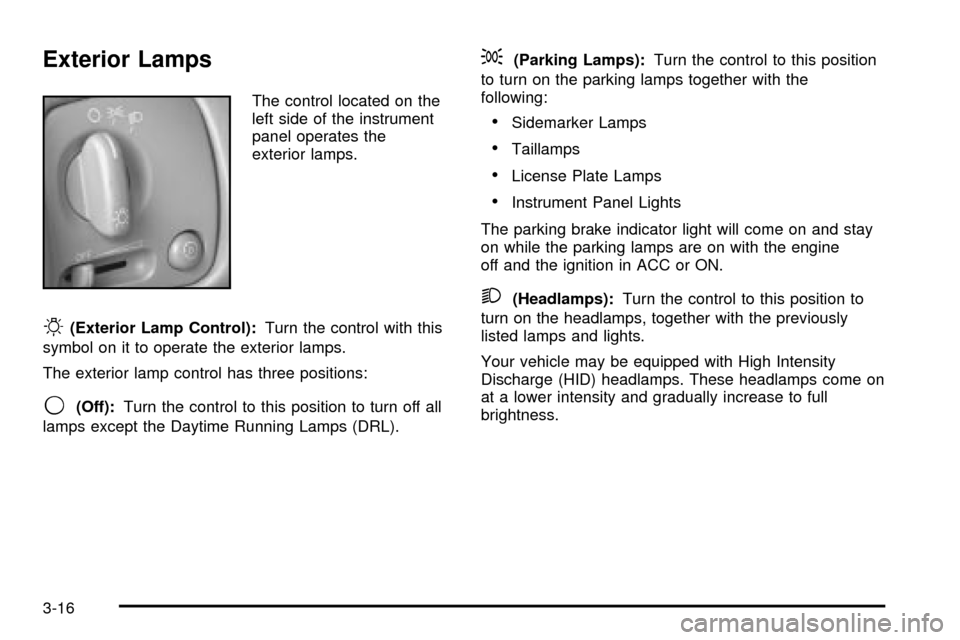
Exterior Lamps
The control located on the
left side of the instrument
panel operates the
exterior lamps.
O(Exterior Lamp Control):Turn the control with this
symbol on it to operate the exterior lamps.
The exterior lamp control has three positions:
9(Off):Turn the control to this position to turn off all
lamps except the Daytime Running Lamps (DRL).
;(Parking Lamps):Turn the control to this position
to turn on the parking lamps together with the
following:
·Sidemarker Lamps
·Taillamps
·License Plate Lamps
·Instrument Panel Lights
The parking brake indicator light will come on and stay
on while the parking lamps are on with the engine
off and the ignition in ACC or ON.
2(Headlamps):Turn the control to this position to
turn on the headlamps, together with the previously
listed lamps and lights.
Your vehicle may be equipped with High Intensity
Discharge (HID) headlamps. These headlamps come on
at a lower intensity and gradually increase to full
brightness.
3-16