2003 BMW Z4 2.5I service
[x] Cancel search: servicePage 84 of 106

Replacement procedures
84
Replacement procedures
Onboard tool kit
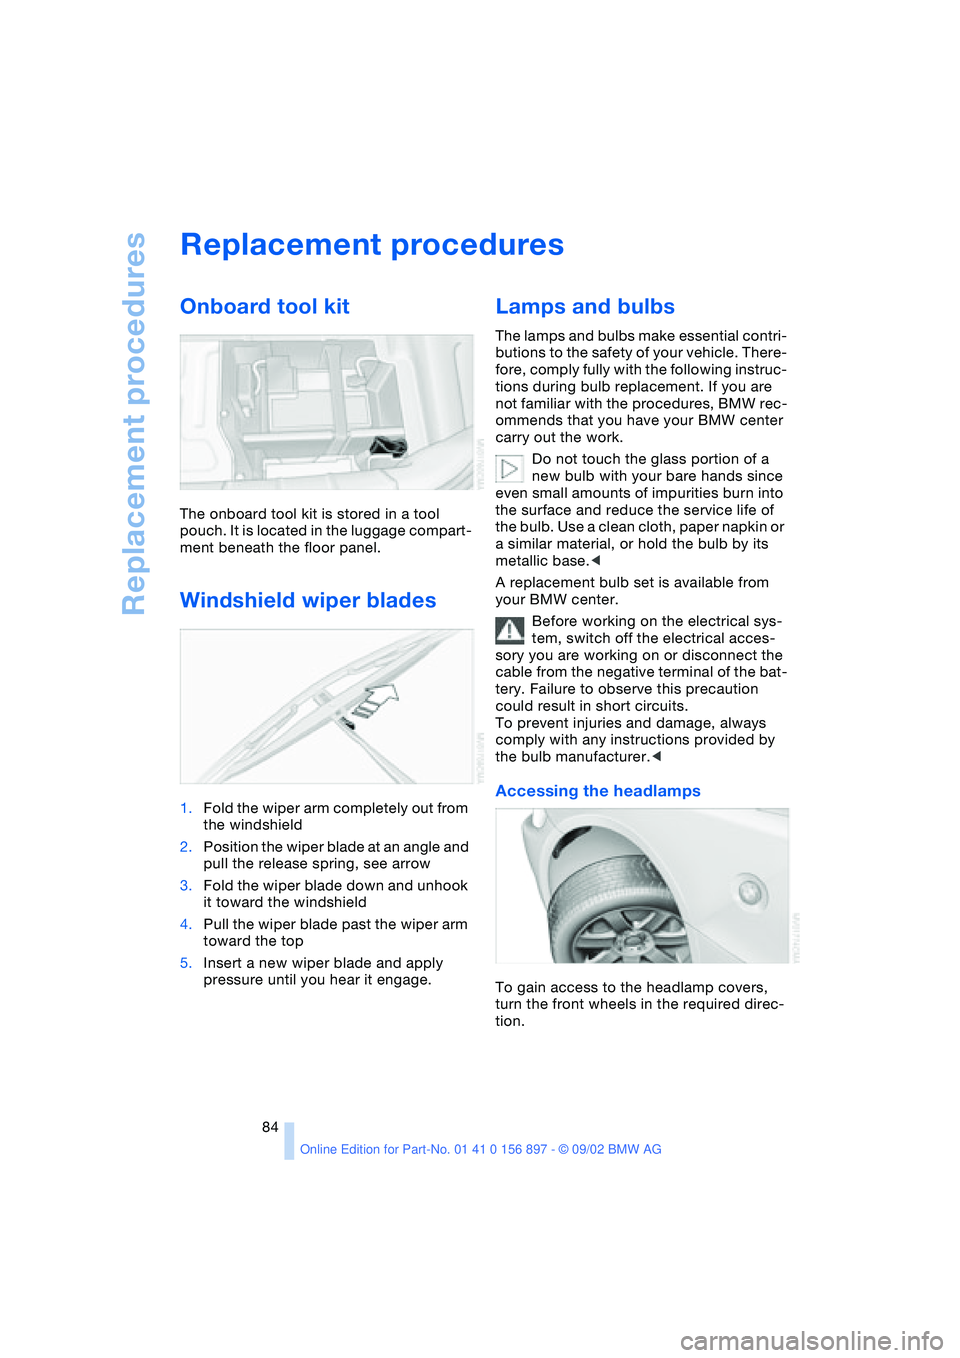
The onboard tool kit is stored in a tool
pouch. It is located in the luggage compart-
ment beneath the floor panel.
Windshield wiper blades
1.Fold the wiper arm completely out from
the windshield
2.Position the wiper blade at an angle and
pull the release spring, see arrow
3.Fold the wiper blade down and unhook
it toward the windshield
4.Pull the wiper blade past the wiper arm
toward the top
5.Insert a new wiper blade and apply
pressure until you hear it engage.
Lamps and bulbs
The lamps and bulbs make essential contri-
butions to the safety of your vehicle. There-
fore, comply fully with the following instruc-
tions during bulb replacement. If you are
not familiar with the procedures, BMW rec-
ommends that you have your BMW center
carry out the work.
Do not touch the glass portion of a
new bulb with your bare hands since
even small amounts of impurities burn into
the surface and reduce the service life of
the bulb. Use a clean cloth, paper napkin or
a similar material, or hold the bulb by its
metallic base.<
A replacement bulb set is available from
your BMW center.
Before working on the electrical sys-
tem, switch off the electrical acces-
sory you are working on or disconnect the
cable from the negative terminal of the bat-
tery. Failure to observe this precaution
could result in short circuits.
To prevent injuries and damage, always
comply with any instructions provided by
the bulb manufacturer.<
Accessing the headlamps
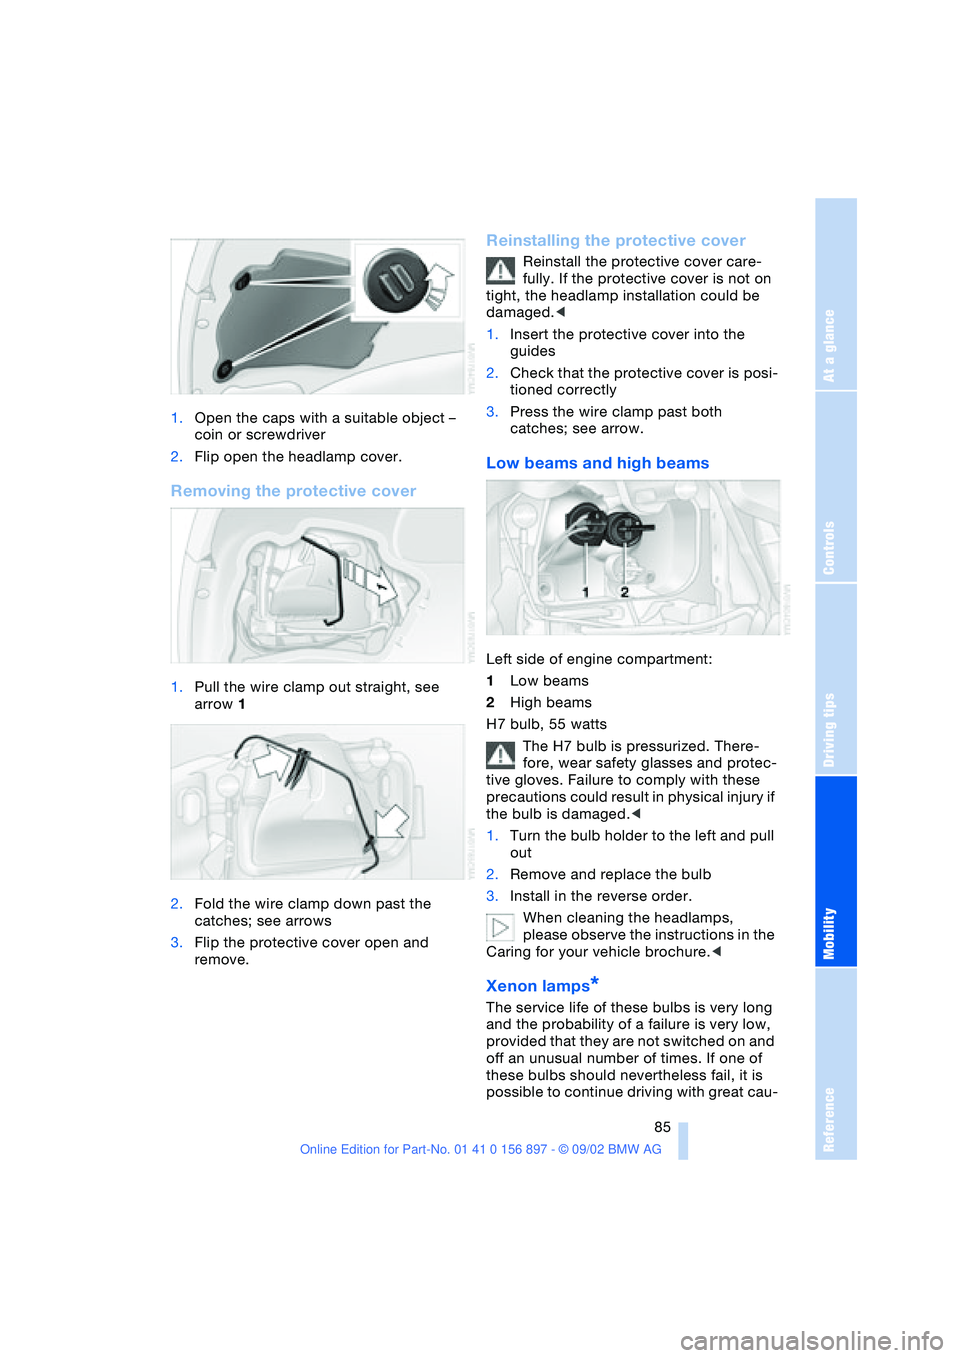
To gain access to the headlamp covers,
turn the front wheels in the required direc-
tion.
Page 85 of 106

At a glance
Controls
Driving tips
Mobility
Reference
85
1.Open the caps with a suitable object –
coin or screwdriver
2.Flip open the headlamp cover.
Removing the protective cover
1.Pull the wire clamp out straight, see
arrow 1
2.Fold the wire clamp down past the
catches; see arrows
3.Flip the protective cover open and
remove.
Reinstalling the protective cover
Reinstall the protective cover care-
fully. If the protective cover is not on
tight, the headlamp installation could be
damaged.<
1.Insert the protective cover into the
guides
2.Check that the protective cover is posi-
tioned correctly
3.Press the wire clamp past both
catches; see arrow.
Low beams and high beams
Left side of engine compartment:
1Low beams
2High beams
H7 bulb, 55 watts
The H7 bulb is pressurized. There-
fore, wear safety glasses and protec-
tive gloves. Failure to comply with these
precautions could result in physical injury if
the bulb is damaged.<
1.Turn the bulb holder to the left and pull
out
2.Remove and replace the bulb
3.Install in the reverse order.
When cleaning the headlamps,
please observe the instructions in the
Caring for your vehicle brochure.<
Xenon lamps*
The service life of these bulbs is very long
and the probability of a failure is very low,
provided that they are not switched on and
off an unusual number of times. If one of
these bulbs should nevertheless fail, it is
possible to continue driving with great cau-
Page 87 of 106

At a glance
Controls
Driving tips
Mobility
Reference
87
1.Remove the cover by turning the lock to
the right; refer to the detail in the illus-
tration
2.Applying light pressure, turn the bulb to
the left. Remove and exchange the bulb
3.Reinstall the cover.
Center high-mount brake lamp
The LED strip is in the luggage compart-
ment lid.
Please contact a BMW center in case of a
malfunction.
License plate lamps
5 watt bulb
1.Push out the lamp with a suitable object
and remove it
2.Replace the bulb.
Snap the lamp back into place.
Changing a wheel
Run Flat tires
Your BMW is equipped with Run Flat tires.
Therefore, the wheel no longer has to be
changed immediately in the event of a loss
in inflation pressure.
Run Flat tires are labeled on the sidewall
with a circular symbol containing the letters
RSC. Refer to page 75.
BMW recommends that you consult your
BMW center if you wish to replace the tires
of your BMW, or change from summer to
winter tires or vice versa.
Your BMW center knows how to work with
Run Flat tires and is equipped with the nec-
essary special tools.
When replacing tires or changing
from summer to winter tires – or vice
versa – use only Run Flat tires since a spare
tire will not be available in the event of a flat
tire.<
Jacking points
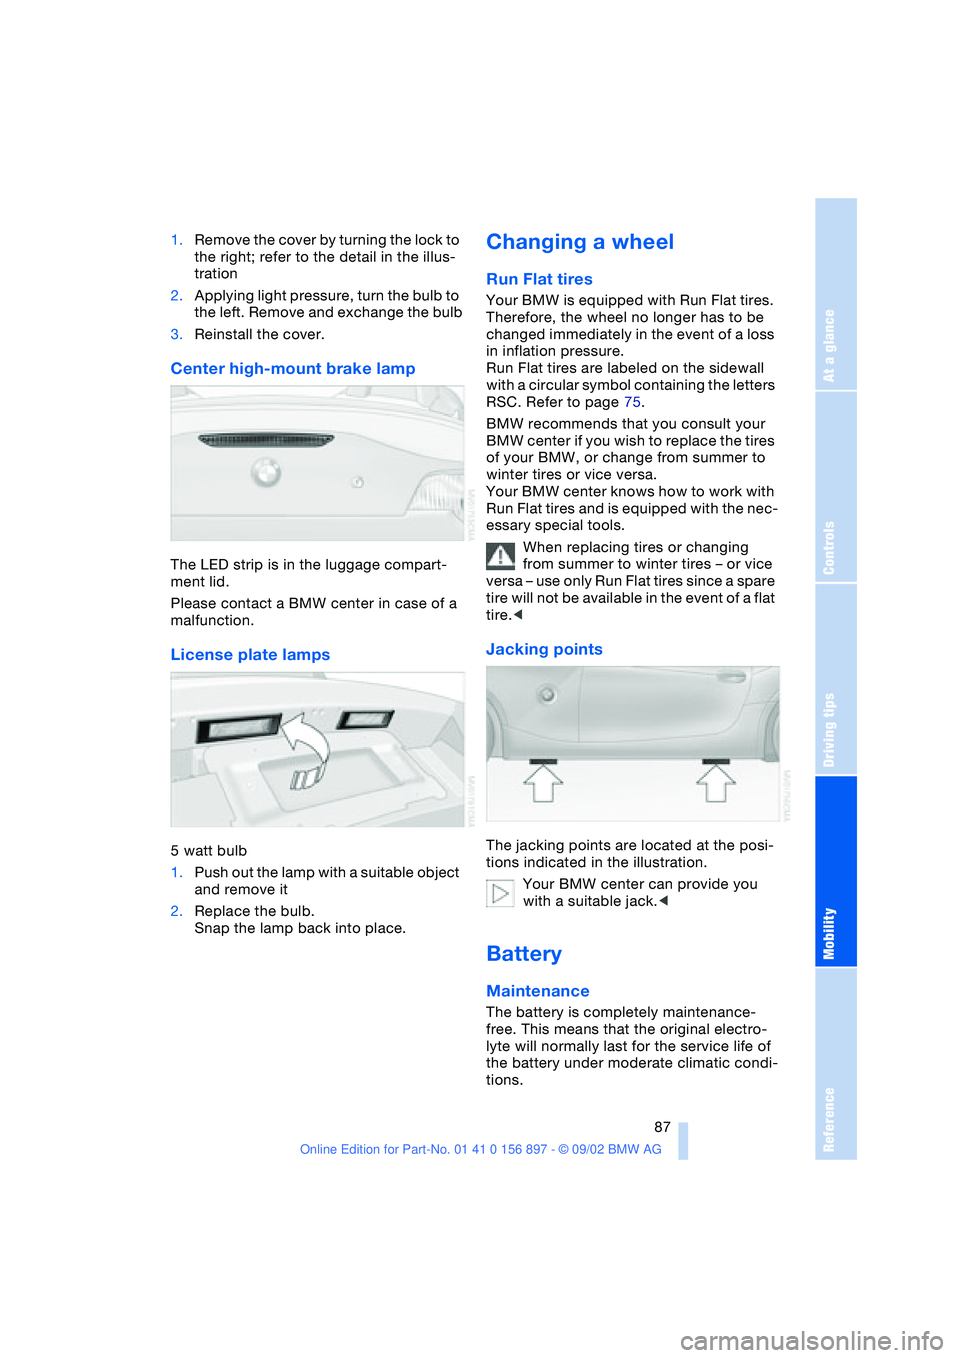
The jacking points are located at the posi-
tions indicated in the illustration.
Your BMW center can provide you
with a suitable jack.<
Battery
Maintenance
The battery is completely maintenance-
free. This means that the original electro-
lyte will normally last for the service life of
the battery under moderate climatic condi-
tions.
Page 99 of 106

At a glance
Controls
Driving tips
Mobility
Reference
99
Driving lamps
– indicator lamp, defective
bulb 14
Driving notes 65
DSC Dynamic Stability
Control 51
– indicator lamp 14
DTC Dynamic Traction
Control 51
– indicator lamp 14
Dynamic Brake Control
DBC 52
– indicator lamp 14
Dynamic Stability Control
DSC 51
– indicator lamp 14
Dynamic Traction Control
DTC 51
– indicator lamp 14
E
Electric Power Steering
EPS 42
– indicator lamp 15
Electric power windows 22
Electrical convertible
top 25
Electrical fault
– convertible top 25
– door lock 20
– fuel filler door 70
– storage compartment 60
Emergency operation
– convertible top 25
– doors 20
– fuel filler door 70
– storage compartment 60
Emergency release
– from inside luggage
compartment 22
Engine 38
– break-in procedures 64
– starting 38
– switching off 39
Engine compartment 78
Engine coolant 96
– refilling 81Engine oil 79
– capacity 96
– quality 80
– refilling 79
Engine oil consumption 79
Engine oil level 79
– checking 79
Engine oil pressure 79
– indicator lamp 14
Engine oil sensor 79
– indicator lamp 14
Engine oil types 80
Engine output 94
Engine speed 94
EPS Electric Power
Steering 42
ESP, refer to DSC 51
Exhaust system, refer to
High temperatures 65
Exterior mirrors 32
– automatic dimming
feature 33
Eyelet for tow-starting and
towing 90
F
False alarm 28
Fault
– storage compartment 60
First-aid kit 89
Flat tire 73, 75
Flat Tire Monitor 53
– indicator lamp 14, 53
Fog lamps 46
– indicator lamp 14
Footbrake, refer to Driving
notes 65
Front airbags 33
Fuel consumption 50
– display 47
Fuel filler door 70
– unlocking in case of elec-
trical fault 70
Fuel gas cap 70
Fuel gauge 47
Fuel specifications 70, 94
Fuel tank capacity 96
Fuses 88
G
Gasoline gauge, refer to
Fuel gauge 47
Gasoline specifications,
refer to Fuel
specifications 70
Glove compartment 60
Gross vehicle weight,
approved 94
Guide Booklet, Warranty
and Service 82
H
Handbrake 39
Hands-free system 61
Hardtop preparation 67
Hardtop, refer to the sepa-
rate Owner's Manual
Hazard warning flashers 12
Hazard warning triangle 89
Head restraints 30
Headlamp flasher 42, 46
Headlamp washer
system 79, 96
Headlamps 84
– access 84
– high beam 42
Heated seats 31
Heavy loads 66
Height 95
High beams 42, 46
– bulb replacement 85
– indicator lamp 14
High temperatures 65
Hood 77
Hood release 77
Hydraulic brake assistant,
refer to DBC
Hydroplaning 65
I
Ignition lock 38
Imprint 4, 6
Indicator and warning
lamps 14
Page 101 of 106

At a glance
Controls
Driving tips
Mobility
Reference
101
N
Navigation system, refer to
the separate Owner's
Manual
Nets 60
O
OBD socket 83
Odometer 47
Oil 79
– additives 80
– capacity 96
– quality 80
Oil change interval, refer to
the Service and Warranty
Information Booklet for
US models/Warranty and
Service Guide Booklet for
Canadian models
Oil consumption 79
Oil dipstick 79
Oil filter change 96
Oil level 79
– checking 79
– indicator lamp 14
Oil pressure 79
– indicator lamp 14
Oil sensor 79
– indicator lamp 14
OIL SERVICE 48
Oil types 80
Onboard computer, refer to
Computer or to the sepa-
rate Owner's Manual for
Onboard Computer
Onboard tool kit 84
Operating elements 12
Outlets, refer to
Ventilation 56, 59
Output 94
Outside air mode
– air conditioning 56
Outside temperature
display 48
– changing units 49
– in computer 49
P
Paintwork, refer to the Car-
ing for your vehicle bro-
chure
Panel lighting 46
Panic mode 19
Parking brake 39
– indicator lamp 14
Parking lamps 45
Particle filter
– automatic climate
control 56
Passenger airbags
– activation/deactivation 34
Pollen, refer to
– Microfilter/activated-
charcoal filter 59
– Particle filter 56
Power seat 30
Power steering, electric 42
Power windows 22
Preparations for the cellular
phone 61
Pressure monitor, tires 53
Pressure, tires 71
R
Radiator 96
Radio, refer to the Owner's
Manual for Radio
Rain sensor 43
Reading lamps 46
Rear lamps 86
– bulb replacement 86
Rear window defroster
– air conditioning 56
– automatic climate
control 59
Rearview mirror 32
Recirculated air mode
– air conditioning 56
– automatic climate
control 58
Refueling 70
Remote control 18
– interior motion sensor 19
– luggage compartment
lid 19
– malfunction 19Remote control keys 18
Replacement key 18
Replacement of tires 73
Reserve tank indicator
lamp 47
Restraint systems 34
Reverse 40
Run Flat tires 73, 75, 87
– flat tire 75
S
Safety belts 31
Safety defects 8
Seat adjustment
– storing 30
Seat heating 31
Seat memory 30
Seats 29
– adjustment,
mechanical 29
– adjustment, power 30
Securing loads 66
Securing, locking the
vehicle 19
Selector lever
– automatic
transmission 40
– position, automatic
transmission 40
Service 48
Service and warranty 7
Service and Warranty Infor-
mation Booklet 82
Service Engine Soon 83
– indicator lamp 14
Service interval
display 48, 82
Shiftlock 40
Side airbags 33
Snow chains 76
Socket
– for Onboard
Diagnostics 83
– refer to Cigarette lighter
socket 61
Spare fuses 88
Spare key 18
Special oils 80
Speed control, refer to
Cruise control 44
Page 102 of 106

Everything from A - Z
102 Speedometer 13
Sport program
– automatic transmission
with Steptronic 41
– Drivelogic 42
Standing lamps, refer to
Parking lamps 45, 46
Starting problems 89
Starting the engine 38
Steering lock 38
Steering wheel
– adjusting 32
Steptronic 40
Storage compartments 60
– electrical fault 60
– opening manually 60
Storage nets 60
Storage, tires 76
Storing the vehicle, refer to
the Caring for your vehi-
cle brochure
Stroke 94
Switching gears, refer to
Automatic transmission
with Steptronic 40
Symbols 6
Synthetic oils 80
T
Tachometer 47
Tail lamps
– bulb replacement 86
– indicator lamp, defective
bulb 14
Tank capacity 96
Technical data 94
– engine 94
– weight 94
Technical
modifications 7
Telephone preparation 61
Telephone, refer to the
Owner's Manual for the
telephone
Temperature
– air conditioning 56
– automatic climate
control 58
– tires 74Temperature display
– engine coolant 47
– outside temperature 48
– outside temperature in
computer 49
Third brake lamp 87
Tilt alarm sensor 19, 28
– deactivating 28
– remote control 19
Tire change 87
Tire damage 73
Tire inflation pressure 71
– checking 71
Tire pressure monitor 53
Tires
– age 73
– approval 71
– break-in procedures 64
– condition 73
– damage 73
– DOT quality grades 73
– flat tire 75
– inflation pressure 71
– M+S tires 76
– replacement 73
– Run Flat tires 73, 75, 87
– temperature 74
– traction 74
– tread 73
– tread wear 73
– Uniform Tire Quality
Grading 74
– wheel-tire
combination 74
– winter tires 76
Tool kit, refer to Onboard
tool kit 84
Torque 94
Towing 90
Towing eyelet 90
Tow-starting 90
Track width 95
Traction 74
Transmission, refer to
Automatic transmission
with Steptronic 40
Transporting children
safely 34
Tread depth, tires 73
Tread wear 73
Tread wear indicator 73Trip odometer 47
Trunk lid, refer to Luggage
compartment lid 21, 22
Trunk, refer to Luggage
compartment 22
Turn signal indicators 42
– bulb replacement 86
– indicator lamps 14
Turning circle 95
U
Undercoating, refer to the
Caring for your vehicle
brochure
Uniform Tire Quality
Grading 74
Unintentional alarm 28
Unlocking the vehicle 19
Used batteries, refer to
Battery disposal 88
V
Vacuum cleaner, refer to
Cigarette lighter
socket 61
Vehicle
– battery 87
– break-in procedures 64
– data 94
Vehicle Memory 37
Vehicle storage, refer to the
Caring for your vehicle
brochure
Vehicle vacuum cleaner,
refer to Cigarette lighter
socket 61
Ventilation 56, 59
Vents, refer to
Ventilation 56, 59
W
Warning and indicator
lamps 14
Warning triangle 89
Warranty and service 7
Warranty and Service
Guide Booklet 82