2003 BMW Z4 2.5I ignition
[x] Cancel search: ignitionPage 4 of 106

Contents
Contents
Notes
6About this Owner's Manual
6Symbols used
6Symbol on vehicle parts
6Your individual vehicle
6Status at time of printing
7For your own safety
7Service and warranty
8Reporting safety defects
Overview
12Cockpit
13Instrument cluster
14Indicator and warning lamps
Opening and closing
18Keys
18Central locking system
18Remote control
20Door lock
20Interior
21Luggage compartment lid
22Luggage compartment
22Electric power windows
23Manual convertible top
24Fully automatic convertible top*
26Wind deflector*
27Alarm system*
Adjustments
29Safe seating position
29Seats
30Seat memory*
31Seat heating*
31Safety belts
32Steering wheel
32Mirrors
33Airbags
34Transporting children safely
37Vehicle Memory, Key Memory
Driving
38Ignition lock
38Engine
39Parking brake
40Manual transmission
40Automatic transmission with
Steptronic*
42Electric Power Steering EPS
42Drivelogic*
42Turn signal indicators/Headlamp
flasher
43Washer/wiper system and
rain sensor*
44Cruise control*
Lamps
45Parking lamps/Low beams
46High beams/Standing lamps
46Instrument lighting
46Fog lamps
46Interior lamps
© 2002 Bayerische Motoren Werke
Aktiengesellschaft
Munich, Germany
Reprinting, including excerpts, only with the
written consent of BMW AG, Munich.
Order No. 01 41 0 156 897
US English VIII/02
Printed in Germany
Printed on environmentally friendly paper –
bleached without chlorine, suitable for recycling.
Page 14 of 106

Overview
14
Indicator and warning
lamps
Technology that monitors itself
Indicator and warning lamps that are iden-
tified by
+ are tested for proper functioning
whenever the ignition key is turned. They
each light up once for different periods of
time.
If a fault should occur in one of these sys-
tems, the corresponding lamp does not go
out after the engine is started or it lights up
again while the vehicle is moving. The indi-
cated pages provide information on what
measures to take.
Please fasten safety belts
+31
Airbags
+33
Battery charge current
+87
Engine oil pressure/Engine oil level/
Engine oil sensor
+79
Parking brake/Chassis control sys-
tem/Dynamic Brake Control/Brake
fluid
+39/ 51/ 52/ 81
Brake warning lamp for Canadian
models
Antilock Brake System ABS/Chas-
sis control system
+53/ 51
Antilock Brake System ABS/Chas-
sis control system for Canadian
modelsDynamic Stability Control DSC
+51
Dynamic Traction Control DTC
+51
Flat Tire Monitor
+53
Automatic transmission
+41
Brake pads
+66
Add coolant80
Check Gas Cap
+
Service engine soon +83
Service engine soon
+
warning lamp for Canadian
models.
Defective bulbs45
Turn signal indicators42
Fog lamps46
Headlamp flasher/
High beams42/ 46
Page 18 of 106

Opening and closing
18
Opening and closing
Keys
The key set
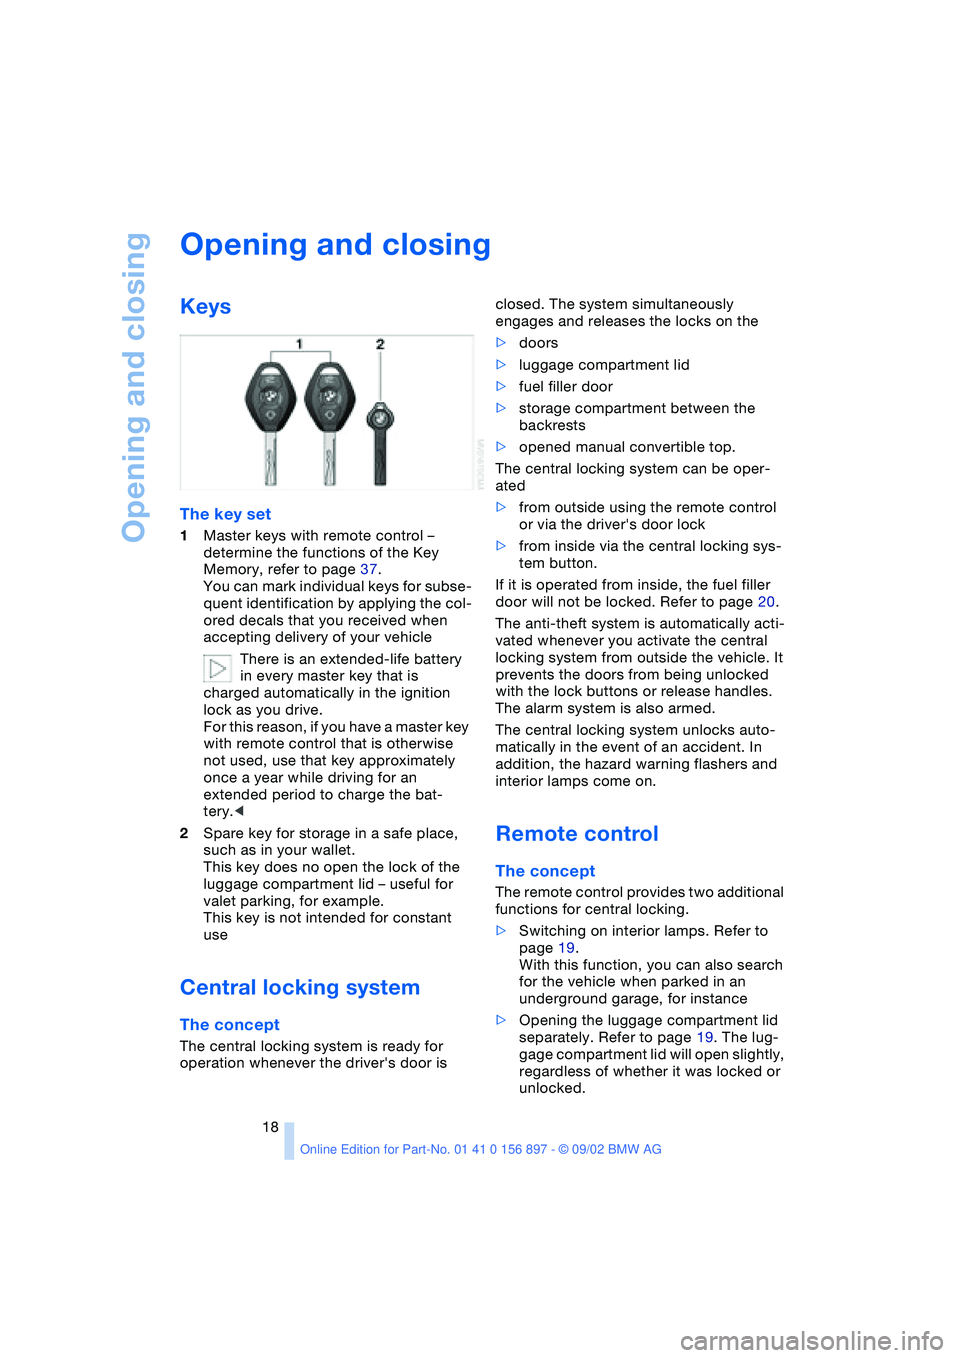
1Master keys with remote control –
determine the functions of the Key
Memory, refer to page 37.
You can mark individual keys for subse-
quent identification by applying the col-
ored decals that you received when
accepting delivery of your vehicle
There is an extended-life battery
in every master key that is
charged automatically in the ignition
lock as you drive.
For this reason, if you have a master key
with remote control that is otherwise
not used, use that key approximately
once a year while driving for an
extended period to charge the bat-
tery.<
2Spare key for storage in a safe place,
such as in your wallet.
This key does no open the lock of the
luggage compartment lid – useful for
valet parking, for example.
This key is not intended for constant
use
Central locking system
The concept
The central locking system is ready for
operation whenever the driver's door is closed. The system simultaneously
engages and releases the locks on the
>doors
>luggage compartment lid
>fuel filler door
>storage compartment between the
backrests
>opened manual convertible top.
The central locking system can be oper-
ated
>from outside using the remote control
or via the driver's door lock
>from inside via the central locking sys-
tem button.
If it is operated from inside, the fuel filler
door will not be locked. Refer to page 20.
The anti-theft system is automatically acti-
vated whenever you activate the central
locking system from outside the vehicle. It
prevents the doors from being unlocked
with the lock buttons or release handles.
The alarm system is also armed.
The central locking system unlocks auto-
matically in the event of an accident. In
addition, the hazard warning flashers and
interior lamps come on.
Remote control
The concept
The remote control provides two additional
functions for central locking.
>Switching on interior lamps. Refer to
page 19.
With this function, you can also search
for the vehicle when parked in an
underground garage, for instance
>Opening the luggage compartment lid
separately. Refer to page 19. The lug-
gage compartment lid will open slightly,
regardless of whether it was locked or
unlocked.
Page 22 of 106

Opening and closing
22
Luggage compartment
Emergency release
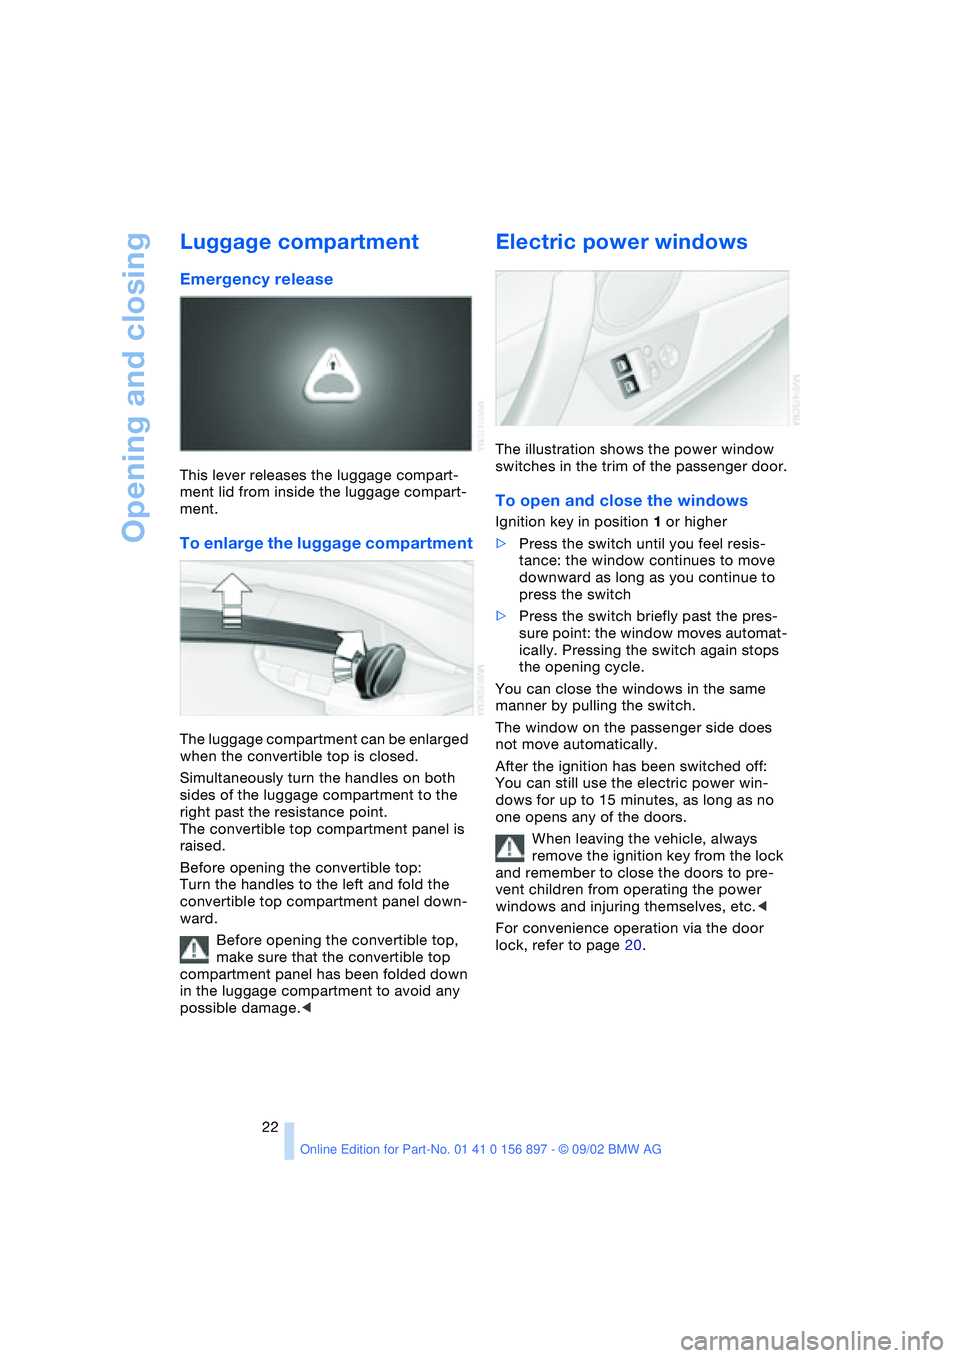
This lever releases the luggage compart-
ment lid from inside the luggage compart-
ment.
To enlarge the luggage compartment
The luggage compartment can be enlarged
when the convertible top is closed.
Simultaneously turn the handles on both
sides of the luggage compartment to the
right past the resistance point.
The convertible top compartment panel is
raised.
Before opening the convertible top:
Turn the handles to the left and fold the
convertible top compartment panel down-
ward.
Before opening the convertible top,
make sure that the convertible top
compartment panel has been folded down
in the luggage compartment to avoid any
possible damage.<
Electric power windows
The illustration shows the power window
switches in the trim of the passenger door.
To open and close the windows
Ignition key in position 1 or higher
>Press the switch until you feel resis-
tance: the window continues to move
downward as long as you continue to
press the switch
>Press the switch briefly past the pres-
sure point: the window moves automat-
ically. Pressing the switch again stops
the opening cycle.
You can close the windows in the same
manner by pulling the switch.
The window on the passenger side does
not move automatically.
After the ignition has been switched off:
You can still use the electric power win-
dows for up to 15 minutes, as long as no
one opens any of the doors.
When leaving the vehicle, always
remove the ignition key from the lock
and remember to close the doors to pre-
vent children from operating the power
windows and injuring themselves, etc.<
For convenience operation via the door
lock, refer to page 20.
Page 25 of 106

At a glance
Controls
Driving tips
Mobility
Reference
25
Ignition key in position 1 or higher.
With the vehicle standing.
1.Read and comply with the preceding
safety precautions
2.Make sure that the convertible top com-
partment panel in the luggage compart-
ment is lowered; refer to page 22. Oth-
erwise the convertible top cannot be
opened
3.Ensure that the luggage compartment
lid is closed
4.Press and hold the corresponding but-
ton for convertible top operation.
If the convertible top should halt right
before the closing phase is completed,
press against the front part of the convert-
ible top frame from the outside to help the
closing process along. Keep pressing the
button while doing so until the top starts up
again on its own.
Indicator lamps
>The red indicator lamp will light up while
the convertible top is in motion. It goes
out as soon as the opening or closing
operation has been completed
>If the red indicator lamp flashes after
the button has been released, then the
opening or closing operation has not
yet been completed.
The sequence can be continued in the
desired direction by pressing this but-
ton
>If the yellow indicator lamp lights up
continuously with the button pressed,
then the convertible top compartment
panel is raised and the convertible top
cannot be moved.
The side windows will lower slightly when
you press the button for operating the con-
vertible top.
After the opening or closing operation, the
side windows will go back up if you keep
the button pressed for more than 2 sec-
onds after the indicator lamp has gone out.
The automatic sequence will be interrupted
immediately if you release the button that
operates the top. The sequence can be continued in the desired direction by press-
ing this button.
If the convertible top operation has
been interrupted, do not close the
side windows using the power window but-
tons. Otherwise the side windows may not
close properly against the rubber seal of
the convertible top.<
After the convertible top has been
stored for an extended period of time
in the convertible top compartment – e.g. in
the winter months because the hardtop
was being used – you may have to support
the convertible top by hand when closing it
for the first time.<
If the opening or closing procedure has
been interrupted due to an electrical mal-
function, the convertible top will remain in
that position for 15 minutes. The procedure
can be resumed in the desired direction by
pressing the button. After that, the convert-
ible top can be moved again and, if it is an
emergency situation, you may have to help
the top along manually. This can also be
done in ignition key position 0.
Convenience operation from the
driver's door lock
Refer to page 20.
To close manually in the event of
an electrical malfunction
To release the convertible top
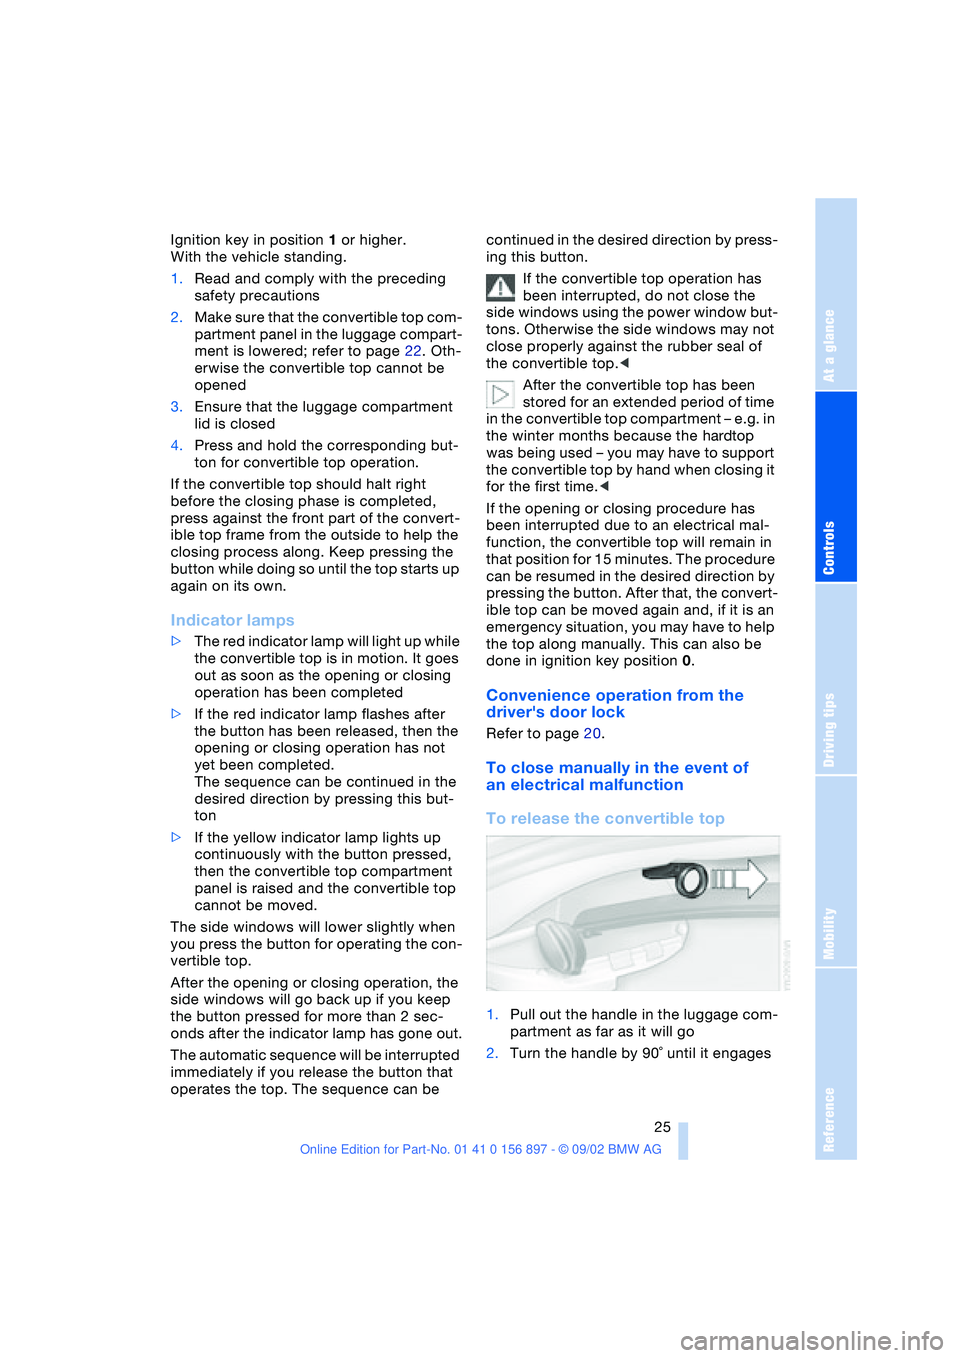
1.Pull out the handle in the luggage com-
partment as far as it will go
2.Turn the handle by 90˚ until it engages
Page 27 of 106

At a glance
Controls
Driving tips
Mobility
Reference
27
Installation
Insert the wind deflector in the guides pro-
vided on the rollover bars.
The wind deflector panels inserted in the
rollover bars cannot be removed.
Clothes hooks
Located on the wind deflector panel in the
rollover bars.
Do not hang heavy objects on the
hooks. If you do so, personal injury
could result during braking or evasive
maneuvers, for example.<
Alarm system*
The concept
The vehicle alarm system responds:
>When a door, the hood or the luggage
compartment lid is opened
>When attempts are made to start the
vehicle
>To movement inside the vehicle – inte-
rior motion sensor
>To alterations in the vehicle tilt, e.g. as
would occur during attempts to steal
the wheels or tow the vehicle
>To interruption of battery voltage.
The alarm produced by the system in the
event of unauthorized vehicle entry and
attempted theft depends on the country
version:
>Sounding of an acoustical alarm for
30 seconds
>Activation of the hazard warning flash-
ers for approx. five minutes.
Arming and disarming the alarm sys-
tem
When the vehicle is locked or unlocked
either via the driver's door lock or with the
remote control, the alarm system is simul-
taneously armed or disarmed.The hazard warning flashers blink once
when the alarm system has been properly
armed.
You can have different acknowledg-
ment signals set to confirm arming
and disarming.<
You can open the luggage compartment lid
when the system is armed by pressing the
remote control button. Refer to page 19.
When it is closed, the lid is once again
secured.
Manual operation of the luggage
compartment lid triggers the alarm.
Refer to page 21.<
To cancel an alarm:
Press the button on the remote control,
refer to page 18, or turn the ignition key to
position 1. Refer to page 38.
Indicator lamp displays
>The indicator lamp beneath the interior
mirror flashes continuously:
The system is armed
>The indicator lamp flashes when it is
being armed:
A door, the hood or luggage compart-
ment lid is not completely closed. Even
if you do not close the area causing the
alert, the remaining areas are secured
and the indicator lamp flashes continu-
ously after 10 seconds.
However, the interior motion sensor is
not activated
Page 30 of 106

Adjustments
30 After releasing the lever, move the seat
backwards or forwards slightly to ensure
that the latch engages securely
2Height
Pull lever 2 and apply weight to or remove
weight from the seat as required
3Backrest
Pull lever 3 and apply weight to or remove
weight from the backrest as required.
Head restraints#
Adjustments
Height: pull or push.
In order to move to the lowest positions,
press button 1.
Adjust the head restraint so that its
center is approximately at the height
of your ears. Otherwise, there is a higher
risk of injury to the cervical vertebra in the
event of an accident.<
Removal
Pull the head restraint upward until it stops.
Press button 1 and remove the head
restraint.
Installation
Insert the head restraint into the guides.
Power seat adjustment
1Tilt angle
2Backward/forward adjustment
3Height
4Backrest angle
The head restraints are adjusted manually.
Refer to preceding section.
Read and comply with the adjustment
instructions on page 29. Failure to
do so can result in diminished personal
safety.<
Seat memory*
You can store and recall three different
driver's seat positions.
To store
1.Ignition key position 1 or 2
2.Adjust seat to desired position
3.Press the
MEMORY button: the indica-
tor lamp in the button lights up
Page 31 of 106

At a glance
Controls
Driving tips
Mobility
Reference
31
4.Press memory button 1, 2 or 3, as
desired. The indicator lamp goes out.
To select a stored setting
Do not select a memory position while
the vehicle is moving. If you do so,
there is a risk of accident due to unex-
pected seat movement.<
Ignition key position 1:
>Briefly press memory button 1, 2 or 3,
as desired.
Movement stops immediately when one
of the seat adjustment or memory but-
tons is operated during the adjustment
process.
With the driver's door closed and the igni-
tion key either removed or in position 0
or 2:
>Press and hold the desired memory
button – 1, 2 or 3 – until the adjustment
process is completed.
If you press the
MEMORY button
accidentally: press the button again;
the indicator lamp goes out.<
You can have your vehicle adjusted in
such a way that your personal set-
tings are automatically set for the seat
positions when you unlock the vehicle with
your personal remote control.<
If you make use of this method of
adjustment, be sure that the space
behind the driver's seat is unobstructed
before unlocking the vehicle. If you fail to
do so, objects behind the seat could be
damaged by a rearward movement of the
seat.<
Seat heating*
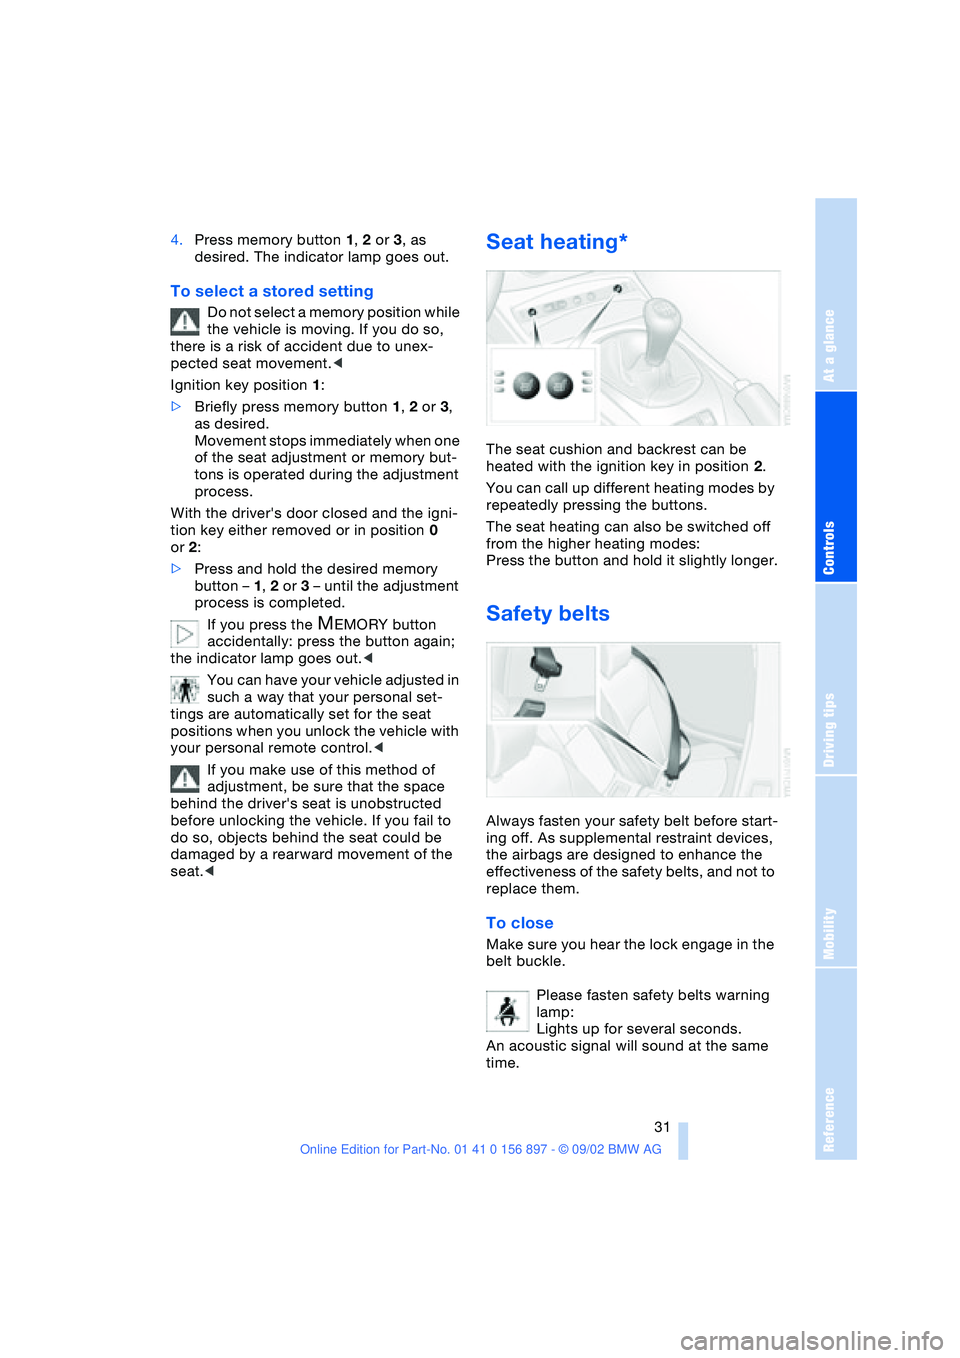
The seat cushion and backrest can be
heated with the ignition key in position 2.
You can call up different heating modes by
repeatedly pressing the buttons.
The seat heating can also be switched off
from the higher heating modes:
Press the button and hold it slightly longer.
Safety belts
Always fasten your safety belt before start-
ing off. As supplemental restraint devices,
the airbags are designed to enhance the
effectiveness of the safety belts, and not to
replace them.
To close
Make sure you hear the lock engage in the
belt buckle.
Please fasten safety belts warning
lamp:
Lights up for several seconds.
An acoustic signal will sound at the same
time.