2003 BMW M5 SEDAN lock
[x] Cancel search: lockPage 71 of 155
71n
OverviewControlsMaintenanceRepairsDataIndex
Digital clockReminder signalYou can program an hourly reminder
signal (Memo), that will, for example,
remind you of news broadcasts.
Press the left side of the button.
Press:
MEMO OFF appears in the display for
entry and query buttons, and the tone
symbol will appear in the upper right of
the display.
A signal is then heard 15 seconds
before each hour.
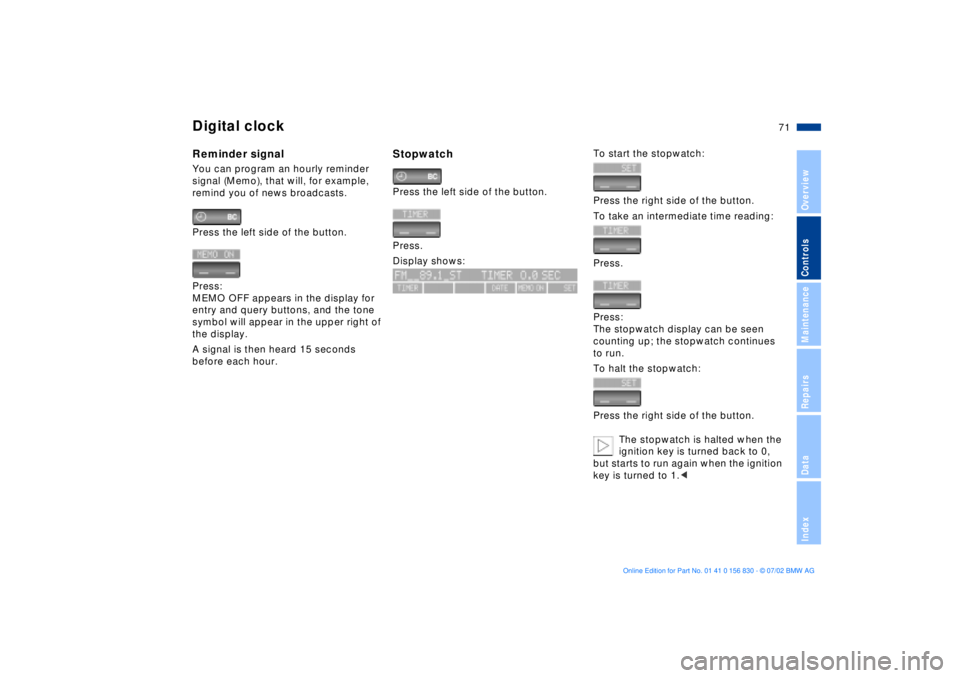
StopwatchPress the left side of the button.
Press.
Display shows:
To start the stopwatch:
Press the right side of the button.
To take an intermediate time reading:
Press.
Press:
The stopwatch display can be seen
counting up; the stopwatch continues
to run.
To halt the stopwatch:
Press the right side of the button.
The stopwatch is halted when the
ignition key is turned back to 0,
but starts to run again when the ignition
key is turned to 1.<
Page 72 of 155

72n
Digital clockSetting activation times for
parked-car ventilation systemYou can enter two different activation
times.
After 30 minutes, the ventilation will
switch off automatically.
Please observe the instructions
for operating the parked-car venti-
lation system on page 92.<
Press the left side of the button.
Press on the left or right.
Display shows:
Press the right side of the button:
Display flashes, e. g. TIMER 1.
To enter the time:
Press on left or right, or hold down.
To confirm the entry:
Press the right side of the button.
The activated time is marked with an
asterisk.
The switch-on times remain memorized
until new entries are made.
You can change switch-on times that
have already been memorized by set-
ting a new time using the procedure
described above.
When the switch-on time is active, the
LED comes on in the MID. During actual
operation of the ventilation, the LED
flashes. The LED goes out when the
system is switched off.
To activate/deactivate the time:
Press twice.Turning the parked-car ventilation
system on and off directly
The parked-car ventilation system
is available exclusively in ignition
key position 1.<
Press the left side of the button.
Press
or
press.
Page 89 of 155
89n
OverviewControlsMaintenanceRepairsDataIndex
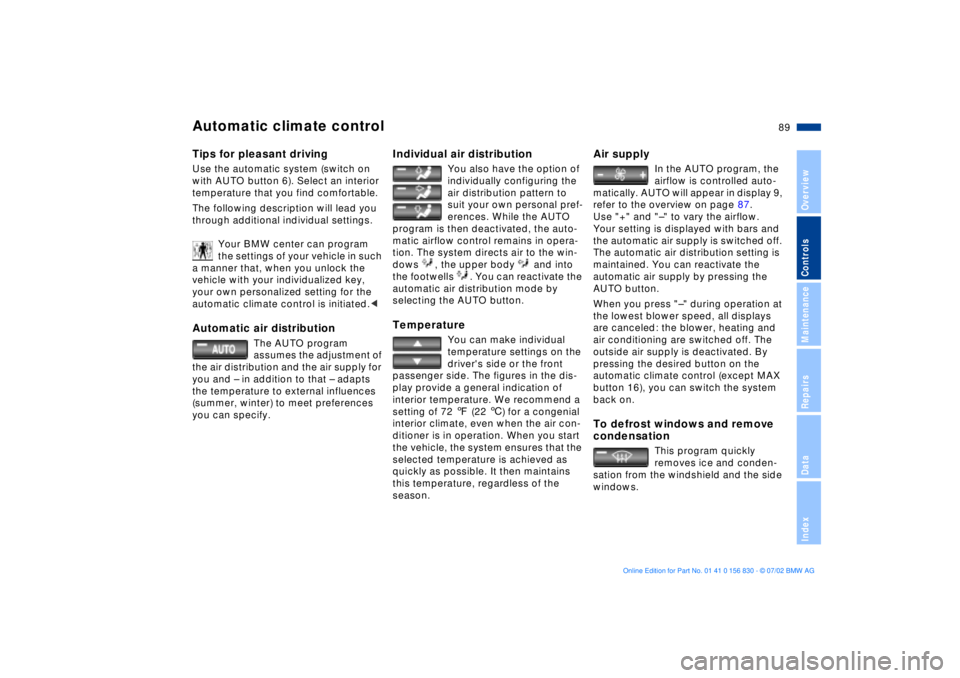
Automatic climate controlTips for pleasant drivingUse the automatic system (switch on
with AUTO button 6). Select an interior
temperature that you find comfortable.
The following description will lead you
through additional individual settings.
Your BMW center can program
the settings of your vehicle in such
a manner that, when you unlock the
vehicle with your individualized key,
your own personalized setting for the
automatic climate control is initiated.
assumes the adjustment of
the air distribution and the air supply for
you and Ð in addition to that Ð adapts
the temperature to external influences
(summer, winter) to meet preferences
you can specify.
Individual air distribution
You also have the option of
individually configuring the
air distribution pattern to
suit your own personal pref-
erences. While the AUTO
program is then deactivated, the auto-
matic airflow control remains in opera-
tion. The system directs air to the win-
dows , the upper body and into
the footwells . You can reactivate the
automatic air distribution mode by
selecting the AUTO button.
Temperature
You can make individual
temperature settings on the
driver's side or the front
passenger side. The figures in the dis-
play provide a general indication of
interior temperature. We recommend a
setting of 72 7 (22 6) for a congenial
interior climate, even when the air con-
ditioner is in operation. When you start
the vehicle, the system ensures that the
selected temperature is achieved as
quickly as possible. It then maintains
this temperature, regardless of the
season.
Air supply
In the AUTO program, the
airflow is controlled auto-
matically. AUTO will appear in display 9,
refer to the overview on page 87.
Use "+" and "Ð" to vary the airflow.
Your setting is displayed with bars and
the automatic air supply is switched off.
The automatic air distribution setting is
maintained. You can reactivate the
automatic air supply by pressing the
AUTO button.
When you press "Ð" during operation at
the lowest blower speed, all displays
are canceled: the blower, heating and
air conditioning are switched off. The
outside air supply is deactivated. By
pressing the desired button on the
automatic climate control (except MAX
button 16), you can switch the system
back on.
To defrost windows and remove
condensation
This program quickly
removes ice and conden-
sation from the windshield and the side
windows.
Page 90 of 155
90n
Automatic climate control Air conditioning
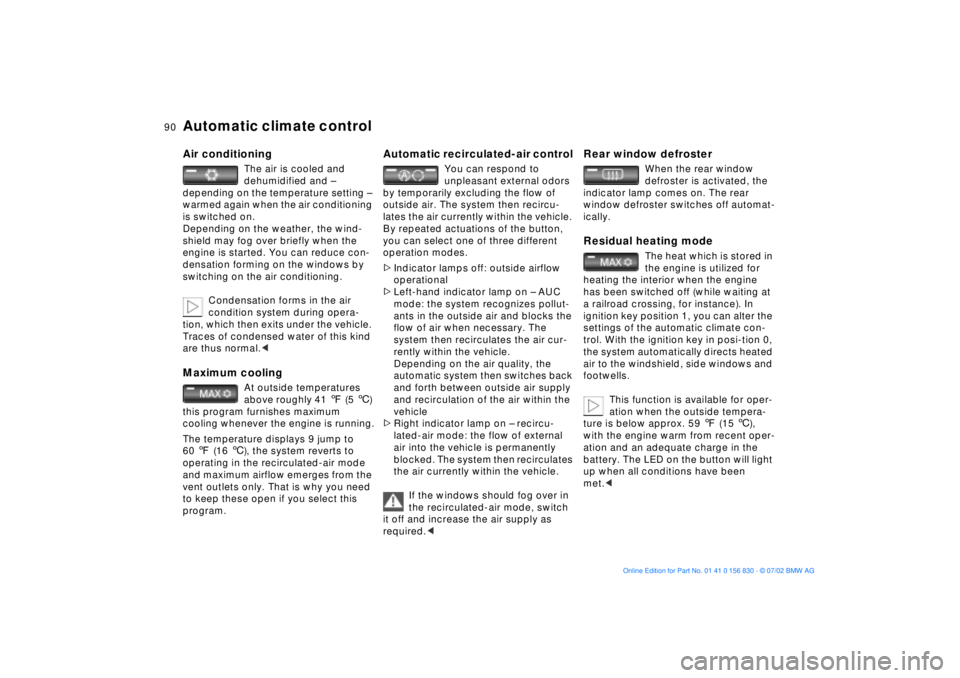
The air is cooled and
dehumidified and Ð
depending on the temperature setting Ð
warmed again when the air conditioning
is switched on.
Depending on the weather, the wind-
shield may fog over briefly when the
engine is started. You can reduce con-
densation forming on the windows by
switching on the air conditioning.
Condensation forms in the air
condition system during opera-
tion, which then exits under the vehicle.
Traces of condensed water of this kind
are thus normal.<
Maximum cooling
At outside temperatures
above roughly 41 7 (5 6)
this program furnishes maximum
cooling whenever the engine is running.
The temperature displays 9 jump to
60 7 (16 6), the system reverts to
operating in the recirculated-air mode
and maximum airflow emerges from the
vent outlets only. That is why you need
to keep these open if you select this
program.
Automatic recirculated-air control
You can respond to
unpleasant external odors
by temporarily excluding the flow of
outside air. The system then recircu-
lates the air currently within the vehicle.
By repeated actuations of the button,
you can select one of three different
operation modes.
>Indicator lamps off: outside airflow
operational
>Left-hand indicator lamp on Ð AUC
mode: the system recognizes pollut-
ants in the outside air and blocks the
flow of air when necessary. The
system then recirculates the air cur-
rently within the vehicle.
Depending on the air quality, the
automatic system then switches back
and forth between outside air supply
and recirculation of the air within the
vehicle
>Right indicator lamp on Ð recircu-
lated-air mode: the flow of external
air into the vehicle is permanently
blocked. The system then recirculates
the air currently within the vehicle.
If the windows should fog over in
the recirculated-air mode, switch
it off and increase the air supply as
required.<
Rear window defroster
When the rear window
defroster is activated, the
indicator lamp comes on. The rear
window defroster switches off automat-
ically.
Residual heating mode
The heat which is stored in
the engine is utilized for
heating the interior when the engine
has been switched off (while waiting at
a railroad crossing, for instance). In
ignition key position 1, you can alter the
settings of the automatic climate con-
trol. With the ignition key in posi-tion 0,
the system automatically directs heated
air to the windshield, side windows and
footwells.
This function is available for oper-
ation when the outside tempera-
ture is below approx. 59 7 (15 6),
with the engine warm from recent oper-
ation and an adequate charge in the
battery. The LED on the button will light
up when all conditions have been
met.<
Page 93 of 155
93n
OverviewControlsMaintenanceRepairsDataIndex
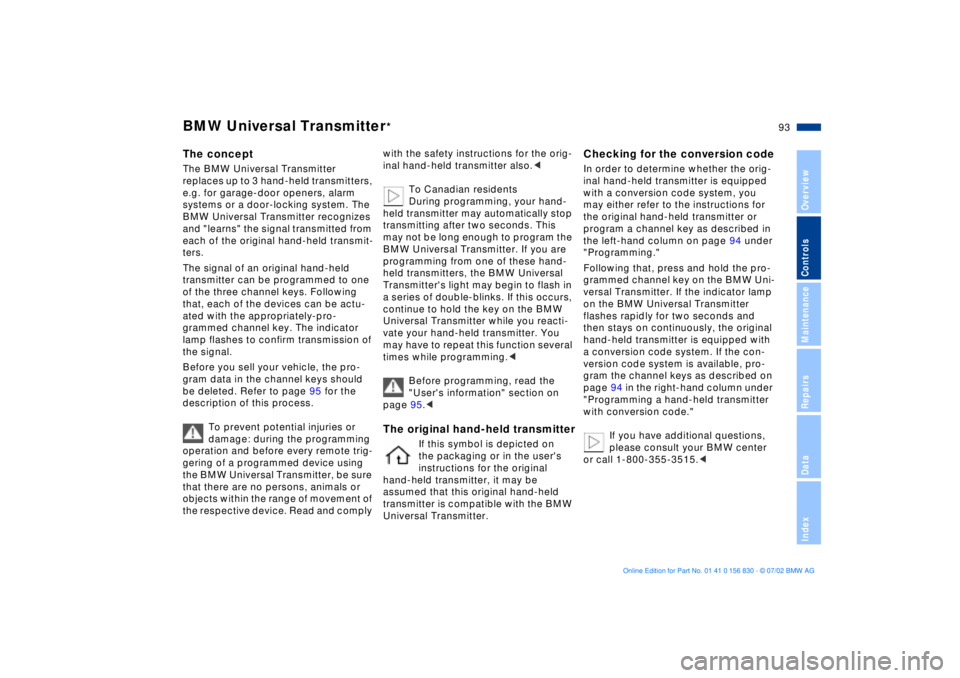
The conceptThe BMW Universal Transmitter
replaces up to 3 hand-held transmitters,
e.g. for garage-door openers, alarm
systems or a door-locking system. The
BMW Universal Transmitter recognizes
and "learns" the signal transmitted from
each of the original hand-held transmit-
ters.
The signal of an original hand-held
transmitter can be programmed to one
of the three channel keys. Following
that, each of the devices can be actu-
ated with the appropriately-pro-
grammed channel key. The indicator
lamp flashes to confirm transmission of
the signal.
Before you sell your vehicle, the pro-
gram data in the channel keys should
be deleted. Refer to page 95 for the
description of this process.
To prevent potential injuries or
damage: during the programming
operation and before every remote trig-
gering of a programmed device using
the BMW Universal Transmitter, be sure
that there are no persons, animals or
objects within the range of movement of
the respective device. Read and comply
with the safety instructions for the orig-
inal hand-held transmitter also.<
To Canadian residents
During programming, your hand-
held transmitter may automatically stop
transmitting after two seconds. This
may not be long enough to program the
BMW Universal Transmitter. If you are
programming from one of these hand-
held transmitters, the BMW Universal
Transmitter's light may begin to flash in
a series of double-blinks. If this occurs,
continue to hold the key on the BMW
Universal Transmitter while you reacti-
vate your hand-held transmitter. You
may have to repeat this function several
times while programming.<
Before programming, read the
"User's information" section on
page 95.< The original hand-held transmitter
If this symbol is depicted on
the packaging or in the user's
instructions for the original
hand-held transmitter, it may be
assumed that this original hand-held
transmitter is compatible with the BMW
Universal Transmitter.
Checking for the conversion codeIn order to determine whether the orig-
inal hand-held transmitter is equipped
with a conversion code system, you
may either refer to the instructions for
the original hand-held transmitter or
program a channel key as described in
the left-hand column on page 94 under
"Programming."
Following that, press and hold the pro-
grammed channel key on the BMW Uni-
versal Transmitter. If the indicator lamp
on the BMW Universal Transmitter
flashes rapidly for two seconds and
then stays on continuously, the original
hand-held transmitter is equipped with
a conversion code system. If the con-
version code system is available, pro-
gram the channel keys as described on
page 94 in the right-hand column under
"Programming a hand-held transmitter
with conversion code."
If you have additional questions,
please consult your BMW center
or call 1-800-355-3515.<
BMW Universal Transmitter
*
Page 96 of 155
96n
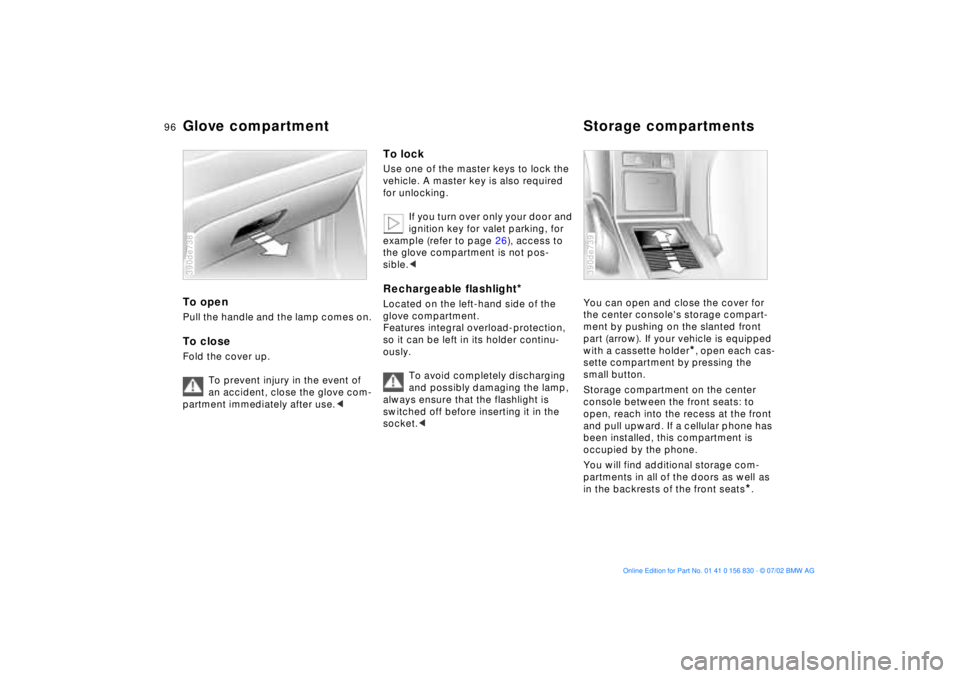
Glove compartment Storage compartments To openPull the handle and the lamp comes on. To closeFold the cover up.
To prevent injury in the event of
an accident, close the glove com-
partment immediately after use.<390de738
To lockUse one of the master keys to lock the
vehicle. A master key is also required
for unlocking.
If you turn over only your door and
ignition key for valet parking, for
example (refer to page 26), access to
the glove compartment is not pos-
sible.
Located on the left-hand side of the
glove compartment.
Features integral overload-protection,
so it can be left in its holder continu-
ously.
To avoid completely discharging
and possibly damaging the lamp,
always ensure that the flashlight is
switched off before inserting it in the
socket.<
You can open and close the cover for
the center console's storage compart-
ment by pushing on the slanted front
part (arrow). If your vehicle is equipped
with a cassette holder
*, open each cas-
sette compartment by pressing the
small button.
Storage compartment on the center
console between the front seats: to
open, reach into the recess at the front
and pull upward. If a cellular phone has
been installed, this compartment is
occupied by the phone.
You will find additional storage com-
partments in all of the doors as well as
in the backrests of the front seats
*.
390de739
Page 99 of 155
99n
OverviewControlsMaintenanceRepairsDataIndex
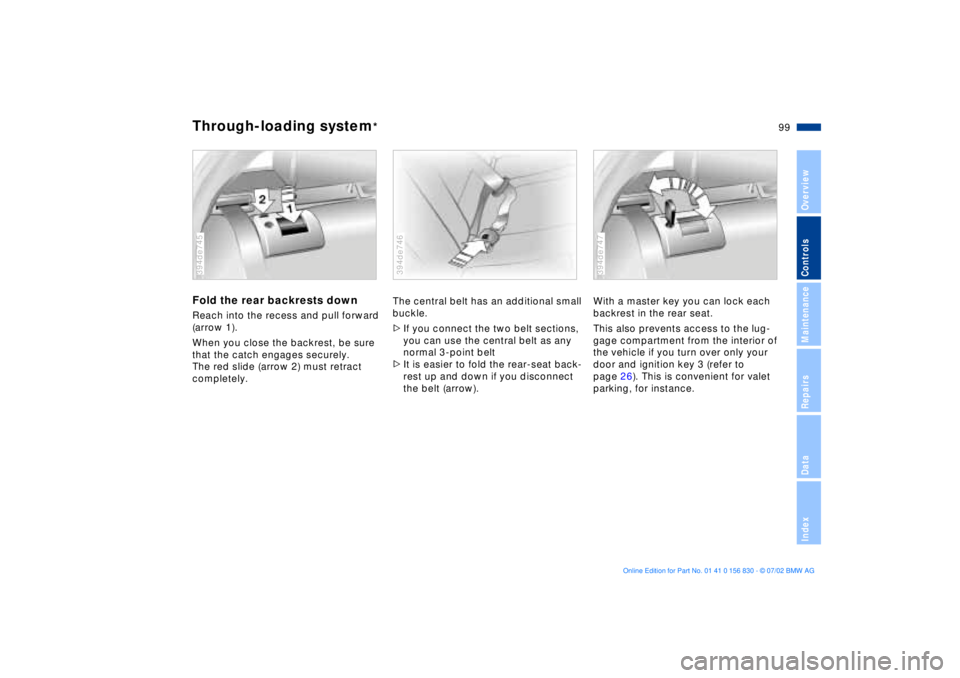
Fold the rear backrests downReach into the recess and pull forward
(arrow 1).
When you close the backrest, be sure
that the catch engages securely.
The red slide (arrow 2) must retract
completely.394de745
The central belt has an additional small
buckle.
>If you connect the two belt sections,
you can use the central belt as any
normal 3-point belt
>It is easier to fold the rear-seat back-
rest up and down if you disconnect
the belt (arrow).394de746
With a master key you can lock each
backrest in the rear seat.
This also prevents access to the lug-
gage compartment from the interior of
the vehicle if you turn over only your
door and ignition key 3 (refer to
page 26). This is convenient for valet
parking, for instance.394de747
Through-loading system
*
Page 101 of 155
101n
OverviewControlsMaintenanceRepairsDataIndex
Ski bag
*
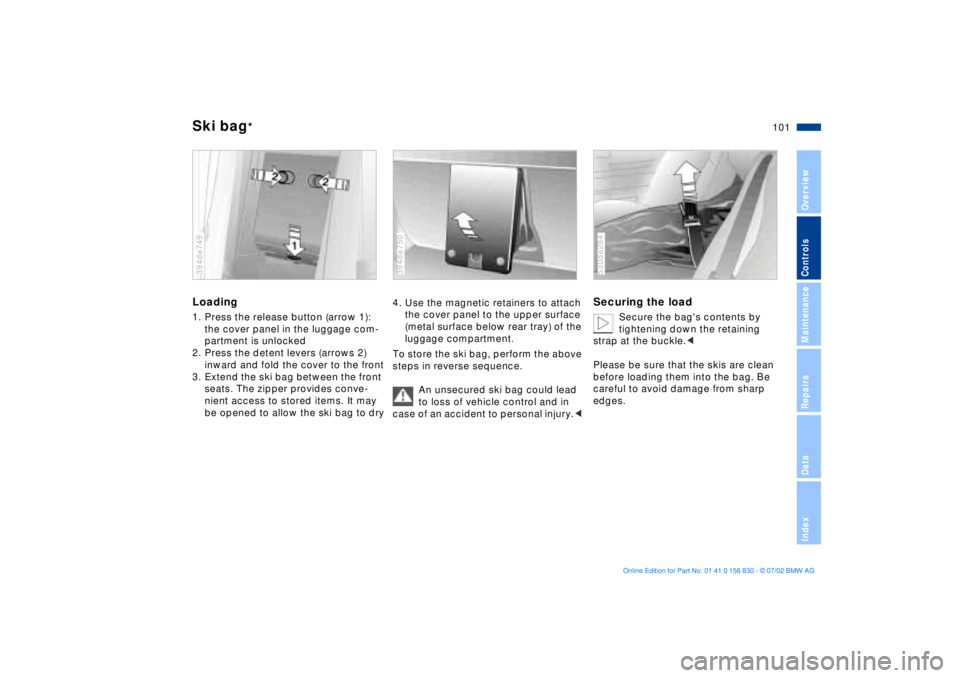
Loading1. Press the release button (arrow 1):
the cover panel in the luggage com-
partment is unlocked
2. Press the detent levers (arrows 2)
inward and fold the cover to the front
3. Extend the ski bag between the front
seats. The zipper provides conve-
nient access to stored items. It may
be opened to allow the ski bag to dry394de749
4. Use the magnetic retainers to attach
the cover panel to the upper surface
(metal surface below rear tray) of the
luggage compartment.
To store the ski bag, perform the above
steps in reverse sequence.
An unsecured ski bag could lead
to loss of vehicle control and in
case of an accident to personal injury.< 394de750
Securing the load
Secure the bag's contents by
tightening down the retaining
strap at the buckle.<
Please be sure that the skis are clean
before loading them into the bag. Be
careful to avoid damage from sharp
edges.
530de284