Page 131 of 158
131
Tail lamps1Turn signal indicator
2Backup lamp
3Tail lamp
4Tail lamp/brake lamp
Tail lamps 4: 21/4 watt bulb
Remaining bulbs: 21 watt
The illustration shows the right-hand
luggage compartment opening.
Bulbs in the fender:
All of the bulbs are integrated in a cen-
tral bulb holder.
1. Release the bulb holder – see arrow
2. Take out the bulb holder
3. Unplug the power supply receptacle.
Set the bulb holder aside, on the lug-
gage compartment floor, for example
4. Applying light pressure, turn the bulb
to the left. Remove and exchange the
bulb
5. Plug in the power supply receptacle
6. Reattach the bulb holder until you
hear it snap into place – see arrow.
Lamps and bulbs
OverviewControlsMaintenanceRepairsDataIndex
handbook.book Page 131 Saturday, July 27, 2002 1:12 PM
Page 133 of 158

133
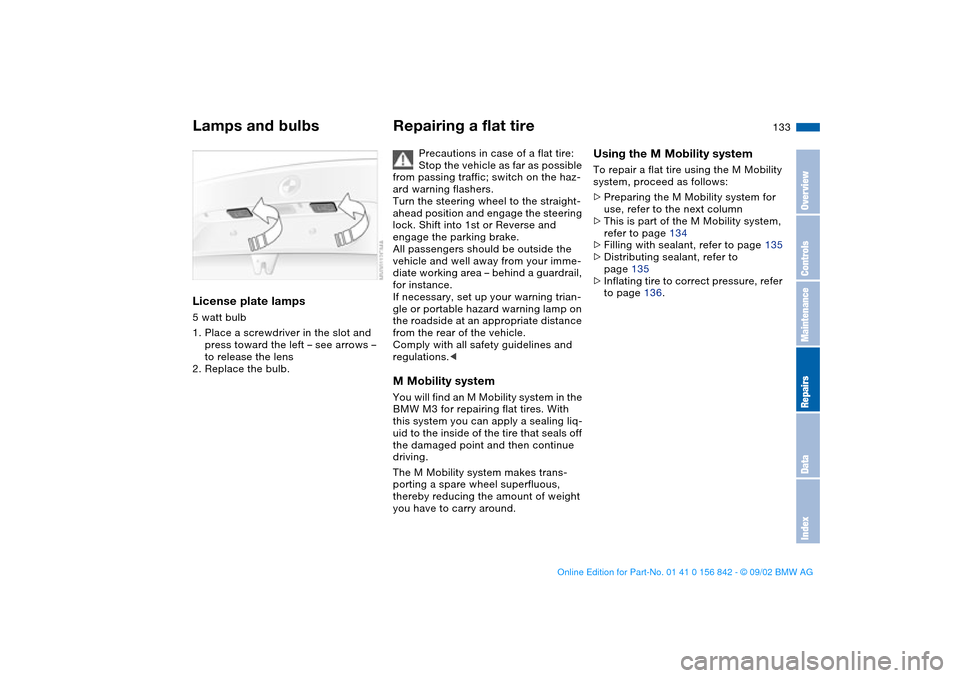
License plate lamps5 watt bulb
1. Place a screwdriver in the slot and
press toward the left – see arrows –
to release the lens
2. Replace the bulb.
Repairing a flat tire
Precautions in case of a flat tire:
Stop the vehicle as far as possible
from passing traffic; switch on the haz-
ard warning flashers.
Turn the steering wheel to the straight-
ahead position and engage the steering
lock. Shift into 1st or Reverse and
engage the parking brake.
All passengers should be outside the
vehicle and well away from your imme-
diate working area – behind a guardrail,
for instance.
If necessary, set up your warning trian-
gle or portable hazard warning lamp on
the roadside at an appropriate distance
from the rear of the vehicle.
Comply with all safety guidelines and
regulations.<
M Mobility systemYou will find an M Mobility system in the
BMW M3 for repairing flat tires. With
this system you can apply a sealing liq-
uid to the inside of the tire that seals off
the damaged point and then continue
driving.
The M Mobility system makes trans-
porting a spare wheel superfluous,
thereby reducing the amount of weight
you have to carry around.
Using the M Mobility systemTo repair a flat tire using the M Mobility
system, proceed as follows:
>Preparing the M Mobility system for
use, refer to the next column
>This is part of the M Mobility system,
refer to page 134
>Filling with sealant, refer to page 135
>Distributing sealant, refer to
page 135
>Inflating tire to correct pressure, refer
to page 136.
Lamps and bulbs
OverviewControlsMaintenanceRepairsDataIndex
handbook.book Page 133 Saturday, July 27, 2002 1:12 PM
Page 135 of 158

135
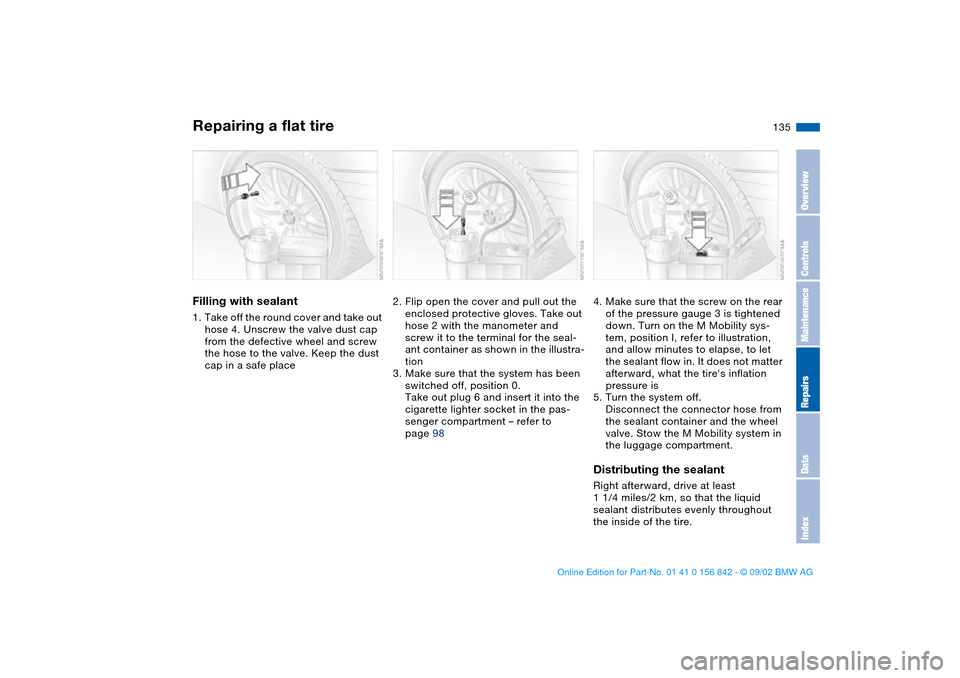
Filling with sealant1. Take off the round cover and take out
hose 4. Unscrew the valve dust cap
from the defective wheel and screw
the hose to the valve. Keep the dust
cap in a safe place
2. Flip open the cover and pull out the
enclosed protective gloves. Take out
hose 2 with the manometer and
screw it to the terminal for the seal-
ant container as shown in the illustra-
tion
3. Make sure that the system has been
switched off, position 0.
Take out plug 6 and insert it into the
cigarette lighter socket in the pas-
senger compartment – refer to
page 98
4. Make sure that the screw on the rear
of the pressure gauge 3 is tightened
down. Turn on the M Mobility sys-
tem, position I, refer to illustration,
and allow minutes to elapse, to let
the sealant flow in. It does not matter
afterward, what the tire's inflation
pressure is
5. Turn the system off.
Disconnect the connector hose from
the sealant container and the wheel
valve. Stow the M Mobility system in
the luggage compartment.Distributing the sealantRight afterward, drive at least
1 1/4 miles/2 km, so that the liquid
sealant distributes evenly throughout
the inside of the tire.
Repairing a flat tire
OverviewControlsMaintenanceRepairsDataIndex
handbook.book Page 135 Saturday, July 27, 2002 1:12 PM
Page 137 of 158

137
You will find corresponding
instructions for using the
M Mobility system on the device.
Replace the defective tire as soon as
possible and have the new wheel bal-
anced. Reinitialize the Flat Tire Monitor,
and refer to page 83 for further informa-
tion. Have the M Mobility system
refilled. Contact your BMW center for
this.<
Protect valve stems against dirt using
screw-on dust caps. Dirty valve stems
frequently lead to slow pressure loss.
Battery
Battery posts, terminals, and
related accessories contain lead
and lead compounds. Wash hands after
handling.<
MaintenanceThe battery is completely maintenance-
free. That means that the original bat-
tery acid will normally last for the ser-
vice life of the battery under moderate
climate conditions.
Please consult your BMW center
whenever you have any questions
concerning the battery. Since the bat-
tery is absolutely maintenance-free, the
following statements are for your infor-
mation only.<
Never disconnect the battery
when the engine is running; the
ensuing voltage surge would seriously
damage the vehicle's onboard elec-
tronic systems.
when the engine is not running. Use the
connections provided in the engine
compartment. For information on the
connections, see Jump-Starting,
page 139.
Return used batteries to a recy-
cling point or your BMW center.
Maintain the battery in an upright posi-
tion for transport and storage. Secure
the battery against tilting in transit.<
Repairing a flat tire
OverviewControlsMaintenanceRepairsDataIndex
handbook.book Page 137 Saturday, July 27, 2002 1:12 PM
Page 139 of 158

139 Giving and receiving assistance
Jump-startingWhen your battery is discharged, you
can use two jumper cables to start your
vehicle with power from the battery in a
second vehicle. You can also use the
same method to help start another
vehicle. Use only jumper cables with
fully insulated handles on the terminal
clamps.
Do not touch high-voltage wiring
and cables on a running engine.
Contact with components carrying high
voltage can be harmful or fatal.
Carefully observe the following instruc-
tions to avoid personal injury and/or
damage to one or both vehicles.<
1. Ensure that the battery in the support
vehicle is also rated at 12 volts. This
information is provided on the battery
label
2. Stop the engine of the support vehi-
cle and switch off all electrical com-
ponents in both vehicles – except for
the hazard warning flashers of the
support vehicle
3. Make absolutely certain that there is
no contact between the bodywork of
the two vehicles – short circuit haz-
ard
4. The auxiliary jump-starting terminal
located in your BMW's engine com-
partment acts as the positive battery
terminal. The cover of this auxiliary
terminal is marked with a + sign.
Remove by pulling the tab. See
arrow 1. Start by connecting the
jumper cable from the positive termi-
nal of the discharged battery to the
positive terminal of the support bat-
tery
5. Then connect the negative terminals
with the other jumper cable. Attach
the cable to either the support vehi-
cle's negative battery terminal or to a
suitable ground on its engine or
bodywork. Then connect the other
end to the negative battery terminal
or a suitable ground on the vehicle
being started. Your BMW is
equipped with a special nut for this
purpose – see arrow 2
Always adhere to this sequence
when connecting jumper cables;
failure to observe this procedure can
lead to sparks at the battery terminals
and pose an injury hazard.<
6. Start the engine of the support vehi-
cle and let it run for several minutes
at a slightly elevated engine idle
speed
7. Start the engine of the other vehicle
as usual. If the first start attempt is
not successful, wait a few minutes
before another attempt in order to
allow the discharged battery to
recharge
8. Allow the engines to run for several
minutes before disconnecting the
jumper cables
9. Then disconnect the jumper cables
in the opposite order.
Have the battery recharged at your
BMW center as required.
Do not use spray starter fluids to
start the engine.<
OverviewControlsMaintenanceRepairsDataIndex
handbook.book Page 139 Saturday, July 27, 2002 1:12 PM
Page 141 of 158

141
Use only a nylon towing strap to tow
the vehicle, since the inherent resil-
ience of this material helps protect both
vehicles from sudden jerking move-
ments.
The towed vehicle should always
be the lighter of the two vehicles.
If this is not the case, it will not be pos-
sible to control vehicle handling.
to page 139.
Never attempt to use your vehicle to
push another vehicle, since damage to
the energy-absorbing bumpers could
result.Towing a vehicle1. Gearshift lever in Neutral
2. Towing speed:
max. 45 mph / 70 km/h
3. Towing distance:
max. 95 miles/150 km
4. Leave the ignition key at position 1 to
ensure that the brake lamps, turn sig-
nal indicators, horn and windshield
wipers remain operative, and to pre-
vent the steering lock detent from
engaging
5. Switch on the hazard warning system
– observe applicable legal regula-
tions.
Find some means of identifying the
vehicle in tow, for instance, place a sign
or warning triangle in the rear window.
Make sure that the ignition key
remains in position 1 even when
the electrical system has failed to pre-
vent the steering lock from engaging.
The steering and brakes are without
power-assist when the engine is off.
This means that increased effort is
required for steering and braking.<
Vehicle with sequential M gearbox
SMG II:
To push or tow, engage selector lever
in position 0.
Never work on the vehicle with a
driving position engaged.<
Towing with a commercial tow
truck>Do not tow with sling-type equipment
>Use wheel lift or flatbed equipment
>Please comply with applicable state
towing laws.
Never allow passengers to ride in
a towed vehicle for any reason.
Never attach tie-down hooks, chains,
straps, or tow hooks to tie rods, control
arms, or any other part of the vehicle
suspension, as severe damage to these
components will occur, possibly lead-
ing to accidents.<
Towing the vehicle
OverviewControlsMaintenanceRepairsDataIndex
handbook.book Page 141 Saturday, July 27, 2002 1:12 PM
Page 143 of 158
143
Overview
Controls and features
Operation, maintenance
Owner service procedures
Technical data
Index
OverviewControlsMaintenanceRepairsDataIndex
handbook.book Page 143 Saturday, July 27, 2002 1:12 PM
Page 145 of 158
145
Dimensions
OverviewControlsMaintenanceRepairsDataIndex
handbook.book Page 145 Saturday, July 27, 2002 1:12 PM