Page 8 of 166

Contents
Notes
About this Owner's Manual4
Symbols used4
Your individual vehicle4
Status at time of printing5
For your own safety5
Symbol on vehicle parts6
Service and warranty6
Reporting safety defects6
Overview
Cockpit14
Instrument cluster16
Indicator and warning lamps18
Steering wheel with multifunction
buttons22
Hazard warning triangle*23
First-aid kit*23
Refueling24
Fuel specifications25
Tire inflation pressure25
Controls and features
Opening and closing:
Keys30
Central locking system30
Opening and closing – via the
remote control31
Opening and closing – via the
door lock33
Opening and closing – from the
inside34
Luggage compartment lid35
Luggage compartment37
Alarm system*38
Electric power windows40
Convertible top41
Wind deflector*46
To adjust:
Safe seating position48
Seats49
Power seat adjustment49
Head restraints50
Entering the rear51
Safety belts52
Seat and mirror memory53
Seat heating*54
Steering wheel55
Mirrors55
handbook.book Page 8 Tuesday, July 30, 2002 9:28 AM
Page 9 of 166

Contents
9
Passenger safety systems:
Airbags57
Transporting children safely59
Rollover protection system63
Vehicle Memory, Key
Memory65
Driving:
Ignition lock66
Starting engine and driving
off67
Switching off the engine69
Parking brake69
Manual transmission70
Sequential M gearbox
SMG II*71
Turn signal indicator/Headlamp
flasher76
Washer/wiper system/Rain
sensor*77
Cruise control78
Everything under control:
Odometer80
Tachometer80
Temperature gauge80
Fuel gauge81
Engine coolant temperature
gauge81
Service interval display82
Check Control82
Clock83
Computer84
Technology for safety and
driving convenience:
Park Distance Control (PDC)*86
Dynamic Stability Control
(DSC)87
Flat Tire Monitor88
M Engine dynamics control91
Lamps:
Parking lamps/Low beams92
Instrument lighting93
High beams/Standing lamps93
Fog lamps94
Interior lamps94
Reading lamps94
Controlling the climate for
pleasant driving:
Automatic climate control96
Interior conveniences:
Glove compartment101
Storage compartments101
Cellular phone*102
Ashtray, front*102
Ashtray, rear*103
Loading and transporting:
Ski bag*104
Cargo loading106
Roof-mounted luggage rack for
the hardtop*107
Operation, maintenance
Special operating instructions:
Break-in procedures110
Driving notes111
Antilock Brake System
(ABS)111
Brake system112
Hardtop*113
Wheels and tires:
Tire inflation pressure115
Tire condition115
Tire replacement116
Wheel and tire
combinations118
Winter tires118
Snow chains*119
In the engine compartment:
Hood120
Engine compartment
essentials122
Washer fluids124
Engine oil124
Coolant126
Brake fluid127
Maintenance:
The BMW Maintenance
System128
Laws and regulations:
California Proposition 65
warning130
OBD interface socket130
Controls and features
handbook.book Page 9 Tuesday, July 30, 2002 9:28 AM
Page 25 of 166

25
Close the fuel filler cap carefully
after refueling until a click is
heard. While closing, be sure not to
squeeze the strap which is fastened to
the cap. A loose or missing cap will
activate the CHECK FILLER CAP
lamp.<
Fuel tank capacity>Approx. 16.6 gal./63 liters, of which
>approx. 2.1 gal./8 liters are reserve
capacity.
Do not drive to the last drop of
fuel. This can prevent the engine
from operating properly and result in
damage.<
Fuel specificationsThe engine uses lead-free gasoline
only.
Required fuel:
>Premium Unleaded Gasoline,
min. 91 AKI.
AKI = Anti Knock Index
Never use leaded fuel, as it would
cause permanent and irreversible
damage to the oxygen sensor and the
catalytic converter.<
Tire inflation pressureThe specified inflation pressures are
provided on a sticker attached to the
B-pillar and are visible with the driver's
door open.Checking tire pressuresAll pressures are specified in the units
usually used in your country – psi/kilo-
pascal – for tires at ambient tempera-
tures, also refer to the following tire
inflation pressure table.
After correcting the tire inflation pres-
sure, reinitialize the Flat Tire Monitor so
that it can monitor the tire inflation
pressure, refer to page 88.
Refueling
OverviewControlsMaintenanceRepairsDataIndex
handbook.book Page 25 Tuesday, July 30, 2002 9:28 AM
Page 26 of 166
26
Check the tire pressures on a reg-
ular basis – at least twice a month
– and before every extended journey.
Incorrect tire pressure can otherwise
lead to driving instability, tire damage
and accidents.<
Comply with tire approval
specificationsThe inflation pressures in the table
apply to BMW-approved tire sizes and
tire manufacturers. Your BMW center
will be glad to supply this information.
Higher pressures may be required for
tires made by other manufacturers.
Your vehicle is equipped with tires
which not only meet US standards, but
also European standards. We recom-
mend the exclusive use of BMW-
approved tires.Tire inflation pressure
handbook.book Page 26 Tuesday, July 30, 2002 9:28 AM
Page 27 of 166
27
BMW Tires
All pressure specifications in
the table are indicated in psi/
kilopascal with cold tires –
cold = ambient temperature
225/45 ZR 18 33/230 - 41/280 -
255/40 ZR 18 - 35/240 - 48/330
M3
convertible225/40 ZR 19 33/230 - 41/280 -
255/35 ZR 19 - 35/240 - 48/330
225/45 R 17 91 H M+S 33/230 38/260 36/250 46/320Tire inflation pressure
OverviewControlsMaintenanceRepairsDataIndex
handbook.book Page 27 Tuesday, July 30, 2002 9:28 AM
Page 88 of 166

88
To reactivate the systemPress the button again; the indicator
lamp goes out.Dynamic Brake Control (DBC)DBC is an integral component of the
DSC system.
If you apply the brakes rapidly, this sys-
tem automatically generates maximum
braking force boost and thus helps to
achieve the shortest possible braking
distance in panic braking situations. All
of the benefits of the ABS system are
exploited under these circumstances.
Do not reduce the pressure on the
brake pedal for the duration of the
brake application. When the brake
pedal is released, the DBC is deacti-
vated.
Flat Tire MonitorThe conceptAs you drive, the Flat Tire Monitor
keeps track of pressure levels in all four
tires. The system detects whenever the
inflation pressure in a tire drops off sig-
nificantly.
Controlling the tire pressure is based
on monitoring the rpm that the tires
have relative to each other. A flat tire is
detected and reported because the rpm
suddenly deviate drastically from one
another.
Dynamic Stability Control (DSC)
handbook.book Page 88 Tuesday, July 30, 2002 9:28 AM
Page 89 of 166

89
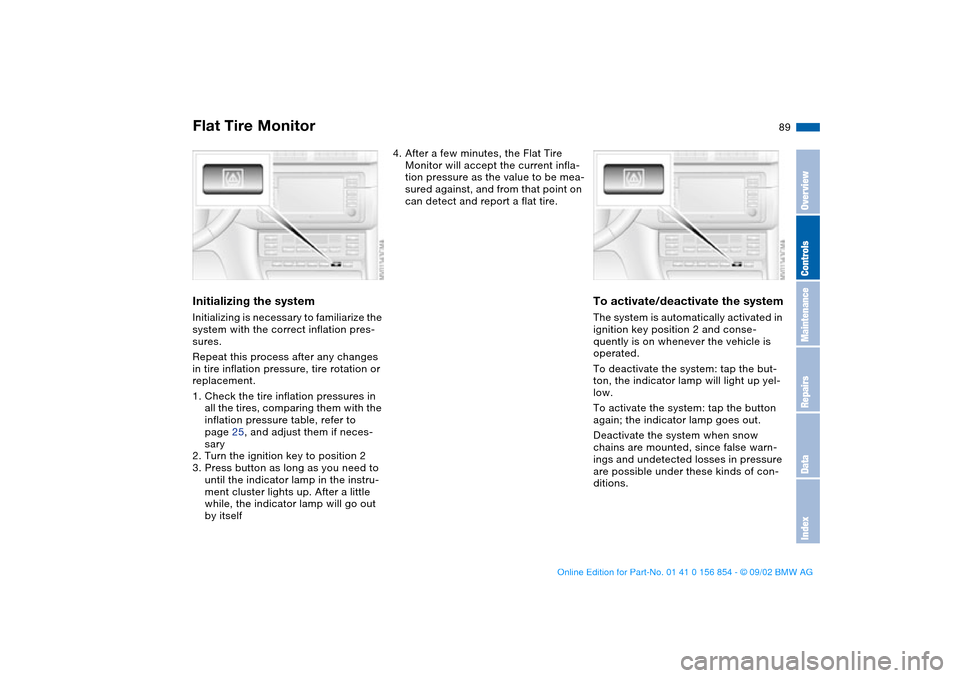
Initializing the systemInitializing is necessary to familiarize the
system with the correct inflation pres-
sures.
Repeat this process after any changes
in tire inflation pressure, tire rotation or
replacement.
1. Check the tire inflation pressures in
all the tires, comparing them with the
inflation pressure table, refer to
page 25, and adjust them if neces-
sary
2. Turn the ignition key to position 2
3. Press button as long as you need to
until the indicator lamp in the instru-
ment cluster lights up. After a little
while, the indicator lamp will go out
by itself
4. After a few minutes, the Flat Tire
Monitor will accept the current infla-
tion pressure as the value to be mea-
sured against, and from that point on
can detect and report a flat tire.
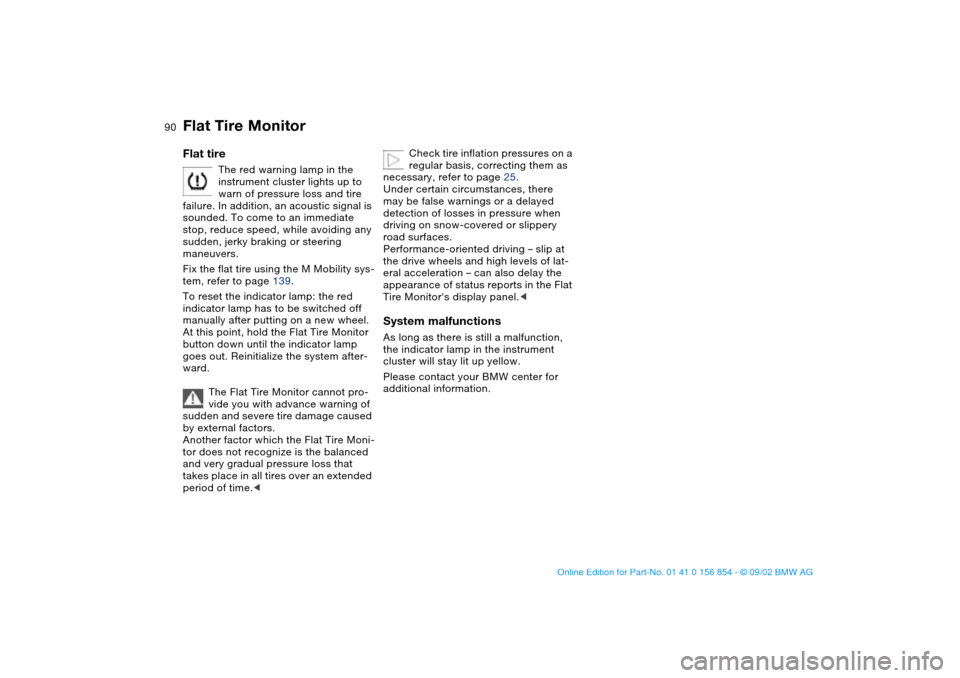
To activate/deactivate the systemThe system is automatically activated in
ignition key position 2 and conse-
quently is on whenever the vehicle is
operated.
To deactivate the system: tap the but-
ton, the indicator lamp will light up yel-
low.
To activate the system: tap the button
again; the indicator lamp goes out.
Deactivate the system when snow
chains are mounted, since false warn-
ings and undetected losses in pressure
are possible under these kinds of con-
ditions.
Flat Tire Monitor
OverviewControlsMaintenanceRepairsDataIndex
handbook.book Page 89 Tuesday, July 30, 2002 9:28 AM
Page 90 of 166

90
Flat tire
The red warning lamp in the
instrument cluster lights up to
warn of pressure loss and tire
failure. In addition, an acoustic signal is
sounded. To come to an immediate
stop, reduce speed, while avoiding any
sudden, jerky braking or steering
maneuvers.
Fix the flat tire using the M Mobility sys-
tem, refer to page 139.
To reset the indicator lamp: the red
indicator lamp has to be switched off
manually after putting on a new wheel.
At this point, hold the Flat Tire Monitor
button down until the indicator lamp
goes out. Reinitialize the system after-
ward.
The Flat Tire Monitor cannot pro-
vide you with advance warning of
sudden and severe tire damage caused
by external factors.
Another factor which the Flat Tire Moni-
tor does not recognize is the balanced
and very gradual pressure loss that
takes place in all tires over an extended
period of time.<
Check tire inflation pressures on a
regular basis, correcting them as
necessary, refer to page 25.
Under certain circumstances, there
may be false warnings or a delayed
detection of losses in pressure when
driving on snow-covered or slippery
road surfaces.
Performance-oriented driving – slip at
the drive wheels and high levels of lat-
eral acceleration – can also delay the
appearance of status reports in the Flat
Tire Monitor's display panel.<
System malfunctionsAs long as there is still a malfunction,
the indicator lamp in the instrument
cluster will stay lit up yellow.
Please contact your BMW center for
additional information.
Flat Tire Monitor
handbook.book Page 90 Tuesday, July 30, 2002 9:28 AM