2003 BMW 760LI SEDAN steering
[x] Cancel search: steeringPage 71 of 229
At a glance
Controls
Driving tips
Communications
Navigation
Entertainment
Mobility
Reference
69
Deactivate the L mode to obtain max-
imum acceleration for overtaking
maneuvers, etc.<
Deactivating the L mode
>Press the L/D button or
>press the selector lever into position D
once again.
Automatic transmission
with Steptronic*
While you can drive as with any conven-
tional automatic transmission, you also
enjoy the option of shifting manually at the
steering wheel, refer to the next column.
Transmission ranges
P R N D
Program display
S or M1 Ð M6
Buttons on steering wheel
S/M/D + Ð
Selecting a transmission range
The procedure for selecting transmission
ranges is the same as that employed in the
L mode, refer to page 67.
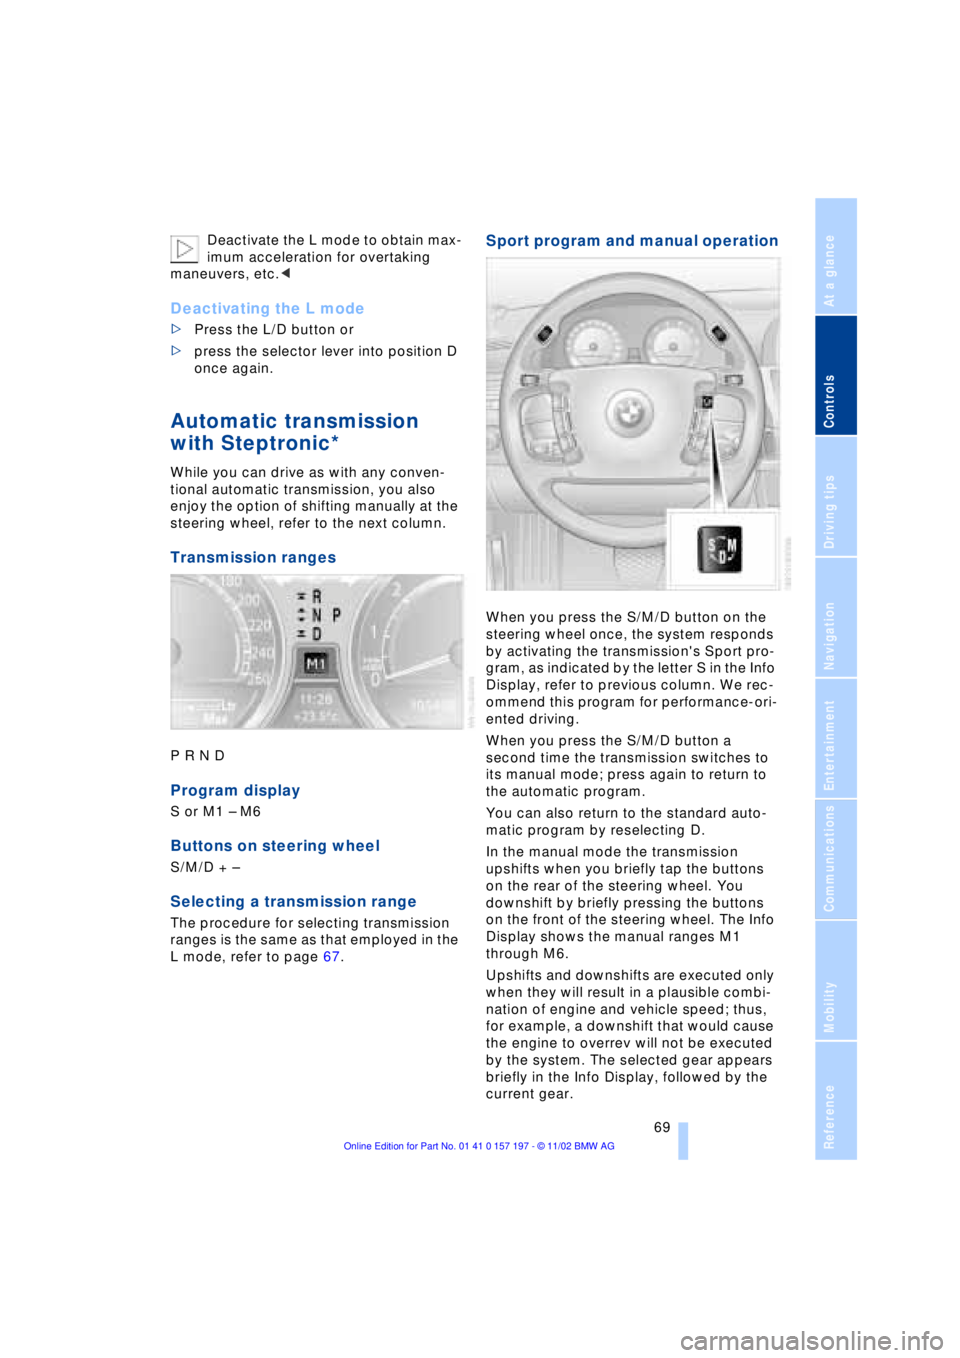
Sport program and manual operation
When you press the S/M/D button on the
steering wheel once, the system responds
by activating the transmission's Sport pro-
gram, as indicated by the letter S in the Info
Display, refer to previous column. We rec-
ommend this program for performance-ori-
ented driving.
When you press the S/M/D button a
second time the transmission switches to
its manual mode; press again to return to
the automatic program.
You can also return to the standard auto-
matic program by reselecting D.
In the manual mode the transmission
upshifts when you briefly tap the buttons
on the rear of the steering wheel. You
downshift by briefly pressing the buttons
on the front of the steering wheel. The Info
Display shows the manual ranges M1
through M6.
Upshifts and downshifts are executed only
when they will result in a plausible combi-
nation of engine and vehicle speed; thus,
for example, a downshift that would cause
the engine to overrev will not be executed
by the system. The selected gear appears
briefly in the Info Display, followed by the
current gear.
Page 75 of 229
At a glance
Controls
Driving tips
Communications
Navigation
Entertainment
Mobility
Reference
73
Selecting wiper fold-out position
Important for changing wiper blades, when
folding away from windshield to prevent
blades from sticking when ice forms, etc.
1.Switch off the engine and remove the
remote control unit from the ignition
lock
2.Press the wiper lever up and maintain
pressure for about 3 seconds until the
wipers are roughly vertical Ð this is the
fold-out position.
After folding the wipers back against the
windshield you will need to reactivate the
wiper system:
1.Insert the remote control unit to activate
the radio mode in the ignition lock
2.Apply brief upward pressure to the
wiper lever. The wipers return to their
retracted position and are ready for
normal operation.
To prevent damage to the wipers,
always fold them back against the
windshield before switching on either the
radio mode or the ignition.<
Washer fluid
Windshield and headlamp washer
system
Capacity: 6.3 US quarts (6 liters).
Fill with water and Ð if required Ð with a
washer antifreeze, according to manufac-
turer's recommendations.
We recommend that you mix the
washer fluid before adding it to the
reservoir.< Washer fluid antifreeze is flammable.
Always keep it well away from sparks
and open flames, and store it in tightly
closed containers well out of the reach of
children. Always observe the instructions
for use provided on the container.<
Programmable cruise
control
The concept
The programmable cruise control is avail-
able for use at speeds of approx. 20 mph
(30 km/h) and higher. The vehicle maintains
and stores the speed that you set using the
lever mounted on the steering column.
You can also use the multilevel preset
mode to store 6 desired speeds for later
selection with the lever on the steering
column, refer to page 75.
This feature assists you in quickly adapting
the vehicle speed to specific road condi-
tions, e.g. changes in speeds limits.
Do not use the cruise control when
driving on winding roads, in case of
heavy traffic or poor road conditions Ð
snow, rain, ice, loose road surface Ð that do
not permit a constant speed.<
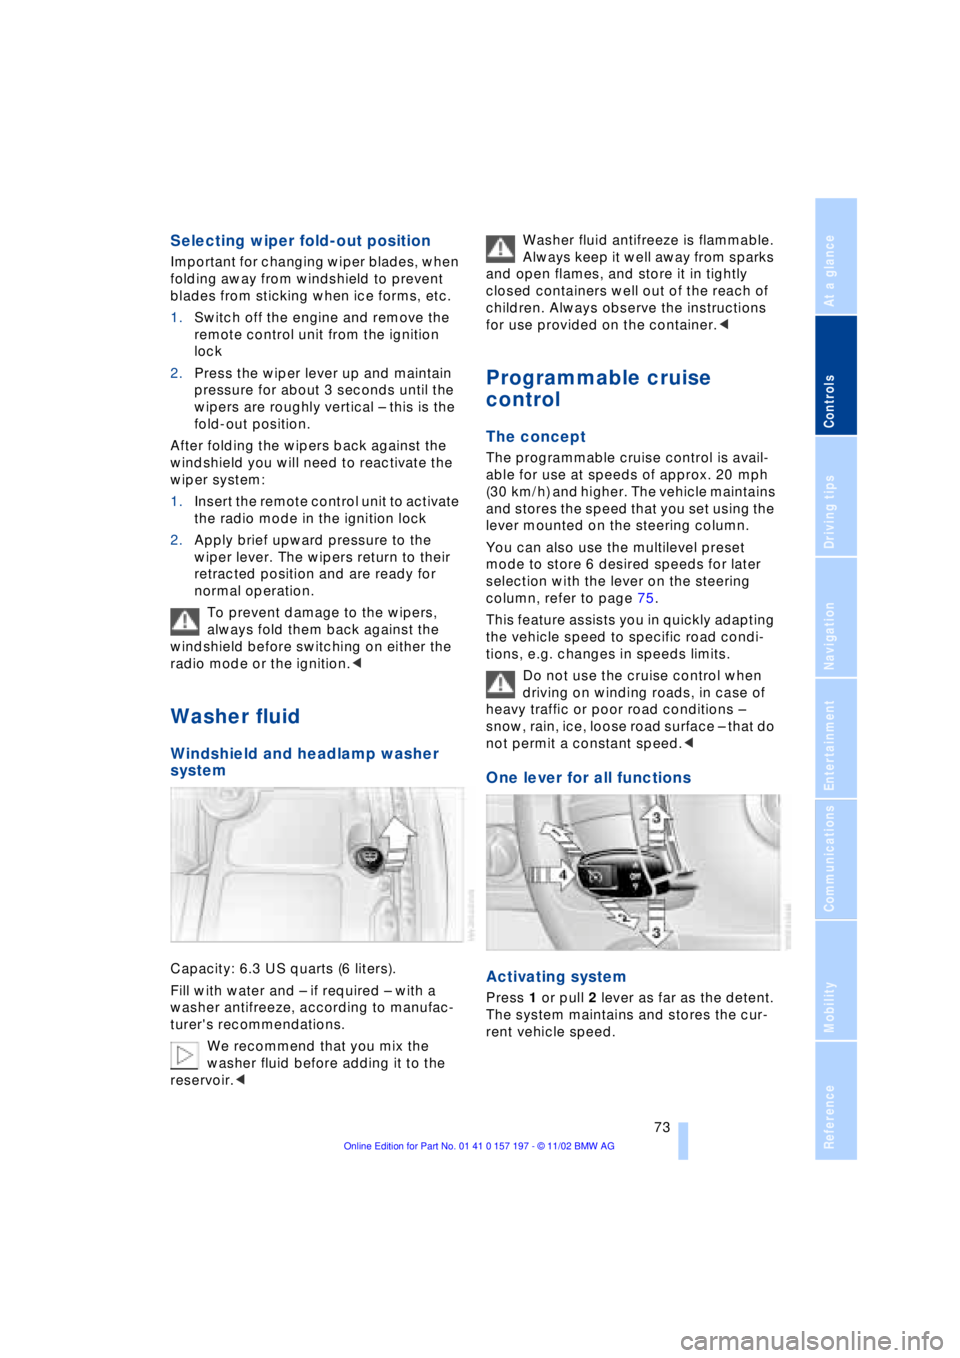
One lever for all functions
Activating system
Press 1 or pull 2 lever as far as the detent.
The system maintains and stores the cur-
rent vehicle speed.
Page 98 of 229
Technology for comfort, convenience and safety
96 To maintain optimal stability, drive
with the system on whenever pos-
sible.<
Reactivating DSC
Select "Settings". Select "DSC" and con-
firm your entry. DSC is now activated. The
indicator lamp in the Info Display goes out.
The laws of physics cannot be
repealed, even with DSC. An approp-
riate driving style always remains the
responsibility of the driver. Avoid using the
additional safety margin provided by the
system as an excuse for taking unneces-
sary risks.
When DTC is active, DSC provides only
limited system response up to a speed of
approximately 45 mph (70 km/h). Interven-
tion for stability-enhancement is reduced.
Do not make any modifications to the DSC
system. Never allow anyone other than
authorized professional technicians to
carry out service or repairs on the DSC
system.<
DBC Dynamic Brake Control
When you apply the brakes rapidly, this
system automatically produces the max-
imum braking force boost and thus helps to
achieve the shortest possible braking dis-
tance during panic stops. This system
exploits all of the benefits provided by ABS.
Do not reduce the pressure on the brake
pedal for the duration of the brake applica-
tion. When the brake pedal is released, the
DBC is deactivated.
In the event of a malfunction, the
warning lamp comes on with a
yellow light. Have the system
checked and repaired at your BMW center
as soon as possible.
Check Control messages, refer to page 85.
Please note the supplementary information
provided in the Control Display.
Warning lamp on Canadian models.
Driving stability control/
ABS Antilock Braking
System
The concept
ABS enhances active safety by preventing
the wheels from locking under braking.
ABS incorporates CBC and EBV.
In case of malfunction
If the indicator lamp lights up in
yellow, this indicates that ABS has
been deactivated in response to a
system malfunction. Conventional braking
efficiency remains available without limita-
tions. Please have the system inspected at
your BMW center.
CBC Cornering Brake Control
CBC is a technical advance based on ABS.
It provides further enhancements in vehicle
stability and steering response during lane
changes and cornering at high rates of lat-
eral acceleration.
EBV Electronic brake-force
distribution
EBV controls the brake system's applica-
tion pressure at the rear wheels to ensure
stable deceleration.
In case of malfunction
If the brake system warning lamp
lights up in red, appearing together
with the yellow indicator lamps for
ABS and DSC: the stability control
is no longer operational.
If all three lamps light up in yellow:
malfunction in the stability control
systems.
While you may continue, you should
remember to proceed cautiously and drive
defensively while avoiding full brake appli-
cations.
Please have the system checked at the
nearest BMW center.
Page 99 of 229
At a glance
Controls
Driving tips
Communications
Navigation
Entertainment
Mobility
Reference
97
Check Control messages, refer to page 85.
Please note the supplementary information
provided in the Control Display.
Indicator and warning lamps on
Canadian models.
Dynamic Drive
The concept
Dynamic Drive minimizes body roll and
optimizes vehicle stability during cornering
and evasive maneuvers.
Active stabilizers at the front and rear axles
form the basis for Dynamic Drive. Suspen-
sion compliance adapts to suit driving con-
ditions, varying from performance-oriented
during cornering to smooth and comfort-
oriented when the vehicle is proceeding in
a straight line.
The system assumes operational status
each time you start the engine.
Driving with Dynamic Drive
During vehicle operation, the system con-
tinuously runs through closed-loop control
cycles lasting only fractions of a second.
In case of malfunction
The symbol will light up, accompa-
nied by a status message in the
Check Control. Please take note of
the additional information in the Control
Display.
You can find more detailed information on
the Check Control starting on page 85.
If the Dynamic Drive system switches
off in response to malfunction, please
remember to adapt your speed accord-
ingly, especially in curves.
The suspension will be noticeably softer
and the vehicle will display a greater ten-dency to tilt during cornering and in cross-
winds.
If a Check Control message stating that
you should stop appears in addition to the
red symbol, stop immediately and switch
off the engine. In this case the oil level in
the reservoir may have dropped below the
minimum, possibly owing to a leak in the
hydraulic system.
Please observe the additional instructions
provided in the Control Display.<
EDC Electronic Damping
Control*
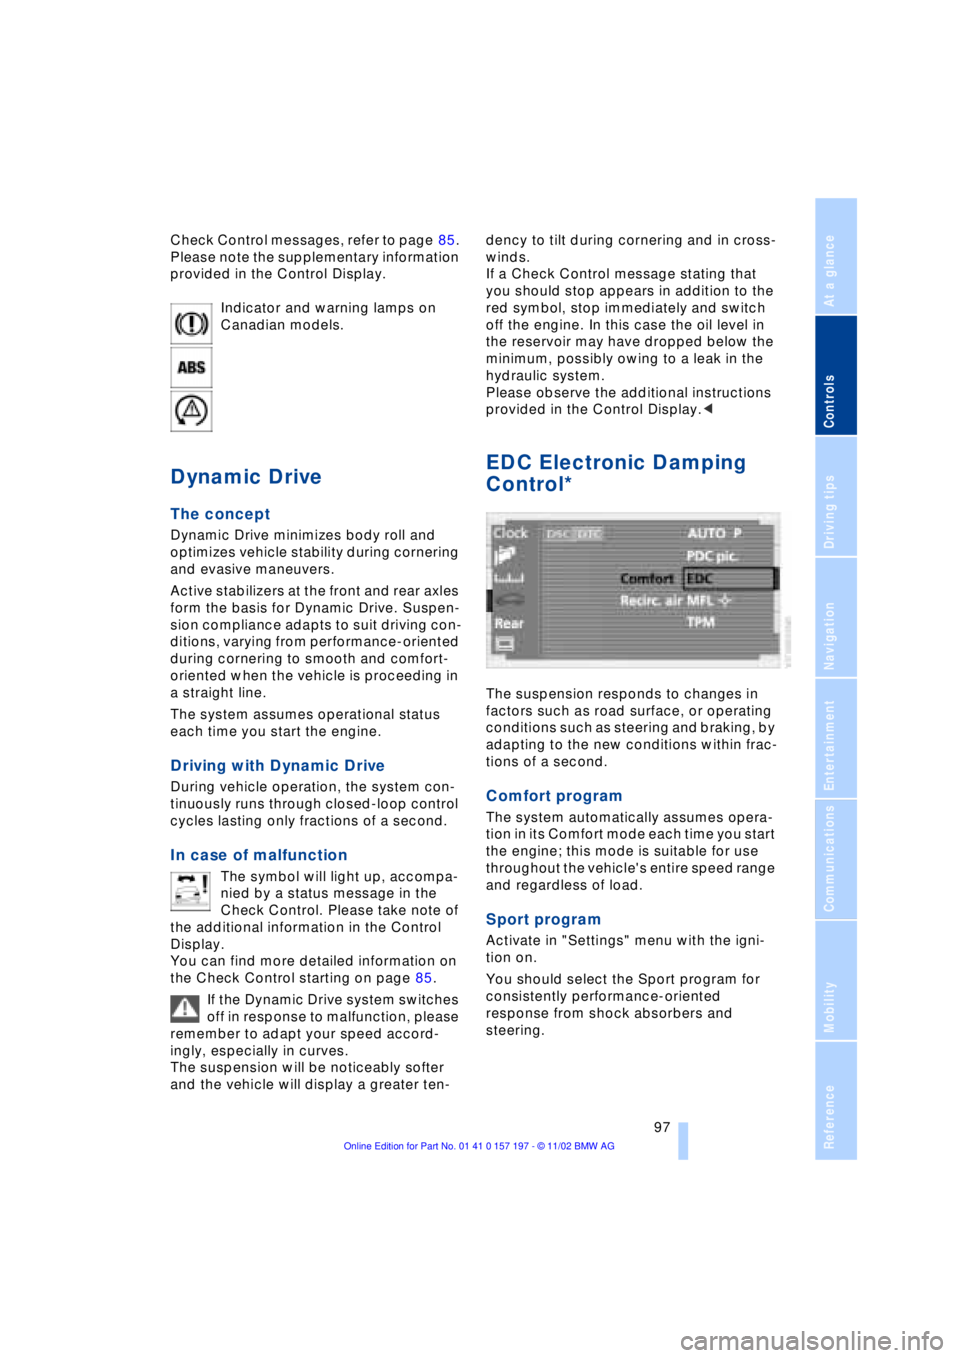
The suspension responds to changes in
factors such as road surface, or operating
conditions such as steering and braking, by
adapting to the new conditions within frac-
tions of a second.
Comfort program
The system automatically assumes opera-
tion in its Comfort mode each time you start
the engine; this mode is suitable for use
throughout the vehicle's entire speed range
and regardless of load.
Sport program
Activate in "Settings" menu with the igni-
tion on.
You should select the Sport program for
consistently performance-oriented
response from shock absorbers and
steering.
Page 100 of 229
Technology for comfort, convenience and safety
98
Flat Tire Monitor*
The concept
The Flat Tire Monitor keeps track of the
inflation pressures in your tires as you
drive. The system provides an alert when-
ever the inflation pressure drops signifi-
cantly below the specified pressure in one
or more tires.
In order for the Flat Tire Monitor to 'learn'
the correct tire inflation pressure, check the
inflation pressure in all tires against the
inflation pressure table on page 185 and
make corrections as necessary. Then pro-
ceed to initialize the system.
This symbol will appear in the
Check Control to inform you that
the inflation pressure of a tire has
fallen significantly. A text message appears
at the same time.
Please take note of the additional informa-
tion in the Control Display.
You can find more information on the
Check Control starting on page 85.
The Flat Tire Monitor cannot indicate
sudden severe tire damage caused
by outside factors and does not detect a
natural, even pressure drop in all four
tires.<
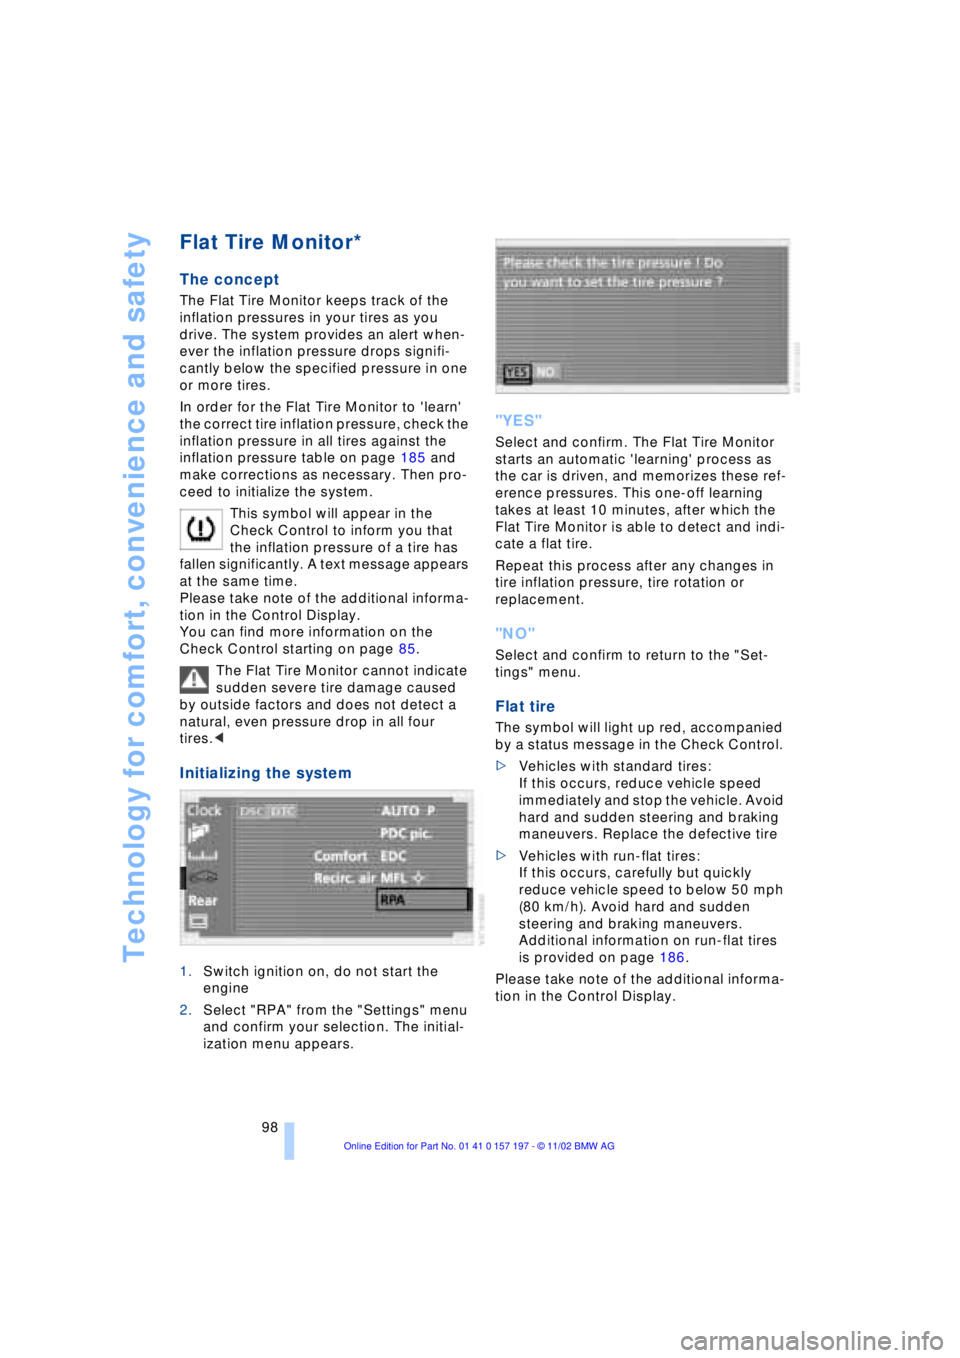
Initializing the system
1.Switch ignition on, do not start the
engine
2.Select "RPA" from the "Settings" menu
and confirm your selection. The initial-
ization menu appears.
"YES"
Select and confirm. The Flat Tire Monitor
starts an automatic 'learning' process as
the car is driven, and memorizes these ref-
erence pressures. This one-off learning
takes at least 10 minutes, after which the
Flat Tire Monitor is able to detect and indi-
cate a flat tire.
Repeat this process after any changes in
tire inflation pressure, tire rotation or
replacement.
"NO"
Select and confirm to return to the "Set-
tings" menu.
Flat tire
The symbol will light up red, accompanied
by a status message in the Check Control.
>Vehicles with standard tires:
If this occurs, reduce vehicle speed
immediately and stop the vehicle. Avoid
hard and sudden steering and braking
maneuvers. Replace the defective tire
>Vehicles with run-flat tires:
If this occurs, carefully but quickly
reduce vehicle speed to below 50 mph
(80 km/h). Avoid hard and sudden
steering and braking maneuvers.
Additional information on run-flat tires
is provided on page 186.
Please take note of the additional informa-
tion in the Control Display.
Page 102 of 229
Technology for comfort, convenience and safety
100
Do not start the initialization
Select and confirm to return to the
"Settings" menu.
Status indicators in the Control
Display
The status of the system is indicated by the
color of the tires.
TPM takes into account that the tire pres-
sure changes during driving. A correction is
only required when the TPM requests that
the driver takes action by changing the
color.
Green
Tire inflation pressures correspond to the
initialized level.
Yellow
The inflation pressures in the tires have
fallen to below the specified level, which is
normal in every tire after a certain amount
of time.
This alerts you to have the tires inflated to
the specified pressures as soon as pos-
sible.
Red
Pressure loss in indicated tire.
If this occurs, reduce vehicle speed imme-
diately and stop the vehicle. Avoid hard
and sudden steering and braking maneu-
vers.
Black
The system is being initialized.
The system needs several minutes to com-
plete the initialization process, after which
it is ready to detect and report tire prob-
lems.
In the event of loss in tire pressure
If the indicator lamp symbol in the Check
Control lights up in yellow, and a message
also appears, this indicates that the infla-
tion pressures in the tires have fallen to
below the specified level, which is normal
in every tire after a certain amount of time. This alerts you to have the tires inflated to
the specified pressures as soon as pos-
sible.
Please take note of the additional informa-
tion in the Control Display.
If you are prompted to check the tire
pressure shortly after a correction has
been made, this indicates that the cor-
rected values were not accurate. Please
check the inflation pressure again and
make corrections according to the inflation
pressure table. Then reinitialize the
system.<
Flat tire
If you have a flat tire, the indicator lamp
symbol in the Check Control will light up in
red, and a message will appear. In addition,
a gong sounds.
>Vehicles with standard tires:
If this occurs, reduce vehicle speed
immediately and stop the vehicle. Avoid
hard and sudden steering and braking
maneuvers. Replace the defective tire
>Vehicles with run-flat tires:
If this occurs, carefully but quickly
reduce vehicle speed to below 50 mph
(80 km/h). Avoid hard and sudden
steering and braking maneuvers.
Additional information on run-flat tires
is provided on page 186.
The spare tire provided with your
vehicle is equipped with the elec-
tronics required to support TPM operation;
once the spare is installed, the pressure in
this tire will also be monitored following
system initialization.
Have the tires changed at your BMW
center.
Your BMW center has the information
needed for working with TPM and is
equipped with the necessary special
tools.<
System malfunctions
Other equipment operating on the same
radio frequency as TPM can generate inter-
ference signals that may prevent the
system from operating as intended.
Page 127 of 229
At a glance
Controls
Driving tips
Communications
Navigation
Entertainment
Mobility
Reference
125
undermining your ability to steer and brake
the vehicle.<
Driving through water
Do not drive through water on the
road if it is deeper than 1 ft (30 cm),
and then only at walking speed at the most.
Otherwise, the vehicle's engine, the elec-
trical systems and the transmission may be
damaged.<
Brake system
Braking with ABS
The best way to achieve optimal response
from the ABS is to apply maximum pres-
sure to the brake pedal during emergencyÐ
panic stops. Since the vehicle maintains
steering responsiveness, you can never-
theless avoid possible obstacles with a
minimum of steering effort.
Pulsation at the brake pedal combines with
sounds from the hydraulic circuits to indi-
cate to the driver that ABS is in its active
mode.
Do not drive with your foot resting on
the brake pedal. Even light but con-
sistent pedal pressure can lead to high
temperatures, brake wear and possibly
even brake failure.<
Disc brakes
Driving in wet conditions
While driving in wet conditions and in
heavy rain, it is a good idea to apply light
pressure to the brake pedal every few
miles. Monitor traffic conditions to ensure
that this maneuver does not endanger
other road users. The heat generated in this
process helps dry the pads and rotors to
ensure that full braking efficiency will then
be available when you need it.
Hills
You can retain full and unimpaired braking
efficiency by downshifting to a gear in
which only minimal brake applications are
needed when descending long or steep
downhill stretches.
You can further enhance the engine's bra-
king effect by selecting a lower gear in the
automatic transmission's manual mode,
downshifting as far as first gear on extre-
mely steep stretches, refer to page 68. This
strategy helps you avoid placing excessive
loads on the brake system.
Never allow the vehicle to coast with
the transmission in Neutral Ð or with
the engine switched off Ð there is no engine
braking when the transmission is in Neu-
tral, and no power-assist for brakes and
steering when the engine is not running.
Never allow floor mats, carpets or any other
objects to protrude into the area around the
accelerator and brake pedals and obstruct
their movement.<
Corrosion
When the vehicle is driven only occasio-
nally, during extended periods when the
vehicle is not used at all, and in operating
conditions where brake applications are
less frequent, there is an increased ten-
dency for corrosion to form on rotors, while
contaminants accumulate on the brake
pads. This occurs because the minimal
pressure which must be exerted by the
pads during brake applications to clean the
rotors is not reached.
Should corrosion form on the brake rotors,
the brakes will tend to respond with a pul-
sating effect that even extended applica-
tion will fail to cure.
Brake pads
If the brake pad wear warning lamp
appears in the Check Control,
accompanied by a text: please take
careful note of the additional information in
the Control Display.
Page 129 of 229
At a glance
Controls
Driving tips
Communications
Navigation
Entertainment
Mobility
Reference
127
Roof-mounted luggage
rack*
Anchorage points
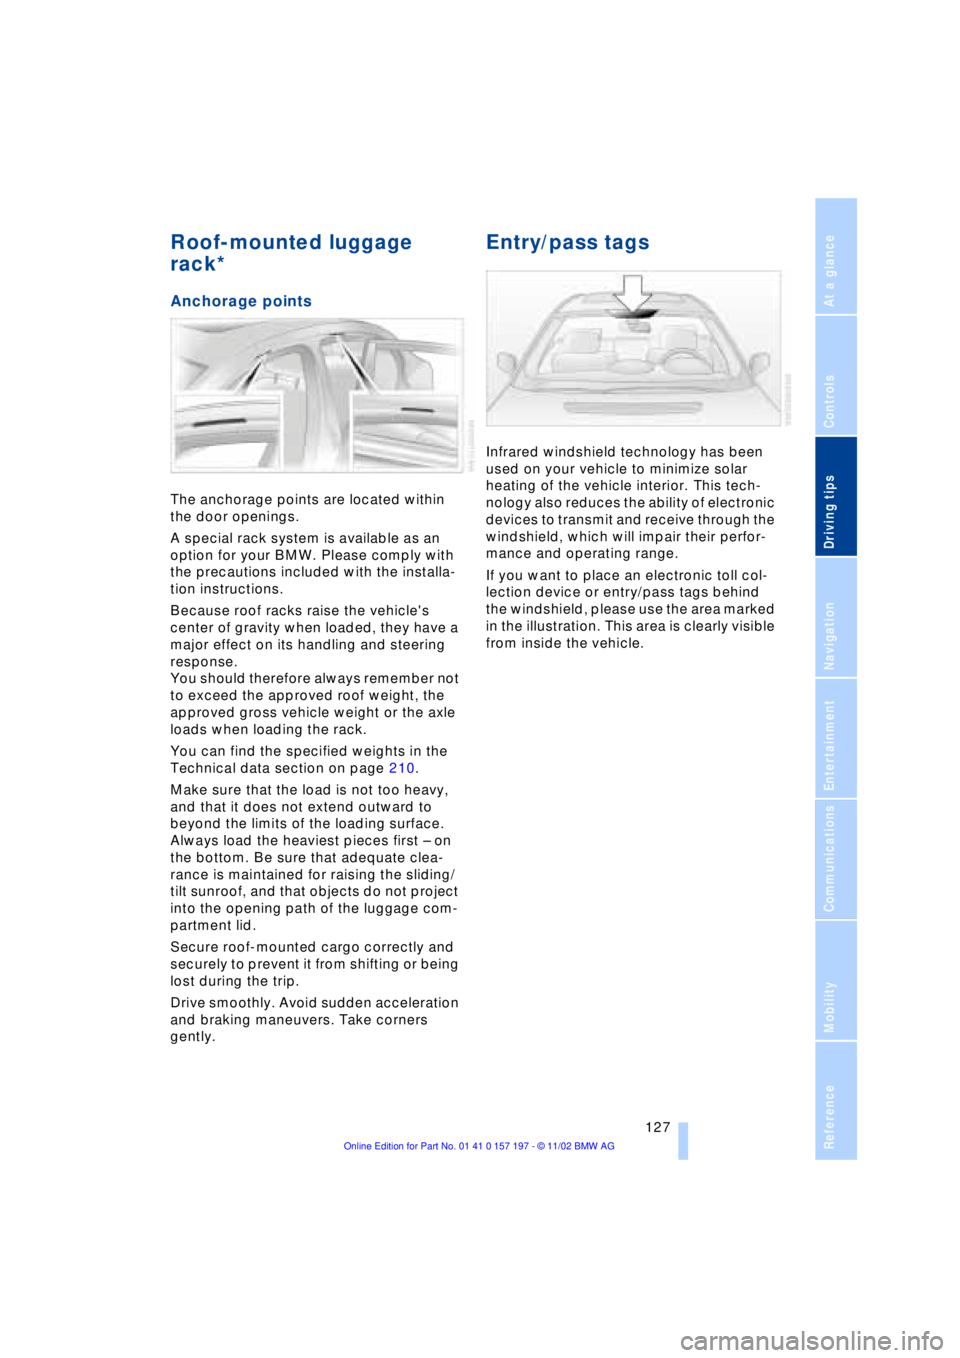
The anchorage points are located within
the door openings.
A special rack system is available as an
option for your BMW. Please comply with
the precautions included with the installa-
tion instructions.
Because roof racks raise the vehicle's
center of gravity when loaded, they have a
major effect on its handling and steering
response.
You should therefore always remember not
to exceed the approved roof weight, the
approved gross vehicle weight or the axle
loads when loading the rack.
You can find the specified weights in the
Technical data section on page 210.
Make sure that the load is not too heavy,
and that it does not extend outward to
beyond the limits of the loading surface.
Always load the heaviest pieces first Ð on
the bottom. Be sure that adequate clea-
rance is maintained for raising the sliding/
tilt sunroof, and that objects do not project
into the opening path of the luggage com-
partment lid.
Secure roof-mounted cargo correctly and
securely to prevent it from shifting or being
lost during the trip.
Drive smoothly. Avoid sudden acceleration
and braking maneuvers. Take corners
gently.
Entry/pass tags
Infrared windshield technology has been
used on your vehicle to minimize solar
heating of the vehicle interior. This tech-
nology also reduces the ability of electronic
devices to transmit and receive through the
windshield, which will impair their perfor-
mance and operating range.
If you want to place an electronic toll col-
lection device or entry/pass tags behind
the windshield, please use the area marked
in the illustration. This area is clearly visible
from inside the vehicle.