Page 97 of 229
At a glance
Controls
Driving tips
Communications
Navigation
Entertainment
Mobility
Reference
95
difficult driving conditions, such as on
snow, etc.
Indicator lamps
The indicator lamp in the Info Dis-
play goes out soon after you start
the engine.
If the indicator lamp flashes:
DSC controls the drive and braking forces.
The indicator lamp stays lit:
DSC has been switched off via the Control
Display.
The indicator lamp and the brake
warning lamp remain on continu-
ously:
DSC, DTC and DBC have been
deactivated or a system malfunc-
tion is present.
When the system is off, the stability main-
tenance functions described above are no
longer available. The vehicle will remain
completely operational, however, without
DSC.
Please respond to any malfunctions by
referring the problem to your BMW center.
Indicator and warning lamps on
Canadian models.
Activating DTC Dynamic Traction
Control
You may find it useful to briefly activate
DTC under the following special circum-
stances: >When rocking the vehicle and starting
off in deep snow or on loose road sur-
faces
>When ascending snow-covered hills,
and when driving in deep or on hard-
packed snow
>When driving with snow chains.
Select "Settings". Select "DTC" and con-
firm your entry. DTC is now activated. The
DTC indicator lamp in the Info Display
lights up.
When DTC is active, DSC provides
only limited system response up to a
speed of approximately 45 mph (70 km/h).
Control intervention to maintain stability is
reduced.<
Deactivating DTC
Select "Settings". Select "DTC" and con-
firm your entry. DTC is now deactivated.
The DTC indicator lamp in the Info Display
goes out.
Deactivating DSC
Select "Settings". Select "DSC" and con-
firm your entry. DSC is deactivated. The
indicator lamp in the Info Display remains
on continuously.
Deactivating DSC automatically deacti-
vates DTC as well. The systems for
enhancing stability and traction are deacti-
vated, and there is no active braking inter-
vention or torque control.
A status report appears in the Check Con-
trol. Please take note of the additional
information in the Control Display.
Page 98 of 229
Technology for comfort, convenience and safety
96 To maintain optimal stability, drive
with the system on whenever pos-
sible.<
Reactivating DSC
Select "Settings". Select "DSC" and con-
firm your entry. DSC is now activated. The
indicator lamp in the Info Display goes out.
The laws of physics cannot be
repealed, even with DSC. An approp-
riate driving style always remains the
responsibility of the driver. Avoid using the
additional safety margin provided by the
system as an excuse for taking unneces-
sary risks.
When DTC is active, DSC provides only
limited system response up to a speed of
approximately 45 mph (70 km/h). Interven-
tion for stability-enhancement is reduced.
Do not make any modifications to the DSC
system. Never allow anyone other than
authorized professional technicians to
carry out service or repairs on the DSC
system.<
DBC Dynamic Brake Control
When you apply the brakes rapidly, this
system automatically produces the max-
imum braking force boost and thus helps to
achieve the shortest possible braking dis-
tance during panic stops. This system
exploits all of the benefits provided by ABS.
Do not reduce the pressure on the brake
pedal for the duration of the brake applica-
tion. When the brake pedal is released, the
DBC is deactivated.
In the event of a malfunction, the
warning lamp comes on with a
yellow light. Have the system
checked and repaired at your BMW center
as soon as possible.
Check Control messages, refer to page 85.
Please note the supplementary information
provided in the Control Display.
Warning lamp on Canadian models.
Driving stability control/
ABS Antilock Braking
System
The concept
ABS enhances active safety by preventing
the wheels from locking under braking.
ABS incorporates CBC and EBV.
In case of malfunction
If the indicator lamp lights up in
yellow, this indicates that ABS has
been deactivated in response to a
system malfunction. Conventional braking
efficiency remains available without limita-
tions. Please have the system inspected at
your BMW center.
CBC Cornering Brake Control
CBC is a technical advance based on ABS.
It provides further enhancements in vehicle
stability and steering response during lane
changes and cornering at high rates of lat-
eral acceleration.
EBV Electronic brake-force
distribution
EBV controls the brake system's applica-
tion pressure at the rear wheels to ensure
stable deceleration.
In case of malfunction
If the brake system warning lamp
lights up in red, appearing together
with the yellow indicator lamps for
ABS and DSC: the stability control
is no longer operational.
If all three lamps light up in yellow:
malfunction in the stability control
systems.
While you may continue, you should
remember to proceed cautiously and drive
defensively while avoiding full brake appli-
cations.
Please have the system checked at the
nearest BMW center.
Page 99 of 229
At a glance
Controls
Driving tips
Communications
Navigation
Entertainment
Mobility
Reference
97
Check Control messages, refer to page 85.
Please note the supplementary information
provided in the Control Display.
Indicator and warning lamps on
Canadian models.
Dynamic Drive
The concept
Dynamic Drive minimizes body roll and
optimizes vehicle stability during cornering
and evasive maneuvers.
Active stabilizers at the front and rear axles
form the basis for Dynamic Drive. Suspen-
sion compliance adapts to suit driving con-
ditions, varying from performance-oriented
during cornering to smooth and comfort-
oriented when the vehicle is proceeding in
a straight line.
The system assumes operational status
each time you start the engine.
Driving with Dynamic Drive
During vehicle operation, the system con-
tinuously runs through closed-loop control
cycles lasting only fractions of a second.
In case of malfunction
The symbol will light up, accompa-
nied by a status message in the
Check Control. Please take note of
the additional information in the Control
Display.
You can find more detailed information on
the Check Control starting on page 85.
If the Dynamic Drive system switches
off in response to malfunction, please
remember to adapt your speed accord-
ingly, especially in curves.
The suspension will be noticeably softer
and the vehicle will display a greater ten-dency to tilt during cornering and in cross-
winds.
If a Check Control message stating that
you should stop appears in addition to the
red symbol, stop immediately and switch
off the engine. In this case the oil level in
the reservoir may have dropped below the
minimum, possibly owing to a leak in the
hydraulic system.
Please observe the additional instructions
provided in the Control Display.<
EDC Electronic Damping
Control*
The suspension responds to changes in
factors such as road surface, or operating
conditions such as steering and braking, by
adapting to the new conditions within frac-
tions of a second.
Comfort program
The system automatically assumes opera-
tion in its Comfort mode each time you start
the engine; this mode is suitable for use
throughout the vehicle's entire speed range
and regardless of load.
Sport program
Activate in "Settings" menu with the igni-
tion on.
You should select the Sport program for
consistently performance-oriented
response from shock absorbers and
steering.
Page 100 of 229
Technology for comfort, convenience and safety
98
Flat Tire Monitor*
The concept
The Flat Tire Monitor keeps track of the
inflation pressures in your tires as you
drive. The system provides an alert when-
ever the inflation pressure drops signifi-
cantly below the specified pressure in one
or more tires.
In order for the Flat Tire Monitor to 'learn'
the correct tire inflation pressure, check the
inflation pressure in all tires against the
inflation pressure table on page 185 and
make corrections as necessary. Then pro-
ceed to initialize the system.
This symbol will appear in the
Check Control to inform you that
the inflation pressure of a tire has
fallen significantly. A text message appears
at the same time.
Please take note of the additional informa-
tion in the Control Display.
You can find more information on the
Check Control starting on page 85.
The Flat Tire Monitor cannot indicate
sudden severe tire damage caused
by outside factors and does not detect a
natural, even pressure drop in all four
tires.<
Initializing the system
1.Switch ignition on, do not start the
engine
2.Select "RPA" from the "Settings" menu
and confirm your selection. The initial-
ization menu appears.
"YES"
Select and confirm. The Flat Tire Monitor
starts an automatic 'learning' process as
the car is driven, and memorizes these ref-
erence pressures. This one-off learning
takes at least 10 minutes, after which the
Flat Tire Monitor is able to detect and indi-
cate a flat tire.
Repeat this process after any changes in
tire inflation pressure, tire rotation or
replacement.
"NO"
Select and confirm to return to the "Set-
tings" menu.
Flat tire
The symbol will light up red, accompanied
by a status message in the Check Control.
>Vehicles with standard tires:
If this occurs, reduce vehicle speed
immediately and stop the vehicle. Avoid
hard and sudden steering and braking
maneuvers. Replace the defective tire
>Vehicles with run-flat tires:
If this occurs, carefully but quickly
reduce vehicle speed to below 50 mph
(80 km/h). Avoid hard and sudden
steering and braking maneuvers.
Additional information on run-flat tires
is provided on page 186.
Please take note of the additional informa-
tion in the Control Display.
Page 101 of 229
At a glance
Controls
Driving tips
Communications
Navigation
Entertainment
Mobility
Reference
99
Check the tire inflation pressure regu-
larly and correct it if necessary, refer
to page 185.
Do not initialize the system when snow
chains are fitted. False alarms and unde-
tected loss of pressure may occur in such
situations.
When driving on snow-covered or slippery
surfaces, it may take some time for a loss of
tire pressure to be indicated.
A sports driving style Ð spinning of the
driven wheels, high lateral accelerations Ð
can likewise result in a delayed response
from the Flat Tire Monitor.<
System malfunctions
The symbol will appear in yellow in the
Check Control and a message will appear.
Please refer to the additional information
supplied in the Control Display, and have
the system inspected at your BMW center.
TPM Tire Pressure Monitor*
The concept
TPM monitors inflation pressures in all four
tires while you drive. The system provides
an alert whenever the inflation pressure
drops significantly below the specified
pressure in one or more tires.
To initialize TPM, start by checking the
inflation pressures in all four tires and com-
paring them with those specified in the
table on page 185, correcting them as nec-
essary.Then proceed to initialize the
system.
This symbol will appear in the
Check Control to inform you when
the inflation pressure varies from
that stored in the system. A text message
appears at the same time.
Please take note of the additional informa-
tion in the Control Display.
You can find more information on the
Check Control starting on page 85.
The TPM cannot alert you to severe
and sudden tire damage caused by
external factors.<
Initializing the system
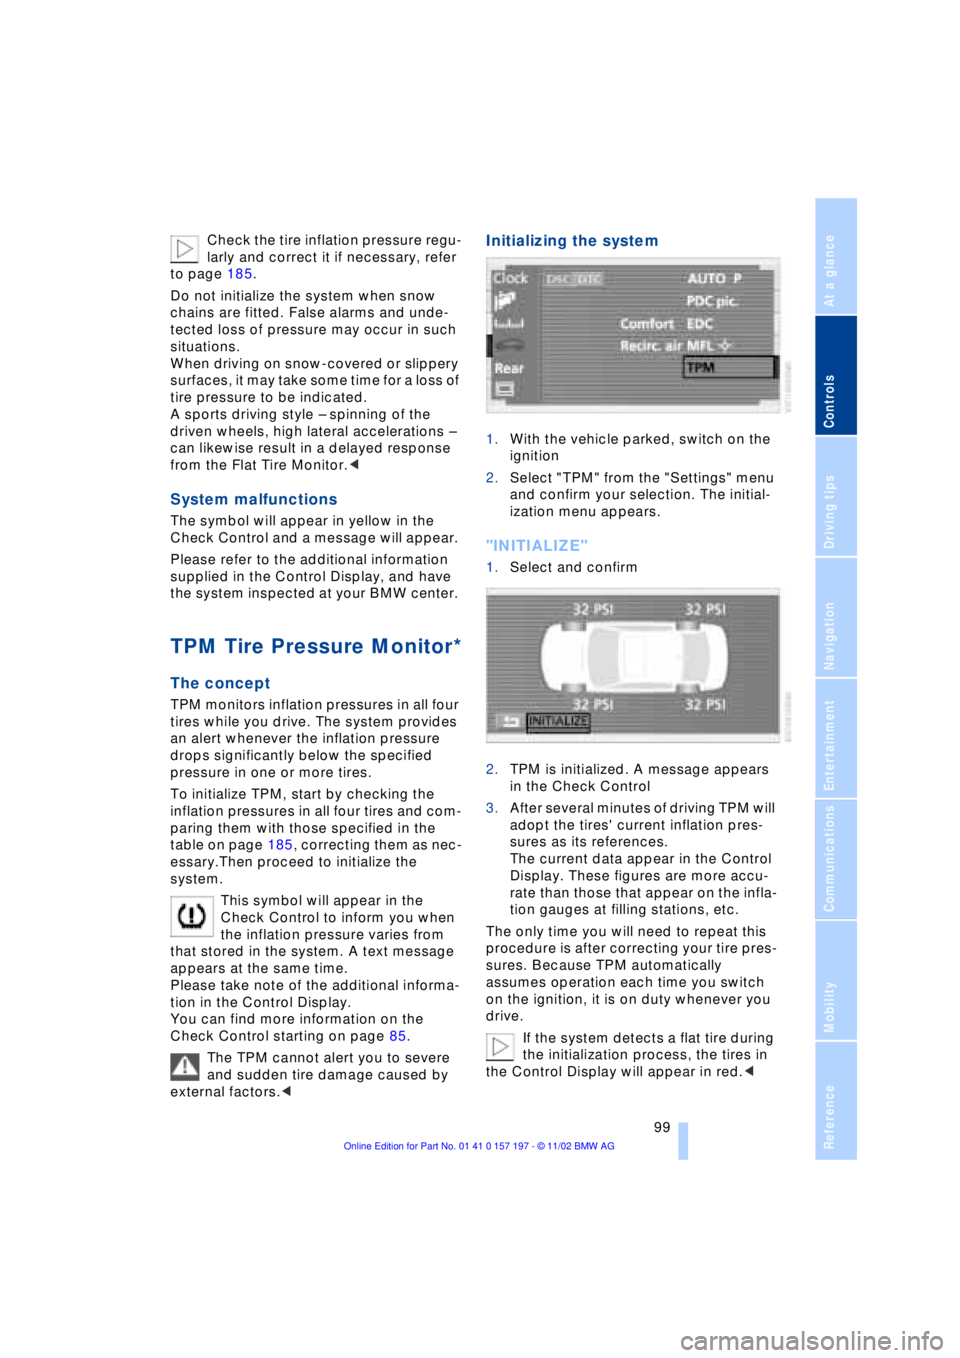
1.With the vehicle parked, switch on the
ignition
2.Select "TPM" from the "Settings" menu
and confirm your selection. The initial-
ization menu appears.
"INITIALIZE"
1.Select and confirm
2.TPM is initialized. A message appears
in the Check Control
3.After several minutes of driving TPM will
adopt the tires' current inflation pres-
sures as its references.
The current data appear in the Control
Display. These figures are more accu-
rate than those that appear on the infla-
tion gauges at filling stations, etc.
The only time you will need to repeat this
procedure is after correcting your tire pres-
sures. Because TPM automatically
assumes operation each time you switch
on the ignition, it is on duty whenever you
drive.
If the system detects a flat tire during
the initialization process, the tires in
the Control Display will appear in red.<
Page 102 of 229
Technology for comfort, convenience and safety
100
Do not start the initialization
Select and confirm to return to the
"Settings" menu.
Status indicators in the Control
Display
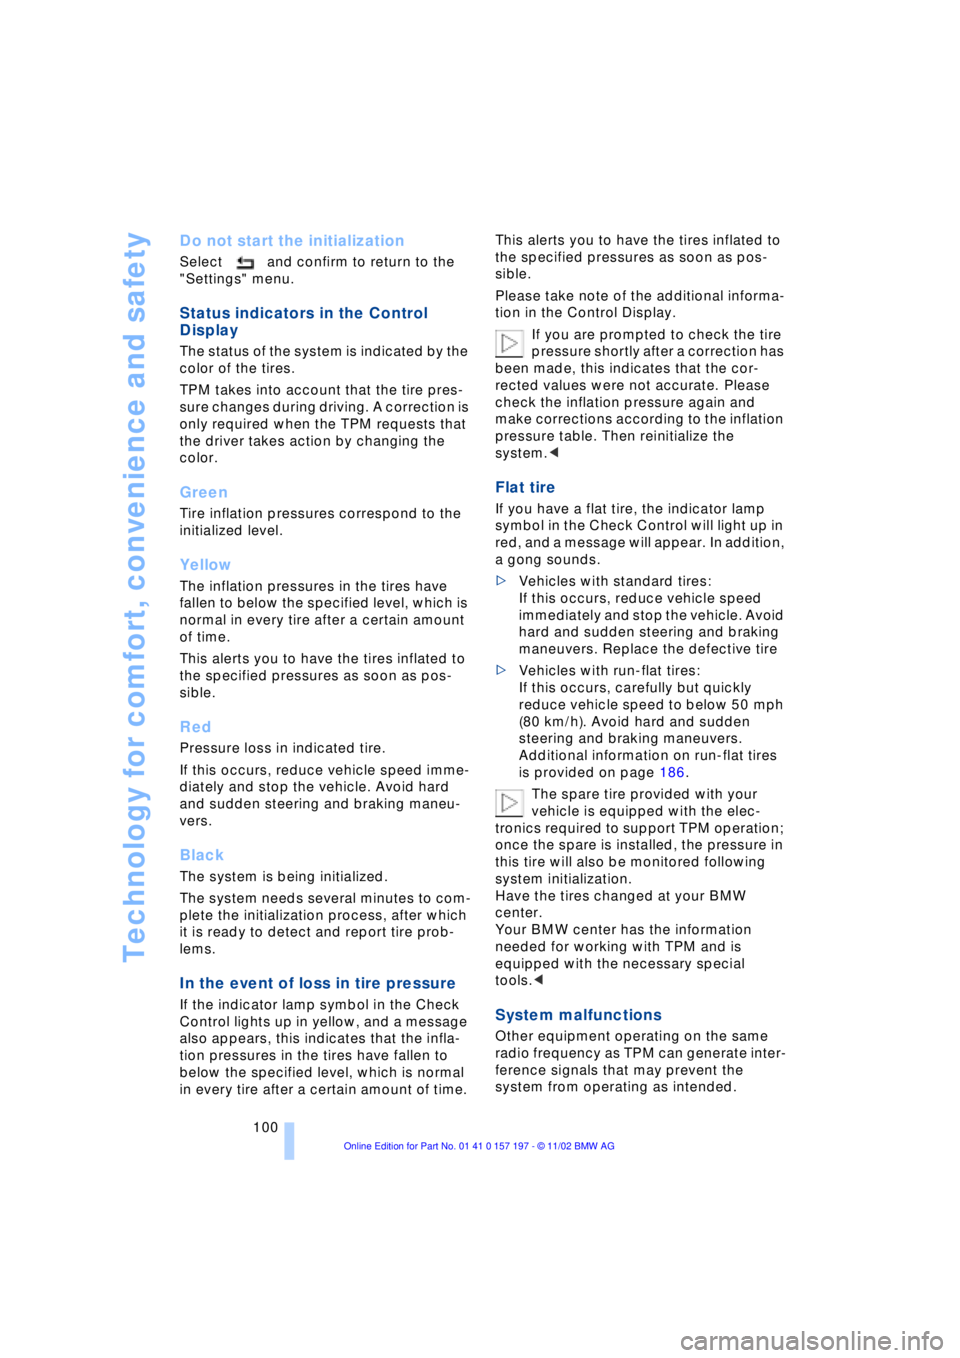
The status of the system is indicated by the
color of the tires.
TPM takes into account that the tire pres-
sure changes during driving. A correction is
only required when the TPM requests that
the driver takes action by changing the
color.
Green
Tire inflation pressures correspond to the
initialized level.
Yellow
The inflation pressures in the tires have
fallen to below the specified level, which is
normal in every tire after a certain amount
of time.
This alerts you to have the tires inflated to
the specified pressures as soon as pos-
sible.
Red
Pressure loss in indicated tire.
If this occurs, reduce vehicle speed imme-
diately and stop the vehicle. Avoid hard
and sudden steering and braking maneu-
vers.
Black
The system is being initialized.
The system needs several minutes to com-
plete the initialization process, after which
it is ready to detect and report tire prob-
lems.
In the event of loss in tire pressure
If the indicator lamp symbol in the Check
Control lights up in yellow, and a message
also appears, this indicates that the infla-
tion pressures in the tires have fallen to
below the specified level, which is normal
in every tire after a certain amount of time. This alerts you to have the tires inflated to
the specified pressures as soon as pos-
sible.
Please take note of the additional informa-
tion in the Control Display.
If you are prompted to check the tire
pressure shortly after a correction has
been made, this indicates that the cor-
rected values were not accurate. Please
check the inflation pressure again and
make corrections according to the inflation
pressure table. Then reinitialize the
system.<
Flat tire
If you have a flat tire, the indicator lamp
symbol in the Check Control will light up in
red, and a message will appear. In addition,
a gong sounds.
>Vehicles with standard tires:
If this occurs, reduce vehicle speed
immediately and stop the vehicle. Avoid
hard and sudden steering and braking
maneuvers. Replace the defective tire
>Vehicles with run-flat tires:
If this occurs, carefully but quickly
reduce vehicle speed to below 50 mph
(80 km/h). Avoid hard and sudden
steering and braking maneuvers.
Additional information on run-flat tires
is provided on page 186.
The spare tire provided with your
vehicle is equipped with the elec-
tronics required to support TPM operation;
once the spare is installed, the pressure in
this tire will also be monitored following
system initialization.
Have the tires changed at your BMW
center.
Your BMW center has the information
needed for working with TPM and is
equipped with the necessary special
tools.<
System malfunctions
Other equipment operating on the same
radio frequency as TPM can generate inter-
ference signals that may prevent the
system from operating as intended.
Page 103 of 229
At a glance
Controls
Driving tips
Communications
Navigation
Entertainment
Mobility
Reference
101
The symbol will appear in yellow in the
Check Control and a message will appear.
You will also see the same message
>in the event of a system fault
>if a wheel is mounted without the
appropriate TPM electronics
>if, in addition to the spare tire, addi-
tional wheels with TPM electronics are
on board.
Please refer to the additional information
supplied in the Control Display, and have
the system inspected at your BMW center.
Self-leveling suspension*
In the event of malfunction
A Check Control message
appearing together with this symbol
indicates a malfunction in the self-
leveling suspension. Please take note of
the additional information in the Control
Display.
Stop and inspect the vehicle. If the rear of
the vehicle is visibly lower than the front,
possibly accompanied by a tilt noticeable
when you compare the left rear with the
right rear, you should respond by immedi-
ately proceeding to the nearest BMW
center. Drive with appropriate caution in
the meantime. The vehicle has reduced
ground clearance and driving comfort may
be noticeably reduced. Even if the attitude
of the vehicle is normal, you should consult
the nearest BMW center if the warning
lamp indicates a system fault.
Adaptive brake lamp
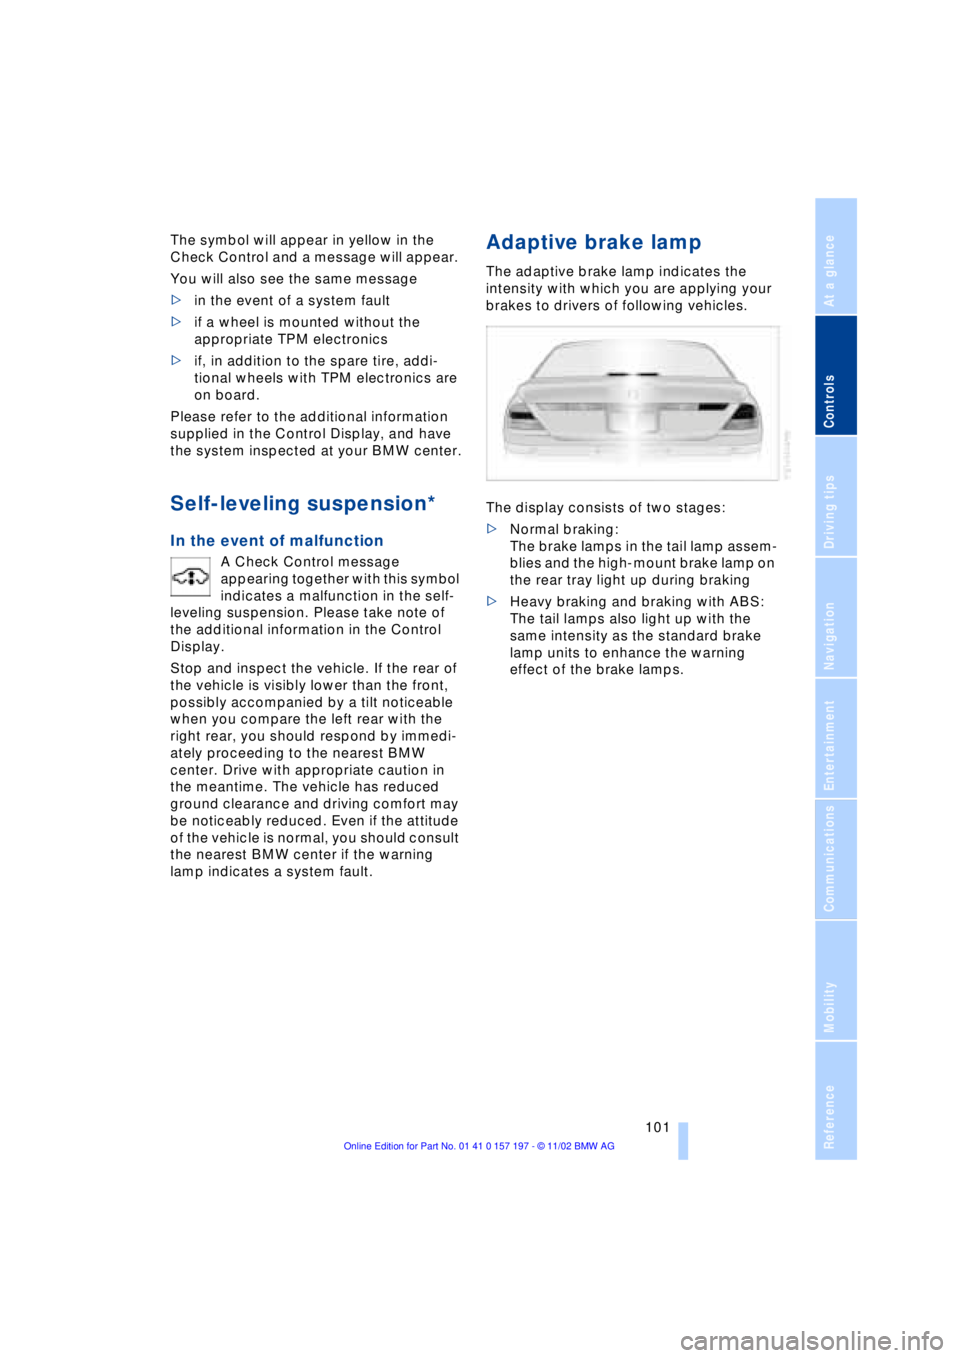
The adaptive brake lamp indicates the
intensity with which you are applying your
brakes to drivers of following vehicles.
The display consists of two stages:
>Normal braking:
The brake lamps in the tail lamp assem-
blies and the high-mount brake lamp on
the rear tray light up during braking
>Heavy braking and braking with ABS:
The tail lamps also light up with the
same intensity as the standard brake
lamp units to enhance the warning
effect of the brake lamps.
Page 104 of 229
Lamps
102
Lamps
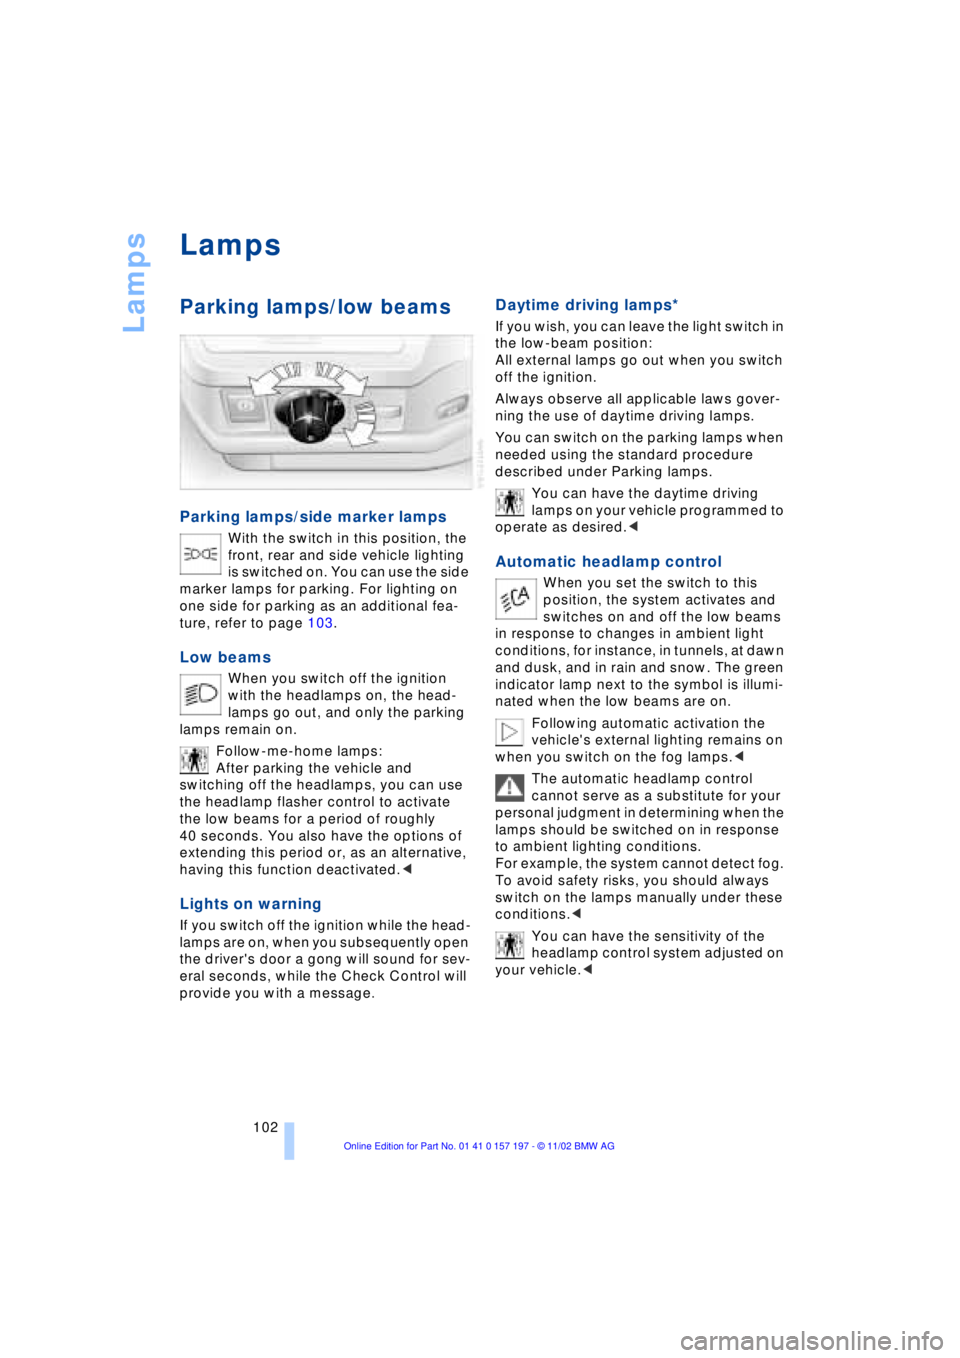
Parking lamps/low beams
Parking lamps/side marker lamps
With the switch in this position, the
front, rear and side vehicle lighting
is switched on. You can use the side
marker lamps for parking. For lighting on
one side for parking as an additional fea-
ture, refer to page 103.
Low beams
When you switch off the ignition
with the headlamps on, the head-
lamps go out, and only the parking
lamps remain on.
Follow-me-home lamps:
After parking the vehicle and
switching off the headlamps, you can use
the headlamp flasher control to activate
the low beams for a period of roughly
40 seconds. You also have the options of
extending this period or, as an alternative,
having this function deactivated.<
Lights on warning
If you switch off the ignition while the head-
lamps are on, when you subsequently open
the driver's door a gong will sound for sev-
eral seconds, while the Check Control will
provide you with a message
.
Daytime driving lamps*
If you wish, you can leave the light switch in
the low-beam position:
All external lamps go out when you switch
off the ignition.
Always observe all applicable laws gover-
ning the use of daytime driving lamps.
You can switch on the parking lamps when
needed using the standard procedure
described under Parking lamps.
You can have the daytime driving
lamps on your vehicle programmed to
operate as desired.<
Automatic headlamp control
When you set the switch to this
position, the system activates and
switches on and off the low beams
in response to changes in ambient light
conditions, for instance, in tunnels, at dawn
and dusk, and in rain and snow. The green
indicator lamp next to the symbol is illumi-
nated when the low beams are on.
Following automatic activation the
vehicle's external lighting remains on
when you switch on the fog lamps.<
The automatic headlamp control
cannot serve as a substitute for your
personal judgment in determining when the
lamps should be switched on in response
to ambient lighting conditions.
For example, the system cannot detect fog.
To avoid safety risks, you should always
switch on the lamps manually under these
conditions.<
You can have the sensitivity of the
headlamp control system adjusted on
your vehicle.<
 1
1 2
2 3
3 4
4 5
5 6
6 7
7 8
8 9
9 10
10 11
11 12
12 13
13 14
14 15
15 16
16 17
17 18
18 19
19 20
20 21
21 22
22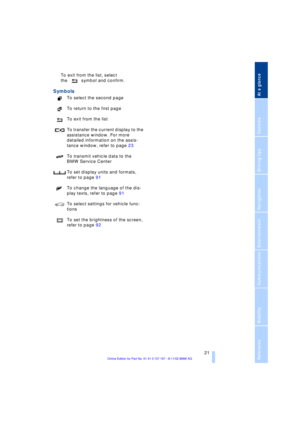 23
23 24
24 25
25 26
26 27
27 28
28 29
29 30
30 31
31 32
32 33
33 34
34 35
35 36
36 37
37 38
38 39
39 40
40 41
41 42
42 43
43 44
44 45
45 46
46 47
47 48
48 49
49 50
50 51
51 52
52 53
53 54
54 55
55 56
56 57
57 58
58 59
59 60
60 61
61 62
62 63
63 64
64 65
65 66
66 67
67 68
68 69
69 70
70 71
71 72
72 73
73 74
74 75
75 76
76 77
77 78
78 79
79 80
80 81
81 82
82 83
83 84
84 85
85 86
86 87
87 88
88 89
89 90
90 91
91 92
92 93
93 94
94 95
95 96
96 97
97 98
98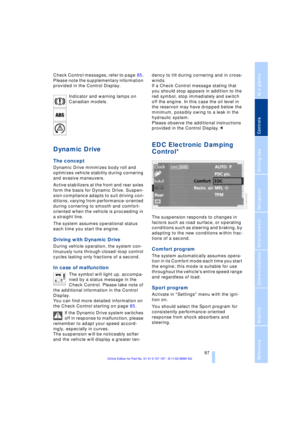 99
99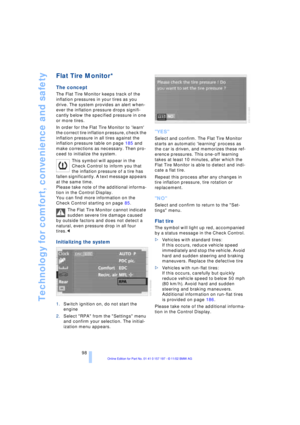 100
100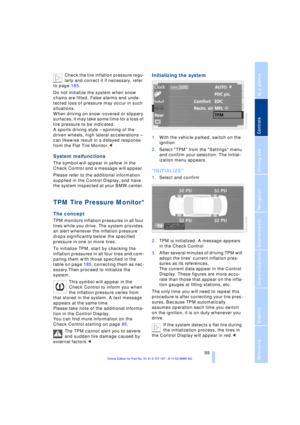 101
101 102
102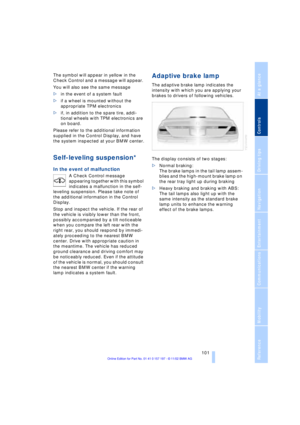 103
103 104
104 105
105 106
106 107
107 108
108 109
109 110
110 111
111 112
112 113
113 114
114 115
115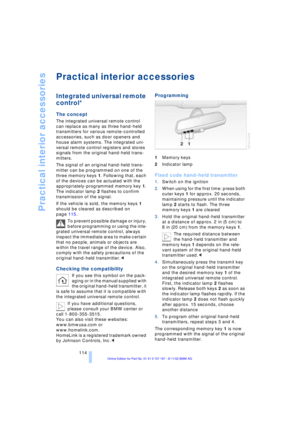 116
116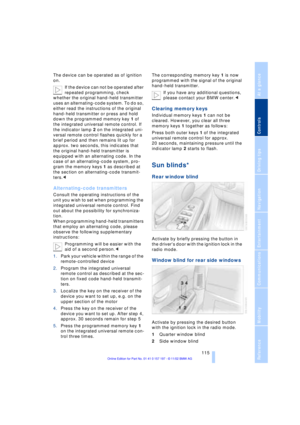 117
117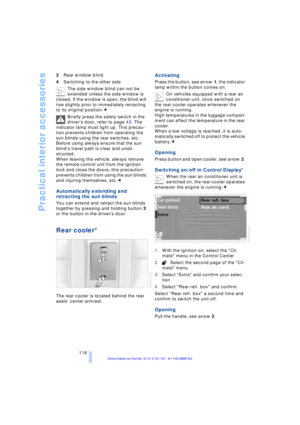 118
118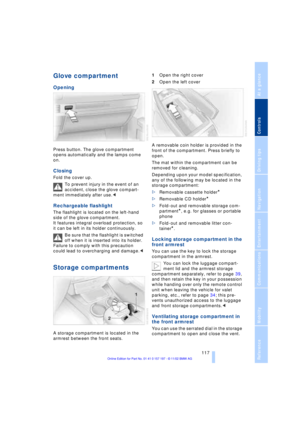 119
119 120
120 121
121 122
122 123
123 124
124 125
125 126
126 127
127 128
128 129
129 130
130 131
131 132
132 133
133 134
134 135
135 136
136 137
137 138
138 139
139 140
140 141
141 142
142 143
143 144
144 145
145 146
146 147
147 148
148 149
149 150
150 151
151 152
152 153
153 154
154 155
155 156
156 157
157 158
158 159
159 160
160 161
161 162
162 163
163 164
164 165
165 166
166 167
167 168
168 169
169 170
170 171
171 172
172 173
173 174
174 175
175 176
176 177
177 178
178 179
179 180
180 181
181 182
182 183
183 184
184 185
185 186
186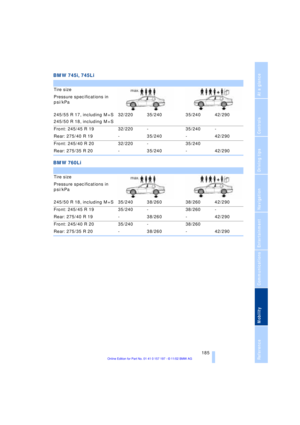 187
187 188
188 189
189 190
190 191
191 192
192 193
193 194
194 195
195 196
196 197
197 198
198 199
199 200
200 201
201 202
202 203
203 204
204 205
205 206
206 207
207 208
208 209
209 210
210 211
211 212
212 213
213 214
214 215
215 216
216 217
217 218
218 219
219 220
220 221
221 222
222 223
223 224
224 225
225 226
226 227
227 228
228


