2003 BMW 760LI SEDAN low beam
[x] Cancel search: low beamPage 5 of 229
At a glance
Operation
Driving tips
Communications
Navigation
Entertainment
Mobility
Reference
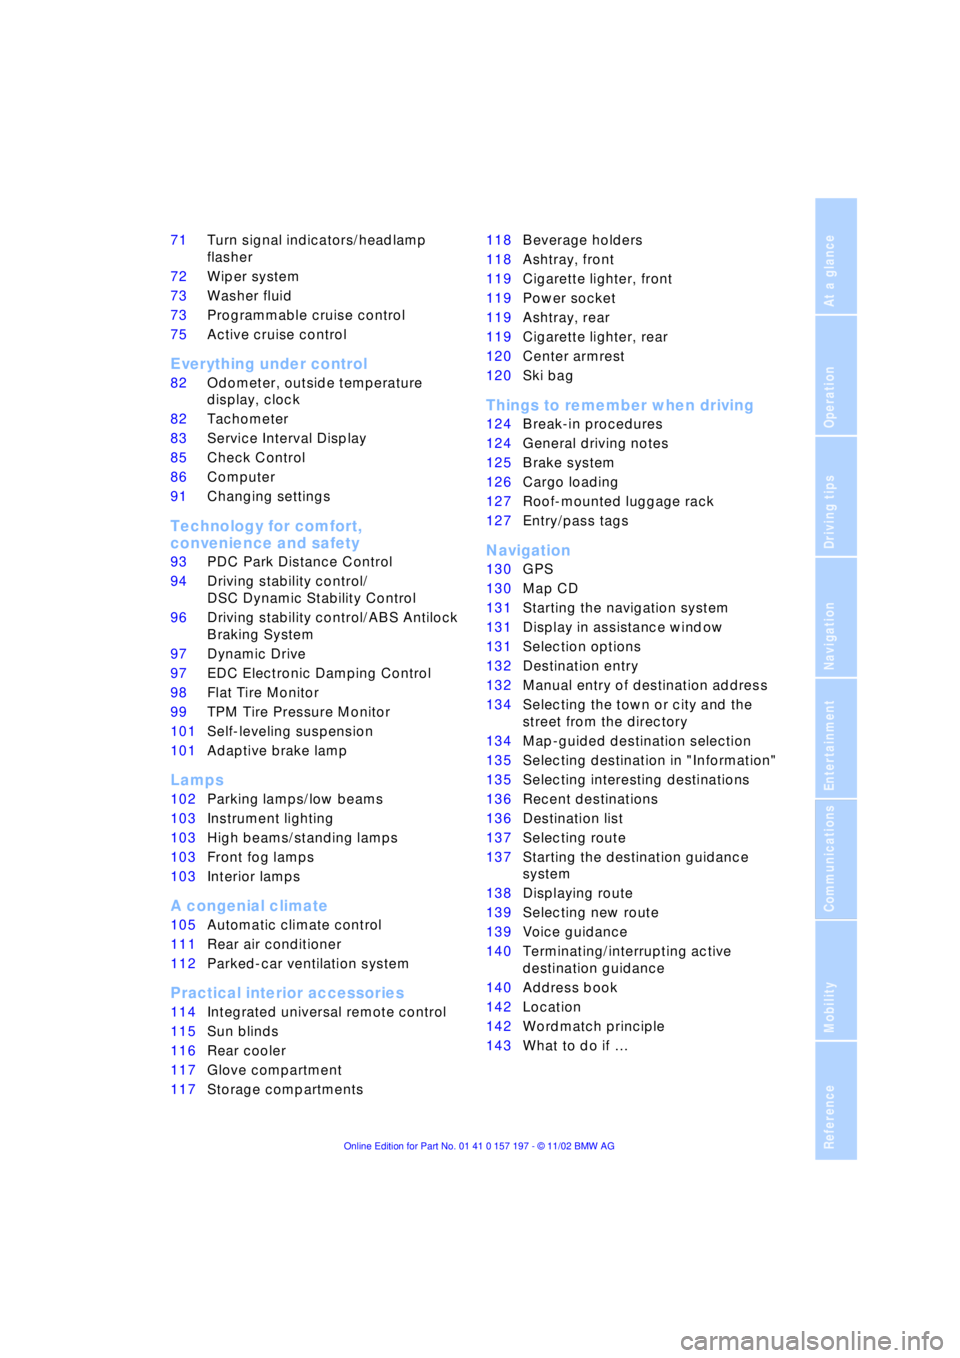
71Turn signal indicators/headlamp
flasher
72Wiper system
73Washer fluid
73Programmable cruise control
75Active cruise control
*
Everything under control
82Odometer, outside temperature
display, clock
82Tachometer
83Service Interval Display
85Check Control
86Computer
91Changing settings
Technology for comfort,
convenience and safety
93PDC Park Distance Control
*
94Driving stability control/
DSC Dynamic Stability Control
96Driving stability control/ABS Antilock
Braking System
97Dynamic Drive
97EDC Electronic Damping Control
*
98Flat Tire Monitor
*
99TPM Tire Pressure Monitor
*
101Self-leveling suspension
*
101Adaptive brake lamp
Lamps
102Parking lamps/low beams
103Instrument lighting
103High beams/standing lamps
103Front fog lamps
103Interior lamps
A congenial climate
105Automatic climate control
111Rear air conditioner
*
112Parked-car ventilation system
Practical interior accessories
114Integrated universal remote control
*
115Sun blinds
*
116Rear cooler
*
117Glove compartment
117Storage compartments118Beverage holders
118Ashtray, front
119Cigarette lighter, front
119Power socket
119Ashtray, rear
119Cigarette lighter, rear
120Center armrest
120Ski bag
*
Things to remember when driving
124Break-in procedures
124General driving notes
125Brake system
126Cargo loading
127Roof-mounted luggage rack
*
127Entry/pass tags
Navigation
130GPS
130Map CD
131Starting the navigation system
131Display in assistance window
*
131Selection options
132Destination entry
132Manual entry of destination address
134Selecting the town or city and the
street from the directory
134Map-guided destination selection
135Selecting destination in "Information"
135Selecting interesting destinations
136Recent destinations
136Destination list
137Selecting route
137Starting the destination guidance
system
138Displaying route
139Selecting new route
139Voice guidance
140Terminating/interrupting active
destination guidance
140Address book
142Location
142Wordmatch principle
143What to do if É
Page 14 of 229
Cockpit
12
Cockpit
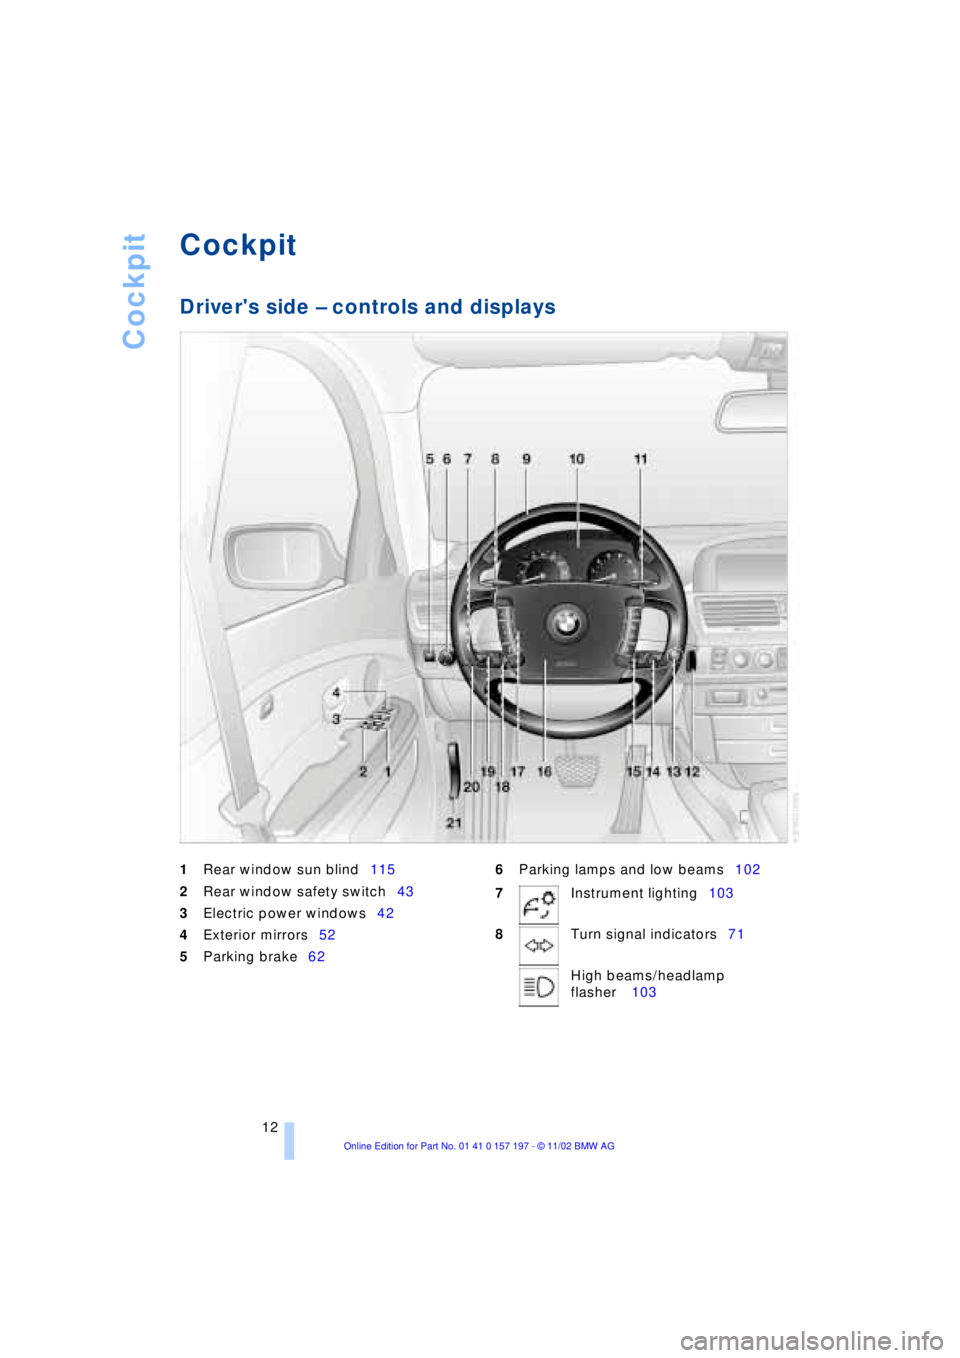
Driver's side Ð controls and displays
1
Rear window sun blind115
2
Rear window safety switch43
3Electric power windows42
4Exterior mirrors52
5Parking brake626Parking lamps and low beams102
7Instrument lighting103
8Turn signal indicators71
High beams/headlamp
flasher 103
Page 17 of 229
At a glance
Controls
Driving tips
Communications
Navigation
Entertainment
Mobility
Reference
15
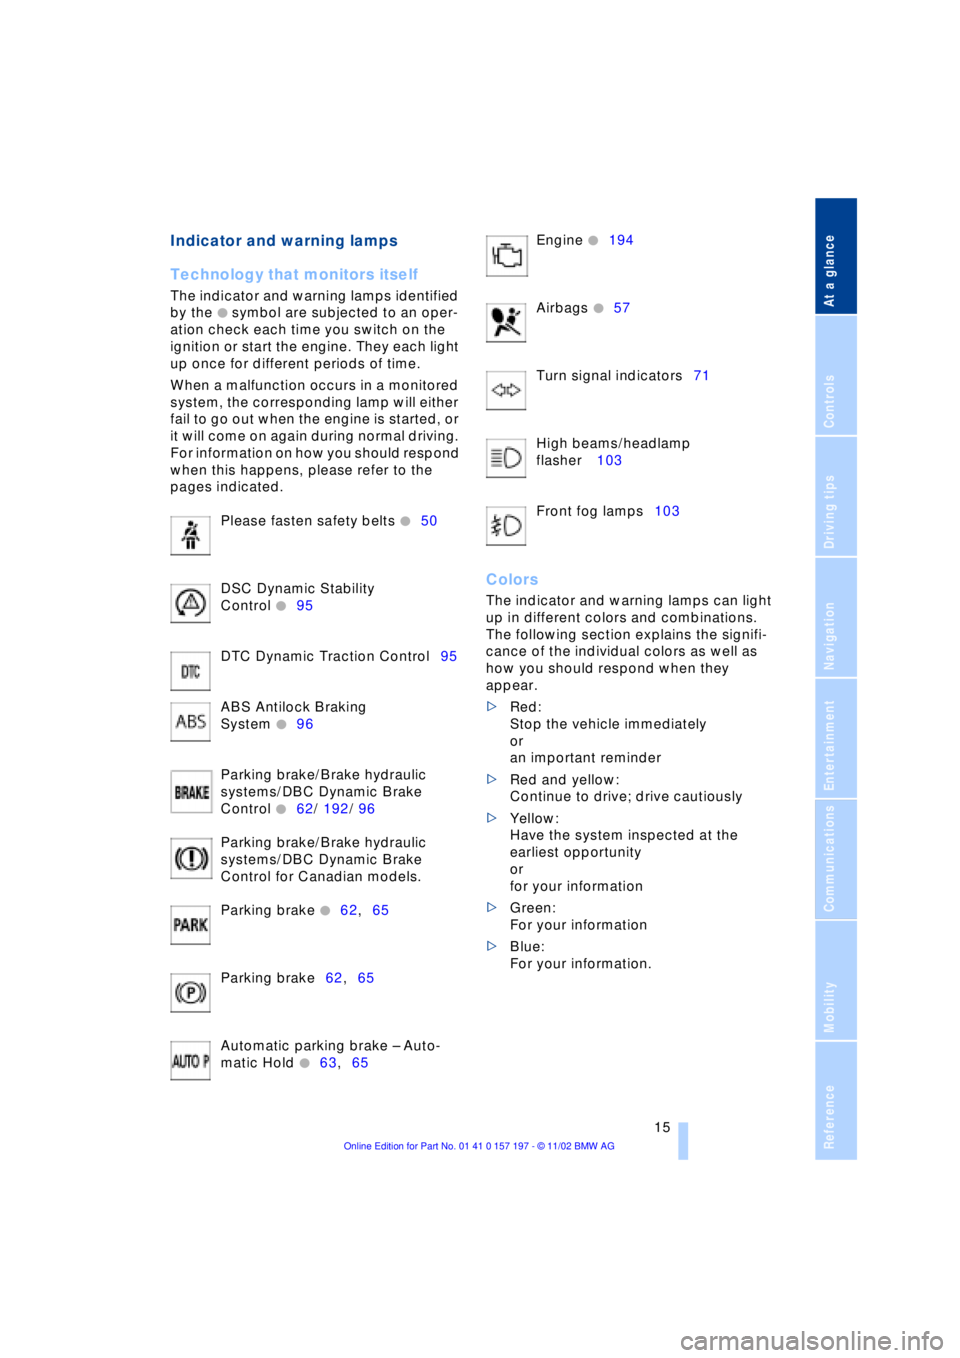
Indicator and warning lamps
Technology that monitors itself
The indicator and warning lamps identified
by the
+ symbol are subjected to an oper-
ation check each time you switch on the
ignition or start the engine. They each light
up once for different periods of time.
When a malfunction occurs in a monitored
system, the corresponding lamp will either
fail to go out when the engine is started, or
it will come on again during normal driving.
For information on how you should respond
when this happens, please refer to the
pages indicated.
Please fasten safety belts
+50
DSC Dynamic Stability
Control
+95
DTC Dynamic Traction Control95
ABS Antilock Braking
System
+96
Parking brake/Brake hydraulic
systems/DBC Dynamic Brake
Control
+62/ 192/ 96
Parking brake/Brake hydraulic
systems/DBC Dynamic Brake
Control for Canadian models.
Parking brake
+62,65
Parking brake62,65
Automatic parking brake Ð Auto-
matic Hold
+63,65 Engine
+194
Airbags
+57
Turn signal indicators71
High beams/headlamp
flasher 103
Front fog lamps103
Colors
The indicator and warning lamps can light
up in different colors and combinations.
The following section explains the signifi-
cance of the individual colors as well as
how you should respond when they
appear.
>Red:
Stop the vehicle immediately
or
an important reminder
>Red and yellow:
Continue to drive; drive cautiously
>Yellow:
Have the system inspected at the
earliest opportunity
or
for your information
>Green:
For your information
>Blue:
For your information.
Page 40 of 229
Opening and closing
38 You can also have the system pro-
grammed to activate the central
locking system automatically whenever the
vehicle is set in motion, or when a specific
interval elapses after it is unlocked, pro-
vided that neither the doors nor the lug-
gage compartment lid are opened in the
meantime. This can be adjusted to be key-
specific.<
Unlocking and opening the doors
>Either unlock the doors together with
the button for the central locking
system and then pull the release handle
above the armrest or
>pull the release handle for each door
twice: the first pull unlocks the door,
and the second one opens it.
When the low beams are switched on,
the interior door handles are also
lighted. The intensity of the lighting is
adjusted using the instrument lighting, refer
to page 103.<
Engaging the locks
>Use the central locking button to lock all
of the doors simultaneously,
or
>press the individual safety lock buttons
down. To prevent the driver from being
inadvertently locked out of the vehicle,
the lock button on the driver's door
automatically extends again after a brief
period if the door remains open.
Do not use the safety lock buttons to
engage the locks during driving, as
they would then fail to disengage automat-
ically in the event of an accident.
Because any persons or animals left unat-
tended in a parked vehicle could lock the
doors from the inside, you should always
keep the remote control unit with you; this
precaution ensures that you will remain
able to unlock the vehicle from the outside
at all times. <
Doors
Soft Close Automatic*
Apply gentle pressure to the door to close
it. The closing process will then be carried
out automatically.
To avoid injuries, ensure that the
door's travel path is completely free
and clear before closing.<
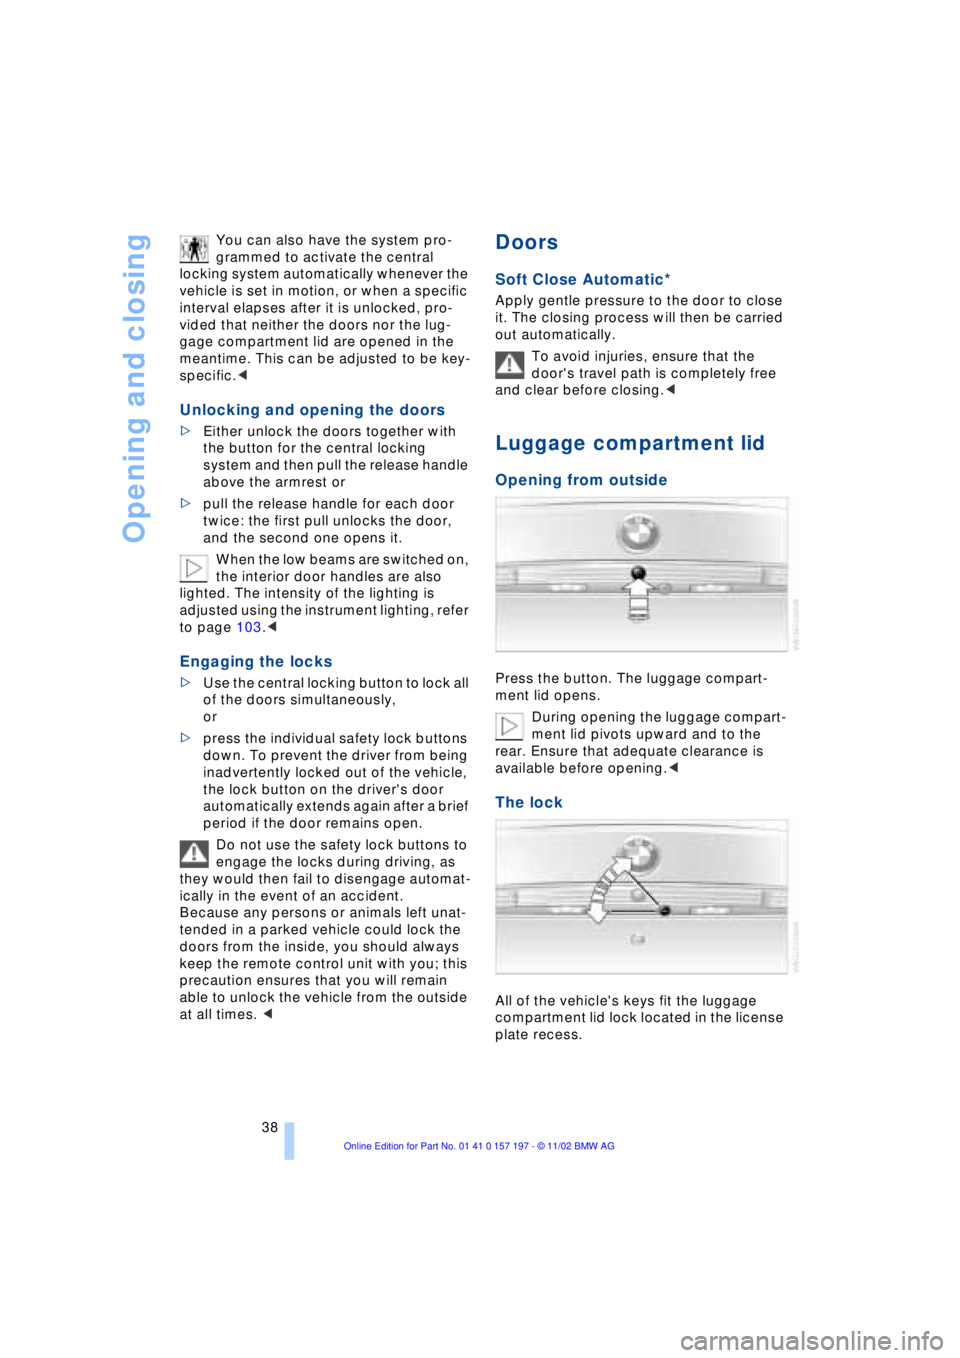
Luggage compartment lid
Opening from outside
Press the button. The luggage compart-
ment lid opens.
During opening the luggage compart-
ment lid pivots upward and to the
rear. Ensure that adequate clearance is
available before opening.<
The lock
All of the vehicle's keys fit the luggage
compartment lid lock located in the license
plate recess.
Page 43 of 229
At a glance
Controls
Driving tips
Communications
Navigation
Entertainment
Mobility
Reference
41
Alarm system
The concept
The vehicle alarm system responds:
>When a door, the hood, or the luggage
compartment lid is opened
>To movement in the vehicle's interior Ð
interior motion sensor
>To changing the vehicle's tilt if someone
attempts to steal the wheels or tow the
vehicle
>To interruption of battery voltage.
The system responds to unauthorized
vehicle entry and attempted theft by simul-
taneously activating:
>An acoustic alarm, which lasts for a
period of approx. 30 seconds
>The hazard warning flashers for approx.
five minutes
>The high beams, which flash on and off
in the same rhythm.
Arming and disarming the alarm
system
When you lock or unlock the vehicle, either
with the remote control unit or at the door
lock, the alarm system is armed or dis-
armed at the same time.
The system indicates that it has been cor-
rectly armed by switching on the hazard
warning flashers for a single cycle and by
emitting an acoustic signal.
You can have different acknowledg-
ment signals set to confirm arming
and disarming.<
You can open the luggage compartment
lid even if the alarm is armed using
button 3of the remote control, refer
to page 36. It is armed once again when
the lid is closed.
Pressing the Panic mode button for a
longer period triggers the alarm, refer
to page 36.<
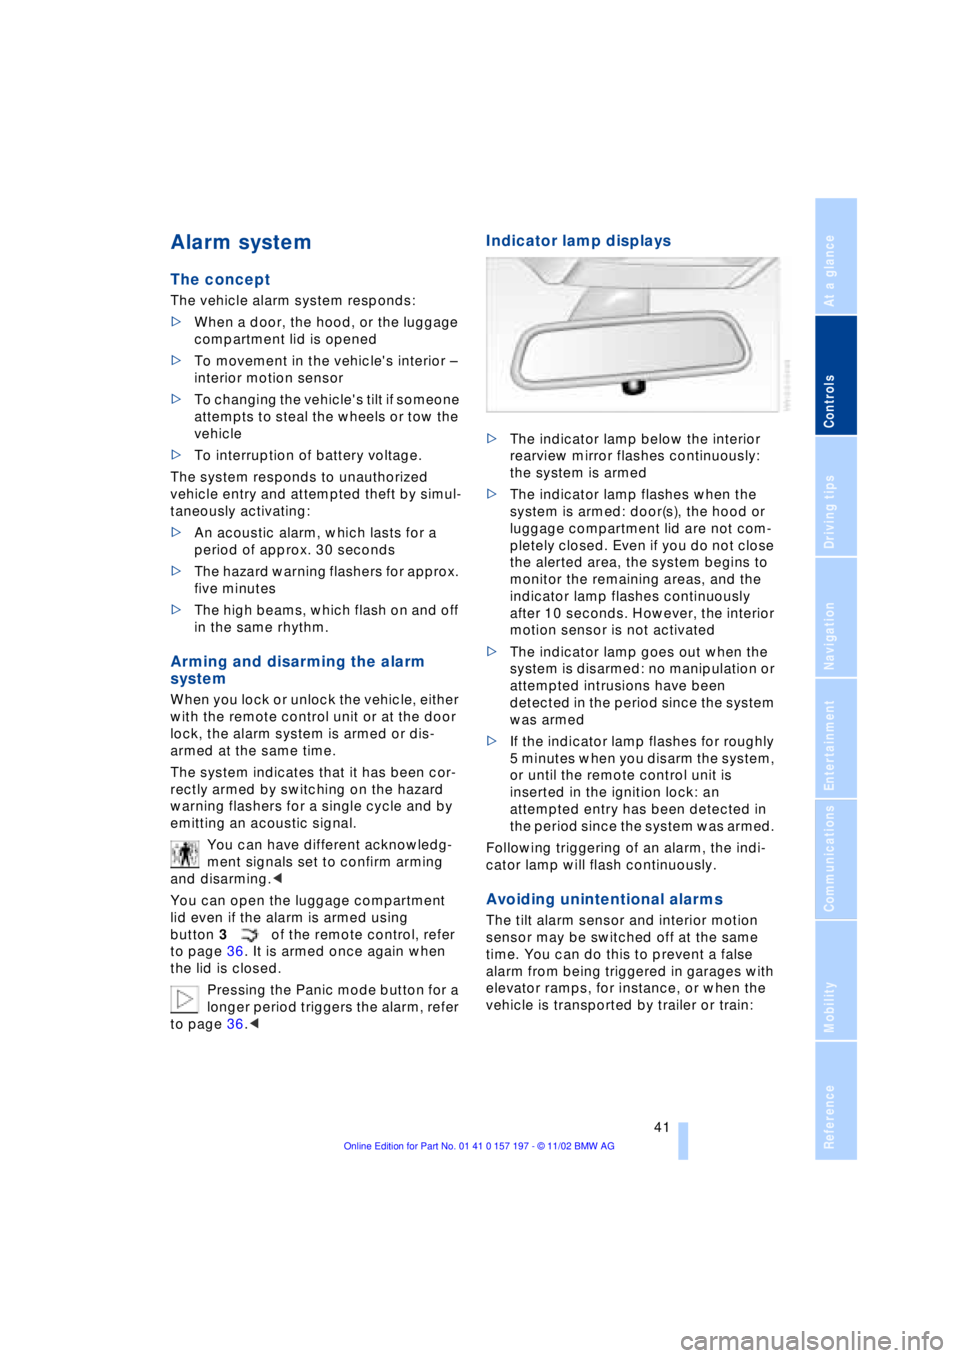
Indicator lamp displays
>The indicator lamp below the interior
rearview mirror flashes continuously:
the system is armed
>The indicator lamp flashes when the
system is armed: door(s), the hood or
luggage compartment lid are not com-
pletely closed. Even if you do not close
the alerted area, the system begins to
monitor the remaining areas, and the
indicator lamp flashes continuously
after 10 seconds. However, the interior
motion sensor is not activated
>The indicator lamp goes out when the
system is disarmed: no manipulation or
attempted intrusions have been
detected in the period since the system
was armed
>If the indicator lamp flashes for roughly
5 minutes when you disarm the system,
or until the remote control unit is
inserted in the ignition lock: an
attempted entry has been detected in
the period since the system was armed.
Following triggering of an alarm, the indi-
cator lamp will flash continuously.
Avoiding unintentional alarms
The tilt alarm sensor and interior motion
sensor may be switched off at the same
time. You can do this to prevent a false
alarm from being triggered in garages with
elevator ramps, for instance, or when the
vehicle is transported by trailer or train:
Page 104 of 229
Lamps
102
Lamps
Parking lamps/low beams
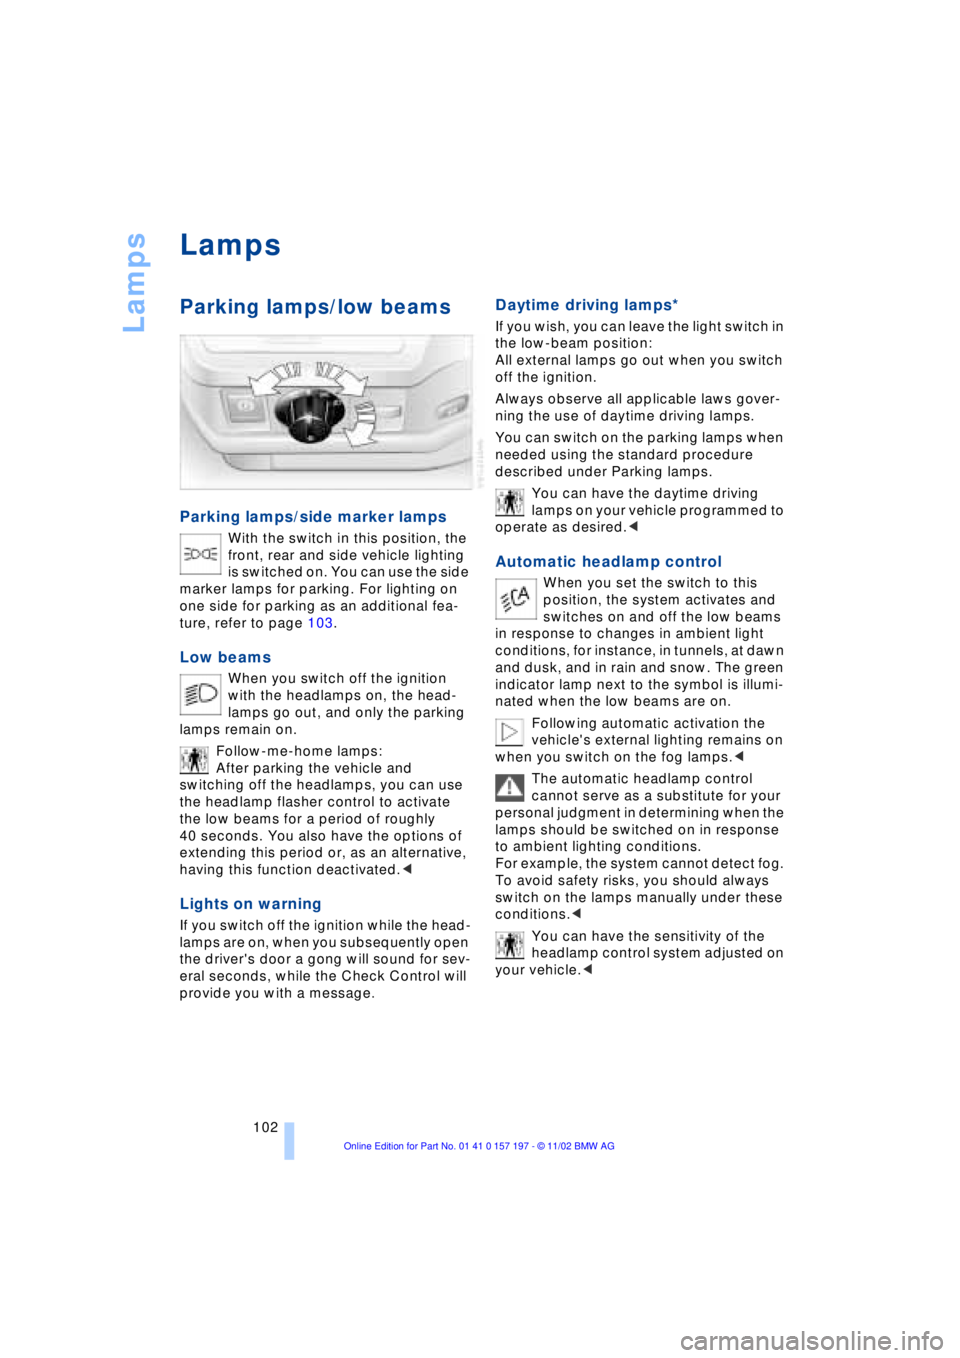
Parking lamps/side marker lamps
With the switch in this position, the
front, rear and side vehicle lighting
is switched on. You can use the side
marker lamps for parking. For lighting on
one side for parking as an additional fea-
ture, refer to page 103.
Low beams
When you switch off the ignition
with the headlamps on, the head-
lamps go out, and only the parking
lamps remain on.
Follow-me-home lamps:
After parking the vehicle and
switching off the headlamps, you can use
the headlamp flasher control to activate
the low beams for a period of roughly
40 seconds. You also have the options of
extending this period or, as an alternative,
having this function deactivated.<
Lights on warning
If you switch off the ignition while the head-
lamps are on, when you subsequently open
the driver's door a gong will sound for sev-
eral seconds, while the Check Control will
provide you with a message
.
Daytime driving lamps*
If you wish, you can leave the light switch in
the low-beam position:
All external lamps go out when you switch
off the ignition.
Always observe all applicable laws gover-
ning the use of daytime driving lamps.
You can switch on the parking lamps when
needed using the standard procedure
described under Parking lamps.
You can have the daytime driving
lamps on your vehicle programmed to
operate as desired.<
Automatic headlamp control
When you set the switch to this
position, the system activates and
switches on and off the low beams
in response to changes in ambient light
conditions, for instance, in tunnels, at dawn
and dusk, and in rain and snow. The green
indicator lamp next to the symbol is illumi-
nated when the low beams are on.
Following automatic activation the
vehicle's external lighting remains on
when you switch on the fog lamps.<
The automatic headlamp control
cannot serve as a substitute for your
personal judgment in determining when the
lamps should be switched on in response
to ambient lighting conditions.
For example, the system cannot detect fog.
To avoid safety risks, you should always
switch on the lamps manually under these
conditions.<
You can have the sensitivity of the
headlamp control system adjusted on
your vehicle.<
Page 105 of 229
At a glance
Controls
Driving tips
Communications
Navigation
Entertainment
Mobility
Reference
103
Instrument lighting
Turn the serrated dial to adjust the illumina-
tion intensity.
High beams/standing lamps
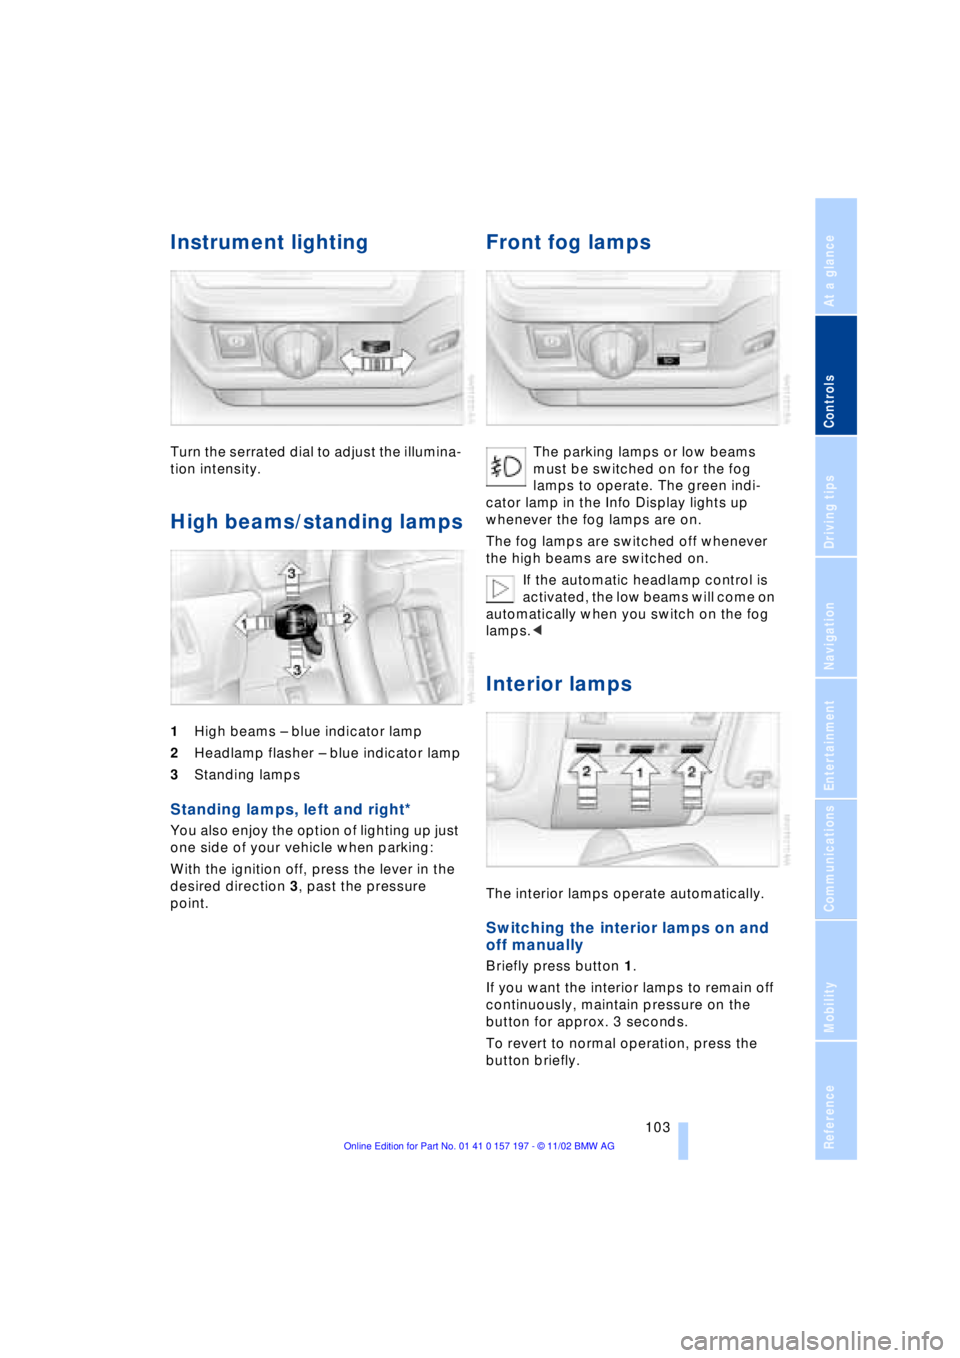
1High beams Ð blue indicator lamp
2Headlamp flasher Ð blue indicator lamp
3Standing lamps
Standing lamps, left and right*
You also enjoy the option of lighting up just
one side of your vehicle when parking:
With the ignition off, press the lever in the
desired direction 3, past the pressure
point.
Front fog lamps
The parking lamps or low beams
must be switched on for the fog
lamps to operate. The green indi-
cator lamp in the Info Display lights up
whenever the fog lamps are on.
The fog lamps are switched off whenever
the high beams are switched on.
If the automatic headlamp control is
activated, the low beams will come on
automatically when you switch on the fog
lamps.<
Interior lamps
The interior lamps operate automatically.
Switching the interior lamps on and
off manually
Briefly press button 1.
If you want the interior lamps to remain off
continuously, maintain pressure on the
button for approx. 3 seconds.
To revert to normal operation, press the
button briefly.
Page 164 of 229
DVD changer
162
DVD changer
Precautions when using laser
equipment
The BMW DVD changer is a Class 1 laser
product.
Never remove the cover from the
housing. Do not operate the unit if the
cover is damaged. Operation without the
cover can lead to serious eye injury from
invisible laser beams.
Always refer all repair and maintenance
operations to qualified technicians.<
Copy protection
Macrovision copy protection:
This product incorporates copyright
protection technology that is protected by
method claims of certain U.S. patents and
other intellectual property rights owned by
Macrovision Corporation and other rights
owners. Use of this copyright protection
technology must be authorized by Macrovi-
sion Corporation, and is intended for home
and other limited viewing uses only unless
otherwise authorized by Macrovision Cor-
poration. Reverse engineering or disas-
sembly is prohibited.<
To prevent CDs from being copied
illegally, they are often provided with
copy protection by the manufacturer.
Please observe the information on your CD.
These CDs differ from the CD Audio Stan-
dard Red Book, on the basis of which all
CD players, changers and your BMW DVD
changer are designed. Under certain cir-
cumstances this can prevent or restrict the
playing of CDs on the DVD changer. In this
case please contact the CD dealer or man-
ufacturer.<
Supported media formats
The DVD changer can play the following
formats:
>Video DVD
>CD-DA Ð Audio CD
>CD-R.
The DVD Audio format is not sup-
ported by the DVD changer. However,
many audio DVDs available in stores also
contain a video track in the DVD Video
format in addition to the audio track. These
DVDs can be played back by the DVD
changer. Please see the information on
your DVD to determine whether your audio
DVD contains an additional video track.<
DVDs are usually divided into tracks
and chapters and can contain dif-
ferent subtitles, camera angles or sound
tracks, languages and sound formats.
Depending on the version of the DVD,
these functions can be selected either
directly with the DVD control system or only
via the DVD-specific menu. See the infor-
mation on your DVD for possible selec-
tions.<
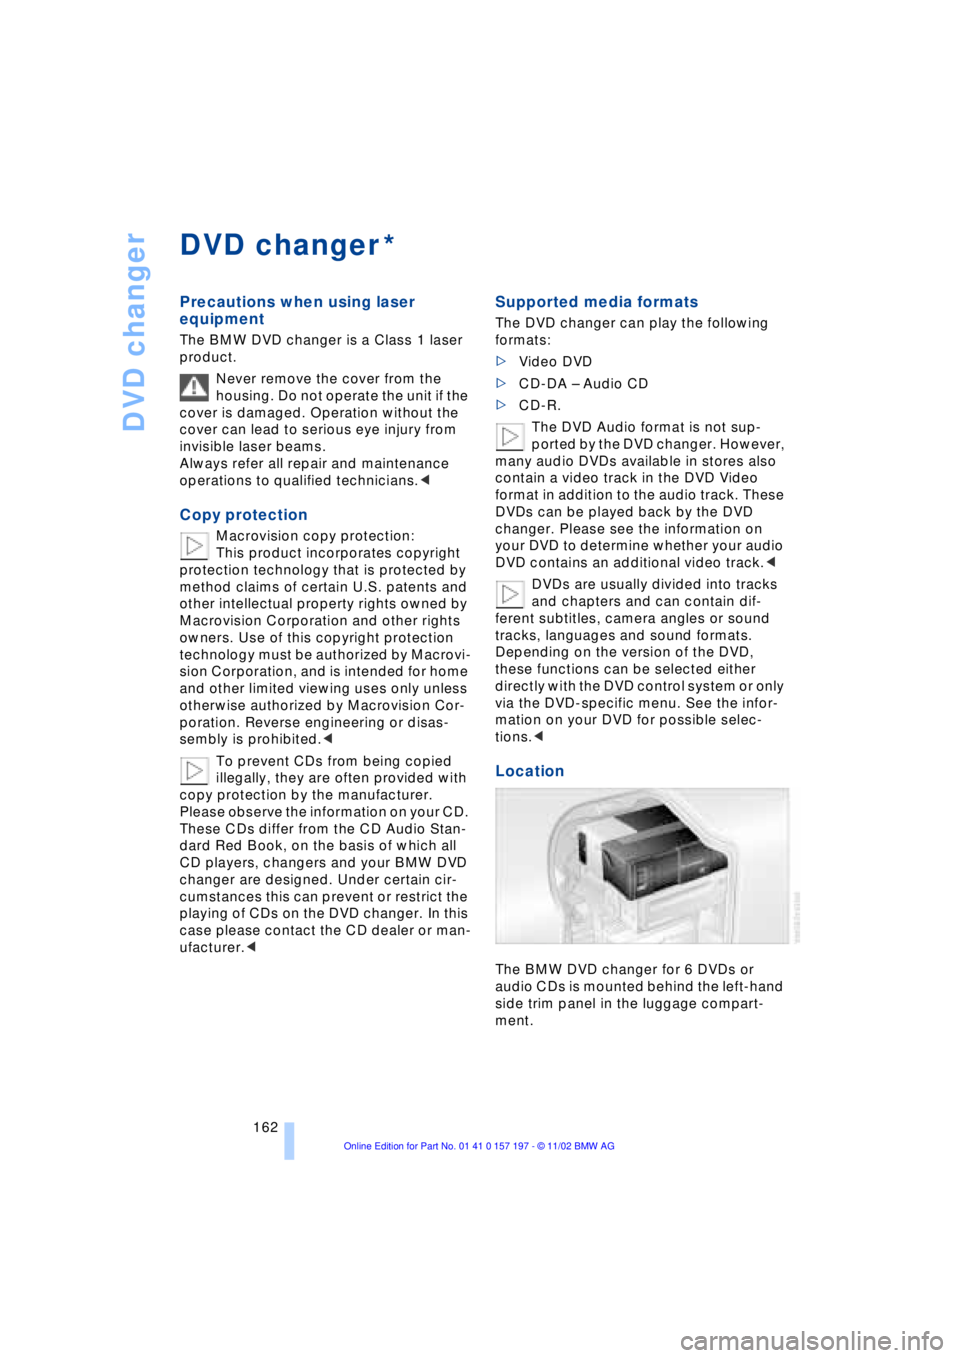
Location
The BMW DVD changer for 6 DVDs or
audio CDs is mounted behind the left-hand
side trim panel in the luggage compart-
ment.
*