2003 BMW 3.0i ROADSTER display
[x] Cancel search: displayPage 5 of 106
At a glance
Controls
Driving tips
Mobility
Reference
Everything under control
47Odometer
47Tachometer
47Fuel gauge
47Coolant temperature gauge
48Service interval display
48Outside temperature
48Clock
49Computer*
Technology for safety and driving
convenience
51Dynamic Stability Control DSC
52Brake Force Display
53Antilock Brake System ABS
53Flat Tire Monitor
Controlling the climate for pleasant
driving
55Air conditioning
57Automatic climate control*
Interior conveniences
60Glove compartment
60Storage compartments
61Beverage holder
61Preparations for the cellular phone*
61Ashtray*
Special operating instructions
64Break-in procedures
65Driving notes
65Brake system
66Cargo loading
67Hardtop preparation*
Refueling
70Fuel filler door
70Fuel specifications
Wheels and tires
71Tire inflation pressure
73Tire condition
73Tire replacement
74Wheel and tire combinations
75Run Flat tires
76Winter tires
76Snow chains*
In the engine compartment
77Hood
78Engine compartment
79Washer fluids for washer systems
79Engine oil
80Coolant
81Brake fluid
Maintenance
82The BMW Maintenance System
82Care
Laws and regulations
83California Proposition 65 warning
83OBD interface socket
Replacement procedures
84Onboard tool kit
84Windshield wiper blades
84Lamps and bulbs
87Changing a wheel
87Battery
Giving and receiving assistance
89Warning triangle*
89First-aid kit*
89Jump-starting
90Towing and tow-starting the vehicle
Technical data
94Engine data
94Weights
95Dimensions
96Capacities
Everything from A - Z
97Index
Page 11 of 106
At a glance
The overviews of buttons, switches and
displays presented in this chapter will help
you find your way around your vehicle.
You will also be familiarized with the con-
cepts behind the operation of the features
available to you.
Page 13 of 106
At a glance
Controls
Driving tips
Mobility
Reference
13
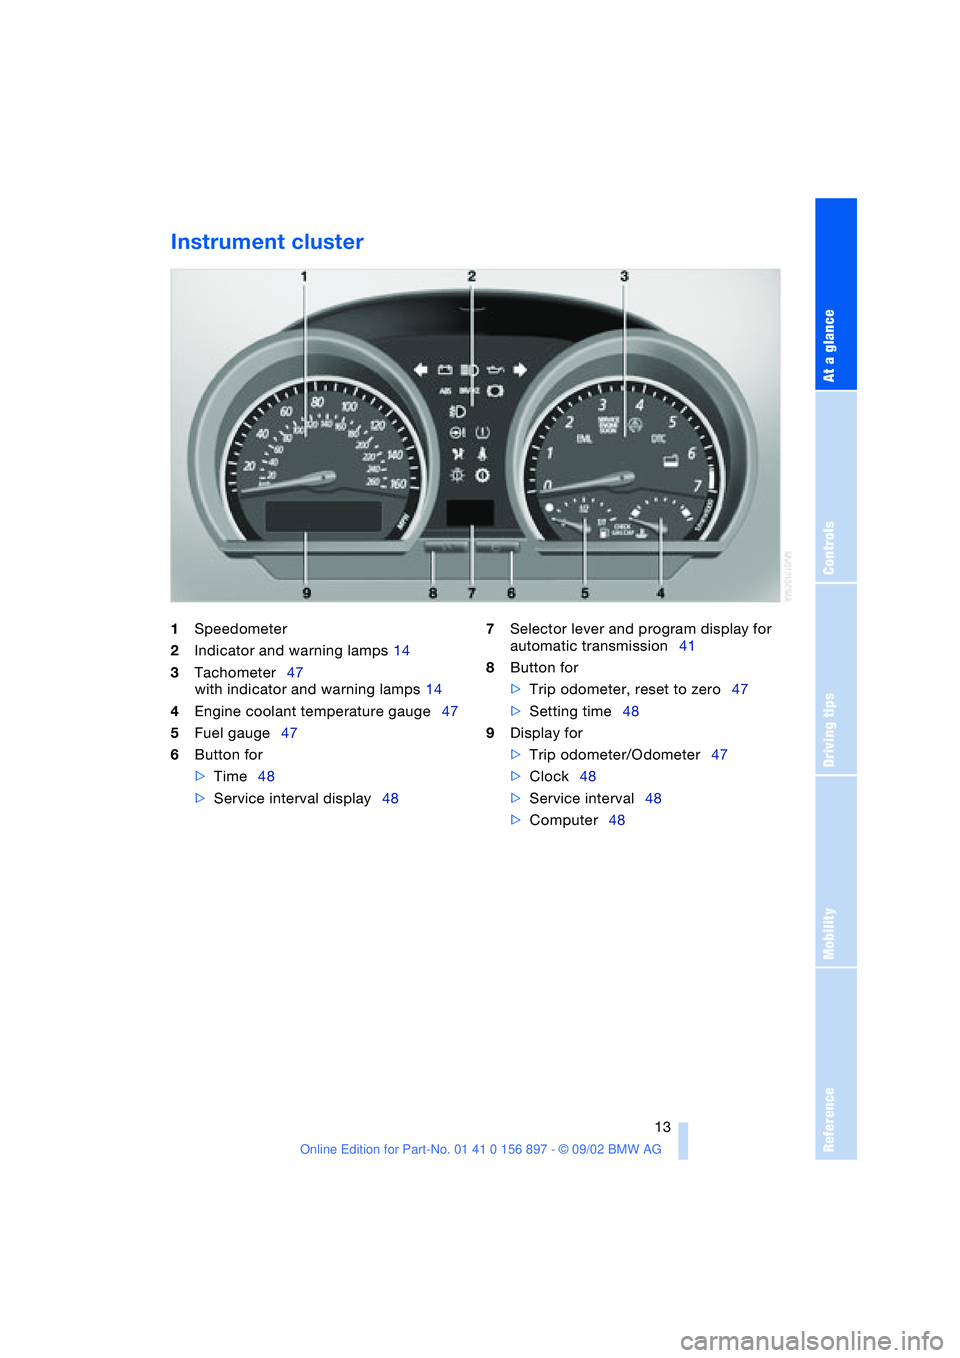
Instrument cluster
1Speedometer
2Indicator and warning lamps 14
3Tachometer47
with indicator and warning lamps 14
4Engine coolant temperature gauge47
5Fuel gauge47
6Button for
>Time48
>Service interval display48 7Selector lever and program display for
automatic transmission41
8Button for
>Trip odometer, reset to zero47
>Setting time48
9Display for
>Trip odometer/Odometer47
>Clock48
>Service interval48
>Computer48
Page 27 of 106

At a glance
Controls
Driving tips
Mobility
Reference
27
Installation
Insert the wind deflector in the guides pro-
vided on the rollover bars.
The wind deflector panels inserted in the
rollover bars cannot be removed.
Clothes hooks
Located on the wind deflector panel in the
rollover bars.
Do not hang heavy objects on the
hooks. If you do so, personal injury
could result during braking or evasive
maneuvers, for example.<
Alarm system*
The concept
The vehicle alarm system responds:
>When a door, the hood or the luggage
compartment lid is opened
>When attempts are made to start the
vehicle
>To movement inside the vehicle – inte-
rior motion sensor
>To alterations in the vehicle tilt, e.g. as
would occur during attempts to steal
the wheels or tow the vehicle
>To interruption of battery voltage.
The alarm produced by the system in the
event of unauthorized vehicle entry and
attempted theft depends on the country
version:
>Sounding of an acoustical alarm for
30 seconds
>Activation of the hazard warning flash-
ers for approx. five minutes.
Arming and disarming the alarm sys-
tem
When the vehicle is locked or unlocked
either via the driver's door lock or with the
remote control, the alarm system is simul-
taneously armed or disarmed.The hazard warning flashers blink once
when the alarm system has been properly
armed.
You can have different acknowledg-
ment signals set to confirm arming
and disarming.<
You can open the luggage compartment lid
when the system is armed by pressing the
remote control button. Refer to page 19.
When it is closed, the lid is once again
secured.
Manual operation of the luggage
compartment lid triggers the alarm.
Refer to page 21.<
To cancel an alarm:
Press the button on the remote control,
refer to page 18, or turn the ignition key to
position 1. Refer to page 38.
Indicator lamp displays
>The indicator lamp beneath the interior
mirror flashes continuously:
The system is armed
>The indicator lamp flashes when it is
being armed:
A door, the hood or luggage compart-
ment lid is not completely closed. Even
if you do not close the area causing the
alert, the remaining areas are secured
and the indicator lamp flashes continu-
ously after 10 seconds.
However, the interior motion sensor is
not activated
Page 37 of 106
At a glance
Controls
Driving tips
Mobility
Reference
37
Vehicle Memory,
Key Memory
How the system functions
You have probably frequently wished that
you could configure individual functions of
your vehicle to reflect your own personal
requirements. In engineering your vehicle,
BMW has incorporated a number of
options for personal adjustment that can be
programmed into your vehicle at your BMW
center.
The available configuration data fall into
two categories, according to whether their
primary orientation is the vehicle – Vehicle
Memory, or the individual – Key Memory.
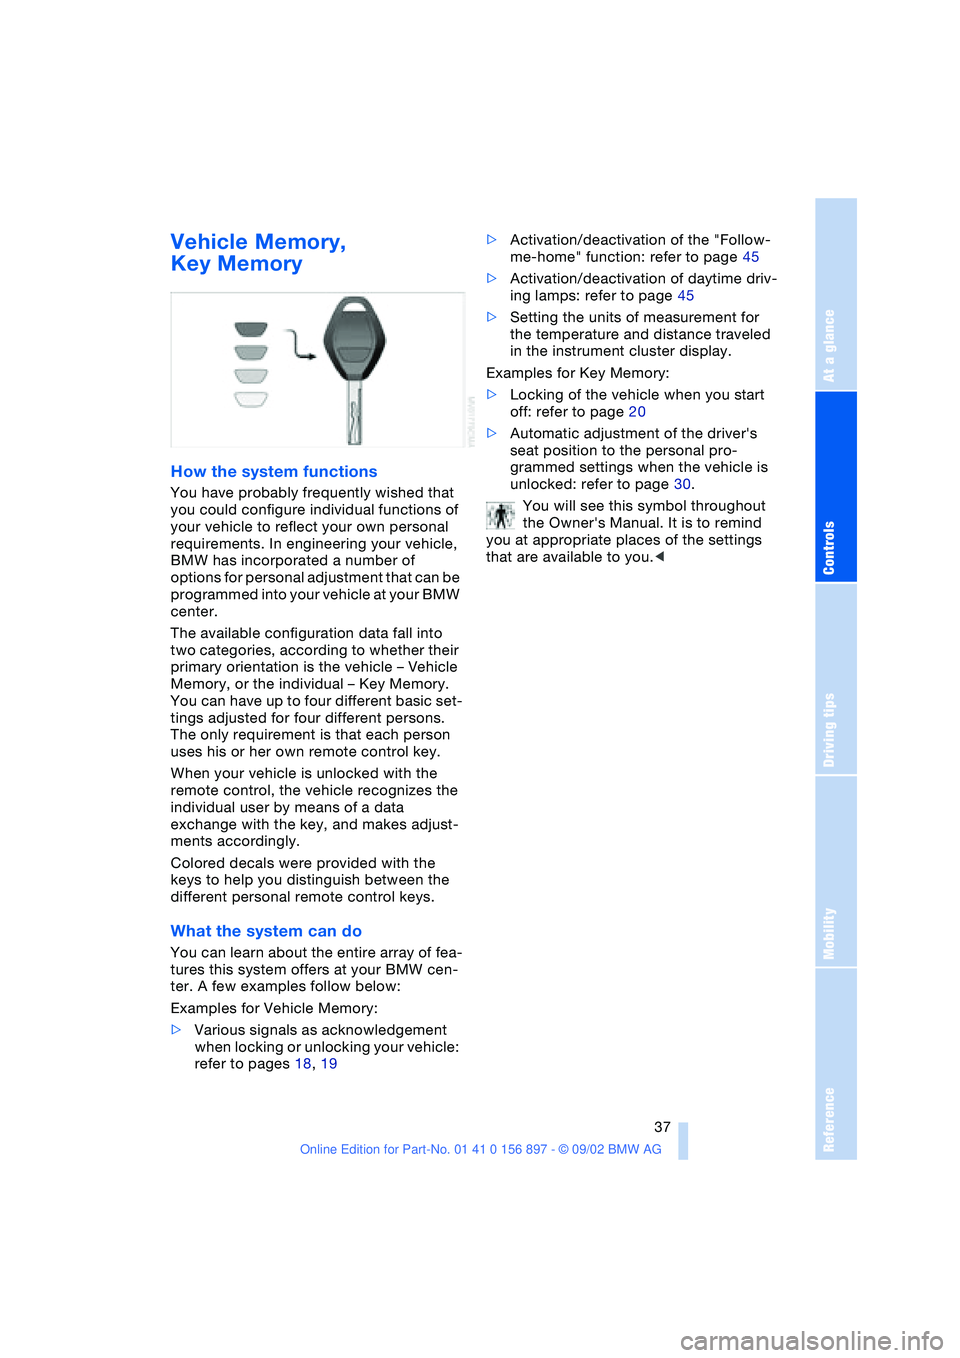
You can have up to four different basic set-
tings adjusted for four different persons.
The only requirement is that each person
uses his or her own remote control key.
When your vehicle is unlocked with the
remote control, the vehicle recognizes the
individual user by means of a data
exchange with the key, and makes adjust-
ments accordingly.
Colored decals were provided with the
keys to help you distinguish between the
different personal remote control keys.
What the system can do
You can learn about the entire array of fea-
tures this system offers at your BMW cen-
ter. A few examples follow below:
Examples for Vehicle Memory:
>Various signals as acknowledgement
when locking or unlocking your vehicle:
refer to pages 18, 19>Activation/deactivation of the "Follow-
me-home" function: refer to page 45
>Activation/deactivation of daytime driv-
ing lamps: refer to page 45
>Setting the units of measurement for
the temperature and distance traveled
in the instrument cluster display.
Examples for Key Memory:
>Locking of the vehicle when you start
off: refer to page 20
>Automatic adjustment of the driver's
seat position to the personal pro-
grammed settings when the vehicle is
unlocked: refer to page 30.
You will see this symbol throughout
the Owner's Manual. It is to remind
you at appropriate places of the settings
that are available to you.<
Page 47 of 106

At a glance
Controls
Driving tips
Mobility
Reference
47
Everything under control
Odometer
1Odometer
2Trip odometer
Odometer
With the ignition key in position 0, you can
activate the displays shown in the illustra-
tion by pressing the button – see arrow – in
the instrument cluster.
Trip odometer
To set to zero
Ignition key position 1
Keep the button pressed until the trip
odometer counter is set to zero.
Tachometer
Never allow the engine to operate with the
needle in the red overspeed sector of the
gauge.
To protect the engine, the fuel supply is
interrupted when you approach this sector.
Fuel gauge
Once indicator lamp 1 stays on continu-
ously, there are still approx. 2 gallons /
8 liters of fuel in the fuel tank.
Tank capacity: approx. 14.5 gallons /
55 liters.
If the tilt of the vehicle varies – when you
are driving in mountainous areas, for exam-
ple – the needle may fluctuate slightly.
Fill the fuel tank well before it is
empty. Driving to the last drop of fuel
can prevent the engine from operating
properly and result in damage.<
When you switch on the ignition, the indi-
cator lamp comes on briefly to indicate an
operational check.
Coolant temperature gauge
Blue
The engine is still cold. Drive at moderate
engine and vehicle speeds.
Page 48 of 106
Everything under control
48
Between the blue and red zones
Normal operating range. The needle may
rise as far as the edge of the red sector dur-
ing normal operation.
Red
When you switch on the ignition, warning
lamp 1 comes on briefly to indicate an
operational check.
Comes on while driving:
The engine has overheated. Switch off the
engine immediately and allow it to cool
down.
For checking the coolant level, refer to
page 80.
Service interval display
Remaining distance to next service
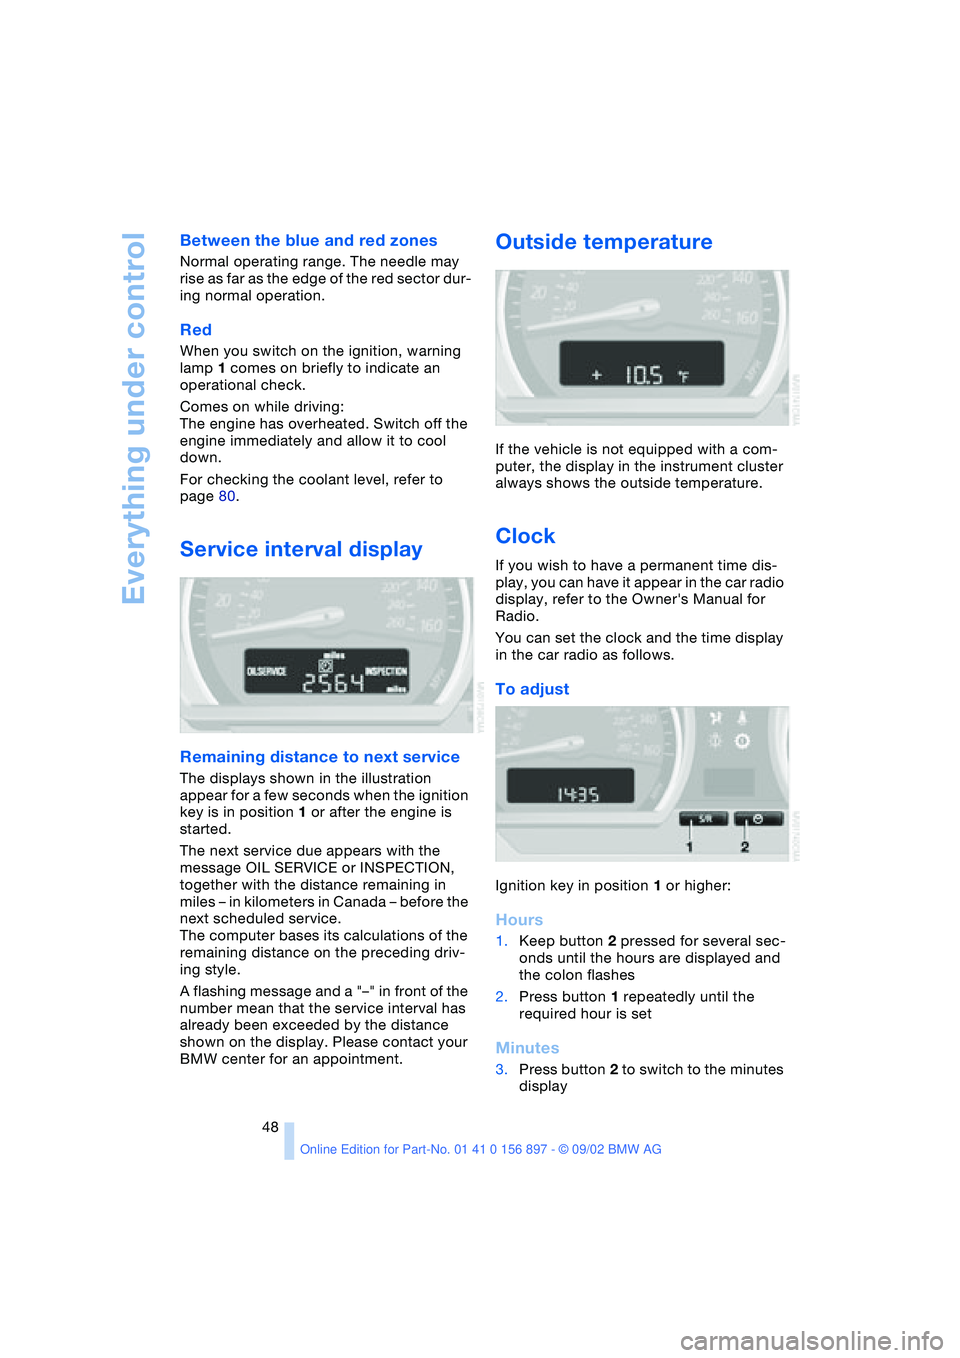
The displays shown in the illustration
appear for a few seconds when the ignition
key is in position 1 or after the engine is
started.
The next service due appears with the
message OIL SERVICE or INSPECTION,
together with the distance remaining in
miles – in kilometers in Canada – before the
next scheduled service.
The computer bases its calculations of the
remaining distance on the preceding driv-
ing style.
A flashing message and a "–" in front of the
number mean that the service interval has
already been exceeded by the distance
shown on the display. Please contact your
BMW center for an appointment.
Outside temperature
If the vehicle is not equipped with a com-
puter, the display in the instrument cluster
always shows the outside temperature.
Clock
If you wish to have a permanent time dis-
play, you can have it appear in the car radio
display, refer to the Owner's Manual for
Radio.
You can set the clock and the time display
in the car radio as follows.
To adjust
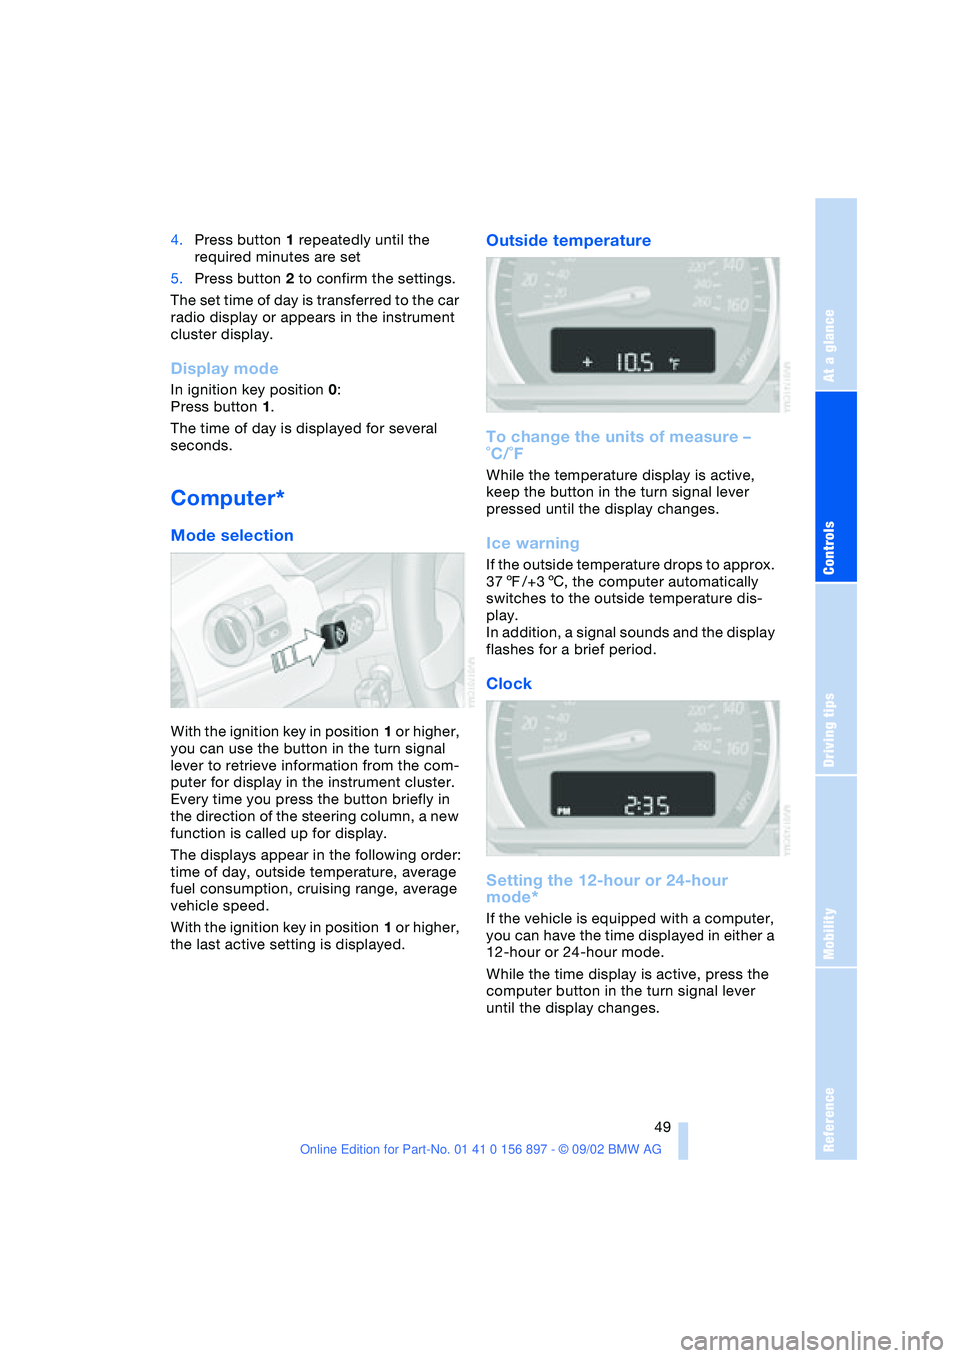
Ignition key in position 1 or higher:
Hours
1.Keep button 2 pressed for several sec-
onds until the hours are displayed and
the colon flashes
2.Press button 1 repeatedly until the
required hour is set
Minutes
3.Press button 2 to switch to the minutes
display
Page 49 of 106
At a glance
Controls
Driving tips
Mobility
Reference
49
4.Press button 1 repeatedly until the
required minutes are set
5.Press button 2 to confirm the settings.
The set time of day is transferred to the car
radio display or appears in the instrument
cluster display.
Display mode
In ignition key position 0:
Press button 1.
The time of day is displayed for several
seconds.
Computer*
Mode selection
With the ignition key in position 1 or higher,
you can use the button in the turn signal
lever to retrieve information from the com-
puter for display in the instrument cluster.
Every time you press the button briefly in
the direction of the steering column, a new
function is called up for display.
The displays appear in the following order:
time of day, outside temperature, average
fuel consumption, cruising range, average
vehicle speed.
With the ignition key in position 1 or higher,
the last active setting is displayed.
Outside temperature
To change the units of measure –
˚C/˚F
While the temperature display is active,
keep the button in the turn signal lever
pressed until the display changes.
Ice warning
If the outside temperature drops to approx.
377/+36, the computer automatically
switches to the outside temperature dis-
play.
In addition, a signal sounds and the display
flashes for a brief period.
Clock
Setting the 12-hour or 24-hour
mode*
If the vehicle is equipped with a computer,
you can have the time displayed in either a
12-hour or 24-hour mode.
While the time display is active, press the
computer button in the turn signal lever
until the display changes.