2003 BMW 3.0i ROADSTER child lock
[x] Cancel search: child lockPage 4 of 106

Contents
Contents
Notes
6About this Owner's Manual
6Symbols used
6Symbol on vehicle parts
6Your individual vehicle
6Status at time of printing
7For your own safety
7Service and warranty
8Reporting safety defects
Overview
12Cockpit
13Instrument cluster
14Indicator and warning lamps
Opening and closing
18Keys
18Central locking system
18Remote control
20Door lock
20Interior
21Luggage compartment lid
22Luggage compartment
22Electric power windows
23Manual convertible top
24Fully automatic convertible top*
26Wind deflector*
27Alarm system*
Adjustments
29Safe seating position
29Seats
30Seat memory*
31Seat heating*
31Safety belts
32Steering wheel
32Mirrors
33Airbags
34Transporting children safely
37Vehicle Memory, Key Memory
Driving
38Ignition lock
38Engine
39Parking brake
40Manual transmission
40Automatic transmission with
Steptronic*
42Electric Power Steering EPS
42Drivelogic*
42Turn signal indicators/Headlamp
flasher
43Washer/wiper system and
rain sensor*
44Cruise control*
Lamps
45Parking lamps/Low beams
46High beams/Standing lamps
46Instrument lighting
46Fog lamps
46Interior lamps
© 2002 Bayerische Motoren Werke
Aktiengesellschaft
Munich, Germany
Reprinting, including excerpts, only with the
written consent of BMW AG, Munich.
Order No. 01 41 0 156 897
US English VIII/02
Printed in Germany
Printed on environmentally friendly paper –
bleached without chlorine, suitable for recycling.
Page 22 of 106
Opening and closing
22
Luggage compartment
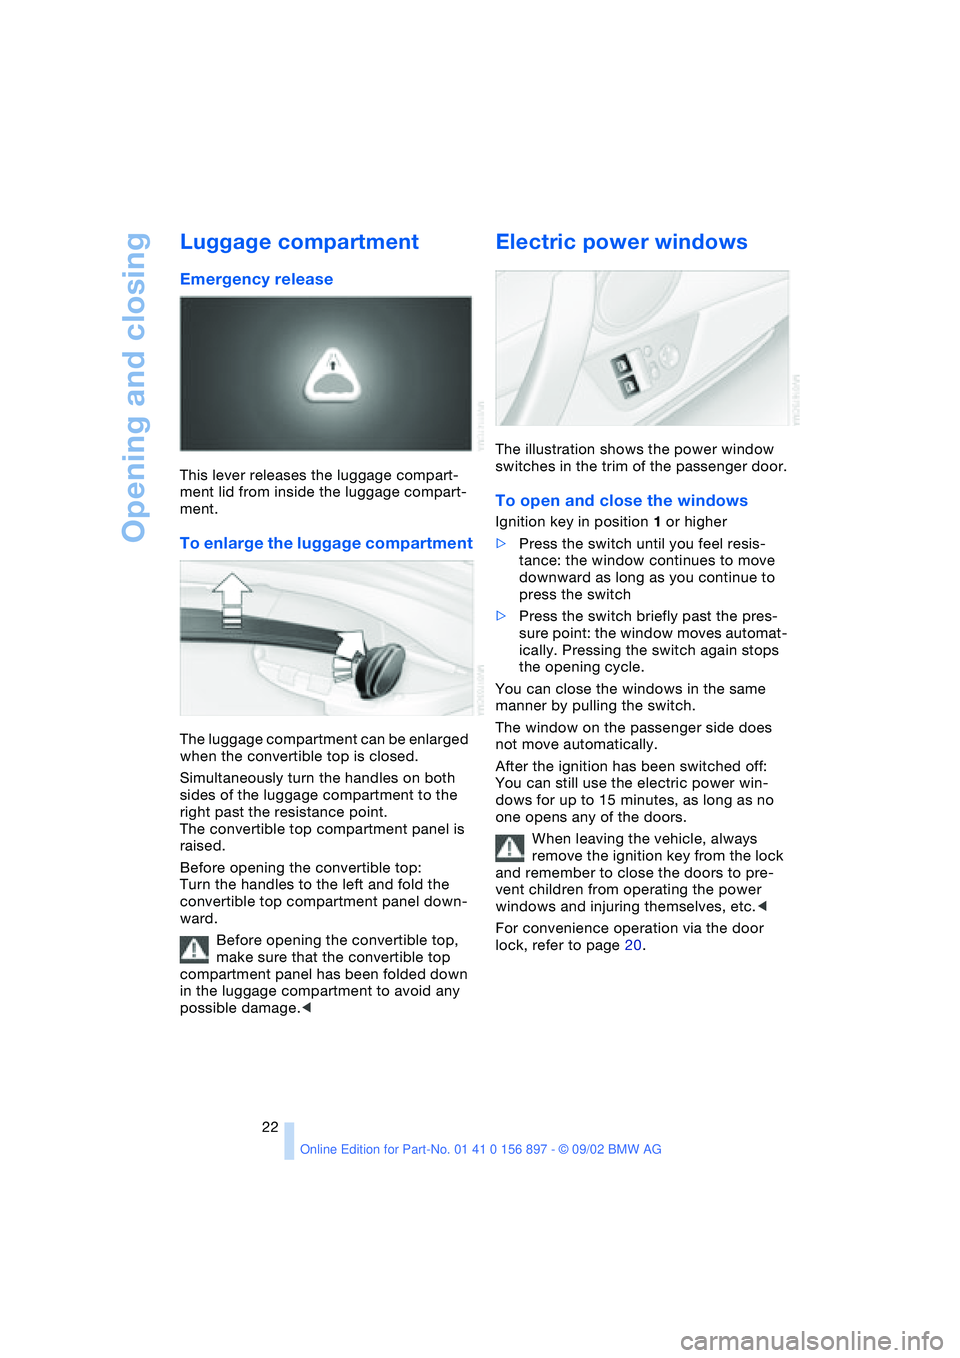
Emergency release
This lever releases the luggage compart-
ment lid from inside the luggage compart-
ment.
To enlarge the luggage compartment
The luggage compartment can be enlarged
when the convertible top is closed.
Simultaneously turn the handles on both
sides of the luggage compartment to the
right past the resistance point.
The convertible top compartment panel is
raised.
Before opening the convertible top:
Turn the handles to the left and fold the
convertible top compartment panel down-
ward.
Before opening the convertible top,
make sure that the convertible top
compartment panel has been folded down
in the luggage compartment to avoid any
possible damage.<
Electric power windows
The illustration shows the power window
switches in the trim of the passenger door.
To open and close the windows
Ignition key in position 1 or higher
>Press the switch until you feel resis-
tance: the window continues to move
downward as long as you continue to
press the switch
>Press the switch briefly past the pres-
sure point: the window moves automat-
ically. Pressing the switch again stops
the opening cycle.
You can close the windows in the same
manner by pulling the switch.
The window on the passenger side does
not move automatically.
After the ignition has been switched off:
You can still use the electric power win-
dows for up to 15 minutes, as long as no
one opens any of the doors.
When leaving the vehicle, always
remove the ignition key from the lock
and remember to close the doors to pre-
vent children from operating the power
windows and injuring themselves, etc.<
For convenience operation via the door
lock, refer to page 20.
Page 24 of 106
Opening and closing
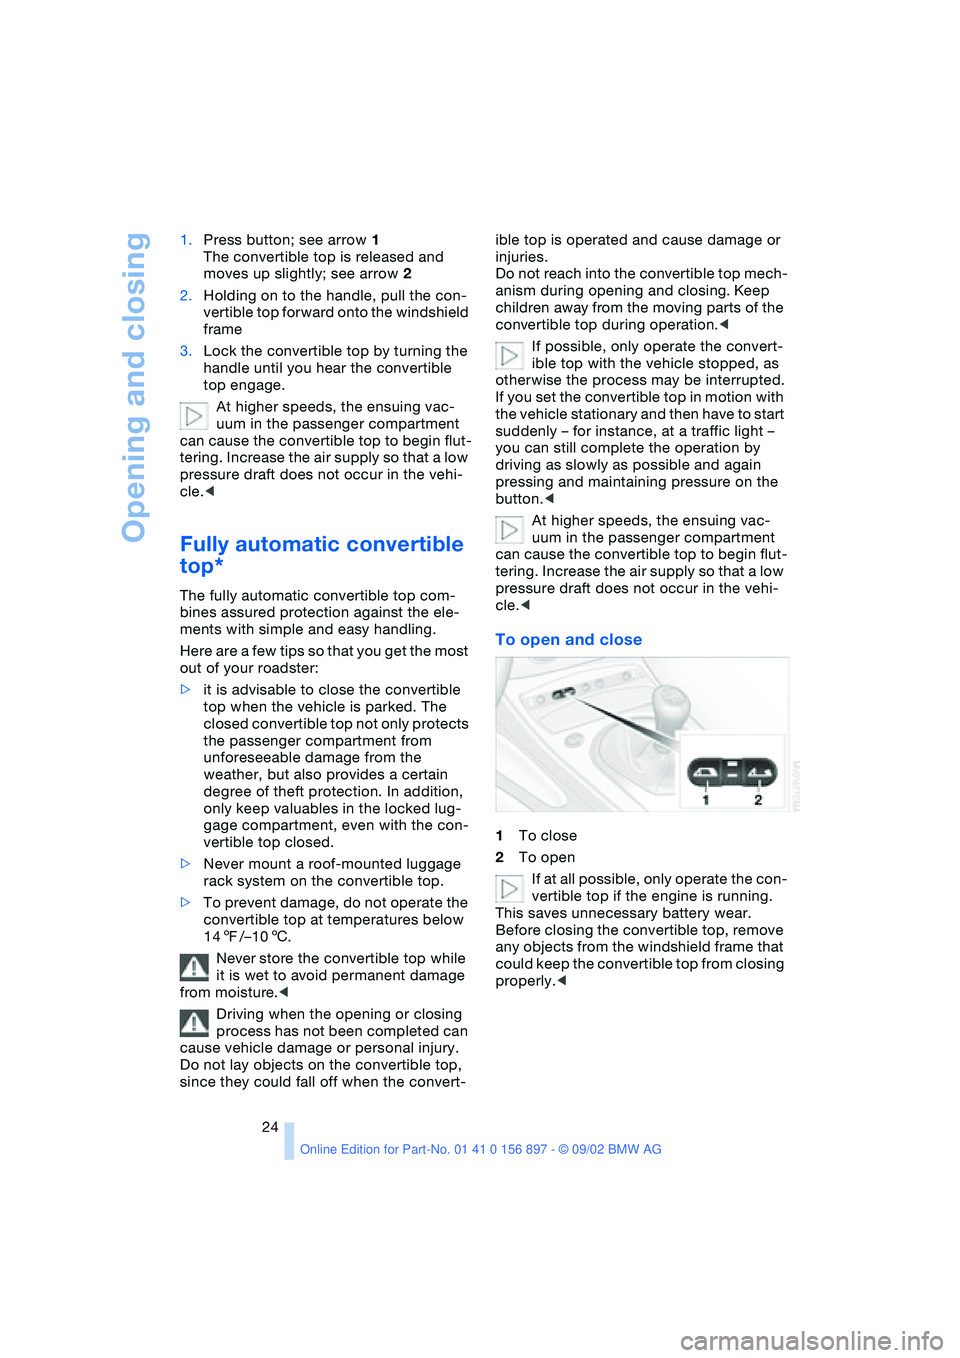
24 1.Press button; see arrow 1
The convertible top is released and
moves up slightly; see arrow 2
2.Holding on to the handle, pull the con-
vertible top forward onto the windshield
frame
3.Lock the convertible top by turning the
handle until you hear the convertible
top engage.
At higher speeds, the ensuing vac-
uum in the passenger compartment
can cause the convertible top to begin flut-
tering. Increase the air supply so that a low
pressure draft does not occur in the vehi-
cle.<
Fully automatic convertible
top*
The fully automatic convertible top com-
bines assured protection against the ele-
ments with simple and easy handling.
Here are a few tips so that you get the most
out of your roadster:
>it is advisable to close the convertible
top when the vehicle is parked. The
closed convertible top not only protects
the passenger compartment from
unforeseeable damage from the
weather, but also provides a certain
degree of theft protection. In addition,
only keep valuables in the locked lug-
gage compartment, even with the con-
vertible top closed.
>Never mount a roof-mounted luggage
rack system on the convertible top.
>To prevent damage, do not operate the
convertible top at temperatures below
147/–106.
Never store the convertible top while
it is wet to avoid permanent damage
from moisture.<
Driving when the opening or closing
process has not been completed can
cause vehicle damage or personal injury.
Do not lay objects on the convertible top,
since they could fall off when the convert-ible top is operated and cause damage or
injuries.
Do not reach into the convertible top mech-
anism during opening and closing. Keep
children away from the moving parts of the
convertible top during operation.<
If possible, only operate the convert-
ible top with the vehicle stopped, as
otherwise the process may be interrupted.
If you set the convertible top in motion with
the vehicle stationary and then have to start
suddenly – for instance, at a traffic light –
you can still complete the operation by
driving as slowly as possible and again
pressing and maintaining pressure on the
button.<
At higher speeds, the ensuing vac-
uum in the passenger compartment
can cause the convertible top to begin flut-
tering. Increase the air supply so that a low
pressure draft does not occur in the vehi-
cle.<
To open and close
1To close
2To open
If at all possible, only operate the con-
vertible top if the engine is running.
This saves unnecessary battery wear.
Before closing the convertible top, remove
any objects from the windshield frame that
could keep the convertible top from closing
properly.<
Page 28 of 106

Opening and closing
28 >If the indicator lamp goes out as soon
as the system is disarmed:
No manipulation or attempted intru-
sions have been detected in the period
since the system was armed
>If the indicator lamp flashes for
10 seconds when the system is being
disarmed:
An attempted entry has been detected
in the period since the system was
armed.
After an alarm has been triggered, the indi-
cator lamp will flash continuously.
Interior motion sensor*
The system monitors the footwells and the
seating areas of the driver and passenger.
Deactivate the interior motion sensor
– refer to Avoiding unintentional
alarms – if children or animals are to remain
in the vehicle.<
Avoiding unintentional alarms
The tilt alarm sensor and interior motion
sensor can be deactivated at the same
time. You can do this to prevent a false
alarm from being triggered, for instance in
garages with elevator ramps or when the
vehicle is transported by train.
Lock the vehicle twice = arm the system:
Press the button on the remote control
twice in succession,
or
lock the vehicle twice with the key. Refer to
page 20.
The indicator lamp lights up briefly and
then flashes continuously. The tilt alarm
sensor and the interior motion sensor are
deactivated as long as the system is
armed.
Page 29 of 106
At a glance
Controls
Driving tips
Mobility
Reference
29
Adjustments
Safe seating position
For relaxed and fatigue-free driving you
should select a seating position that
reflects your personal requirements. The
correct seating position combines with
safety belts and airbags to enhance occu-
pant safety in the event of an accident. To
ensure that the vehicle's safety systems
provide you with optimal protection, we
request that you direct your careful atten-
tion to the following section.
For supplementary information on trans-
porting children, refer to page 34.
Sitting safely with airbags
Always maintain an adequate dis-
tance between yourself and the air-
bags.
Always hold the steering wheel by its rim
with hands at the 9 and 3 o'clock positions,
to minimize the risk of injuries to your
hands or arms in the event of airbag
deployment. Never allow any objects, indi-
viduals or animals to obstruct the areas
between passengers and airbags. Never
use the front airbag's cover as a storage
tray or support for objects of any kind.
Never allow front passengers to rest their
feet or legs on the airbag cover.<
For airbag locations and additional infor-
mation on airbags, refer to page 33.
Sitting safely with safety belts
Never allow more than one person to
wear a single safety belt. Never allow
infants or small children to ride in a passen-
ger's lap. Avoid twisting the belt while rout-
ing it firmly across the pelvis and shoulder,
wear it as snugly against your body as pos-
sible. Do not allow the belt to rest against
hard or fragile objects. Do not route the belt
across your neck, or run it across sharp
edges. Be sure that the belt does not
become caught or jammed. Avoid wearing
bulky clothing and pull on the lap belt peri-odically to retension it over your shoulders.
In the event of a frontal impact, a loose lap
belt could slide over your hips, leading to
abdominal injury. In addition, the safety
belt's restraint effectiveness is reduced if
the belt is worn loosely. Expectant mothers
should always wear their safety belts, tak-
ing care to position the lap belt against the
lower hips, where it will not exert pressure
against the abdominal area.<
For information on using the safety belts,
refer to page 31.
Seats
Before adjusting your seat, always
observe the following precautions
Never try to adjust your seat while
operating the vehicle. The seat could
respond with an unexpected movement,
and the ensuing loss of vehicle control
could result in an accident. Never ride with
the backrest inclined to an extreme angle –
especially important for the front passen-
ger to remember. If you do so, there is a
risk that you will slide under the safety belt
in the event of an accident, thus reducing
the protection provided by the safety belt.<
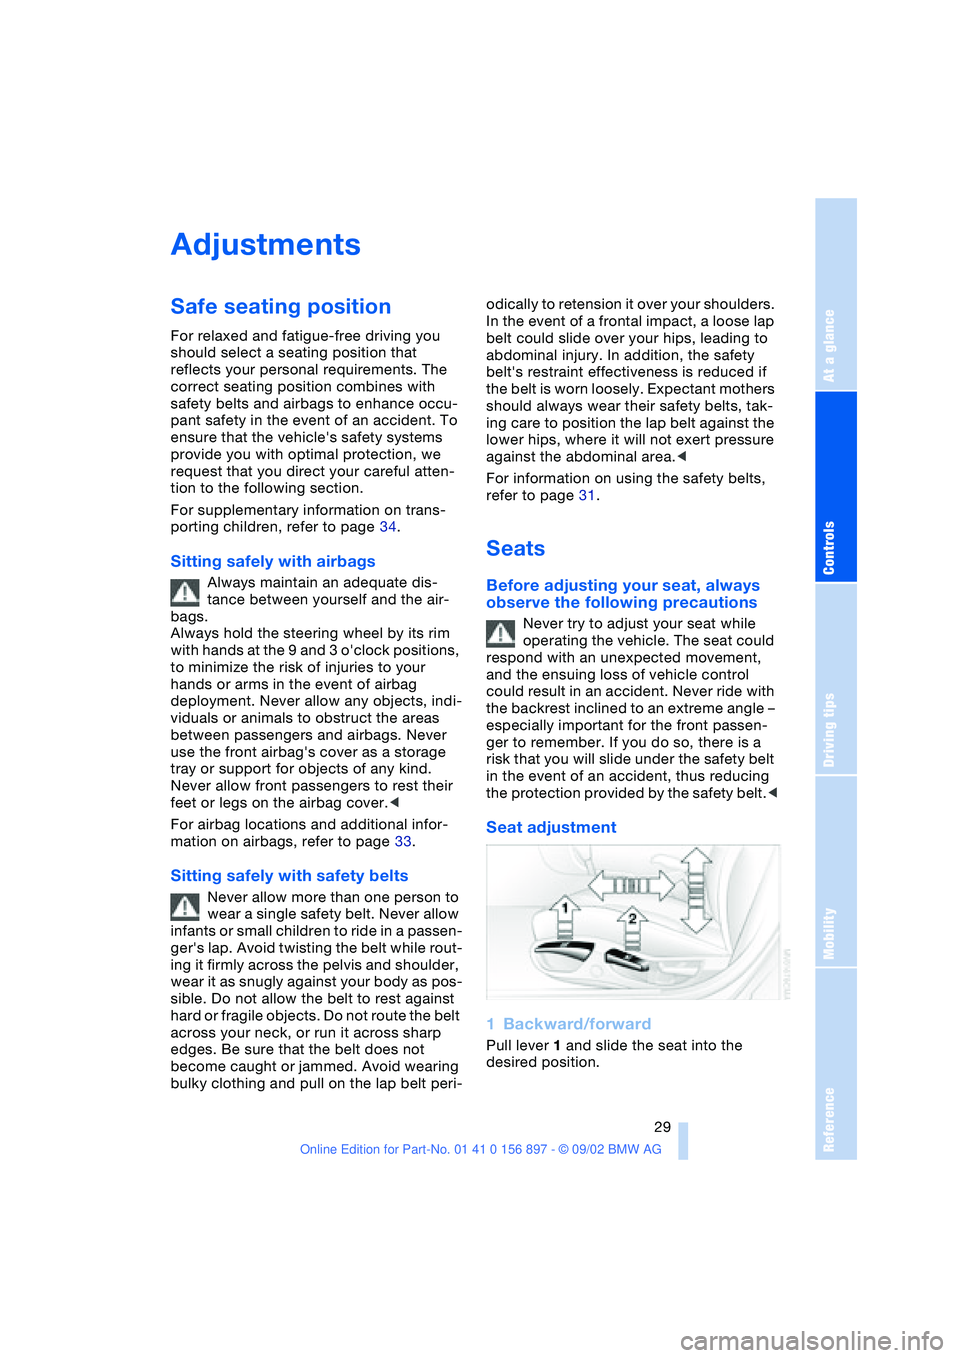
Seat adjustment
1Backward/forward
Pull lever 1 and slide the seat into the
desired position.
Page 32 of 106
Adjustments
32
To unlock the safety belt
1.Press the red button in the belt buckle
2.Hold the belt
3.Guide the belt back into its reel.
If the safety belt system has been
stressed as a result of an accident or
if it has been damaged in any other way:
have the safety belt mechanism, including
the safety belt tensioners and any child-
restraint systems, replaced by your BMW
center. In addition, have your BMW center
inspect the safety belt anchors. Otherwise,
the system cannot be guaranteed to pro-
vide the required protection in the event of
an accident.<
Steering wheel
Adjustments
Never attempt to adjust the steering
wheel while driving the vehicle. It
could respond with unexpected move-
ment, posing a potential accident hazard.<
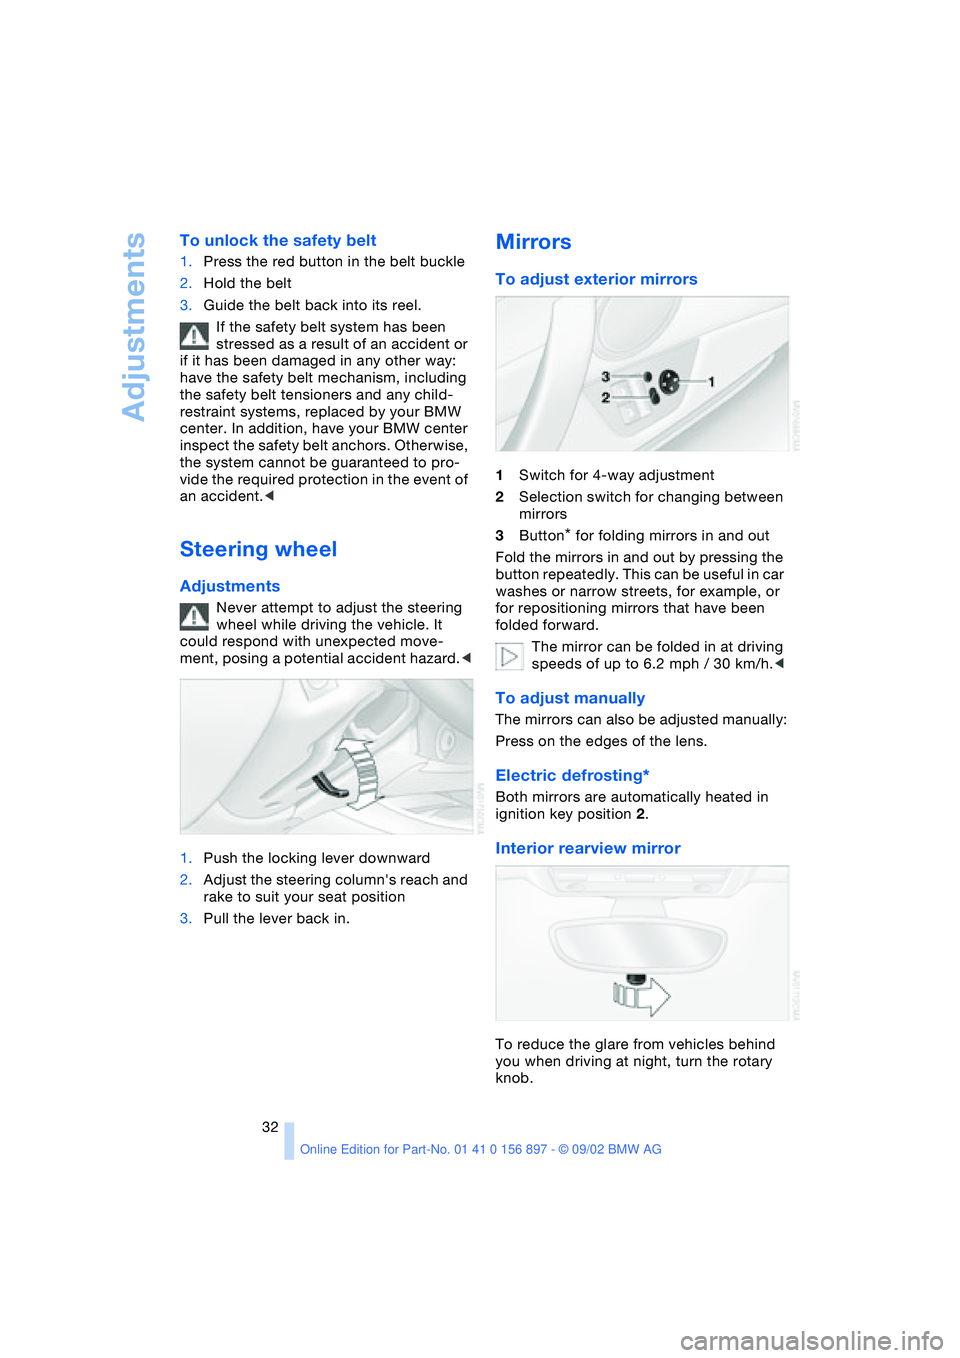
1.Push the locking lever downward
2.Adjust the steering column's reach and
rake to suit your seat position
3.Pull the lever back in.
Mirrors
To adjust exterior mirrors
1Switch for 4-way adjustment
2Selection switch for changing between
mirrors
3Button
* for folding mirrors in and out
Fold the mirrors in and out by pressing the
button repeatedly. This can be useful in car
washes or narrow streets, for example, or
for repositioning mirrors that have been
folded forward.
The mirror can be folded in at driving
speeds of up to 6.2 mph / 30 km/h.<
To adjust manually
The mirrors can also be adjusted manually:
Press on the edges of the lens.
Electric defrosting*
Both mirrors are automatically heated in
ignition key position 2.
Interior rearview mirror
To reduce the glare from vehicles behind
you when driving at night, turn the rotary
knob.
Page 34 of 106
Adjustments
34 gered in every type of collision, e.g. in the
event of minor accidents, certain vehicle
roll-over situations or collisions from the
rear. In these instances, the safety belt pro-
vides sufficient protection.
Adjust your seat to a position that provides
maximum distance between you and the
steering wheel and the instrument panel
while still allowing comfortable and safe
access to all vehicle controls.
To minimize the risk of sustaining hand and
arm injuries, always hold the steering wheel
on the rim with the hands at or near the
9 and 3 o'clock positions. Do not place
your hands on the center pad.
Never allow any objects to obstruct the
area between the airbags and an occupant.
Do not use the cover panel above the pas-
senger side airbags as a storage area.
Never allow front passengers to lean
against or rest their feet or legs on the air-
bag cover panel.
Do not apply adhesive materials to the
cover panels of the airbags, cover them or
modify them in any other way.
Never install a rear-facing child-restraint
system in the passenger seat of this vehi-
cle, unless the passenger airbags have
been turned off and the indicator lamp in
the center console indicates that the pas-
senger airbags are deactivated.
If you transport children, carefully read and
comply with the instructions in the follow-
ing section.
Be sure that child-restraints are mounted
correctly and as far as possible towards the
rear and in the lowest position. <
Even when all these guidelines are
observed, there is still a small residual risk
of injuries resulting from contact with
deploying airbags in isolated instances.
The ignition and inflation noise from the air-
bags may induce a mild temporary hearing
loss in sensitive individuals.
Transporting children safely
Deactivating/reactivating passenger
airbags
The passenger airbags must be deac-
tivated before using a rear-facing
child-restraint system on the passenger
seat, refer also to page 36 for explanation.
BMW also recommends that the passenger
airbags be deactivated if a child is trans-
ported in a front-facing child-restraint sys-
tem, regardless of the age of the child. If
you transport a child in the passenger seat
– not an infant in a rear-facing seat – who is
properly seated and seat-belted at all
times, the potential benefits of airbags
deploying in an accident generally out-
weigh the risks of the child being injured by
the force of a deploying airbag.
Therefore, you should deactivate the pas-
senger airbags only if you find it difficult to
ensure that the child will remain properly
seated and seat-belted at all times.
Always position the passenger seat as far
back as possible and at the lowest level.
The above warning and recommendations
are compatible with regulations estab-
lished by the National Highway Traffic
Safety Administration – NHTSA – permitting
the deactivation of front passenger airbags
by means of an on-off switch for members
of certain "at risk" groups.
Specifically, the 'at risk' groups are:
>Infants in rear-facing infant seats
>Persons with certain medical conditions
>Children aged 12 and under in the front
passenger seat.
NHTSA provides this information via their
website – www.nhtsa.dot.gov – or via their
Auto Safety Hotline toll-free at 1-800-424-
9393 or 366-0123 in Washington, D.C.
area.<
Page 36 of 106
Adjustments
36
LATCH child-restraint mounting
system*
LATCH: Lower Anchors and Tethers for
CHildren
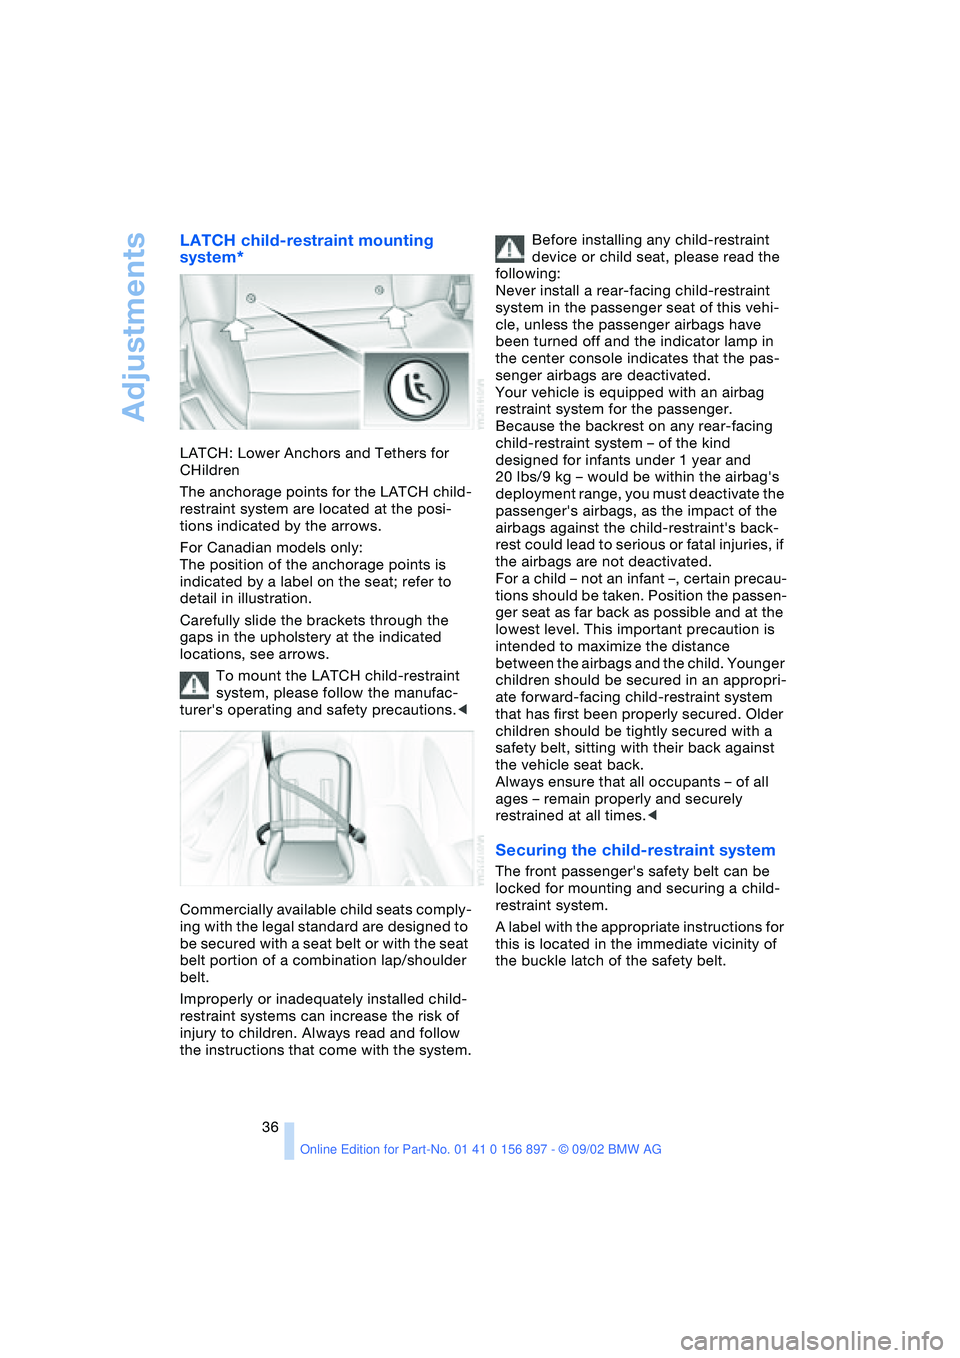
The anchorage points for the LATCH child-
restraint system are located at the posi-
tions indicated by the arrows.
For Canadian models only:
The position of the anchorage points is
indicated by a label on the seat; refer to
detail in illustration.
Carefully slide the brackets through the
gaps in the upholstery at the indicated
locations, see arrows.
To mount the LATCH child-restraint
system, please follow the manufac-
turer's operating and safety precautions.<
Commercially available child seats comply-
ing with the legal standard are designed to
be secured with a seat belt or with the seat
belt portion of a combination lap/shoulder
belt.
Improperly or inadequately installed child-
restraint systems can increase the risk of
injury to children. Always read and follow
the instructions that come with the system.Before installing any child-restraint
device or child seat, please read the
following:
Never install a rear-facing child-restraint
system in the passenger seat of this vehi-
cle, unless the passenger airbags have
been turned off and the indicator lamp in
the center console indicates that the pas-
senger airbags are deactivated.
Your vehicle is equipped with an airbag
restraint system for the passenger.
Because the backrest on any rear-facing
child-restraint system – of the kind
designed for infants under 1 year and
20 lbs/9 kg – would be within the airbag's
deployment range, you must deactivate the
passenger's airbags, as the impact of the
airbags against the child-restraint's back-
rest could lead to serious or fatal injuries, if
the airbags are not deactivated.
For a child – not an infant –, certain precau-
tions should be taken. Position the passen-
ger seat as far back as possible and at the
lowest level. This important precaution is
intended to maximize the distance
between the airbags and the child. Younger
children should be secured in an appropri-
ate forward-facing child-restraint system
that has first been properly secured. Older
children should be tightly secured with a
safety belt, sitting with their back against
the vehicle seat back.
Always ensure that all occupants – of all
ages – remain properly and securely
restrained at all times.<
Securing the child-restraint system
The front passenger's safety belt can be
locked for mounting and securing a child-
restraint system.
A label with the appropriate instructions for
this is located in the immediate vicinity of
the buckle latch of the safety belt.