2002 MERCEDES-BENZ E WAGON fuel
[x] Cancel search: fuelPage 243 of 354

240 What you should know at the gas station
Te ch n i c a l
data Instruments
and controlsOperationDrivingInstrument
cluster displayPractical hints Car care Index
Fuel tank capacity approximately 21.1 US gal (80.0 l).
This includes approximately 2.6 US gal (10.0 l) reserve.
Use premium unleaded gasoline:
Posted Octane Index 91 (Average of 96 RON / 86 MON).
Engine oil
Engine oil level check, see page 273.
Fill quantity between upper and lower dipstick marking
level: 2,1 US qt (2.0 l).
Recommended engine oils, see Approved Service
Products sheet.
Coolant
For normal replenishing, use water (potable water
quality).
For further information (e.g. anticorrosion /antifreeze),
see page 332.
Spark plugs
Approved spark plugs, see page 326.Tire pressure
For tire pressure, refer to tire pressure label inside the
fuel filler flap.
Air conditioner
R-134a refrigerant and special PAG lubricant, see
page 328.
Bulbs
High and low beams: H7 (55 W),
low beam: Xenon (optional)
fog lamps: H1 (55 W),
turn signal lamps,
front 1156 NA (26.9 / 5 W / 32 / 4 cp),
parking and standing lamps, front: H 6W (6 W)
side marker lamps, front: 5 W / 4 cp,
turn signal lamps, rear: 21 W / 24 cp,
stop, tail and parking lamp: 21 W / 4 cp,
tail, parking and side marker lamp: 5 W / 4 cp,
rear fog lamp, driver’s side: 21 W / 32 cp,
backup lamps: 21 W / 32 cp,
license plate lamps: 5 W / 4 cp
Page 246 of 354

243 Contents – Instrument cluster display
Te ch n i c a l
data Instruments
and controlsOperation DrivingInstrument
cluster displayPractical hints Car care Index
Instrument cluster displayMalfunction and indicator lamps
in the instrument cluster .........244
On-board diagnostic system .....244
Check engine malfunction
indicator lamp .............................244
Brake warning lamp ..................245
Supplemental restraint system
(SRS) indicator lamp ..................246
Fuel reserve and fuel cap
placement warning ....................246
Electronic stability program
(ESP) — warning lamp ...............247
BAS / ESP malfunction
indicator lamp .............................247ABS malfunction
indicator lamp ............................ 248
Seat belt warning lamp ............. 248
Malfunction and indicator lamp in
the center console .................... 249
AIRBAG OFF indicator lamp .... 249
Malfunction and warning
messages in the
multifunction display .............. 250
DISPLAY DEFECTIVE ................ 251
BATTERY / ALTERNATOR ........ 252
ABS-SYSTEM .............................. 253
BRAKE ASSIST ........................... 253
BRAKE LINING WEAR .............. 254BRAKE FLUID .............................254
PARKING BRAKE .......................255
ENGINE FAN ...............................255
COOLANT (coolant level) ..........256
COOLANT TEMP. ........................257
LIGHTING SYSTEM ....................258
LIGHT SENSOR ...........................259
REMOVE KEY .............................259
STEERING GEAR OIL .................260
ENGINE OIL LEVEL ................... 261
WASHER FLUID .........................262
ELEC. STABIL. PROG.
(Electronic stability program) ..263
TELE AID .....................................263
Page 247 of 354

244 Malfunction and indicator lamps
Te ch n i c a l
data Instruments
and controlsOperation DrivingInstrument
cluster displayPractical hints Car care Index
Malfunction and indicator lamps
in the instrument cluster
General information:
If a bulb in the instrument cluster fails to light up
during the bulb self-check when turning the electronic
key in steering lock to position 2, have it checked and
replaced if necessary.
On-board diagnostic system
Check engine malfunction indicator lamp
Engine malfunction indicator lamp. If the
“CHECK ENGINE” malfunction indicator
lamp comes on when the engine is running,
it indicates a malfunction of the fuel management
system, emission control system, systems which impact
emissions, or the fuel cap is not closed tight (check the
fuel cap). If the “CHECK ENGINE” lamp is illuminated
continuously and the vehicle is driving normally, you
may still drive the vehicle, however, in all cases, we
recommend that you have the system checked at your
authorized Mercedes-Benz Center as soon as possible. If the “CHECK ENGINE” lamp comes on continuously
and / or the vehicle is not driving normally, serious
damage can occur to the emission system. Please
contact your authorized Mercedes-Benz Center
immediately.
The Sequential Multiport Fuel Injection (SFI) control
module monitors emission control components that
either provide input signals to or receive output signals
from the control module. Malfunctions resulting from
interruptions or failure of any of these components are
indicated by the “CHECK ENGINE” malfunction
indicator lamp in the instrument cluster and are
simultaneously stored in the SFI control module.
If the “CHECK ENGINE” malfunction indicator lamp
comes on, have the system checked at your authorized
Mercedes-Benz Center as soon as possible.
With some exceptions, the control module switches off
the “CHECK ENGINE” malfunction indicator lamp if the
condition, causing the lamp to come on, no longer exists
during three consecutive cycles. See also page 246 for
fuel cap placement warning.
CHECK
ENGINE
Page 249 of 354

246 Malfunction and indicator lamps
Te ch n i c a l
data Instruments
and controlsOperation DrivingInstrument
cluster displayPractical hints Car care Index
Supplemental restraint system (SRS) indicator lamp
The operational readiness of the airbag
system is verified by the indicator lamp
“SRS” in the instrument cluster when
turning the electronic key in steering lock to position 1
or 2. If no malfunction is detected, the lamp will go out
after approximately 4 seconds; after the lamp goes out,
the system continues to monitor the components and
circuitry of the airbag system and will indicate a
malfunction by coming on again.
See page 68 for notes on airbags, see page 67 for belt
tensioners and page 57 for infant and child seat
restraint.Fuel reserve and fuel cap placement warning
When the warning lamp (1) comes on after starting the
engine, or if it comes on while driving, it indicates that
the fuel level is down to the reserve quantity of
approximately 2.6 gal (10 liters).
The warning lamp blinks when the fuel cap is not
closed, or a fuel system leak has been detected.
Retighten cap and see if lamp goes out after restart and
next OBD selfcheck.
If the warning lamp continues to blink after closing the
fuel cap correctly, have the fuel system checked at your
authorized Mercedes-Benz Center as soon as possible.
Leaving the engine running and the fuel cap open can
also cause the “CHECK ENGINE” lamp to illuminate, see
also page 244.
Wa r n i n g !
In the event a malfunction of the “SRS” is indicated
as outlined above, the “SRS” may not be
operational. For your safety, we strongly
recommend that you visit an authorized Mercedes-
Benz Center immediately to have the system
checked; otherwise the “SRS” may not be activated
when needed in an accident, which could result in
serious or fatal injury, or it might deploy
unexpectedly and unnecessarily which could also
result in injury.SRS
1
P54.30-4557-21
Page 268 of 354
265 Contents – Practical hints
Te ch n i c a l
data Instruments
and controlsOperation DrivingInstrument
cluster displayPractical hintsCar care Index
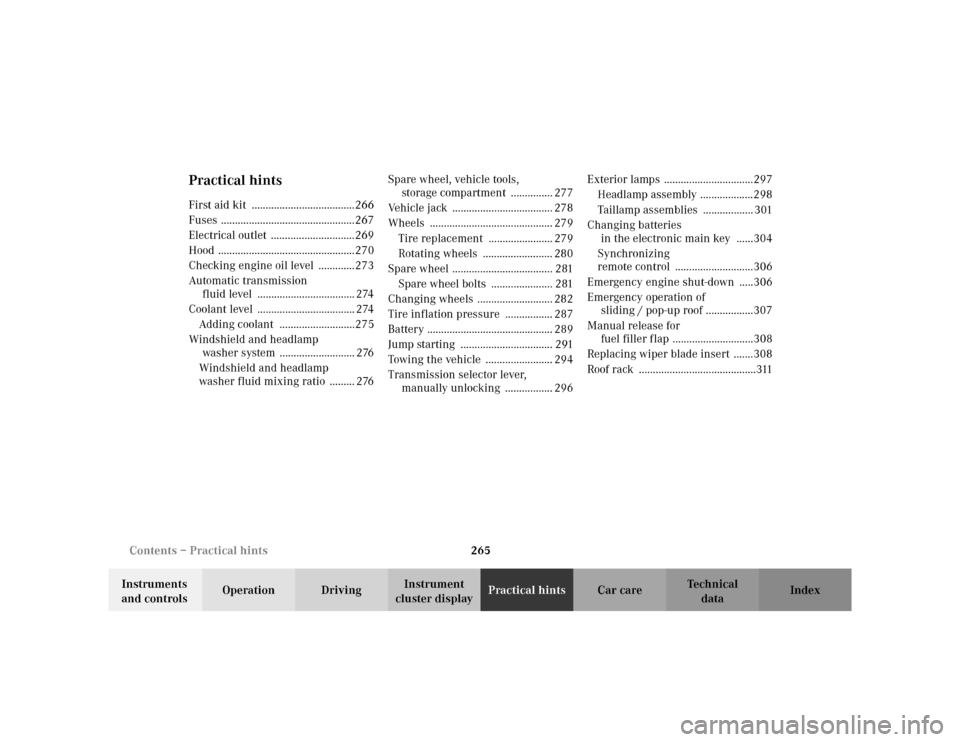
Practical hintsFirst aid kit .....................................266
Fuses ................................................267
Electrical outlet ..............................269
Hood .................................................270
Checking engine oil level .............273
Automatic transmission
fluid level ................................... 274
Coolant level ................................... 274
Adding coolant ...........................275
Windshield and headlamp
washer system ........................... 276
Windshield and headlamp
washer fluid mixing ratio ......... 276Spare wheel, vehicle tools,
storage compartment ............... 277
Vehicle jack .................................... 278
Wheels ............................................ 279
Tire replacement ....................... 279
Rotating wheels ......................... 280
Spare wheel .................................... 281
Spare wheel bolts ...................... 281
Changing wheels ........................... 282
Tire inflation pressure ................. 287
Battery ............................................. 289
Jump starting ................................. 291
Towing the vehicle ........................ 294
Transmission selector lever,
manually unlocking ................. 296Exterior lamps ................................297
Headlamp assembly ...................298
Taillamp assemblies .................. 301
Changing batteries
in the electronic main key ......304
Synchronizing
remote control ............................306
Emergency engine shut-down .....306
Emergency operation of
sliding / pop-up roof .................307
Manual release for
fuel filler flap .............................308
Replacing wiper blade insert .......308
Roof rack ..........................................311
Page 290 of 354
287 Tires, Wheels
Te ch n i c a l
data Instruments
and controlsOperation DrivingInstrument
cluster displayPractical hintsCar care Index Tire inflation pressure
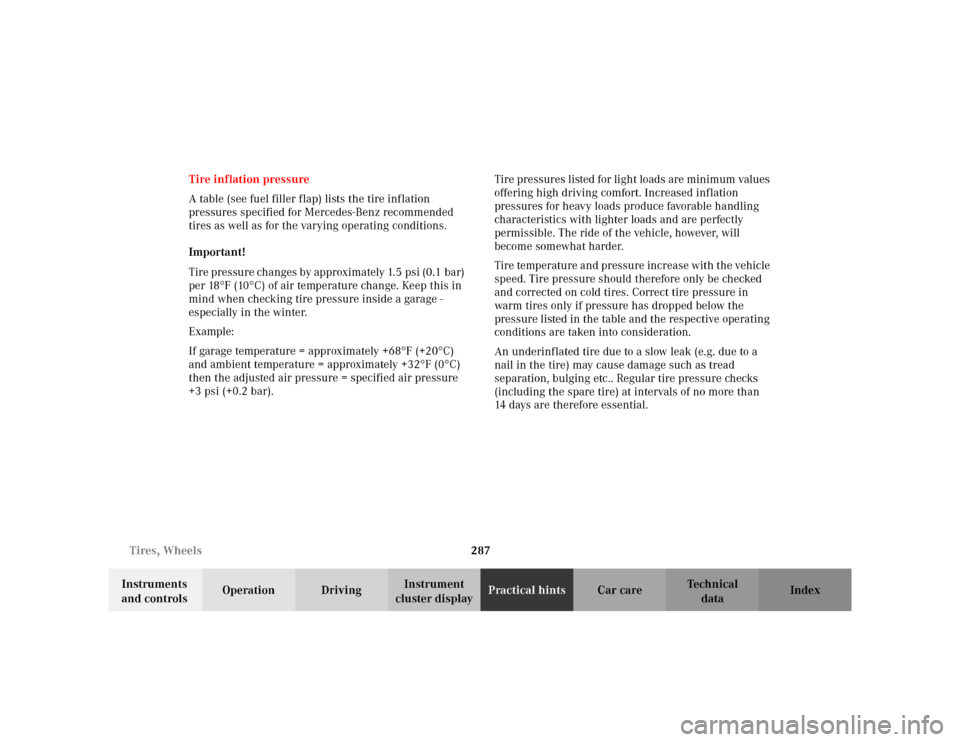
A table (see fuel filler flap) lists the tire inflation
pressures specified for Mercedes-Benz recommended
tires as well as for the varying operating conditions.
Important!
Tire pressure changes by approximately 1.5 psi (0.1 bar)
per 18
°F (10
°C) of air temperature change. Keep this in
mind when checking tire pressure inside a garage -
especially in the winter.
Example:
If garage temperature = approximately +68
°F (+20
°C)
and ambient temperature = approximately +32
°F (0
°C)
then the adjusted air pressure = specified air pressure
+3 psi (+0.2 bar).Tire pressures listed for light loads are minimum values
offering high driving comfort. Increased inflation
pressures for heavy loads produce favorable handling
characteristics with lighter loads and are perfectly
permissible. The ride of the vehicle, however, will
become somewhat harder.
Tire temperature and pressure increase with the vehicle
speed. Tire pressure should therefore only be checked
and corrected on cold tires. Correct tire pressure in
warm tires only if pressure has dropped below the
pressure listed in the table and the respective operating
conditions are taken into consideration.
An underinflated tire due to a slow leak (e.g. due to a
nail in the tire) may cause damage such as tread
separation, bulging etc.. Regular tire pressure checks
(including the spare tire) at intervals of no more than
14 days are therefore essential.
Page 296 of 354

293 Jump starting
Te ch n i c a l
data Instruments
and controlsOperation DrivingInstrument
cluster displayPractical hintsCar care Index 4. Clamp one end of the second jumper cable to the
grounded negative (–) terminal of the charged
battery and the final connection to the negative (–)
under hood terminal (3) of the disabled vehicle.
Important!
5. Start engine of the vehicle with the charged battery
and run at high idle. Make sure the cables are not
on or near pulleys, fans, or other parts that move
when the engine is started. Allow the discharged
battery to charge for a few minutes. Start engine of
the disabled vehicle in the usual manner.6. After the engine has started, remove jumper cables
by exactly reversing the above installation
sequence, starting with the last connection made
first. When removing each clamp, make sure that it
does not touch any other metal while the other end
is still attached.
Note:
If engine does not run after several unsuccessful
starting attempts, have it checked at the nearest
authorized Mercedes-Benz Center.
Excessive unburned fuel may damage the catalytic
converter.
Page 311 of 354

308 Manual release for fuel filler flap
Te ch n i c a l
data Instruments
and controlsOperation DrivingInstrument
cluster displayPractical hintsCar care Index
Manual release for fuel filler flap
The manual release knob is located behind the right
side rear compartment trim panel.
In case the central locking system does not release the
fuel filler flap, pull the manual release knob (arrow)
while simultaneously opening the fuel filler flap.Replacing wiper blade insert
For safety reasons, remove electronic key from steering
lock before replacing the wiper blade, otherwise the
motor can suddenly turn on and cause injury.
Notes:
Do not open engine hood with wiper arm folded forward.
Do not allow the wiper arm to contact the windshield
glass without a wiper blade inserted. The glass may be
scratched or broken.
Make certain that the wiper blade is properly installed.
An improperly installed wiper blade may cause
windshield damage.
P80.20-2089 -26