Page 531 of 1672

ENGINE MANAGEMENT SYSTEM - V8
18-2-74 REPAIRS
5.Disconnect multiplug from ECT sensor.
6.Remove sensor from inlet manifold and discard
sealing washer.
Refit
1.Clean sealant from threads in manifold.
2.Apply Loctite 577 to sensor threads.
3.Fit new sealing washer to ECT sensor and
tighten sensor to 10 Nm (7 lbf.ft).
4.Connect multiplug to ECT sensor.
5.Position alternator, fit bolts and tighten to 45
Nm (33 lbf.ft).
6.Fit auxiliary drive belt.
+ CHARGING AND STARTING,
REPAIRS, Belt - auxiliary drive.
7.Top up cooling system.
8.Connect battery earth lead.
9.Fit battery cover and secure with fixings.
Sensor - crankshaft position (CKP)
$% 18.30.12
Remove
1.Release fixings and remove battery cover.
2.Disconnect battery earth lead.
3.Raise front of vehicle.
WARNING: Do not work on or under a
vehicle supported only by a jack. Always
support the vehicle on safety stands.
4.Release fixings and remove underbelly panel.
5.Release CKP sensor multiplug from bracket.
6.Remove 2 bolts securing CKP sensor heat
shield and position aside.
7.Remove 2 nuts securing CKP sensor, remove
2 spacers, CKP sensor and sensor mounting.
8.Disconnect CKP sensor multiplug from engine
harness.
Refit
1.Ensure all components are clean.
2.Connect CKP sensor multiplug to engine
harness.
3.Fit sensor mounting, CKP sensor, 2 spacers
and tighten CKP sensor retaining nuts to 6 Nm
(5 lbf.ft).
Page 641 of 1672
MANIFOLDS AND EXHAUST SYSTEMS - V8
30-2-12 REPAIRS
Heat shield - brake servo - With
Secondary Air Injection
$% 30.10.48
Remove
1.Release fixings and remove battery cover.
2.Disconnect battery earth lead.
3.Remove nut securing heat shield bracket to
valance.
4.Remove 2 bolts securing heat shield and
remove heat shield.
Refit
1.Fit heat shield, tightening bolts to 25 Nm (18
lbf.ft) and nut to 10 Nm (7 lbf.ft).
2.Connect battery earth lead.
3.Fit battery cover and secure with fixings.
Gasket - inlet manifold - lower
$% 30.15.08
Remove
1.Remove both rocker covers.
l
+ ENGINE - V8, REPAIRS, Gasket
- rocker cover - LH.
l
+ ENGINE - V8, REPAIRS, Gasket
- rocker cover - RH.
2.Release and disconnect LH injector harness
and multiplugs.
3.Release 3 clips securing top hose and remove
top hose.
4.Remove auxiliary drive belt.
+ CHARGING AND STARTING,
REPAIRS, Belt - auxiliary drive.
Page 1436 of 1672
WIPERS AND WASHERS
DESCRIPTION AND OPERATION 84-15
Headlamp powerwash pump
The headlamp power wash pump consists of a DC motor with an impeller. It is located on the front of the washer fluid
reservoir.
The BCU controls operation of the headlamp power wash relay, which supplies battery voltage from fuse 4 located in
the engine compartment fuse box to the headlamp power wash pump. When the BCU determines headlamp power
wash is to be activated, it provides a ground path for the coil of the headlamp power wash relay. The auxiliary relay
located in the engine compartment fuse box supplies the headlamp power wash relay coil with battery voltage.
Page 1473 of 1672

BODY CONTROL UNIT
86-3-4 DESCRIPTION AND OPERATION
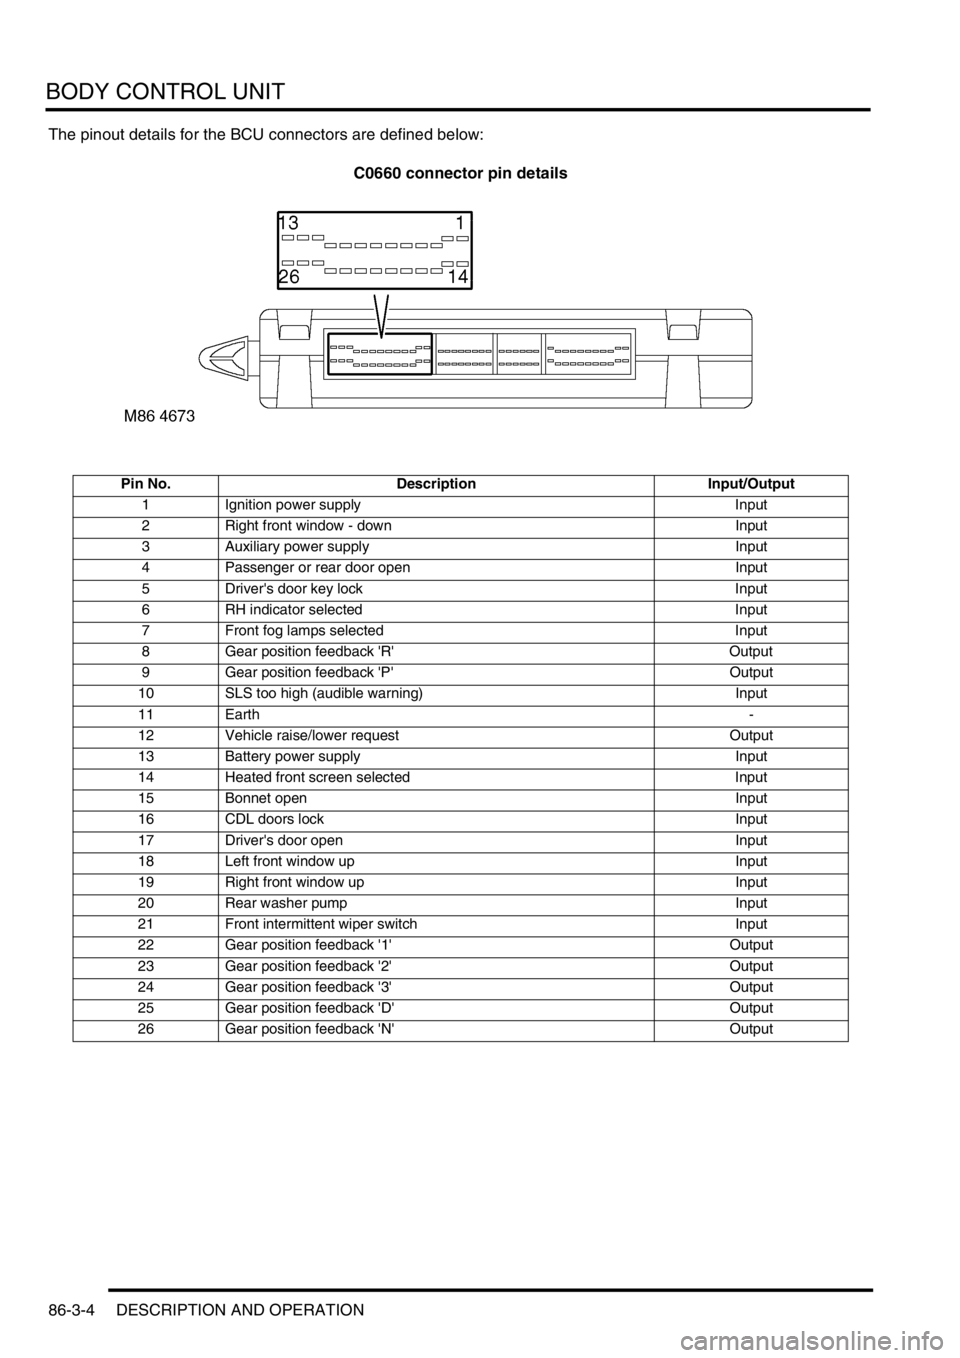
The pinout details for the BCU connectors are defined below:
C0660 connector pin details
Pin No. Description Input/Output
1 Ignition power supply Input
2 Right front window - down Input
3 Auxiliary power supply Input
4 Passenger or rear door open Input
5 Driver's door key lock Input
6 RH indicator selected Input
7 Front fog lamps selected Input
8 Gear position feedback 'R' Output
9 Gear position feedback 'P' Output
10 SLS too high (audible warning) Input
11 Earth-
12 Vehicle raise/lower request Output
13 Battery power supply Input
14 Heated front screen selected Input
15 Bonnet open Input
16 CDL doors lock Input
17 Driver's door open Input
18 Left front window up Input
19 Right front window up Input
20 Rear washer pump Input
21 Front intermittent wiper switch Input
22 Gear position feedback '1' Output
23 Gear position feedback '2' Output
24 Gear position feedback '3' Output
25 Gear position feedback 'D' Output
26 Gear position feedback 'N' Output
Page 1555 of 1672
IN CAR ENTERTAINMENT
86-6-2 DESCRIPTION AND OPERATION
Base and mid line ICE system control
diagram
1Fusible link
2Battery power supply fuse
3Remote radio control switches (if fitted)
4Radio cassette
5Telephone system interface6Speakers
7Amplifier AM/FM aerial
8AM/FM aerial
9Auxiliary power supply fuse
10Auxiliary relay
Page 1556 of 1672
IN CAR ENTERTAINMENT
DESCRIPTION AND OPERATION 86-6-3
High line ICE system control diagram
1Fusible link
2Battery power supply fuse
3Remote radio control switches
4Radio cassette
5CD-autochanger
6Telephone system interface
7Speed signal from SLABS ECU
8Speakers
9Power amplifier10Auxiliary power supply fuse
11Auxiliary relay
12Radio headphone amplifier RH rear
13Radio headphone amplifier LH rear
14Amplifier FM aerial
15FM aerial
16Amplifier AM/FM aerial
17AM/FM aerial
Page 1619 of 1672

NAVIGATION SYSTEM
87-4 DESCRIPTION AND OPERATION
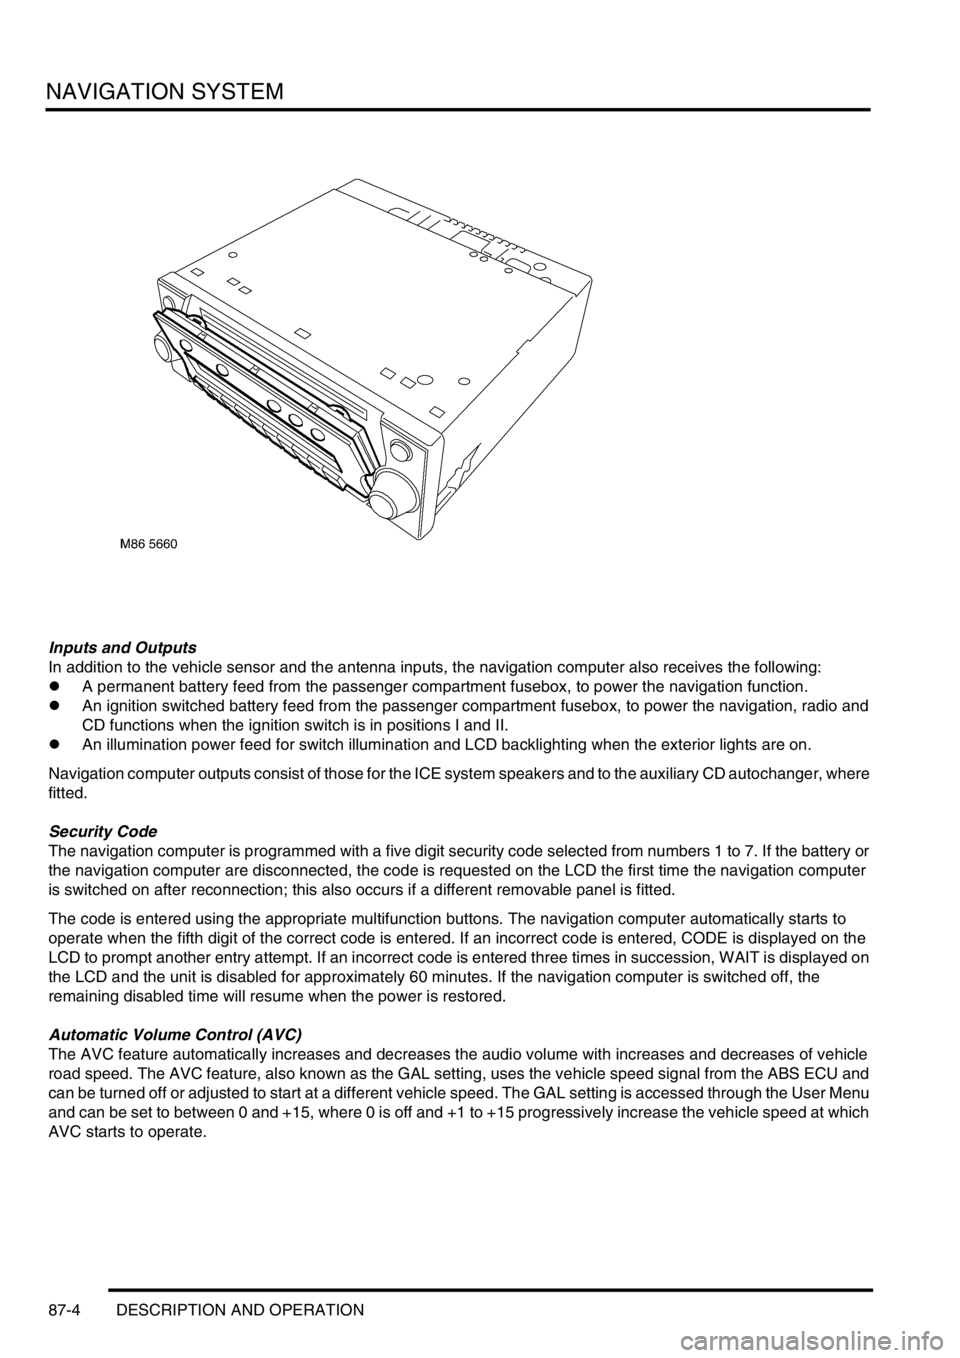
Inputs and Outputs
In addition to the vehicle sensor and the antenna inputs, the navigation computer also receives the following:
lA permanent battery feed from the passenger compartment fusebox, to power the navigation function.
lAn ignition switched battery feed from the passenger compartment fusebox, to power the navigation, radio and
CD functions when the ignition switch is in positions I and II.
lAn illumination power feed for switch illumination and LCD backlighting when the exterior lights are on.
Navigation computer outputs consist of those for the ICE system speakers and to the auxiliary CD autochanger, where
fitted.
Security Code
The navigation computer is programmed with a five digit security code selected from numbers 1 to 7. If the battery or
the navigation computer are disconnected, the code is requested on the LCD the first time the navigation computer
is switched on after reconnection; this also occurs if a different removable panel is fitted.
The code is entered using the appropriate multifunction buttons. The navigation computer automatically starts to
operate when the fifth digit of the correct code is entered. If an incorrect code is entered, CODE is displayed on the
LCD to prompt another entry attempt. If an incorrect code is entered three times in succession, WAIT is displayed on
the LCD and the unit is disabled for approximately 60 minutes. If the navigation computer is switched off, the
remaining disabled time will resume when the power is restored.
Automatic Volume Control (AVC)
The AVC feature automatically increases and decreases the audio volume with increases and decreases of vehicle
road speed. The AVC feature, also known as the GAL setting, uses the vehicle speed signal from the ABS ECU and
can be turned off or adjusted to start at a different vehicle speed. The GAL setting is accessed through the User Menu
and can be set to between 0 and +15, where 0 is off and +1 to +15 progressively increase the vehicle speed at which
AVC starts to operate.
Page 1669 of 1672

INSTRUMENTS
88-42 DESCRIPTION AND OPERATION
Interior rear view mirror with compass
(where fitted)
1Cover
2Electrical connector
3Mounting bracket
4Light sensor
5Compass LED display
6Compass calibration switch
7Compass printed circuit board
Certain vehicles have an interior rear view mirror that features an automatic photochromatic dimming function and an
electronic compass with LED display.
The compass mirror is a self-contained unit and does not interface with any other vehicle system or electronic control
unit. The mirror is fixed to a metal bracket attached to the windscreen.
A three pin connector provides the electrical connection to the mirror's internal circuit board. Pin-1 of the connector
provides the 12V power supply to the board via the auxiliary relay located in the engine compartment fusebox. When
the ignition switch is turned to the 'II' position, a 12V supply is provided to energise the coil of the auxiliary relay via
fuse 26 in the passenger compartment fusebox. The auxiliary relay's contact supply voltage is provided from the
vehicle battery through fusible links 1 & 7. When the relay's contacts close, a 12V supply is fed to the compass mirror
circuit board via fuse 15 in the passenger compartment fusebox. This is the supply voltage feed for the mirror's internal
compass.
Pin-2 of the electrical connector provides the path to earth.
Pin-3 of the electrical connector is a 12V ignition switched supply voltage (position 'II' of the ignition switch). The
supply voltage is provided to the mirror's circuit board via fuse 25 in the passenger compartment fusebox, and the
reverse lamp switch (normally closed) for vehicles with manual transmission or the starter inhibitor / reverse light
switch (normally closed) for vehicles with automatic transmission. This is the supply voltage feed for the mirror's
photochromatic dimming function.
M88 0297
3
2
7
616
45