Page 1944 of 2100
8G±6SEATS
19. Remove the seat belt buckle assembly.
20. Remove the trim cover and pad (Seat cushion side)
21. Remove the seat heater and connector (Seat cushion
side).
22. Remove the power seat harness.
Installation
To install, follow the removal steps in the reverse order,
noting the following points:
1. Tighten the reclining device fixing bolts to the
specified torque.
Torque: 46 N´m (34 lb ft)
2. Tighten the seat adjuster fixing bolts to the specified
torque.
Torque: 21 N´m (15 lb ft) to seat cushion
Torque: 39 N´m (29 lb ft) to body
3. Tighten the seat belt buckle assembly fixing bolts to
the specified torque.
Torque: 29 N´m (22 lb ft)
Page 1981 of 2100
EXTERIOR/INTERIOR TRIM8J±3
Consoles
Consoles and Associated Parts
745R200005
Legend
(1) Cluster Upper Cover
(2) Center Cluster
(3) Knee Pad
(4) Seat Heater Switch (Required Option)
(5) Rear Console Assembly(6) CD Changer
(7) Rear Console Bracket
(8) Front Console Bracket
(9) Front Console Assembly
(10) Accessory Socket
Removal
1. Disconnect the battery ground cable.
2. Remove the cluster upper cover and connectors.
3. Pry the knee pads.
4. Remove the center cluster.
�Remove the six screws and pull out the center
cluster at the six clip positions.�Disconnect the connectors.
5. Remove the rear console assembly.
�Open the rear console lid and remove two screws.
6. Remove the front console assembly.
�Remove six fixing screws and disconnect the
accessory socket connectors.
�Disconnect the seat heater switch connectors (if so
equipped).
Page 1998 of 2100

8J±20EXTERIOR/INTERIOR TRIM
Power Door Mirror System
General Description
The system consists of the starter switch, door mirror
switch, rear defogger/mirror defogger switch and door
mirrors on both sides.
When the door mirror switch is operated with the starter
switch at either ªACCº or ªONº position, the motor in the
door mirror (on either side) rotates to allow the horizontal
and vertical adjustment of mirror angles.
When the rear defogger/mirror defogger switch is turned
ªONº with the starter switch ªONº, the heater of the left
and right mirrors and the tailgate glass are activated.
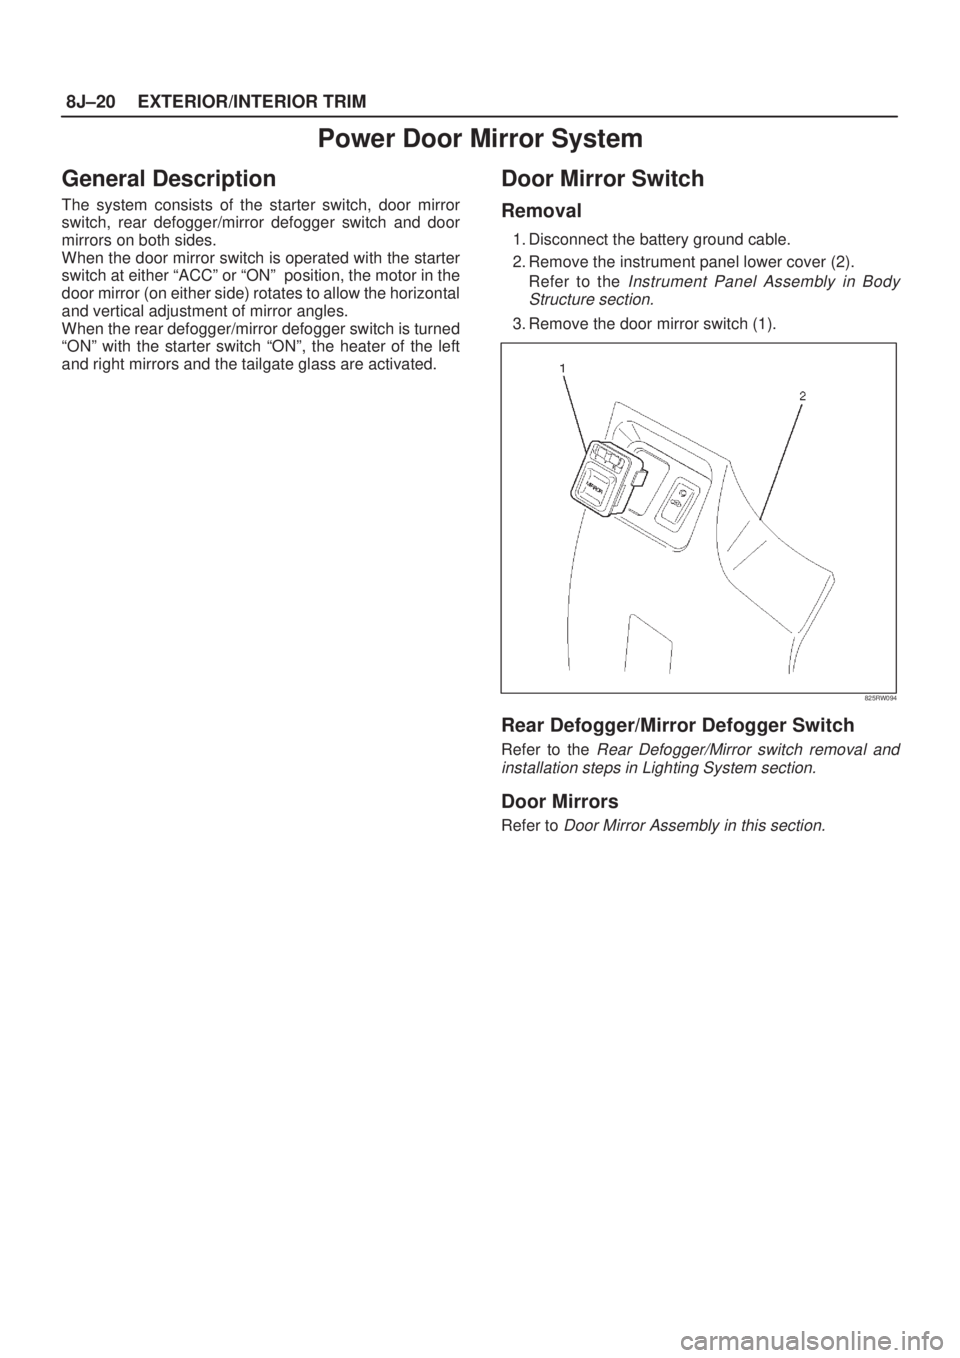
Door Mirror Switch
Removal
1. Disconnect the battery ground cable.
2. Remove the instrument panel lower cover (2).
Refer to the
Instrument Panel Assembly in Body
Structure section.
3. Remove the door mirror switch (1).
825RW094
Rear Defogger/Mirror Defogger Switch
Refer to the Rear Defogger/Mirror switch removal and
installation steps in Lighting System section.
Door Mirrors
Refer to Door Mirror Assembly in this section.