Page 201 of 296

If you need to arrange roadside assistance for yourself, Ford Motor
Company will reimburse a reasonable amount. To obtain reimbursement
information, U.S. Ford or Mercury vehicles customers call
1-800-241-3673; Lincoln vehicle customers call 1±800±521±4140.
Canadian customers who need to obtain reimbursement information, call
1±800±665±2006.
ROADSIDE COVERAGE BEYOND BASIC WARRANTY
In the United States, you may purchase additional roadside assistance
coverage beyond this period through the Ford Auto Club by contacting
your Ford or Lincoln Mercury dealer.
Similarly in Canada, for uninterrupted Roadside Assistance coverage, you
may purchase extended coverage prior to your Basic Warranty's Roadside
Assistance expiring. For more information and enrollment, contact
1±877±294±2582 or visit our website at www.ford.ca.
HAZARD FLASHER
Use only in an emergency to warn traffic of vehicle breakdown,
approaching danger, etc. The hazard flashers can be operated when the
ignition is off.
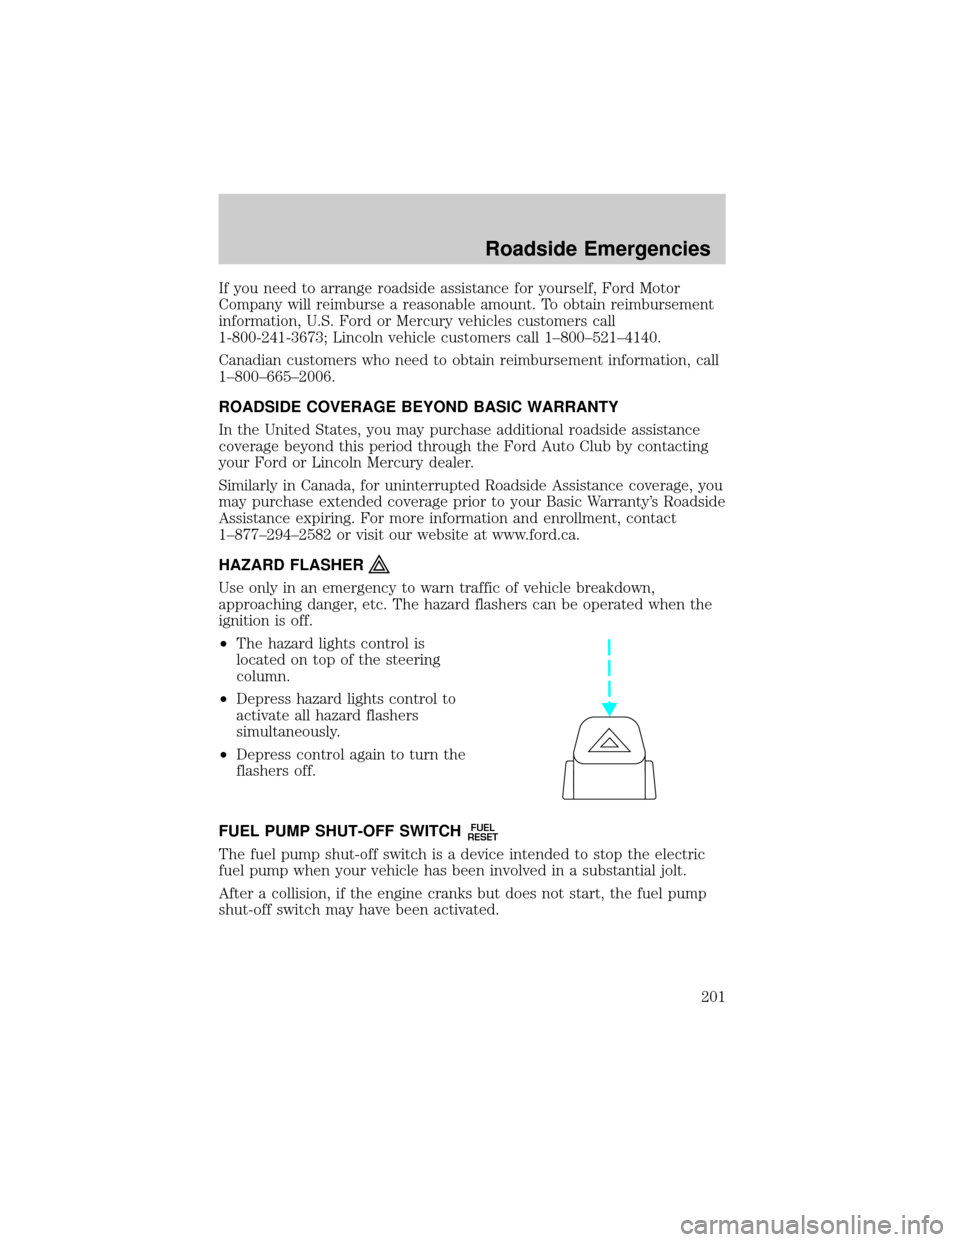
²The hazard lights control is
located on top of the steering
column.
²Depress hazard lights control to
activate all hazard flashers
simultaneously.
²Depress control again to turn the
flashers off.
FUEL PUMP SHUT-OFF SWITCH
FUEL
RESET
The fuel pump shut-off switch is a device intended to stop the electric
fuel pump when your vehicle has been involved in a substantial jolt.
After a collision, if the engine cranks but does not start, the fuel pump
shut-off switch may have been activated.
Roadside Emergencies
201
Page 202 of 296
The fuel pump shut-off switch is
located behind the service panel on
the right side of the cargo area.
Use the following procedure to reset the fuel pump shut-off switch.
1. Turn the ignition to the OFF position.
2. Check the fuel system for leaks.
3. If no fuel leak is apparent, reset the fuel pump shut-off switch by
pushing in on the reset button.
4. Turn the ignition to the ON position. Pause for a few seconds and
return the key to the OFF position.
5. Make a further check for leaks in the fuel system.
Roadside Emergencies
202
Page 203 of 296
FUSES AND RELAYS
Fuses
If electrical components in the
vehicle are not working, a fuse may
have blown. Blown fuses are
identified by a broken wire within
the fuse. Check the appropriate
fuses before replacing any electrical
components.
Note:Always replace a fuse with one that has the specified amperage
rating. Using a fuse with a higher amperage rating can cause severe wire
damage and could start a fire.
Standard fuse amperage rating and color
COLOR
Fuse
ratingMini
fusesStandard
fusesMaxi
fusesCartridge
maxi
fusesFuse link
cartridge
2A Grey Grey Ð Ð Ð
3A Violet Violet Ð Ð Ð
4A Pink Pink Ð Ð Ð
5A Tan Tan Ð Ð Ð
7.5A Brown Brown Ð Ð Ð
10A Red Red Ð Ð Ð
15A Blue Blue Ð Ð Ð
20A Yellow Yellow Yellow Blue Blue
25A Natural Natural Ð Ð Ð
30A Green Green Green Pink Pink
40A Ð Ð Orange Green Green
50A Ð Ð Red Red Red
60A Ð Ð Blue Ð Yellow
70A Ð Ð Tan Ð Brown
80A Ð Ð Natural Ð Black
15
Roadside Emergencies
203
Page 204 of 296

Passenger compartment fuse panel
The fuse panel is located below and to the left of the steering wheel by
the brake pedal. Remove the panel cover to access the fuses.
To remove a fuse use the fuse puller tool provided on the fuse panel
cover.
Your vehicle is equipped with a Pull Fuse feature that when used, can
extend the duration of your battery life while your vehicle is parked for
long periods of time. This time will be increased from 31 days to 45 ± 55
days (based on option content). You should use this feature when your
vehicle will be parked for long periods of times to ensure the vehicle
starts upon your return.
The pull fuse is located under the instrument panel and is visible from
the exterior of the fuse panel cover.
The fuse holder is designed to allow you to pull the fuse (#6) from the
fuse panel circuit without having to completely remove it from the fuse
panel. The fuse and fuse holder will remain in the fuse panel.
If the fuse (#6) must be replaced, the fuse and fuse holder can be
removed by pulling it completely out from the fuse panel cover.
With the fuse (#6) removed, the following systems will not be functional:
²radio
²power sliding door(s) ± (if equipped)
²keyless entry system± (if equipped)
When the pull fuse is reinstalled, the following features will need to be
reset.
²radio pre-sets
²power sliding door(s) ± (if equipped)
Please refer to theEntertainmentchapter andPower Sliding Door
section in theDriver controlschapter for instructions to reset these
features.
Roadside Emergencies
204
Page 205 of 296
The fuses are coded as follows:
Fuse/Relay
LocationFuse Amp
RatingPassenger Compartment Fuse
Panel Description
1 10A Right Stepwell Lamp, Left
Stepwell Lamp, Right Puddle
Lamp, Left Puddle Lamp, Left 2nd
Row Reading Lamp, Right 2nd
Row Reading Lamp, Left 3rd Row
Reading Lamp, Right 3rd Row
Reading Lamp, Cargo Lamp,
Dome Lamp, Map Lamp, LH
Visor/Vanity Lamp, RH
Visor/Vanity Lamp, Remote
Keyless Entry Keypad, Left Turn
Signal Mirror, Right Turn Signal
Mirror
2 25A Glove Box Lamp, LH I/P Courtesy
Lamp, RH I/P Courtesy Lamp,
Video Cassette Player
RELAY 1 RELAY 2 RELAY 3
RELAY 4 RELAY 5 RELAY 6
FUSE 1
FUSE 7
FUSE 12
FUSE 18
FUSE 24FUSE 8
FUSE 13
FUSE 19
FUSE 25FUSE 9
FUSE 14
FUSE 20
FUSE 26FUSE 10
FUSE 15
FUSE 21
FUSE 27FUSE 11
FUSE 16
FUSE 22
FUSE 28FUSE 17
FUSE 23
FUSE 29 FUSE 2 FUSE 3 FUSE 4 FUSE 5
FUSE 6
Roadside Emergencies
205
Page 206 of 296

Fuse/Relay
LocationFuse Amp
RatingPassenger Compartment Fuse
Panel Description
3 15A LH Power Mirror Motor, RH
Power Mirror Motor, Adjustable
Pedal Motor, Memory Module (if
equipped)
4 Ð Not Used
5 20A Console Power Point
6 15A Radio, Compact Disc Changer,
Remote Keyless Entry Module,
PSD (Power Sliding Door) Module
RH and LH, Rear Seat Radio
Controller (if equipped), Rear
Seat Entertainment Module (if
equipped)
7 15A Left Rear Turn Lamp, Right
Backup Lamp, Right Stop Lamp,
Right Rear Park Lamp, Right
License Lamp, Left License Lamp,
LH Backup Lamp
8 20A Rear Electronic Module (RHF/RH
Sliding/LH Sliding/Liftgate Door
Lock Motors, Aux. Air Blend Door
Motor, Aux. Air Mode Door
Motor)
9 10A Cluster, Powertrain Control
Module Relay (coil)
10 15A Heated Backlite Relay (coil),
Speed Control Module, ABS
Module or IVD Module, Heat Seat
Switch (RH/LH) (if equipped),
Heated Seat Module (RH/LH) (if
equipped), Cluster, Front Temp
Blend Door Actuator, Brake Shift
Interlock Solenoid, Powertrain
Control Module, Power Sliding
Door Module RH and LH, Reverse
Sensing System, Front A/C
Control Head, Steering Wheel
Angle Sensor (if equipped)
Roadside Emergencies
206
Page 207 of 296

Fuse/Relay
LocationFuse Amp
RatingPassenger Compartment Fuse
Panel Description
11 15A Electric Brake Controller, Brake
Shift Interlock Solenoid, Rear
Electronic Module
12 20A Center High-Mount Stop Lamp
13 10A Right Rear Turn Lamp, Left Stop
Lamp, Left Rear Park Lamp
14 10A Autolamp Sensor, Transmission
Overdrive Cancel Switch, Front
Electronic Module, Compass
Module, Electrochromatic Mirror,
Power Sliding Door Overhead
Console Switch
15 20A Console Power Point
16 10A Cluster
17 20A Cigar Lighter/Powerpoint, Datalink
Connector
18 15A LH Quarter Window Motor, RH
Quarter Window Motor, RH
Window Switch Backlighting, RH
Lock Switch Backlighting, Master
Control Switch (LH) Backlighting,
Radio, Video Cassette Player,
Liquid Crystal Display, Front
Electronic Module
19 10A Starter Interrupt Relay (coil)
20 Ð Not Used
21 Ð Not Used
22 10A LH Heated Mirror, RH Heated
Mirror
23 20A Body Powerpoint, Auxiliary
Blower Relay #1 and #2 Coils
24 Ð Not Used
25 10A Radio (Anti-theft)
Roadside Emergencies
207
Page 208 of 296

Fuse/Relay
LocationFuse Amp
RatingPassenger Compartment Fuse
Panel Description
26 10A Airbag Module, Passenger airbag
deactivated indicator, Passenger
Seat Weight Pressure sensor ECU
27 Ð Not Used
28 10A Cluster
29 Ð Not Used
Relay 1 Ð Switched System Power Relay #4
Relay 2 Ð Accessory Delay Relay
Relay 3 Ð Front Blower Motor Relay
Relay 4 Ð Switched System Power Relay #3
Relay 5 Ð Rear Defrost Relay
Relay 6 Ð Auxiliary Blower Motor Relay
Power distribution box
The power distribution box is located in the engine compartment. The
power distribution box contains high-current fuses that protect your
vehicle's main electrical systems from overloads.
Always disconnect the battery before servicing high current
fuses.
Always replace the cover to the power distribution box before
reconnecting the battery or refilling fluid reservoirs
If the battery has been disconnected and reconnected, refer to the
Batterysection of theMaintenance and specificationschapter.
Roadside Emergencies
208