2002 FORD EXPLORER SPORT TRAC ECU
[x] Cancel search: ECUPage 75 of 200
Combination lap and shoulder belts
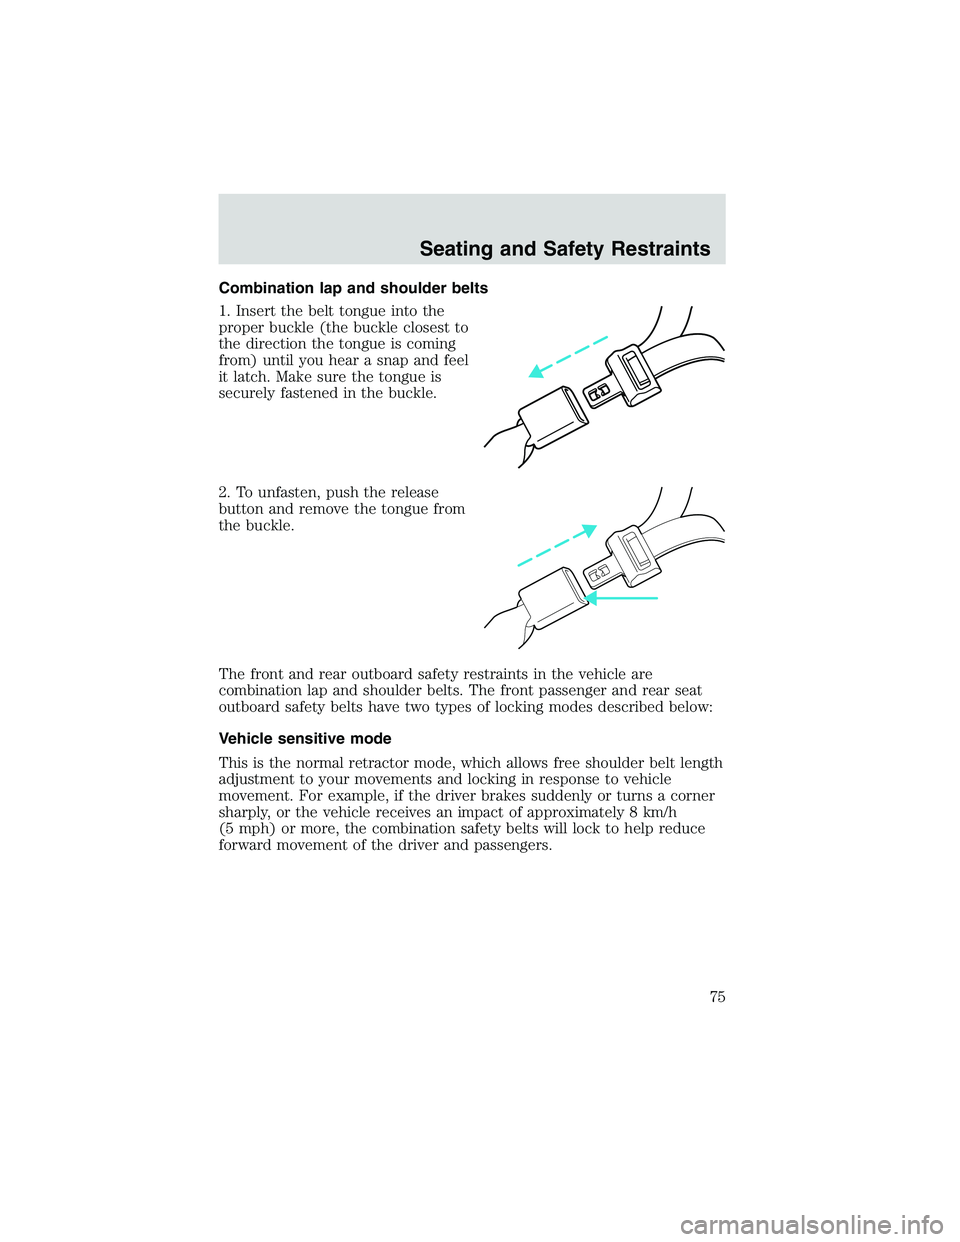
1. Insert the belt tongue into the
proper buckle (the buckle closest to
the direction the tongue is coming
from) until you hear a snap and feel
it latch. Make sure the tongue is
securely fastened in the buckle.
2. To unfasten, push the release
button and remove the tongue from
the buckle.
The front and rear outboard safety restraints in the vehicle are
combination lap and shoulder belts. The front passenger and rear seat
outboard safety belts have two types of locking modes described below:
Vehicle sensitive mode
This is the normal retractor mode, which allows free shoulder belt length
adjustment to your movements and locking in response to vehicle
movement. For example, if the driver brakes suddenly or turns a corner
sharply, or the vehicle receives an impact of approximately 8 km/h
(5 mph) or more, the combination safety belts will lock to help reduce
forward movement of the driver and passengers.
Seating and Safety Restraints
75
Page 92 of 200
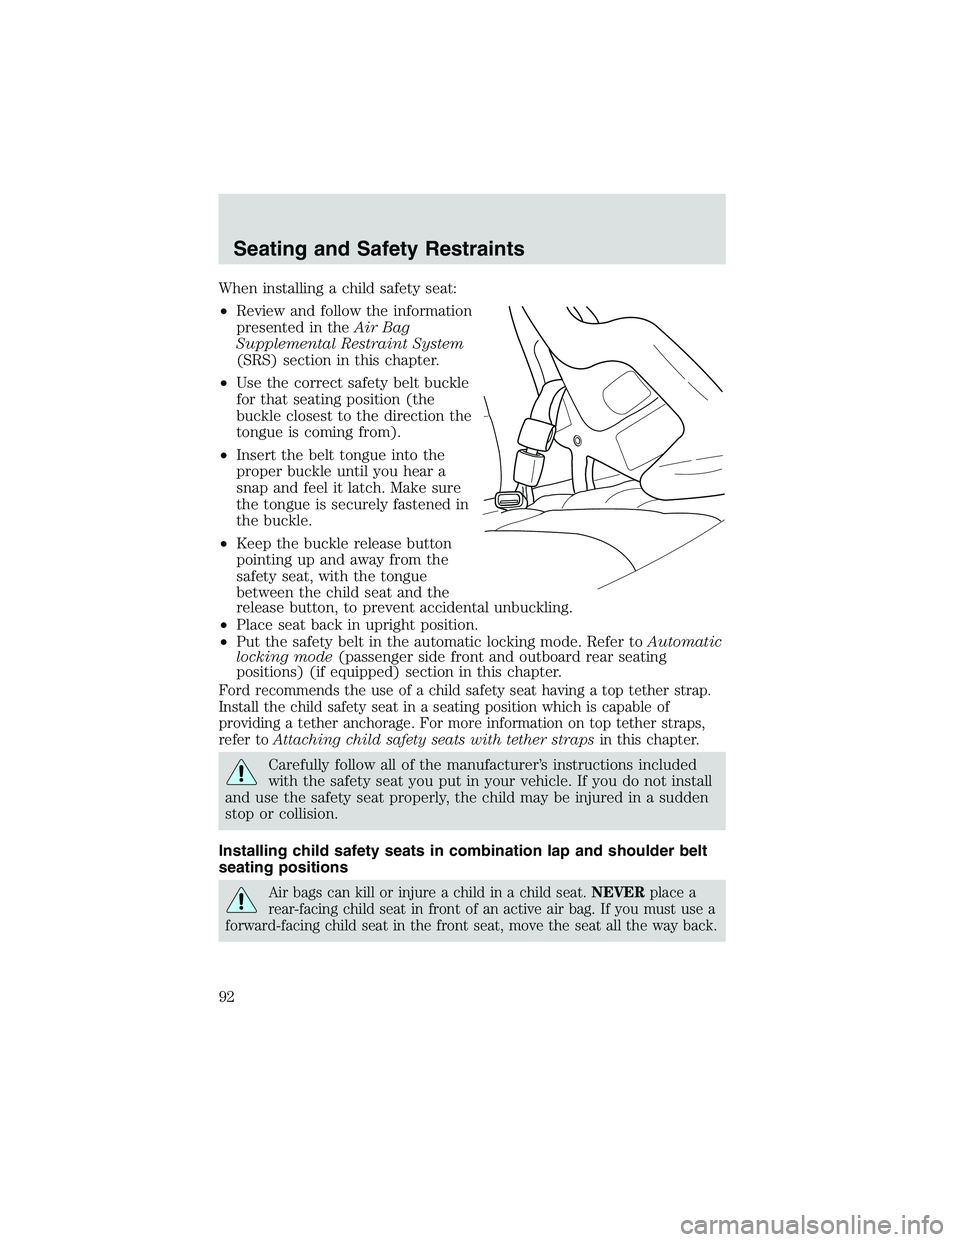
When installing a child safety seat:
•Review and follow the information
presented in theAir Bag
Supplemental Restraint System
(SRS) section in this chapter.
•Use the correct safety belt buckle
for that seating position (the
buckle closest to the direction the
tongue is coming from).
•Insert the belt tongue into the
proper buckle until you hear a
snap and feel it latch. Make sure
the tongue is securely fastened in
the buckle.
•Keep the buckle release button
pointing up and away from the
safety seat, with the tongue
between the child seat and the
release button, to prevent accidental unbuckling.
•Place seat back in upright position.
•Put the safety belt in the automatic locking mode. Refer toAutomatic
locking mode(passenger side front and outboard rear seating
positions) (if equipped) section in this chapter.
Ford recommends the use of a child safety seat having a top tether strap.
Install the child safety seat in a seating position which is capable of
providing a tether anchorage. For more information on top tether straps,
refer toAttaching child safety seats with tether strapsin this chapter.
Carefully follow all of the manufacturer’s instructions included
with the safety seat you put in your vehicle. If you do not install
and use the safety seat properly, the child may be injured in a sudden
stop or collision.
Installing child safety seats in combination lap and shoulder belt
seating positions
Air bags can kill or injure a child in a child seat.NEVERplace a
rear-facing child seat in front of an active air bag. If you must use a
forward-facing child seat in the front seat, move the seat all the way back.
Seating and Safety Restraints
92
Page 94 of 200
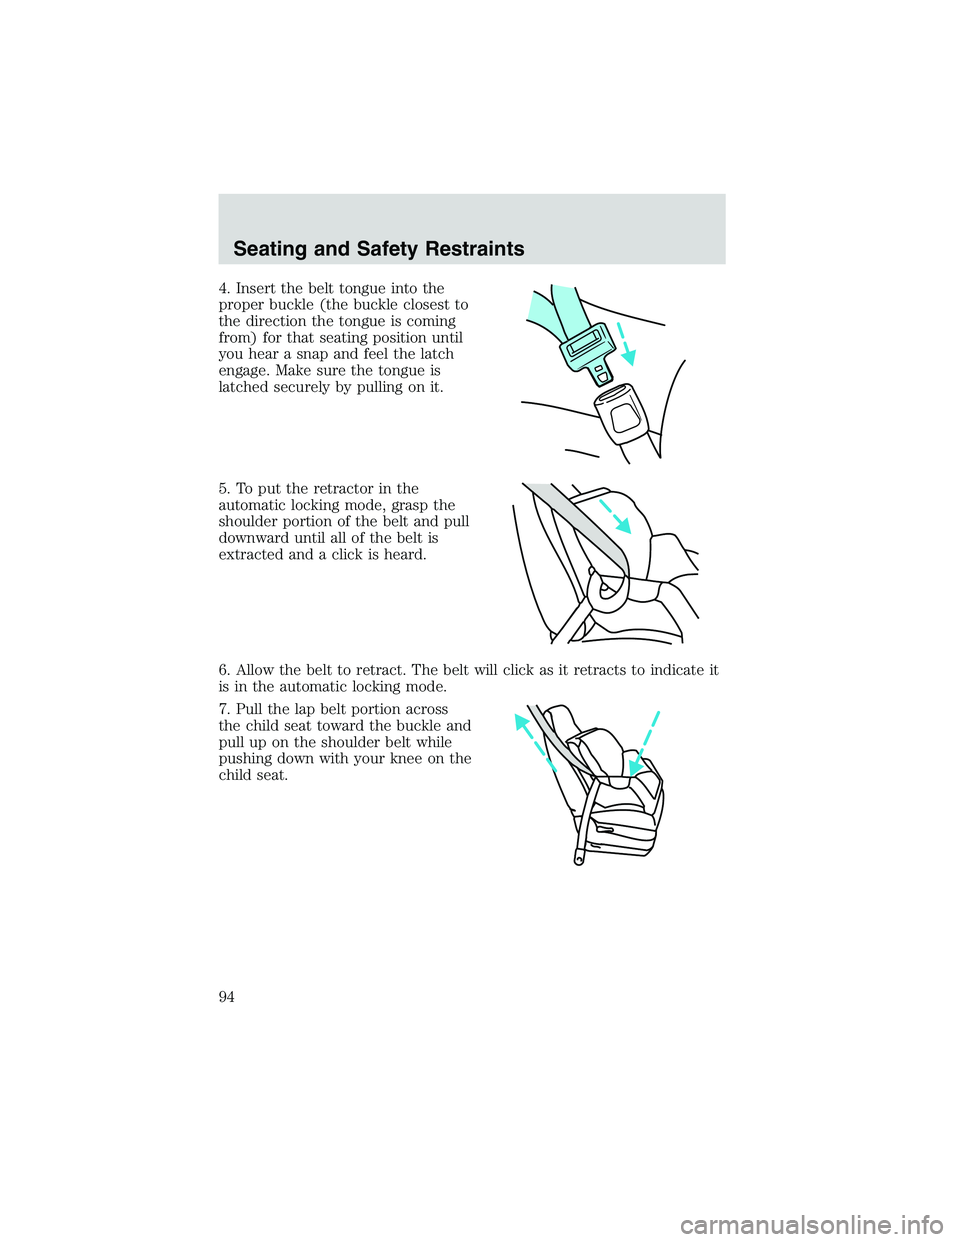
4. Insert the belt tongue into the
proper buckle (the buckle closest to
the direction the tongue is coming
from) for that seating position until
you hear a snap and feel the latch
engage. Make sure the tongue is
latched securely by pulling on it.
5. To put the retractor in the
automatic locking mode, grasp the
shoulder portion of the belt and pull
downward until all of the belt is
extracted and a click is heard.
6. Allow the belt to retract. The belt will click as it retracts to indicate it
is in the automatic locking mode.
7. Pull the lap belt portion across
the child seat toward the buckle and
pull up on the shoulder belt while
pushing down with your knee on the
child seat.
Seating and Safety Restraints
94
Page 95 of 200
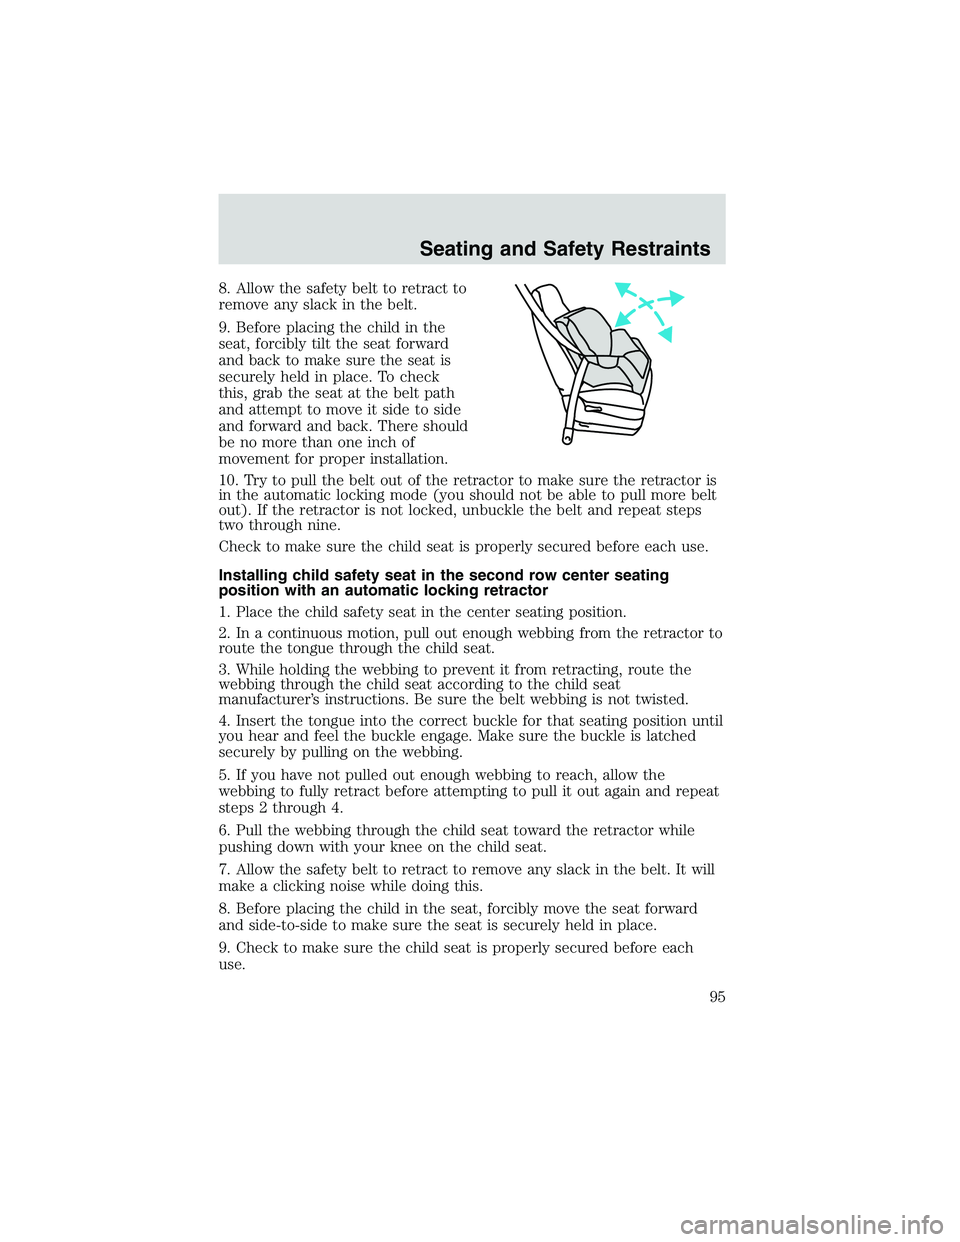
8. Allow the safety belt to retract to
remove any slack in the belt.
9. Before placing the child in the
seat, forcibly tilt the seat forward
and back to make sure the seat is
securely held in place. To check
this, grab the seat at the belt path
and attempt to move it side to side
and forward and back. There should
be no more than one inch of
movement for proper installation.
10. Try to pull the belt out of the retractor to make sure the retractor is
in the automatic locking mode (you should not be able to pull more belt
out). If the retractor is not locked, unbuckle the belt and repeat steps
two through nine.
Check to make sure the child seat is properly secured before each use.
Installing child safety seat in the second row center seating
position with an automatic locking retractor
1. Place the child safety seat in the center seating position.
2. In a continuous motion, pull out enough webbing from the retractor to
route the tongue through the child seat.
3. While holding the webbing to prevent it from retracting, route the
webbing through the child seat according to the child seat
manufacturer’s instructions. Be sure the belt webbing is not twisted.
4. Insert the tongue into the correct buckle for that seating position until
you hear and feel the buckle engage. Make sure the buckle is latched
securely by pulling on the webbing.
5. If you have not pulled out enough webbing to reach, allow the
webbing to fully retract before attempting to pull it out again and repeat
steps 2 through 4.
6. Pull the webbing through the child seat toward the retractor while
pushing down with your knee on the child seat.
7. Allow the safety belt to retract to remove any slack in the belt. It will
make a clicking noise while doing this.
8. Before placing the child in the seat, forcibly move the seat forward
and side-to-side to make sure the seat is securely held in place.
9. Check to make sure the child seat is properly secured before each
use.
Seating and Safety Restraints
95
Page 98 of 200

5. Clip the tether strap to the
anchor and return the seat back to
its locked position. For the Pioneer
Edition fixed left rear seat, clip the
tether hook onto the anchor bar
with the hook toward the rear of the
vehicle.
If the tether strap is clipped
incorrectly, the child safety
seat may not be retained properly
in the event of a collision.
6. Refer to theInstalling child safety seats in combination lap and
shoulder belt seating positionssection of this chapter for further
instructions to secure the child safety seat.
7. Tighten the child safety seat tether strap according to the
manufacturer’s instructions.
To unhook the tether strap, unfasten the seat belts securing the child
seat and put some slack into the tether strap. Tip the seat back forward
enough so that you can reach behind the seat and unhook the tether
hook. For the Pioneer Edition fixed left rear seat, fold the other seat
back down so that you can reach around the side of the left seat back
with your left hand to unclip the tether hook.
If the safety seat is not anchored properly, the risk of a child
being injured in a collision greatly increases.
Seating and Safety Restraints
98
Page 104 of 200

Even when the ABS is disabled,
normal braking is still effective. (If
your BRAKE warning lamp
illuminates with the parking brake
released, have your brake system
serviced immediately.)
Using ABS
When hard braking is required, apply continuous force on the brake
pedal; do not pump the brake pedal since this will reduce the
effectiveness of the ABS and will increase your vehicle’s stopping
distance. The ABS will be activated immediately, allowing you to retain
full steering control during hard braking and on slippery surfaces.
However, the ABS does not decrease stopping distance.
Parking brake
To set the parking brake (1), press
the parking brake pedal down until
the pedal stops. The BRAKE
warning lamp will illuminate and will
remain illuminated until the parking
brake is released.
To release, pull the lever (2).
Always set the parking
brake fully and make sure
that the gearshift is securely
latched in P (Park) (automatic
transmission) or in 1 (First)
(manual transmission).
STEERING
To prevent damage to the power steering system:
•Never hold the steering wheel at it’s furthest turning points (until it
stops) for more than a few seconds when the engine is running.
•Do not operate the vehicle with a low power steering pump fluid level
(below the MIN mark on the reservoir).
!
BRAKE
Driving
104
Page 107 of 200
If the parking brake is fully released, but the brake warning lamp
remains illuminated, the brakes may not be working properly.
See your dealer or a qualified service technician.
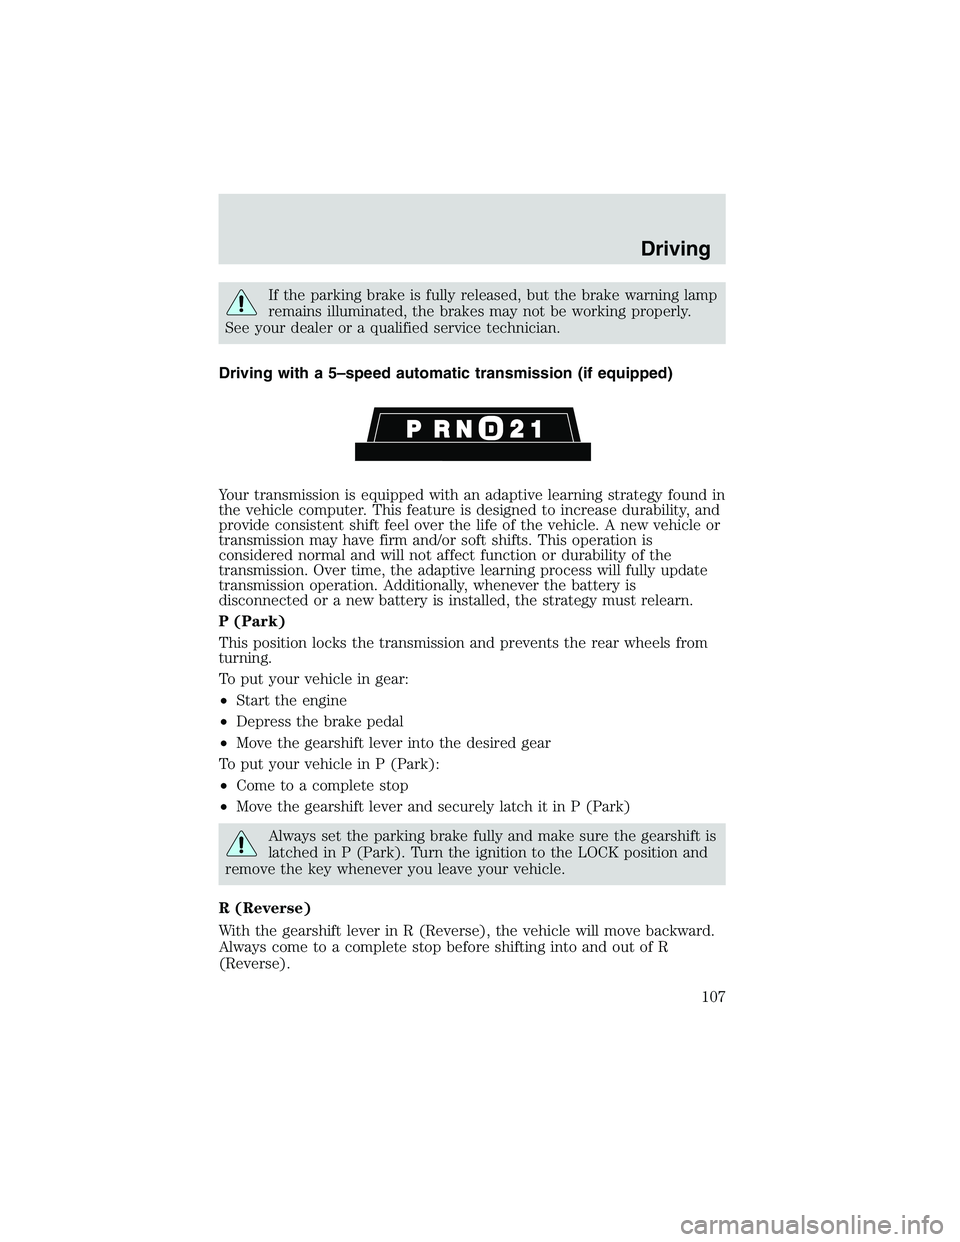
Driving with a 5–speed automatic transmission (if equipped)
Your transmission is equipped with an adaptive learning strategy found in
the vehicle computer. This feature is designed to increase durability, and
provide consistent shift feel over the life of the vehicle. A new vehicle or
transmission may have firm and/or soft shifts. This operation is
considered normal and will not affect function or durability of the
transmission. Over time, the adaptive learning process will fully update
transmission operation. Additionally, whenever the battery is
disconnected or a new battery is installed, the strategy must relearn.
P (Park)
This position locks the transmission and prevents the rear wheels from
turning.
To put your vehicle in gear:
•Start the engine
•Depress the brake pedal
•Move the gearshift lever into the desired gear
To put your vehicle in P (Park):
•Come to a complete stop
•Move the gearshift lever and securely latch it in P (Park)
Always set the parking brake fully and make sure the gearshift is
latched in P (Park). Turn the ignition to the LOCK position and
remove the key whenever you leave your vehicle.
R (Reverse)
With the gearshift lever in R (Reverse), the vehicle will move backward.
Always come to a complete stop before shifting into and out of R
(Reverse).
Driving
107
Page 144 of 200
GETTING THE SERVICES YOU NEED
At home
Ford Motor Company and Ford of Canada have authorized dealerships to
service your vehicle. It is preferred that you return to the Ford dealer
where your vehicle was purchased when warranty repairs are needed.
However, you may also take your vehicle to another Ford Motor
Company or Ford of Canada dealership authorized for warranty repairs.
Certain warranty repairs require special training though, so not all
dealers are authorized to perform all warranty repairs. That means that
depending on the warranty repair needed, the vehicle may need to be
taken to another dealer. If a particular dealership can not assist you,
then contact the Customer Relationship Center.
If you have questions or concerns, or are unsatisfied with the service you
are receiving, follow these steps:
1. Contact your Sales Representative or Service Advisor at your
selling/servicing dealership.
2. If your inquiry or concern remains unresolved, contact the Sales
Manager or Service Manager at the dealership.
3. If the inquiry or concern cannot be resolved at the dealership level,
please contact the Ford Customer Relationship Center.
Away from home
If you own a Ford or Mercury vehicle and are away from home when
your vehicle needs service, or if you need more help than the dealership
could provide, after following the steps described above, contact the
Ford Customer Relationship Center to find an authorized dealership to
help you.
In the United States:
Ford Motor Company
Customer Relationship Center
16800 Executive Plaza Drive
P.O. Box 6248
Dearborn, Michigan 48121
1-800-392-3673 (FORD)
(TDD for the hearing impaired: 1-800-232-5952)
www.ford.com
Customer Assistance
144