Page 1 of 184
Introduction 4
Instrument Cluster 8
Warning and control lights 8
Gauges 11
Entertainment Systems 14
AM/FM stereo cassette with CD 14
AM/FM stereo with CD 18
Rear seat controls 21
Climate Controls 22
Manual heating and air conditioning 22
Rear window defroster 23
Lights 24
Driver Controls 32
Windshield wiper/washer control 32
Power windows 37
Mirrors 38
Speed control 39
Locks and Security 47
Keys 47
Locks 47
Anti-theft system 53
Table of Contents
1
Page 10 of 184
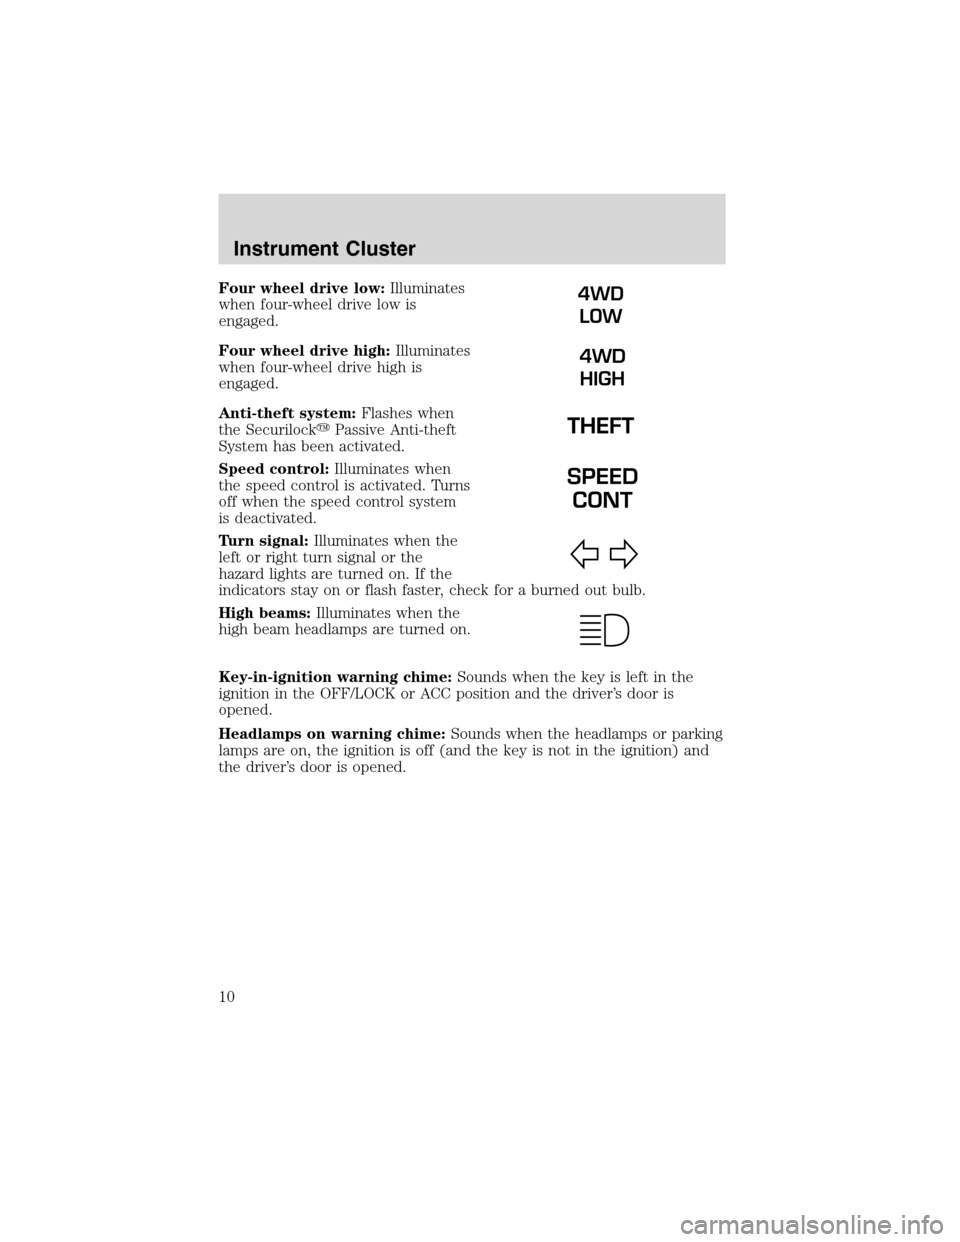
Four wheel drive low:Illuminates
when four-wheel drive low is
engaged.
Four wheel drive high:Illuminates
when four-wheel drive high is
engaged.
Anti-theft system:Flashes when
the Securilock�Passive Anti-theft
System has been activated.
Speed control:Illuminates when
the speed control is activated. Turns
off when the speed control system
is deactivated.
Turn signal:Illuminates when the
left or right turn signal or the
hazard lights are turned on. If the
indicators stay on or flash faster, check for a burned out bulb.
High beams:Illuminates when the
high beam headlamps are turned on.
Key-in-ignition warning chime:Sounds when the key is left in the
ignition in the OFF/LOCK or ACC position and the driver’s door is
opened.
Headlamps on warning chime:Sounds when the headlamps or parking
lamps are on, the ignition is off (and the key is not in the ignition) and
the driver’s door is opened.4WD
LOW
4WD
HIGH
SPEED
CONT
Instrument Cluster
10
Page 24 of 184
HEADLAMP CONTROL
Turns the lamps off.
Turns on the parking
lamps, instrument panel lamps,
license plate lamps and tail lamps.
Turns the headlamps on.
AUTOLAMP DELAY SYSTEM (IF EQUIPPED)
The autolamp sets the headlamps to turn on and off automatically. The
autolamp control, located in the interior mirror, may be set to:
•turn on the lamps automatically at night
•turn off the lamps automatically during daylight
•keep the lamps on for up to three minutes after the key is turned to
OFF
Refer toSetting autolampin theDriver Controlschapter.
Foglamp control (if equipped)
The foglamps can be turned on
when the headlamp control is in
either of the following positions:
•Parking lamps
•Low beams
Press the foglamp control to activate the foglamps. The foglamp indicator
light will illuminate. When the highbeams are activated, the foglamps will
not operate.
Press the foglamp control again to deactivate the foglamps.
OFF
Lights
24
Page 27 of 184
5. Locate the vertical adjuster for
each headlamp. Adjust the aim by
turning the adjuster control either
clockwise (to adjust down) or
counterclockwise (to adjust up).
NOTE:Usea4mmsocket or box
wrench to turn the vertical adjuster
control.
6. Once you have adjusted the
headlamps close the hood and turn
off the lights.
TURN SIGNAL CONTROL
•Push down to activate the left
turn signal.
•Push up to activate the right turn
signal.
INTERIOR LAMPS
Courtesy/reading lamps
The courtesy lamp will turn on
when:
•any door is opened.
•the instrument panel dimmer
switch is rotated all the way up
(past detent).
•Pressing the
on the remote
entry key fob and the ignition is
in the OFF position.
NOTE:If your vehicle is equipped with the Remote Keyless Entry
feature, the courtesy lamp will remain on for 25 seconds after the door is
shut or until the ignition is turned to the ON position.
Lights
27
Page 46 of 184
OPERATING THE LIFTGATE
Note: The liftgate can only be opened and closed from the outside
of the vehicle.
To open the liftgate window:
1. Unlock the liftgate using either
the key, power door lock control or
the Remote entry key fob.
2. Push the key lock cylinder in.
3. Push the window upward.
To close the liftgate window:
Repeat the above procedure in
reverse order.
To open the liftgate:
1. Unlock the liftgate using either
the key, power door lock control or
the Remote entry key fob.
2. Pull up on the handle located
under the license plate lamp shield.
3. Push the liftgate upward.
To close the liftgate:Repeat the
above procedure in reverse order.
The liftgate door and window should be closed before driving your
vehicle. If not closed properly, possible damage may occur to the liftgate
door lift cylinders and attaching hardware.
Driver Controls
46
Page 47 of 184

KEYS
The key operates all locks on your vehicle. In case of loss, replacement
keys are available from your dealer.
You should always carry a second key with you in a safe place in case
you require it in an emergency.
Refer toSecuriLock�Passive Anti-Theft Systemfor more information.
POWER DOOR LOCKS
The power door lock controls are
located on the driver and front
passenger door panels.
Pressing the
will unlock all the
doors. Pressing the
will lock all
the doors.
Another power door lock is located in the cargo area on the driver’s side
of the vehicle.
Childproof door locks
•When these locks are set, the
rear doors cannot be opened from
the inside.
•The rear doors can be opened
from the outside when the doors
are unlocked.
The childproof locks are located on
rear edge of each rear door and
must be set separately for each
door. Setting the lock for one door
will not automatically set the lock
for both doors.
•Move lock control up to engage
the childproof lock.
•Move control down to disengage
childproof locks.
Locks and Security
47
Page 48 of 184

This device complies with part 15 of the FCC rules and with RS-210 of
Industry Canada. Operation is subject to the following two conditions:
(1) This device may not c")
REMOTE ENTRY SYSTEM (IF EQUIPPED)
This device complies with part 15 of the FCC rules and with RS-210 of
Industry Canada. Operation is subject to the following two conditions:
(1) This device may not cause harmful interference, and (2) This device
must accept any interference received, including interference that may
cause undesired operation.
Changes or modifications not expressly approved by the party
responsible for compliance could void the user’s authority to
operate the equipment.
The remote entry system allows you
to lock or unlock all vehicle doors
without a key.Note:lock and
unlock will work in any ignition
position.
If there is a problem with the
remote entry system make sure to
takeALL remote entry
transmitterswith you to the
dealership, this will aid in
troubleshooting the problem.
Unlocking the doors
1. Pressand release to unlock the driver’s door.Note:The interior
lamps will illuminate.
2. Press
and release again within three seconds to unlock all the
doors.
The remote entry system activates the illuminated entry feature. This
feature turns on the interior lamps for 25 seconds or until the ignition is
turned to the ON position. If the dome lamp control is in theoffposition
the illuminated entry feature will not work.
The inside lights will not turn off if:
•they have been turned on using the dimmer control or
•any door is open.
The battery saver feature will turn off the interior lamps 30 minutes after
the ignition is turned to the OFF position.
Locking the doors
1. Pressand release to lock all the doors.Note:the interior lamps
will turn off.
Locks and Security
48
Page 49 of 184

2. Pressand release again within three seconds to confirm that all the
doors are closed and locked.Note:the doors will lock again, the horn
will chirp once and the headlamps will flash.
If any of the doors are not properly closed the horn will make two quick
chirps.
Sounding a panic alarm
Press
to activate the alarm. The horn will sound for a maximum of
30 seconds and the parklamps will flash for a maximum of 3 minutes.
Press again or turn the ignition to ON to deactivate, or wait for the alarm
to timeout in 3 minutes.
Note:The panic alarm will only operate when the ignition is in the OFF
or ACC position.
Replacing the battery
The remote entry transmitter uses one coin type three-volt lithium
battery CR2032 or equivalent. The typical operating range for your
remote entry transmitter is approximately 10 meters (33 feet). A
decrease in the operating range could be caused by:
•weather conditions,
•nearby radio towers,
•structures around the vehicle and
•other vehicles parked next to the vehicle.
To replace the battery:
1. Twist a thin coin between the two
halves of the remote entry
transmitter near the key ring. DO
NOT TAKE THE FRONT PART OF
THE REMOTE ENTRY
TRANSMITTER APART.
2. Remove the old battery.
3. Insert the new battery. Refer to
the diagram inside the remote entry
transmitter for the correct orientation of the battery.
4. Snap the two halves back together.
Note:Replacement of the battery willnotcause the remote transmitter
to become deprogrammed from your vehicle. The remote transmitter
should operate normally after battery replacement.
Locks and Security
49


The autolamp s")
 or
counterclockwise (to adjust up).
NOTE:Usea4mmsocket or box
wrench")
