Page 3 of 184
Maintenance and Specifications 143
Hood 144
Engine compartment 144
Engine oil 145
Battery 147
Fuel information 151
Part numbers 167
Refill capacities 167
Lubricant specifications 170
Accessories 175
Index 178
All rights reserved. Reproduction by any means, electronic or mechanical
including photocopying, recording or by any information storage and retrieval
system or translation in whole or part is not permitted without written
authorization from Ford Motor Company. Ford may change the contents without
notice and without incurring obligation.
Copyright © 2002 Ford Motor Company
Table of Contents
3
Page 7 of 184
Vehicle Symbol Glossary
Power Window Lockout
Child Safety Door
Lock/Unlock
Interior Luggage
Compartment Release
Symbol
Panic Alarm
Engine OilEngine Coolant
Engine Coolant
TemperatureDo Not Open When Hot
BatteryAvoid Smoking, Flames,
or Sparks
Battery AcidExplosive Gas
Fan WarningPower Steering Fluid
Maintain Correct Fluid
LevelMAX
MIN
Emission System
Engine Air FilterPassenger Compartment
Air Filter
JackCheck fuel cap
Low tire warning
Introduction
7
Page 9 of 184
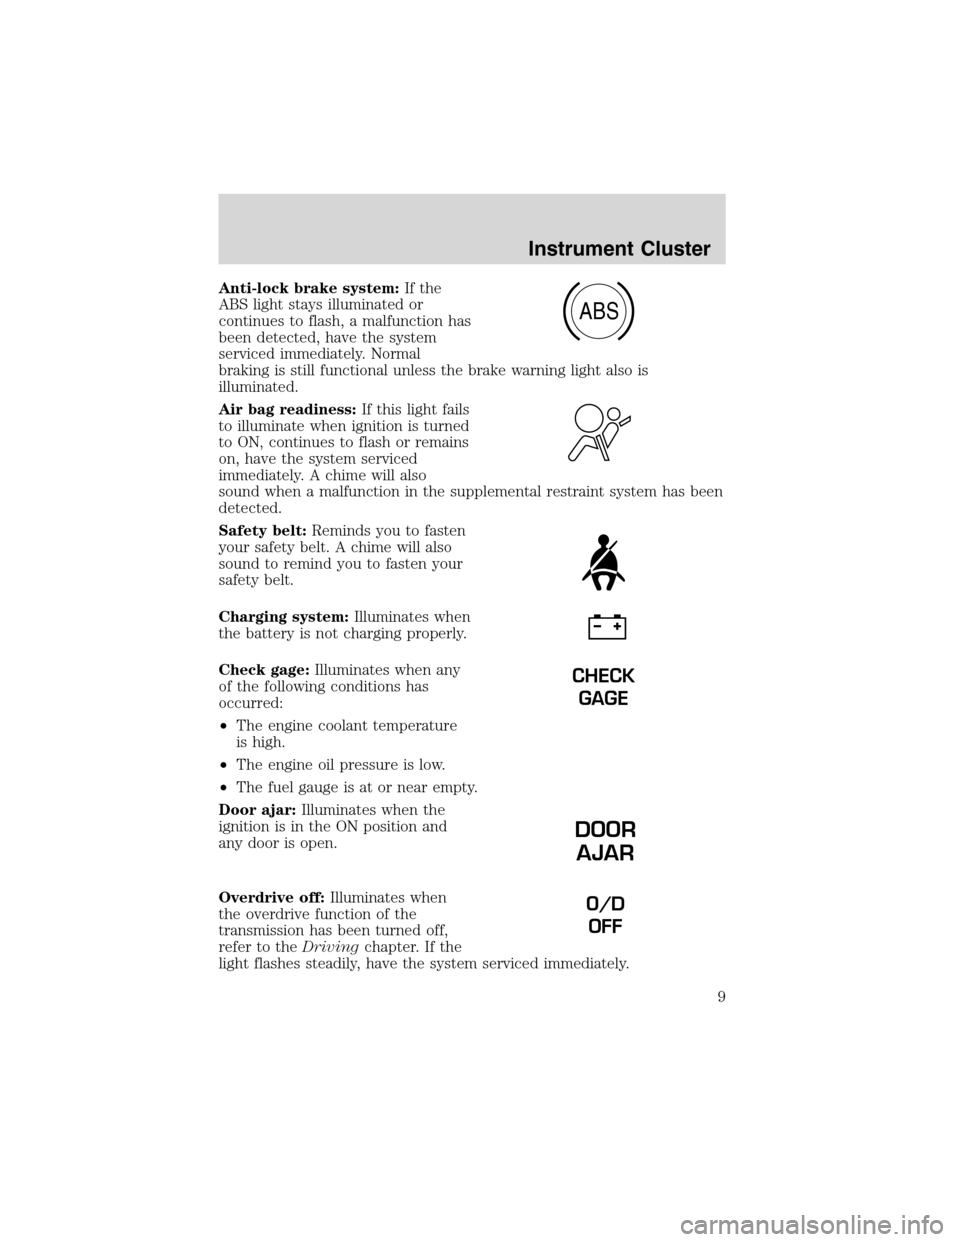
Anti-lock brake system:If the
ABS light stays illuminated or
continues to flash, a malfunction has
been detected, have the system
serviced immediately. Normal
braking is still functional unless the brake warning light also is
illuminated.
Air bag readiness:If this light fails
to illuminate when ignition is turned
to ON, continues to flash or remains
on, have the system serviced
immediately. A chime will also
sound when a malfunction in the supplemental restraint system has been
detected.
Safety belt:Reminds you to fasten
your safety belt. A chime will also
sound to remind you to fasten your
safety belt.
Charging system:Illuminates when
the battery is not charging properly.
Check gage:Illuminates when any
of the following conditions has
occurred:
•The engine coolant temperature
is high.
•The engine oil pressure is low.
•The fuel gauge is at or near empty.
Door ajar:Illuminates when the
ignition is in the ON position and
any door is open.
Overdrive off:Illuminates when
the overdrive function of the
transmission has been turned off,
refer to theDrivingchapter. If the
light flashes steadily, have the system serviced immediately.
ABS
CHECK
GAGE
DOOR
AJAR
O/D
OFF
Instrument Cluster
9
Page 12 of 184
Odometer:Registers the total
kilometers (miles) of the vehicle.
Trip odometer:Registers the
kilometers (miles) of individual
journeys. To reset, depress the
control.
Tachometer:Indicates the engine
speed in revolutions per minute.
Driving with your tachometer
pointer continuously at the top of
the scale may damage the engine.
Battery voltage gauge:Indicates
the battery voltage when the
ignition is in the ON position. If the
pointer moves and stays outside the
normal operating range (as
indicated by arrows), have the
vehicle’s electrical system checked
as soon as possible.
L
H
Instrument Cluster
12
Page 42 of 184
To vent the moon roof:press and hold thecontrol.The moon
roof must be in the closed position in order to move it into the
vent position.To close, press and hold the
control until the glass
panel stops moving.
The moon roof sliding shade can be opened or closed manually. The
glass panel must be closed in order to move the sliding shade.
Note:If the battery is disconnected, discharged, or a new battery is
installed, the moon roof positions will need to be reset. To reset the
moon roof positions, move the moon roof into the vent position.
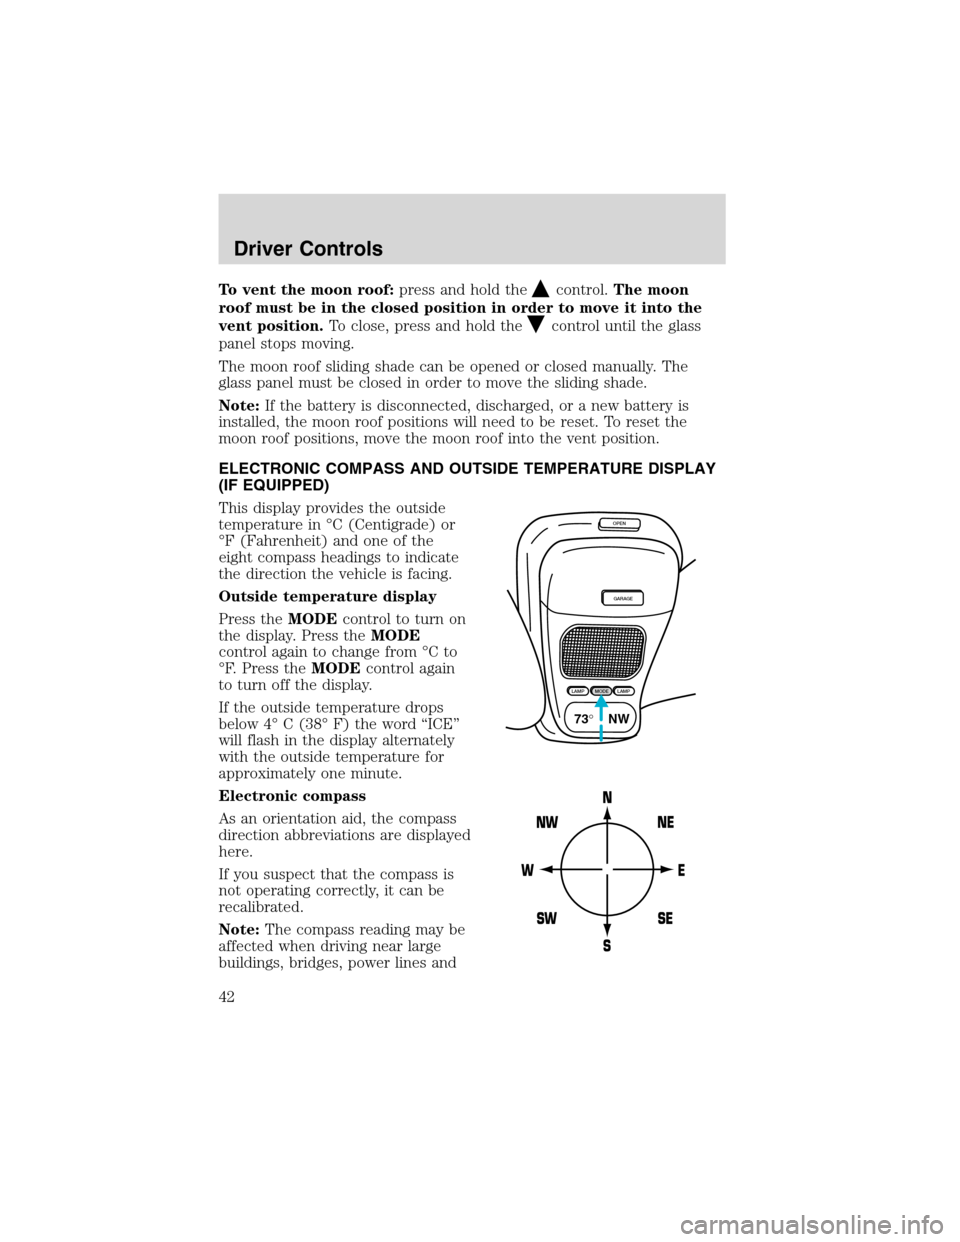
ELECTRONIC COMPASS AND OUTSIDE TEMPERATURE DISPLAY
(IF EQUIPPED)
This display provides the outside
temperature in°C (Centigrade) or
°F (Fahrenheit) and one of the
eight compass headings to indicate
the direction the vehicle is facing.
Outside temperature display
Press theMODEcontrol to turn on
the display. Press theMODE
control again to change from°Cto
°F. Press theMODEcontrol again
to turn off the display.
If the outside temperature drops
below 4°C (38°F) the word“ICE”
will flash in the display alternately
with the outside temperature for
approximately one minute.
Electronic compass
As an orientation aid, the compass
direction abbreviations are displayed
here.
If you suspect that the compass is
not operating correctly, it can be
recalibrated.
Note:The compass reading may be
affected when driving near large
buildings, bridges, power lines and
OPEN
GARAGE
LAMPMODELAMP
73° NW
Driver Controls
42
Page 48 of 184
REMOTE ENTRY SYSTEM (IF EQUIPPED)
This device complies with part 15 of the FCC rules and with RS-210 of
Industry Canada. Operation is subject to the following two conditions:
(1) This device may not cause harmful interference, and (2) This device
must accept any interference received, including interference that may
cause undesired operation.
Changes or modifications not expressly approved by the party
responsible for compliance could void the user’s authority to
operate the equipment.
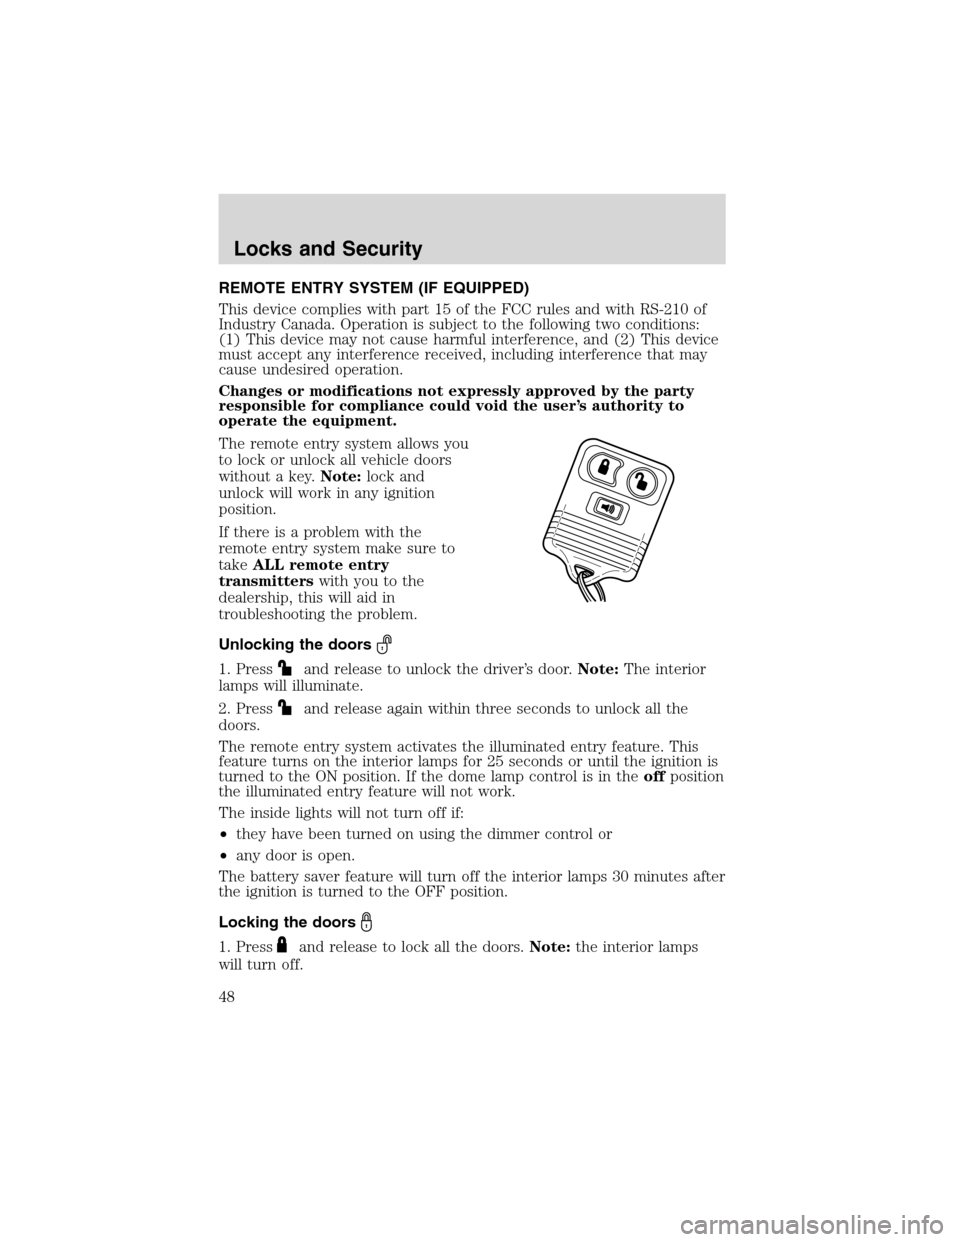
The remote entry system allows you
to lock or unlock all vehicle doors
without a key.Note:lock and
unlock will work in any ignition
position.
If there is a problem with the
remote entry system make sure to
takeALL remote entry
transmitterswith you to the
dealership, this will aid in
troubleshooting the problem.
Unlocking the doors
1. Pressand release to unlock the driver’s door.Note:The interior
lamps will illuminate.
2. Press
and release again within three seconds to unlock all the
doors.
The remote entry system activates the illuminated entry feature. This
feature turns on the interior lamps for 25 seconds or until the ignition is
turned to the ON position. If the dome lamp control is in theoffposition
the illuminated entry feature will not work.
The inside lights will not turn off if:
•they have been turned on using the dimmer control or
•any door is open.
The battery saver feature will turn off the interior lamps 30 minutes after
the ignition is turned to the OFF position.
Locking the doors
1. Pressand release to lock all the doors.Note:the interior lamps
will turn off.
Locks and Security
48
Page 49 of 184
2. Pressand release again within three seconds to confirm that all the
doors are closed and locked.Note:the doors will lock again, the horn
will chirp once and the headlamps will flash.
If any of the doors are not properly closed the horn will make two quick
chirps.
Sounding a panic alarm
Press
to activate the alarm. The horn will sound for a maximum of
30 seconds and the parklamps will flash for a maximum of 3 minutes.
Press again or turn the ignition to ON to deactivate, or wait for the alarm
to timeout in 3 minutes.
Note:The panic alarm will only operate when the ignition is in the OFF
or ACC position.
Replacing the battery
The remote entry transmitter uses one coin type three-volt lithium
battery CR2032 or equivalent. The typical operating range for your
remote entry transmitter is approximately 10 meters (33 feet). A
decrease in the operating range could be caused by:
•weather conditions,
•nearby radio towers,
•structures around the vehicle and
•other vehicles parked next to the vehicle.
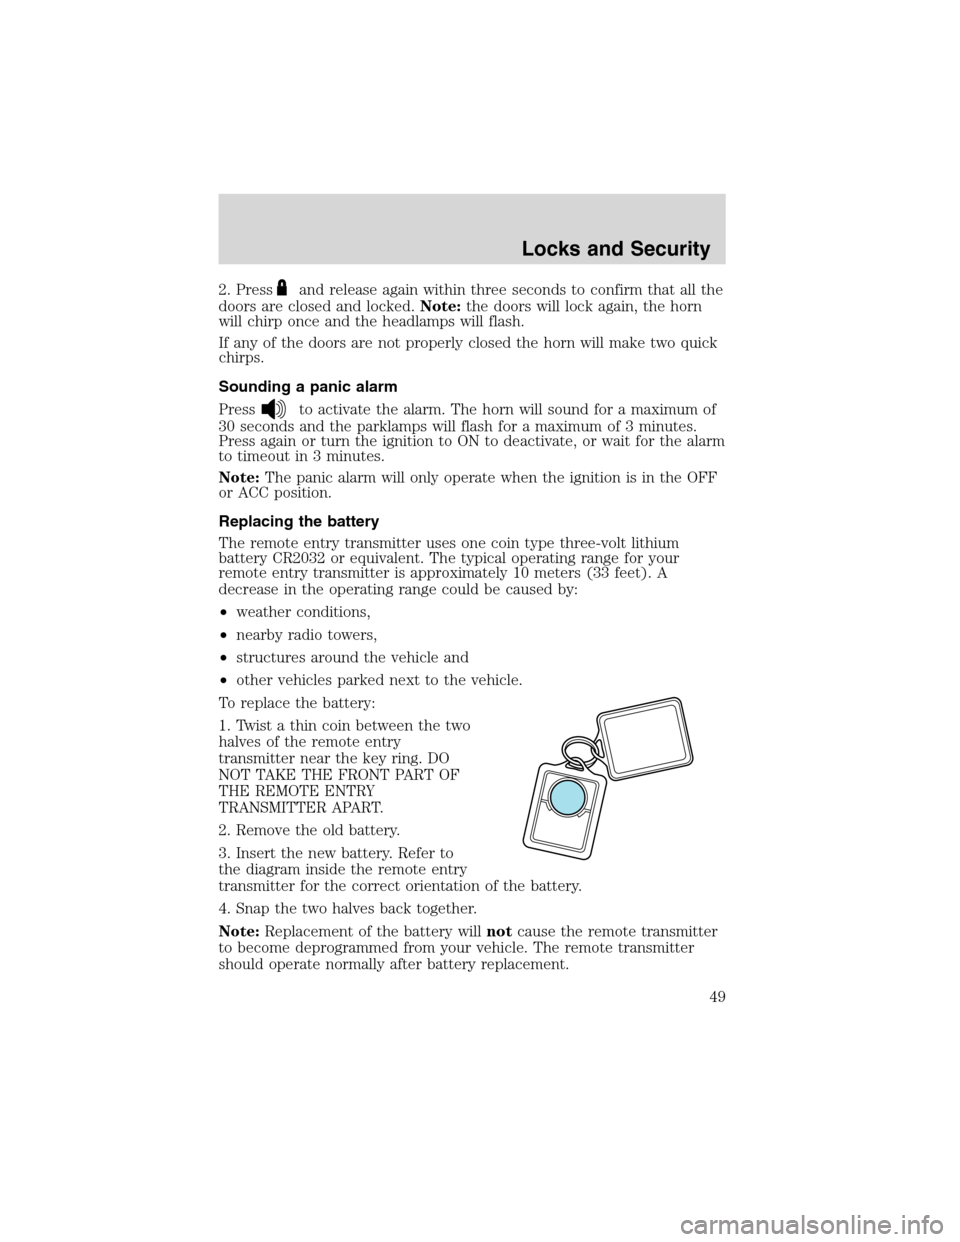
To replace the battery:
1. Twist a thin coin between the two
halves of the remote entry
transmitter near the key ring. DO
NOT TAKE THE FRONT PART OF
THE REMOTE ENTRY
TRANSMITTER APART.
2. Remove the old battery.
3. Insert the new battery. Refer to
the diagram inside the remote entry
transmitter for the correct orientation of the battery.
4. Snap the two halves back together.
Note:Replacement of the battery willnotcause the remote transmitter
to become deprogrammed from your vehicle. The remote transmitter
should operate normally after battery replacement.
Locks and Security
49
Page 94 of 184
If the parking brake is fully released, but the brake warning lamp
remains illuminated, the brakes may not be working properly.
See your dealer or a qualified service technician.
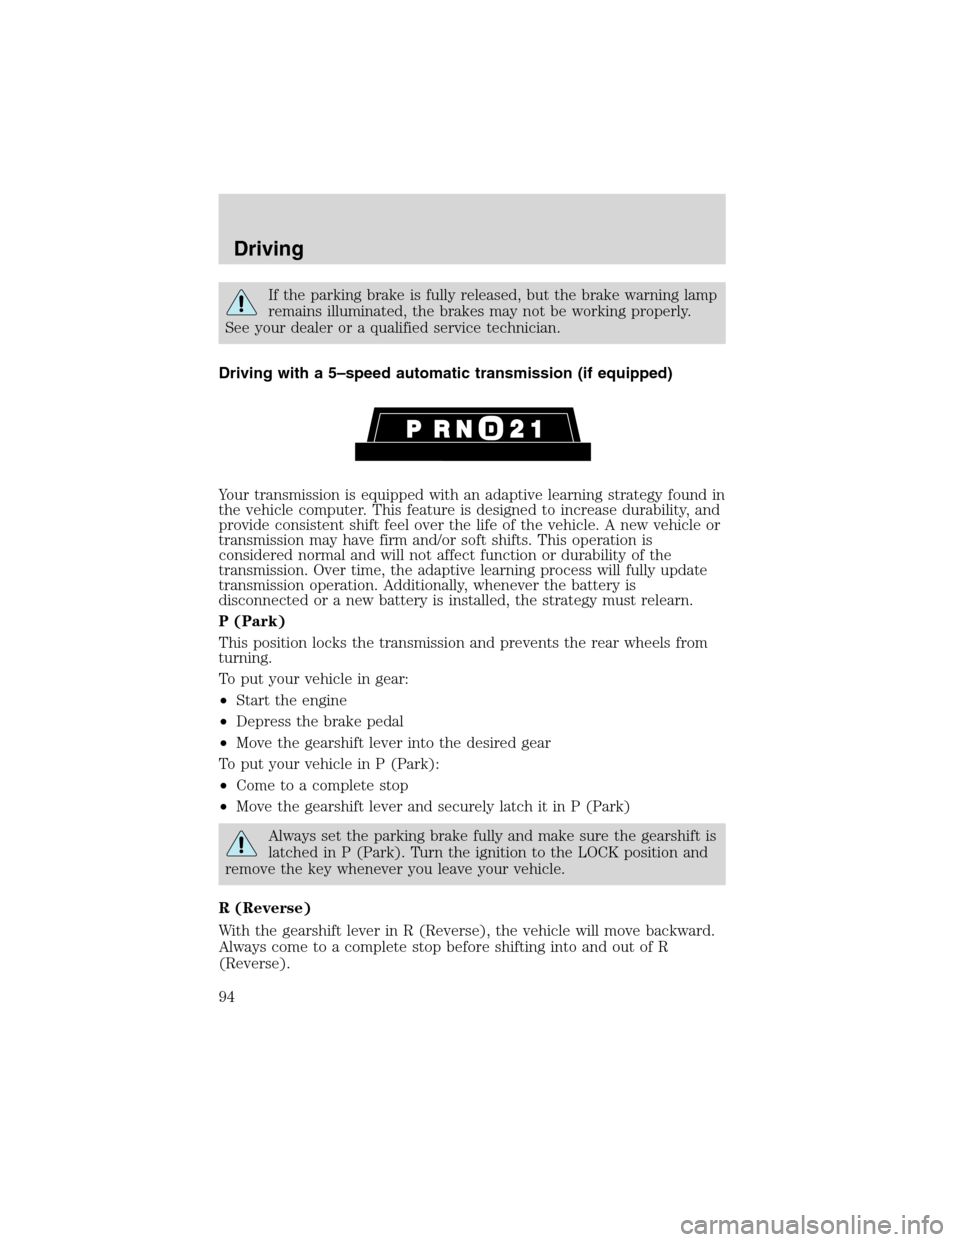
Driving with a 5–speed automatic transmission (if equipped)
Your transmission is equipped with an adaptive learning strategy found in
the vehicle computer. This feature is designed to increase durability, and
provide consistent shift feel over the life of the vehicle. A new vehicle or
transmission may have firm and/or soft shifts. This operation is
considered normal and will not affect function or durability of the
transmission. Over time, the adaptive learning process will fully update
transmission operation. Additionally, whenever the battery is
disconnected or a new battery is installed, the strategy must relearn.
P (Park)
This position locks the transmission and prevents the rear wheels from
turning.
To put your vehicle in gear:
•Start the engine
•Depress the brake pedal
•Move the gearshift lever into the desired gear
To put your vehicle in P (Park):
•Come to a complete stop
•Move the gearshift lever and securely latch it in P (Park)
Always set the parking brake fully and make sure the gearshift is
latched in P (Park). Turn the ignition to the LOCK position and
remove the key whenever you leave your vehicle.
R (Reverse)
With the gearshift lever in R (Reverse), the vehicle will move backward.
Always come to a complete stop before shifting into and out of R
(Reverse).
Driving
94