Page 88 of 280
If you do not successfully program the HomeLinktUniversal Transceiver
after repeated attempts, refer toRolling code programingwhich
follows, or call toll-free customer assistance: 1±800±355±3515 or on the
Internet atHomeLink.jci.com.
Canadian Programming
During programming, your hand-held transmitter may automatically stop
transmitting after two seconds which may not be long enough to
program the HomeLinktUniversal Transceiver.
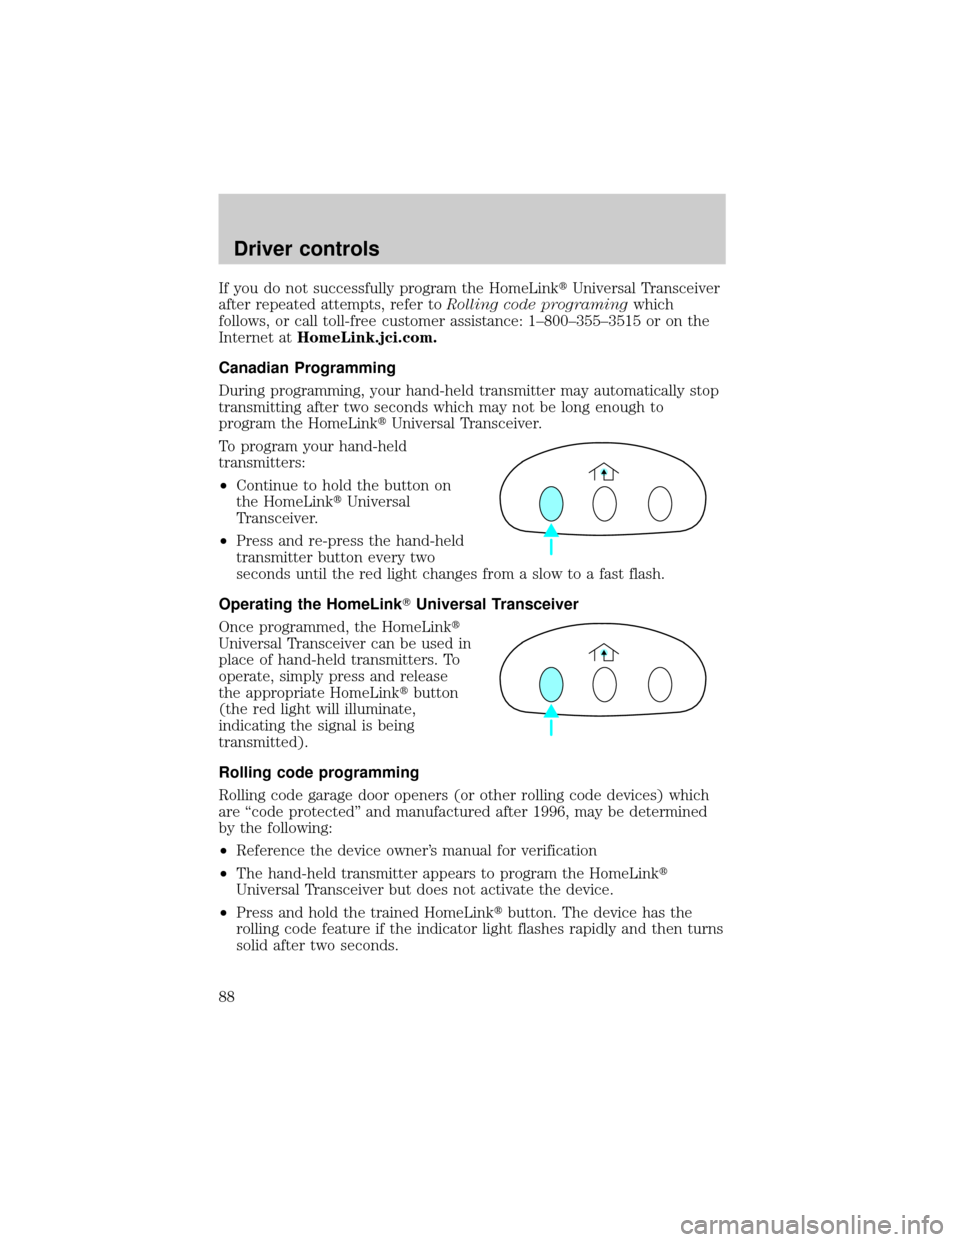
To program your hand-held
transmitters:
²Continue to hold the button on
the HomeLinktUniversal
Transceiver.
²Press and re-press the hand-held
transmitter button every two
seconds until the red light changes from a slow to a fast flash.
Operating the HomeLinkTUniversal Transceiver
Once programmed, the HomeLinkt
Universal Transceiver can be used in
place of hand-held transmitters. To
operate, simply press and release
the appropriate HomeLinktbutton
(the red light will illuminate,
indicating the signal is being
transmitted).
Rolling code programming
Rolling code garage door openers (or other rolling code devices) which
are ªcode protectedº and manufactured after 1996, may be determined
by the following:
²Reference the device owner's manual for verification
²The hand-held transmitter appears to program the HomeLinkt
Universal Transceiver but does not activate the device.
²Press and hold the trained HomeLinktbutton. The device has the
rolling code feature if the indicator light flashes rapidly and then turns
solid after two seconds.
Driver controls
88
Page 89 of 280
After completing the ªProgrammingº functions, follow these steps to
train a garage door opener with the rolling code feature:
1. Locate thetraining buttonon the garage door motor head unit.
Refer to the garage door opener manual or call 1±800±355±3515 or on
the Internet atHomeLink.jci.com.if there is difficulty locating the
training button.
2. Press the training button on the garage door motor head unit (which
will activate theªtrainingº light).
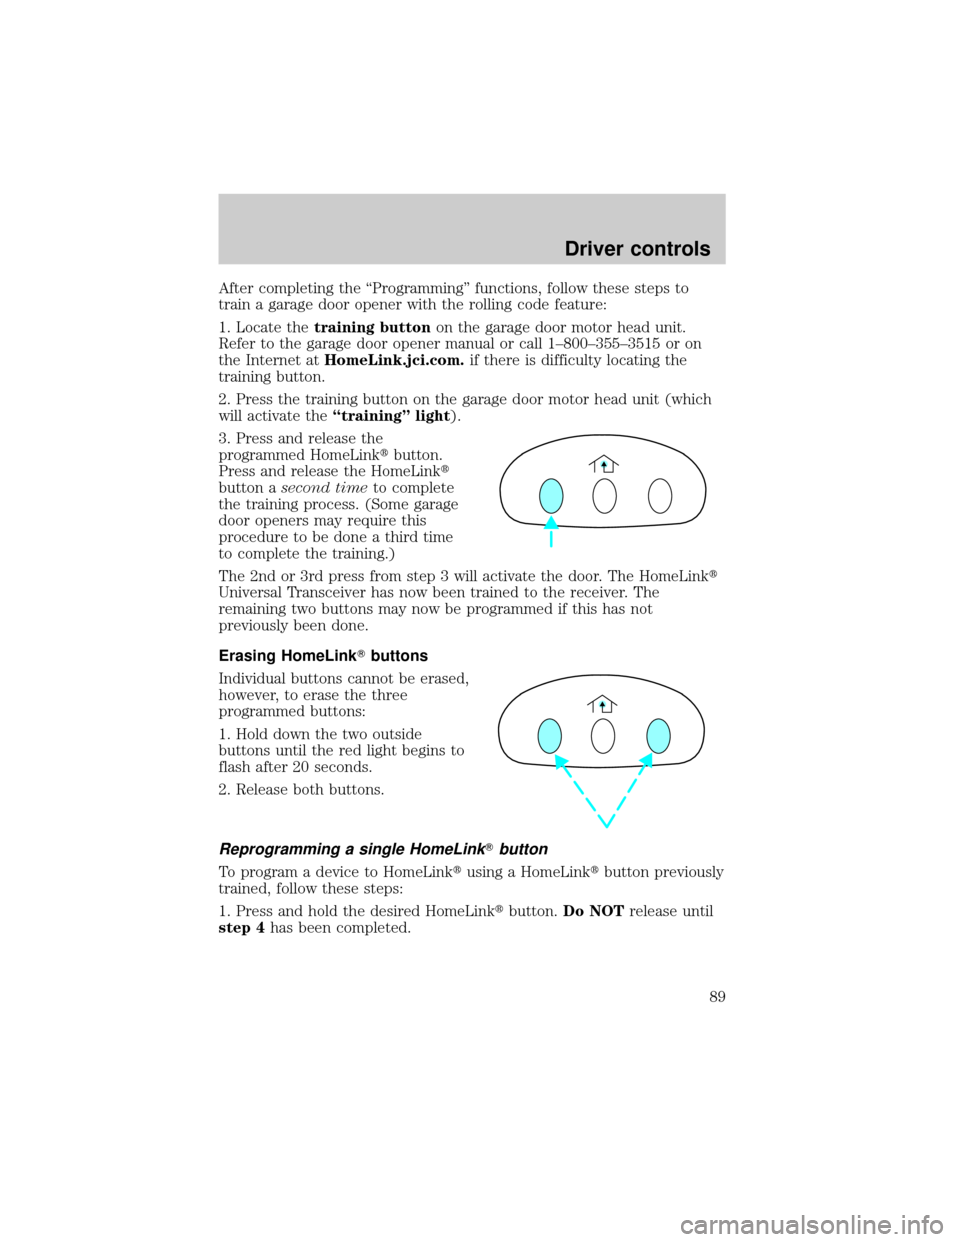
3. Press and release the
programmed HomeLinktbutton.
Press and release the HomeLinkt
button asecond timeto complete
the training process. (Some garage
door openers may require this
procedure to be done a third time
to complete the training.)
The 2nd or 3rd press from step 3 will activate the door. The HomeLinkt
Universal Transceiver has now been trained to the receiver. The
remaining two buttons may now be programmed if this has not
previously been done.
Erasing HomeLinkTbuttons
Individual buttons cannot be erased,
however, to erase the three
programmed buttons:
1. Hold down the two outside
buttons until the red light begins to
flash after 20 seconds.
2. Release both buttons.
Reprogramming a single HomeLinkTbutton
To program a device to HomeLinktusing a HomeLinktbutton previously
trained, follow these steps:
1. Press and hold the desired HomeLinktbutton.Do NOTrelease until
step 4has been completed.
Driver controls
89
Page 90 of 280
2. When the indicator light begins to flash slowly (after 20 seconds),
position the hand-held transmitter 5±14 cm (2 to 5 inches) away from
the HomeLinktsurface.
3. Press and hold the hand-held transmitter button.
4. The HomeLinktindicator light will flash, first slowly and then rapidly.
When the indicator light begins to flash rapidly, release both buttons.
The previous device has now been erased and the new device can be
activated by pushing the HomeLinktbutton that has just been
programmed.
TRIP COMPUTER (IF EQUIPPED)
The trip computer tells you about the condition of your vehicle through
a constant monitor of vehicle systems. You may select display features on
the trip computer for a display of status.
The appearance of your vehicle's trip computer may differ depending on
your vehicle's option package, but the functions are the same.
The trip computer only works when the ignition is in the ON position.
Trip computer features follow:
Selectable features
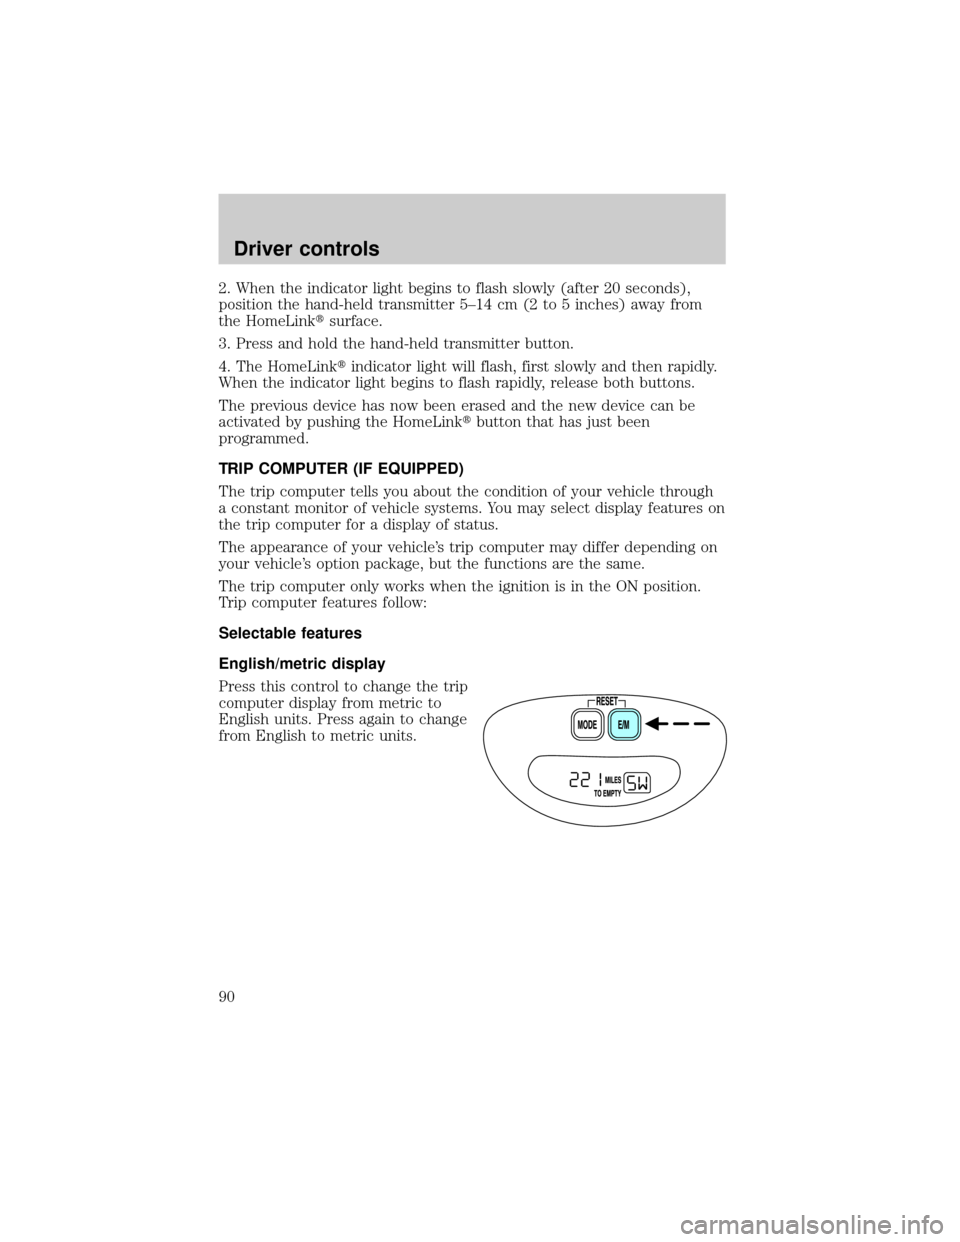
English/metric display
Press this control to change the trip
computer display from metric to
English units. Press again to change
from English to metric units.
Driver controls
90
Page 92 of 280
OVERDRIVE CONTROL
Activating overdrive
(Overdrive) is the normal drive position for the best fuel economy.
The overdrive function allows automatic upshifts and downshifts through
all available gears.
Deactivating overdrive
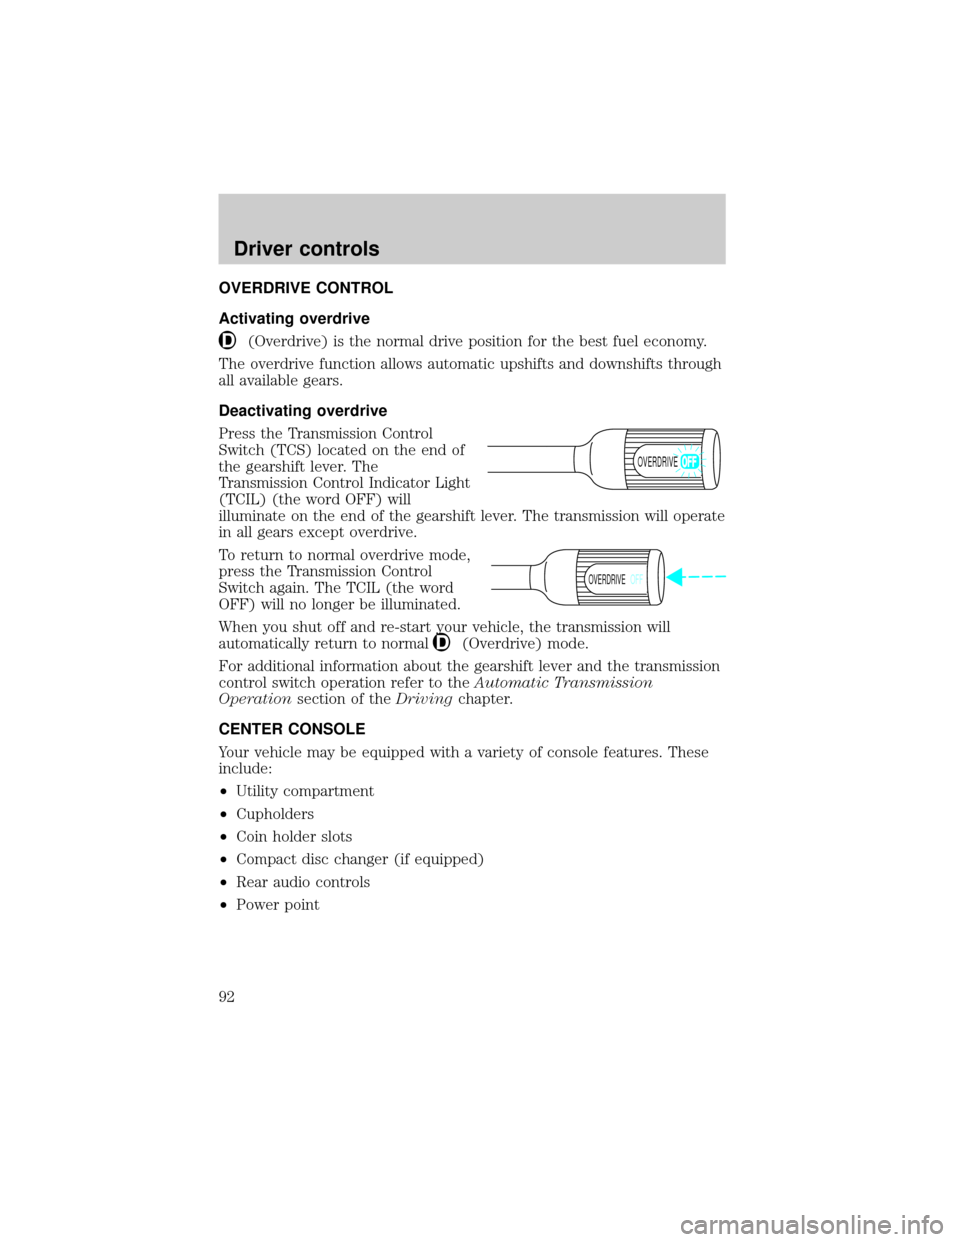
Press the Transmission Control
Switch (TCS) located on the end of
the gearshift lever. The
Transmission Control Indicator Light
(TCIL) (the word OFF) will
illuminate on the end of the gearshift lever. The transmission will operate
in all gears except overdrive.
To return to normal overdrive mode,
press the Transmission Control
Switch again. The TCIL (the word
OFF) will no longer be illuminated.
When you shut off and re-start your vehicle, the transmission will
automatically return to normal
(Overdrive) mode.
For additional information about the gearshift lever and the transmission
control switch operation refer to theAutomatic Transmission
Operationsection of theDrivingchapter.
CENTER CONSOLE
Your vehicle may be equipped with a variety of console features. These
include:
²Utility compartment
²Cupholders
²Coin holder slots
²Compact disc changer (if equipped)
²Rear audio controls
²Power point
OVERDRIVE
OVERDRIVEOFF
Driver controls
92
Page 100 of 280

Illuminated entry
The illuminated entry system will turn on the interior lights when the
remote transmitter unlock control is pressed.
The illuminated entry system will turn off the interior lights if the
ignition switch is turned to the ON position, or if the remote transmitter
lock control is pressed, or after 25 seconds of illumination.
The inside lights will not turn off if:
²they have been turned on with the dimmer control or
²any door is open
The battery save feature will turn off the interior lights 45 minutes after
the last door is closed, even if the dimmer control is on.
Memory seat/mirrors/adjustable pedal feature (if equipped)
The memory feature allows automatic positioning of the driver seat, side
mirrors and adjustable pedals to three programmable positions.
²To program position one, move the driver seat, both side mirrors, and
adjustable pedals to the desired positions. Press the SET control. The
SET control indicator light will briefly illuminate. While the light is
illuminated, press control 1.
²To program position two, repeat the previous procedure using control
2.
²To program position three, repeat the previous procedure but press
controls 1 and 2 simultaneously.
The memory feature also allows you to recall previously stored positions
with your remote transmitter(s). Up to three remote transmitters can be
activated to utilize the memory recall positions.
Press the memory feature control to move to the previously stored
seat/mirror/adjustable pedal positions.
Activating/deactivating the memory feature on your remote
transmitter
The memory feature from the remote transmitter can be turned off/on,
however, the memory control buttons will continue to operate. Before
following the procedure, make sure that the ignition is OFF and all doors
and the liftgate window are closed. You must complete steps 1±7 within
30 seconds or the procedure will have to be repeated. If the procedure
needs to be repeated, you must wait 30 seconds.
Locks and security
100
Page 104 of 280

Activating/deactivating autolock with the keyless entry system
Before following the activation or
deactivation procedures, make sure
that the anti-theft system (if
equipped) is not armed, ignition is
off, and all vehicle doors and liftgate window are closed.
1. Enter 5 digit entry code
2. Press and hold 7/8 control
3. Press and release 3/4 control while holding 7/8 control
4. Release 7/8 control.
The horn will chirp once if autolock was deactivated or twice (one short
and one long chirp) if autolock was activated.
To re-activate autolock, repeat steps 1±4.
SECURILOCKYPASSIVE ANTI-THEFT SYSTEM
SecuriLockypassive anti-theft system is an engine immobilization
system. This system prevents the engine from being started unless a
coded key programmed to your vehicleis used.
The SecuriLockypassive anti-theft system is not compatible with
non-Ford aftermarket remote start systems. Use of these systems may
result in vehicle starting problems and a loss of security protection.
Automatic arming
The vehicle is armed immediately
after switching the ignition to the 3
(OFF) position. The
THEFTlight in
the instrument cluster will flash
every two seconds when the vehicle
is armed.
123
45678
90
3
2
1
5
4
Locks and security
104
Page 105 of 280

Automatic disarming
Switching the ignition to the 4 (ON) position with acoded keydisarms
the vehicle. The
THEFTlight will illuminate for three seconds and then
go out. If the
THEFTlight stays on for an extended period of time or
flashes rapidly, have the system serviced by your dealership or a
qualified technician.
Key information
Your vehicle is supplied withtwo
coded keys.Only acoded keywill
start your vehicle. Spare coded keys
can be purchased from your
dealership. Your dealership can
program your key or you can ªdo it
yourselfº, refer toProgramming
spare keys.
Large metallic objects, electronic
devices on the key chain that can be
used to purchase gasoline or similar
items, or a second key on the same
key ring as thecoded keymay
cause vehicle starting issues. If
present, you need to keep these
objects from touching thecoded
keywhile starting the engine. These
objects and devices cannot damage
thecoded key,but can cause a
momentary NOÐSTART condition if
they are too close to the key during
engine start. If a problem occurs,
turn ignition OFF and restart the
engine with all other objects on the
key ring held away from the ignition key. Check to make sure thecoded
keyis an approved Lincolncoded key.
Locks and security
105
Page 112 of 280
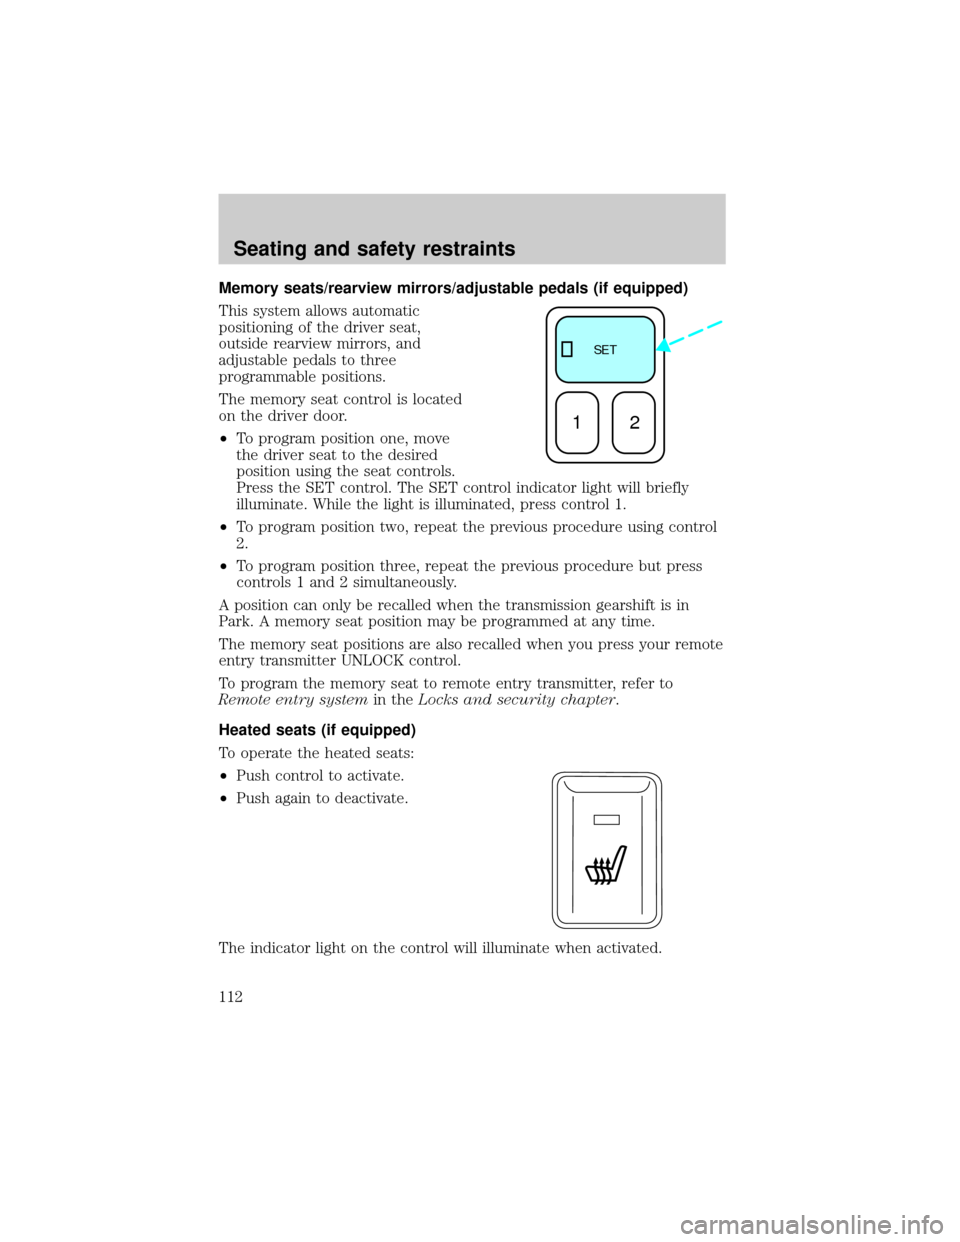
Memory seats/rearview mirrors/adjustable pedals (if equipped)
This system allows automatic
positioning of the driver seat,
outside rearview mirrors, and
adjustable pedals to three
programmable positions.
The memory seat control is located
on the driver door.
²To program position one, move
the driver seat to the desired
position using the seat controls.
Press the SET control. The SET control indicator light will briefly
illuminate. While the light is illuminated, press control 1.
²To program position two, repeat the previous procedure using control
2.
²To program position three, repeat the previous procedure but press
controls 1 and 2 simultaneously.
A position can only be recalled when the transmission gearshift is in
Park. A memory seat position may be programmed at any time.
The memory seat positions are also recalled when you press your remote
entry transmitter UNLOCK control.
To program the memory seat to remote entry transmitter, refer to
Remote entry systemin theLocks and security chapter.
Heated seats (if equipped)
To operate the heated seats:
²Push control to activate.
²Push again to deactivate.
The indicator light on the control will illuminate when activated.
SE T
12
Seating and safety restraints
112