Page 90 of 341
2-27
NOTICE: (Continued)
Use AUTOMATIC OVERDRIVE (D) or THIRD (3)
as much as possible. Don't shift into SECOND (2)
unless you are going slower than 65 mph (105 km/h)
or you can damage your engine.
FIRST (1): This position gives you even more power
(but lower fuel economy) than SECOND (2). You can
use it on very steep hills, or in deep snow or mud. If the
shift lever is put in FIRST (1), the transaxle won't shift
into first gear until the vehicle is going slow enough.
NOTICE:
If your front wheels can't turn, don't try to drive.
This might happen if you were stuck in very deep
sand or mud or were up against a solid object.
You can damage your transaxle.
Also, if you stop when going uphill, don't hold
your vehicle there with only the accelerator
pedal. This could overheat and damage the
transaxle. Use your brakes or shift into PARK (P)
to hold your vehicle in position on a hill.
Second-Gear Start
Your vehicle is equipped with a second-gear start
feature. Place the shift lever in SECOND (2) gear to
provide more traction when you are starting on ice
or other slippery surfaces. The transaxle will be in
SECOND (2) gear when the vehicle begins to move.
After starting in SECOND (2) gear, place the shift lever
in THIRD (3) or AUTOMATIC OVERDRIVE (D).
This feature is only for improved traction when the
road surface is slippery and is not intended for
continuous use or when the vehicle is stuck in sand,
mud, ice, snow or gravel.
Page 94 of 341
2-31
Shifting Out of PARK (P)
Your vehicle has an automatic transaxle shift lock
control system. You have to apply your regular brake
before you can shift from PARK (P) when the ignition
is in ON. See ªAutomatic Transaxle Operationº in
the Index.
If you cannot shift out of PARK (P), ease pressure
on the shift lever
-- push the shift lever all the way
into PARK (P)
-- as you maintain brake application.
Then move the shift into the gear you wish. (Press the
shift lever button before moving the shift lever.)
If you ever hold the brake pedal down but still can't
shift out of PARK (P), try this:
1. Turn the key to ACCESSORY.
2. Apply and hold the regular brake until the
end of Step 5.
3. Shift to NEUTRAL (N).
4. Turn the key to START, to start the vehicle.
5. Shift to the drive gear you want.
6. Have the vehicle fixed as soon as you can.
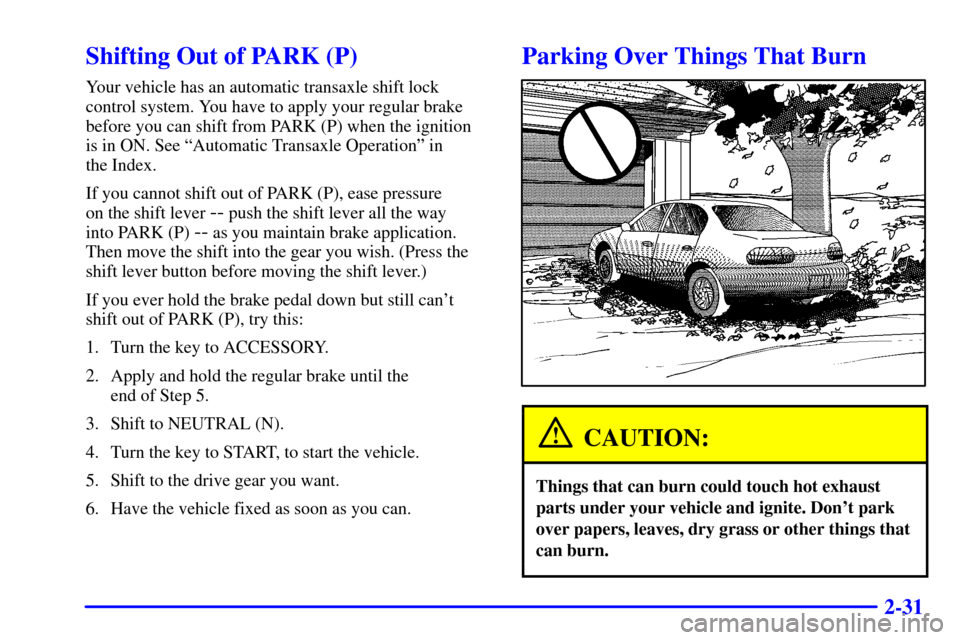
Parking Over Things That Burn
CAUTION:
Things that can burn could touch hot exhaust
parts under your vehicle and ignite. Don't park
over papers, leaves, dry grass or other things that
can burn.
Page 97 of 341
2-34
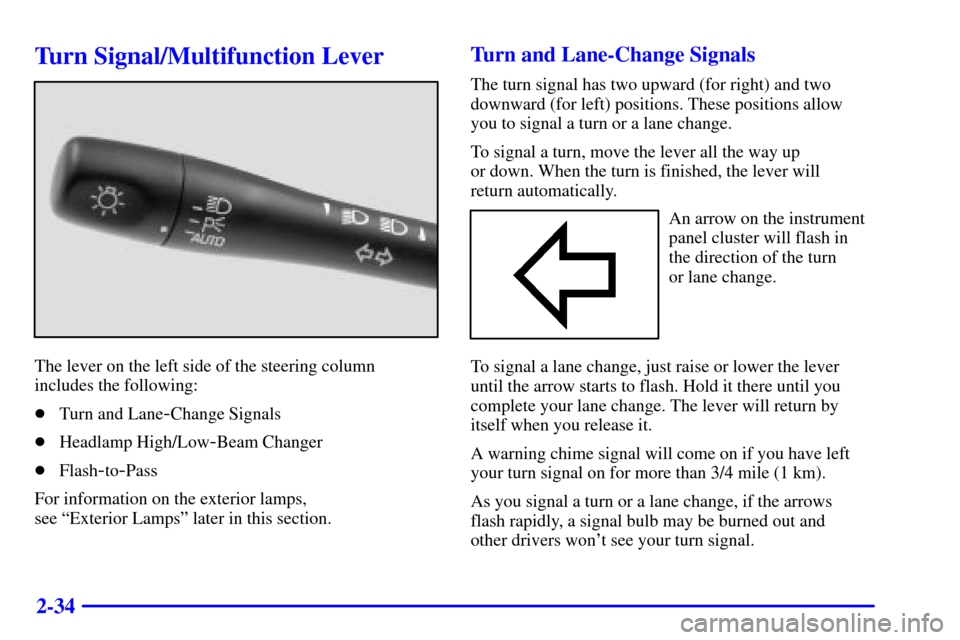
Turn Signal/Multifunction Lever
The lever on the left side of the steering column
includes the following:
�Turn and Lane
-Change Signals
�Headlamp High/Low
-Beam Changer
�Flash
-to-Pass
For information on the exterior lamps,
see ªExterior Lampsº later in this section.
Turn and Lane-Change Signals
The turn signal has two upward (for right) and two
downward (for left) positions. These positions allow
you to signal a turn or a lane change.
To signal a turn, move the lever all the way up
or down. When the turn is finished, the lever will
return automatically.
An arrow on the instrument
panel cluster will flash in
the direction of the turn
or lane change.
To signal a lane change, just raise or lower the lever
until the arrow starts to flash. Hold it there until you
complete your lane change. The lever will return by
itself when you release it.
A warning chime signal will come on if you have left
your turn signal on for more than 3/4 mile (1 km).
As you signal a turn or a lane change, if the arrows
flash rapidly, a signal bulb may be burned out and
other drivers won't see your turn signal.
Page 103 of 341
2-40
Exterior Lamps
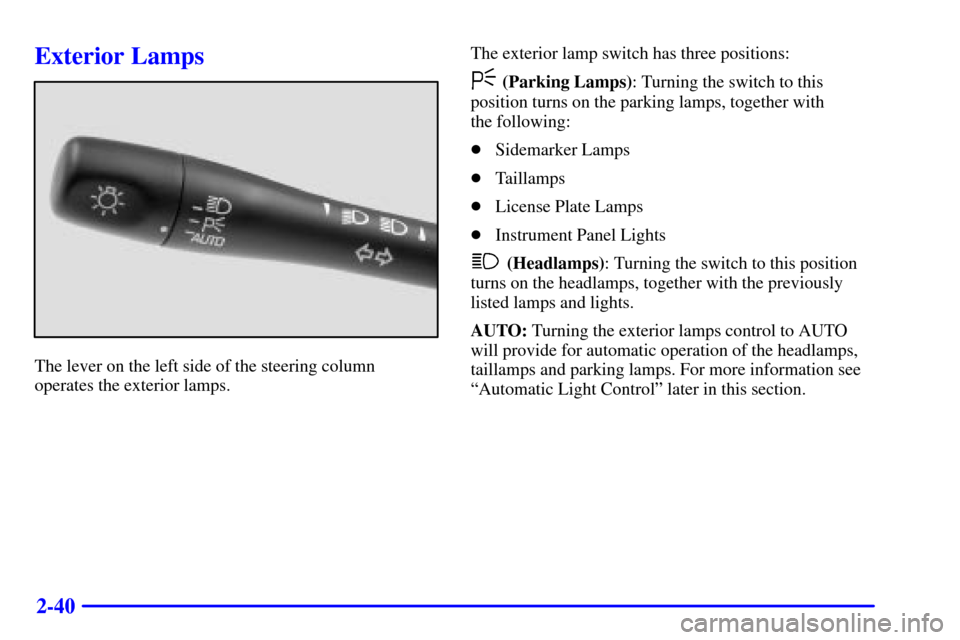
The lever on the left side of the steering column
operates the exterior lamps.The exterior lamp switch has three positions:
(Parking Lamps): Turning the switch to this
position turns on the parking lamps, together with
the following:
�Sidemarker Lamps
�Taillamps
�License Plate Lamps
�Instrument Panel Lights
(Headlamps): Turning the switch to this position
turns on the headlamps, together with the previously
listed lamps and lights.
AUTO: Turning the exterior lamps control to AUTO
will provide for automatic operation of the headlamps,
taillamps and parking lamps. For more information see
ªAutomatic Light Controlº later in this section.
Page 104 of 341

2-41 Daytime Running Lamps
Daytime Running Lamps (DRL) can make it easier
for others to see the front of your vehicle during
the day. DRL can be helpful in many different driving
conditions, but they can be especially helpful in the
short periods after dawn and before sunset. Fully
functional daytime running lamps are required on all
vehicles first sold in Canada.
The DRL system will make your low
-beam headlamps
come on at a reduced brightness when the following
conditions are met:
�The ignition is on,
�the exterior lamps control is to AUTO or you have
turned on your parking lamps,
�the light sensor detects daytime light,
�the parking brake is released, and
�the shift lever is not in PARK (P).When the DRL system is on, the taillamps, sidemarker
lamps, parking lamps and instrument panel lights will
not be illuminated unless you have turned the exterior
lamps control to the parking lamp or headlamp position.
The DRL system will remain off any time your vehicle
is in PARK (P) or the parking brake is engaged and the
vehicle speed is less than 8 mph (13 km/h).
As with any vehicle, you should turn on the regular
headlamp system when you need it.
Automatic Light Control (ALC)
When it is dark enough outside, your Automatic Light
Control (ALC) will turn on your headlamps at the
normal brightness along with other lamps such as the
taillamps, sidemarker, parking lamps and the instrument
panel lights. The radio lights will also be dim.
Your vehicle is equipped with a light sensor on the
top of the instrument panel under the defroster grill,
so be sure it is not covered which will cause the ALC
system to be on whenever the ignition is on.
Page 105 of 341

2-42
The ALC system may also be on when driving through
a parking garage, heavy overcast weather or a tunnel.
This is normal.
There is a delay in the transition between the daytime
and nighttime operation of the DRL and the ALC
systems so that driving under bridges or bright overhead
street lights does not affect the system. The DRL and
ALC systems will only be affected when the light sensor
sees a change in lighting lasting longer than this delay.
To idle your vehicle with the ALC system off, set the
park brake while the ignition is off. Then start the
vehicle. The ALC system will stay off until you release
the park brake.
As with any vehicle, you should turn on the regular
headlamps when you need them.Headlamps Dim to Park
This feature works when the ignition is on and it is
dark outside. To turn the headlamps off when it is dark
outside, turn the exterior lamps control to the parking
lamp position. In this position, the parking lamps,
sidemarker lamps, taillamps, license plate lamps and
instrument panel lights will be on, but the headlamps
will be off.
To turn on the headlamps along with the other lamps
when it is dark outside, turn the exterior lamps control
to the AUTO or headlamp position.
Delayed Headlamps
The delayed headlamps feature will continue to
illuminate the headlamps for 20 seconds after the
key is turned to OFF at night. Then the headlamps
will automatically turn off.
To override the 20 second delayed headlamp feature
while it is active turn the switch at the end of the turn
signal/multifunction lever up one position and then
back to AUTO.
Page 107 of 341

2-44 Illuminated Entry/Exit System
When you open any door, the lamps inside of your
vehicle will go on. These lamps will fade out 10 seconds
after the last door is closed, or when the ignition is
turned on after all doors have been closed. These lamps
will also go on when you press the trunk release button,
the unlock button or the horn symbol button on the
remote keyless entry transmitter.
The lamps inside of your vehicle will stay on for about
10 seconds after your key is removed from the ignition
to provide an illuminated exit.
Mirror Reading Lamps (If Equipped)
Press the button located next to each lamp to turn
them on and off.
Three-Position Dome Lamp
The switch on this lamp has three positions. The ON
position will turn on the lamp. The DOOR position will
turn on the lamp whenever a door is opened. The OFF
position will shut off the lamp completely, even when a
door is opened.
Trunk Lamp
The trunk lamp comes on when you open your trunk.
Battery Saver
Your vehicle is equipped with a battery saver feature
designed to protect your vehicle's battery.
When any interior lamp (trunk, reading, footwell,
visor vanity or glove box) is left on when the ignition
is turned off, the battery saver system will automatically
shut the lamp(s) off after 20 minutes. This will avoid
draining the battery.
To reactivate the interior lamps, do one of the following:
�Turn on the ignition,
�turn the exterior lamp control off and then on,
�open a door,
�press any remote keyless entry transmitter button
(if equipped),
�press the remote trunk release button, or
�press the power door lock switch.
The battery saver feature will also be activated when
any door on the vehicle is left open and the ignition
is in OFF.
Page 130 of 341
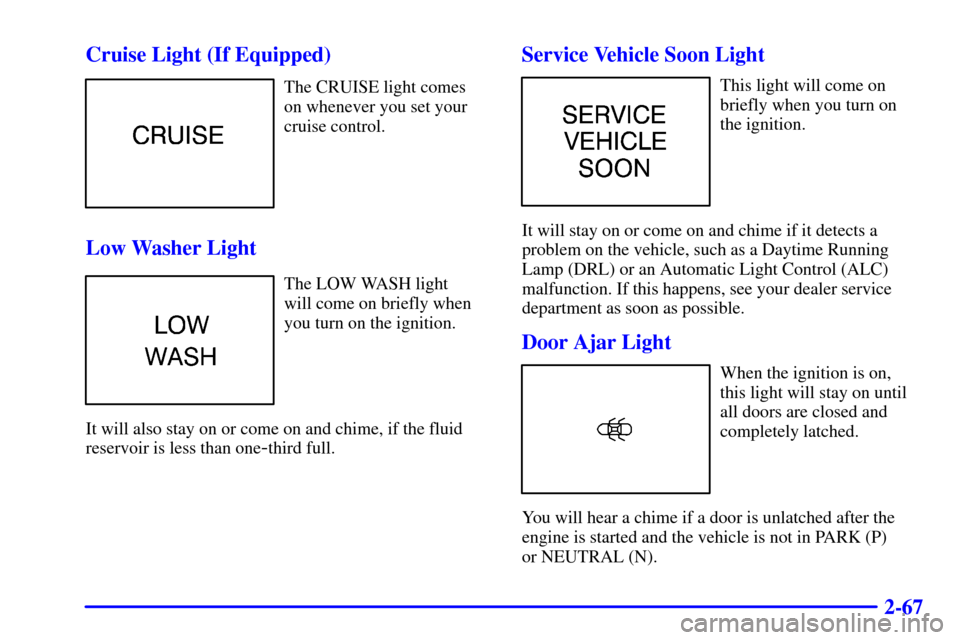
2-67 Cruise Light (If Equipped)
The CRUISE light comes
on whenever you set your
cruise control.
Low Washer Light
The LOW WASH light
will come on briefly when
you turn on the ignition.
It will also stay on or come on and chime, if the fluid
reservoir is less than one
-third full.
Service Vehicle Soon Light
This light will come on
briefly when you turn on
the ignition.
It will stay on or come on and chime if it detects a
problem on the vehicle, such as a Daytime Running
Lamp (DRL) or an Automatic Light Control (ALC)
malfunction. If this happens, see your dealer service
department as soon as possible.
Door Ajar Light
When the ignition is on,
this light will stay on until
all doors are closed and
completely latched.
You will hear a chime if a door is unlatched after the
engine is started and the vehicle is not in PARK (P)
or NEUTRAL (N).