Page 97 of 341

2-34
Turn Signal/Multifunction Lever
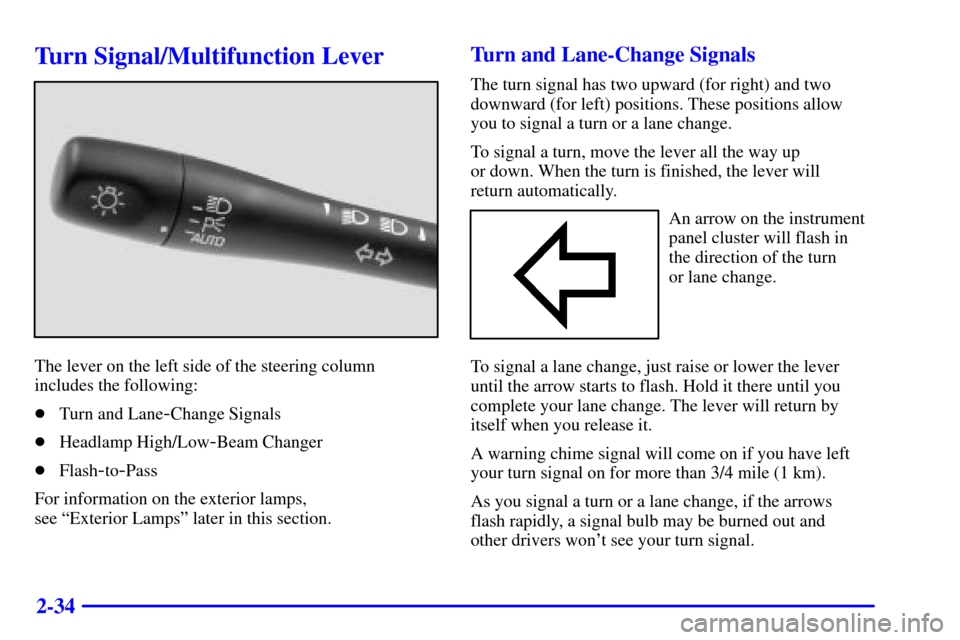
The lever on the left side of the steering column
includes the following:
�Turn and Lane
-Change Signals
�Headlamp High/Low
-Beam Changer
�Flash
-to-Pass
For information on the exterior lamps,
see ªExterior Lampsº later in this section.
Turn and Lane-Change Signals
The turn signal has two upward (for right) and two
downward (for left) positions. These positions allow
you to signal a turn or a lane change.
To signal a turn, move the lever all the way up
or down. When the turn is finished, the lever will
return automatically.
An arrow on the instrument
panel cluster will flash in
the direction of the turn
or lane change.
To signal a lane change, just raise or lower the lever
until the arrow starts to flash. Hold it there until you
complete your lane change. The lever will return by
itself when you release it.
A warning chime signal will come on if you have left
your turn signal on for more than 3/4 mile (1 km).
As you signal a turn or a lane change, if the arrows
flash rapidly, a signal bulb may be burned out and
other drivers won't see your turn signal.
Page 98 of 341

2-35
If a bulb is burned out, replace it to help avoid an
accident. If the arrows don't go on at all when you
signal a turn, check for burned
-out bulbs and then check
the fuse. See ªFuses and Circuit Breakersº in the Index.
Headlamp High/Low-Beam Changer
To change the headlamps from low beam to high beam,
push the turn signal/multifunction lever away from you.
When the high beams are
on, a light on the instrument
panel cluster also will be on
if the ignition is in ON.
To change the headlamps from high beam to low beam,
pull the turn signal lever toward you.
Lamps On Reminder
If you open the driver's door and turn off the ignition while
leaving the lamps on, you will hear a warning chime.
Flash-to-Pass
This feature lets you use your high-beam headlamps
to signal a driver in front of you that you want to pass.
To use it, pull the turn signal/multifunction lever
toward you until the high
-beam headlamps come on,
then release the lever to turn them off.
Windshield Wipers
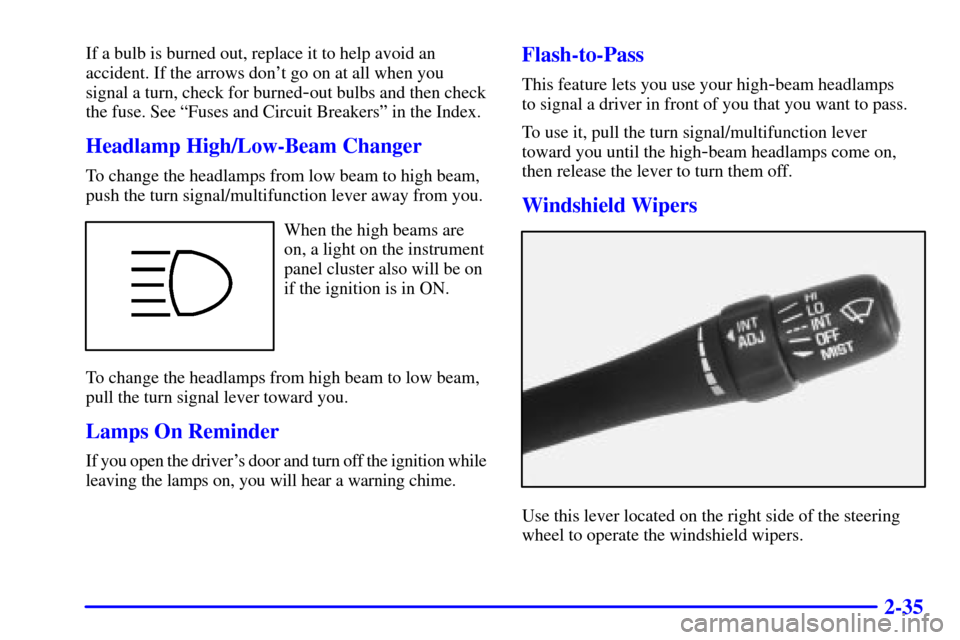
Use this lever located on the right side of the steering
wheel to operate the windshield wipers.
Page 199 of 341

4-39 Making Turns
NOTICE:
Making very sharp turns while trailering could
cause the trailer to come in contact with the
vehicle. Your vehicle could be damaged. Avoid
making very sharp turns while trailering.
When you're turning with a trailer, make wider turns
than normal. Do this so your trailer won't strike
soft shoulders, curbs, road signs, trees or other
objects. Avoid jerky or sudden maneuvers. Signal well
in advance.
Turn Signals When Towing a Trailer
When you tow a trailer, your vehicle may need
additional wiring. Check with your dealer. The arrows
on your instrument panel will flash whenever you signal
a turn or lane change. Properly hooked up, the trailer
lamps will also flash, telling other drivers you're about
to turn, change lanes or stop.
When towing a trailer, the arrows on your instrument
panel will flash for turns even if the bulbs on the trailer
are burned out. Thus, you may think drivers behind
you are seeing your signal when they are not. It's
important to check occasionally to be sure the trailer
bulbs are still working.
Page 260 of 341
6-29
Bulb Replacement
For bulb types, see ªReplacement Bulbsº in the Index.
For any bulb changing procedures not listed in this
section, contact your dealer.
Halogen Bulbs
CAUTION:
Halogen bulbs have pressurized gas inside and
can burst if you drop or scratch the bulb. You or
others could be injured. Be sure to read and
follow the instructions on the bulb package.
Headlamps
A. Front Turn Signal
B. High
-Beam Headlamp
C. Low
-Beam Headlamp
Page 262 of 341
6-31 Front Turn Signal Lamps
1. Remove the headlamp assembly as described
in ªHeadlamps.º
2. Once it has been removed, press the tab on the white
socket while twisting it less than one
-quarter turn
counterclockwise and pull it out.
3. Remove the old bulb and replace it with a new one.4. Turn the socket back into place.
5. Return the lamp assembly to its original position.
Be sure to line up the holes in the lamp assembly to
the round ends of the mounting pins.
6. Press down on the two latches to hook in the
lamp assembly.
Center High-Mounted Stoplamp (CHMSL)
(Interior Mounted)
1. Open the trunk and locate the CHMSL housing on
the underside of the rear window shelf.
2. Twist the socket one
-quarter turn counterclockwise
to remove it.
3. Gently remove burned out bulb and replace with a
new one.
4. Turn the socket back into place.