2002 BMW Z3 warning
[x] Cancel search: warningPage 23 of 187

23n
IndexDataTechnologyRepairsMaintenanceControlsOverview
Indicator and warning lampsGreen: for your information
Turn signal indicators
Flashes when the turn signal
indicators are in operation.
Rapid flashing indicates a system
malfunction.
For additional information, refer to
page 64.
Front fog lamps
*
Lights up whenever you switch
on the front fog lamps.
For additional information, refer to
page 76.
Blue: for your information
High beams
Lights up when the high beams
are on or the headlamp flasher
is actuated.
For additional information, refer to
page 64.
Page 24 of 187

24n
Hazard warning flashers Warning triangle
* First-aid kit
*
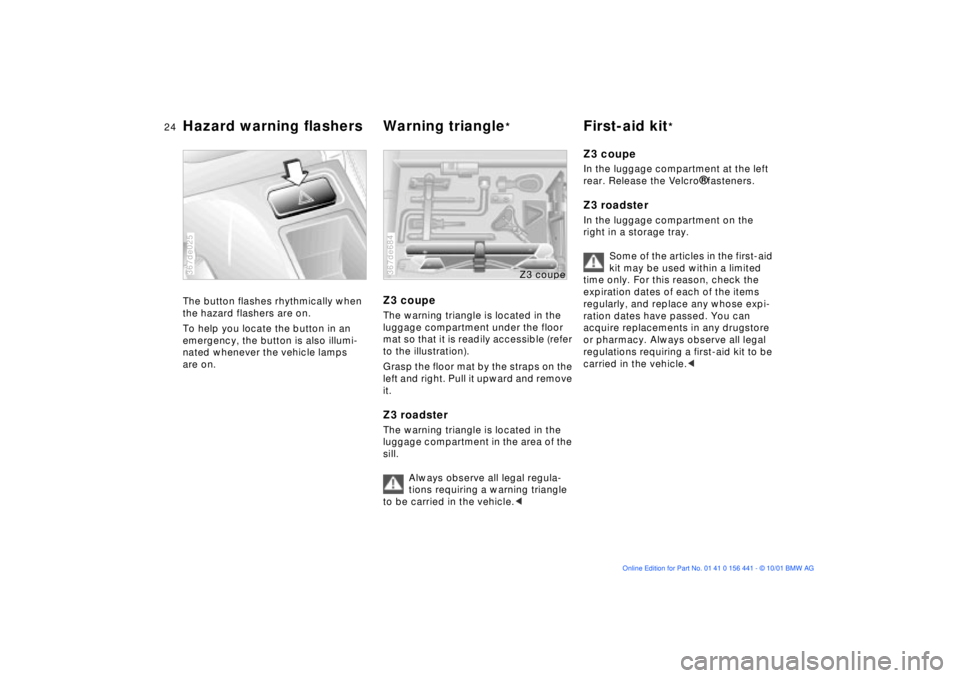
The button flashes rhythmically when
the hazard flashers are on.
To help you locate the button in an
emergency, the button is also illumi-
nated whenever the vehicle lamps
are on.367de025
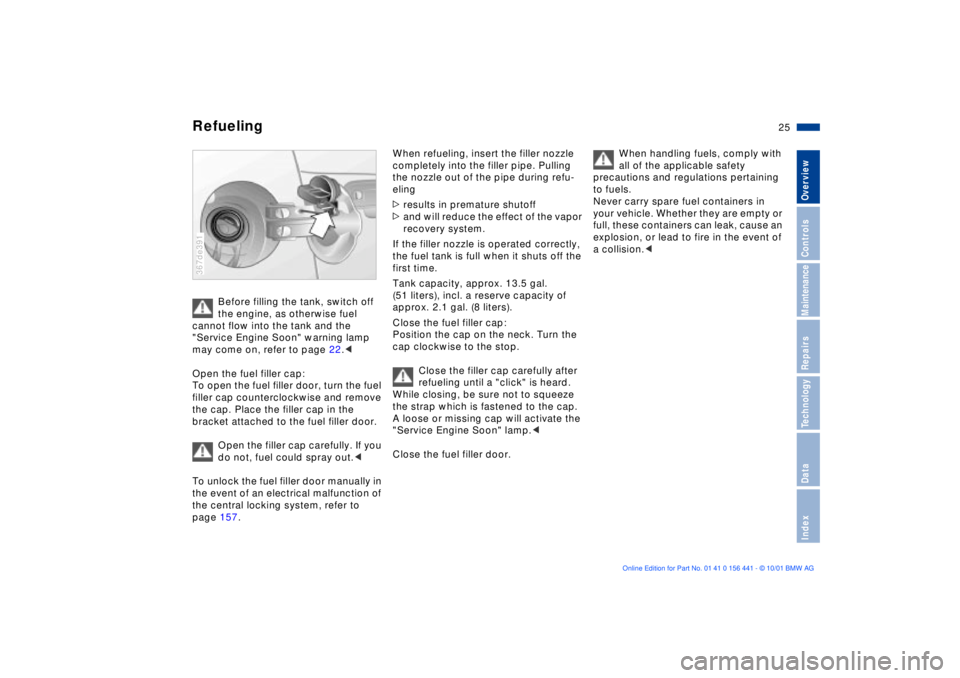
Z3 coupeThe warning triangle is located in the
luggage compartment under the floor
mat so that it is readily accessible (refer
to the illustration).
Grasp the floor mat by the straps on the
left and right. Pull it upward and remove
it.Z3 roadsterThe warning triangle is located in the
luggage compartment in the area of the
sill.
Always observe all legal regula-
tions requiring a warning triangle
to be carried in the vehicle.<367de684
Z3 cou
pe
Z3 coupeIn the luggage compartment at the left
rear. Release the Velcro
¨ fasteners.
Z3 roadsterIn the luggage compartment on the
right in a storage tray.
Some of the articles in the first-aid
kit may be used within a limited
time only. For this reason, check the
expiration dates of each of the items
regularly, and replace any whose expi-
ration dates have passed. You can
acquire replacements in any drugstore
or pharmacy. Always observe all legal
regulations requiring a first-aid kit to be
carried in the vehicle.<
Page 25 of 187

25n
IndexDataTechnologyRepairsMaintenanceControlsOverview
Refueling
Before filling the tank, switch off
the engine, as otherwise fuel
cannot flow into the tank and the
"Service Engine Soon" warning lamp
may come on, refer to page 22.<
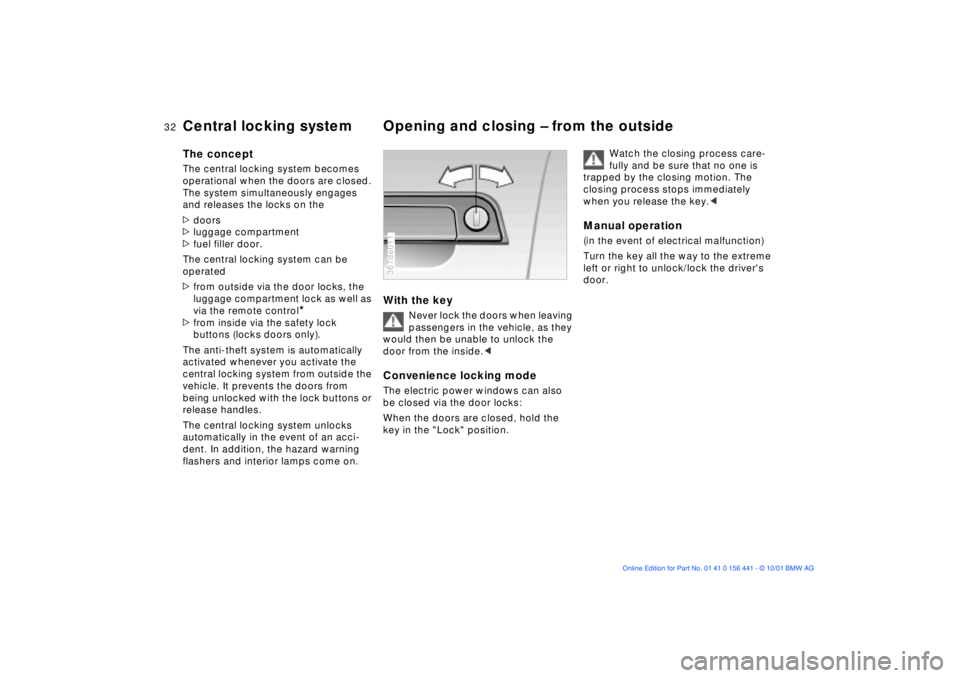
Open the fuel filler cap:
To open the fuel filler door, turn the fuel
filler cap counterclockwise and remove
the cap. Place the filler cap in the
bracket attached to the fuel filler door.
Open the filler cap carefully. If you
do not, fuel could spray out.<
To unlock the fuel filler door manually in
the event of an electrical malfunction of
the central locking system, refer to
page 157.
367de391
When refueling, insert the filler nozzle
completely into the filler pipe. Pulling
the nozzle out of the pipe during refu-
eling
>results in premature shutoff
>and will reduce the effect of the vapor
recovery system.
If the filler nozzle is operated correctly,
the fuel tank is full when it shuts off the
first time.
Tank capacity, approx. 13.5 gal.
(51 liters), incl. a reserve capacity of
approx. 2.1 gal. (8 liters).
Close the fuel filler cap:
Position the cap on the neck. Turn the
cap clockwise to the stop.
Close the filler cap carefully after
refueling until a "click" is heard.
While closing, be sure not to squeeze
the strap which is fastened to the cap.
A loose or missing cap will activate the
"Service Engine Soon" lamp.<
Close the fuel filler door.
When handling fuels, comply with
all of the applicable safety
precautions and regulations pertaining
to fuels.
Never carry spare fuel containers in
your vehicle. Whether they are empty or
full, these containers can leak, cause an
explosion, or lead to fire in the event of
a collision.<
Page 32 of 187

32n
Central locking system Opening and closing Ð from the outsideThe conceptThe central locking system becomes
operational when the doors are closed.
The system simultaneously engages
and releases the locks on the
>doors
>luggage compartment
>fuel filler door.
The central locking system can be
operated
>from outside via the door locks, the
luggage compartment lock as well as
via the remote control
*
>from inside via the safety lock
buttons (locks doors only).
The anti-theft system is automatically
activated whenever you activate the
central locking system from outside the
vehicle. It prevents the doors from
being unlocked with the lock buttons or
release handles.
The central locking system unlocks
automatically in the event of an acci-
dent. In addition, the hazard warning
flashers and interior lamps come on.
With the key
Never lock the doors when leaving
passengers in the vehicle, as they
would then be unable to unlock the
door from the inside.<
Convenience locking modeThe electric power windows can also
be closed via the door locks:
When the doors are closed, hold the
key in the "Lock" position.367de011
Watch the closing process care-
fully and be sure that no one is
trapped by the closing motion. The
closing process stops immediately
when you release the key.<
Manual operation(in the event of electrical malfunction)
Turn the key all the way to the extreme
left or right to unlock/lock the driver's
door.
Page 58 of 187

58n
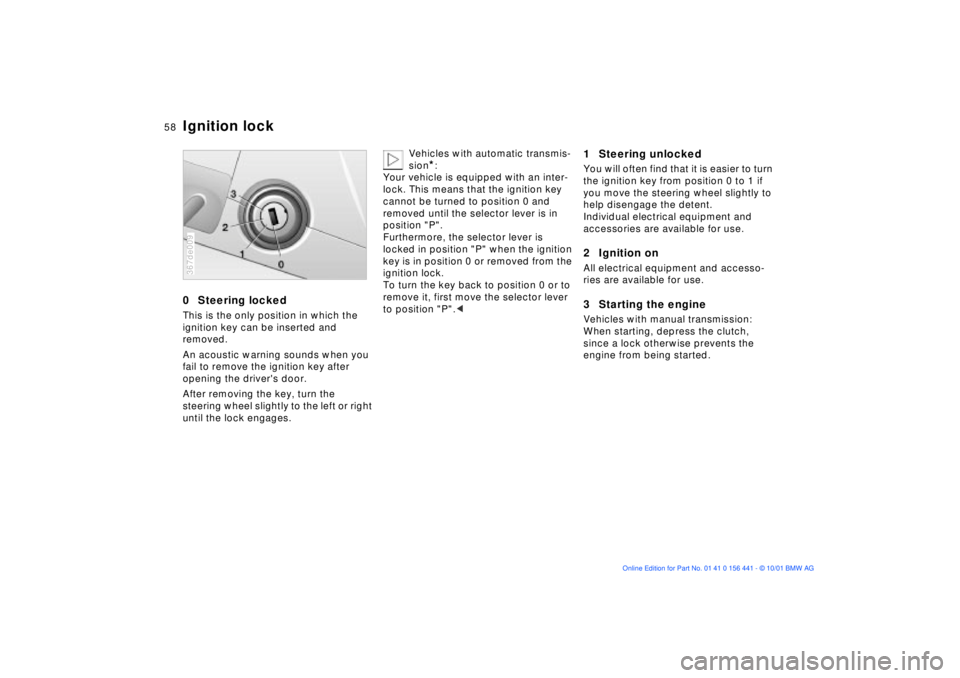
0 Steering lockedThis is the only position in which the
ignition key can be inserted and
removed.
An acoustic warning sounds when you
fail to remove the ignition key after
opening the driver's door.
After removing the key, turn the
steering wheel slightly to the left or right
until the lock engages.367de009
Vehicles with automatic transmis-
sion
*:
Your vehicle is equipped with an inter-
lock. This means that the ignition key
cannot be turned to position 0 and
removed until the selector lever is in
position "P".
Furthermore, the selector lever is
locked in position "P" when the ignition
key is in position 0 or removed from the
ignition lock.
To turn the key back to position 0 or to
remove it, first move the selector lever
to position "P".<
1 Steering unlockedYou will often find that it is easier to turn
the ignition key from position 0 to 1 if
you move the steering wheel slightly to
help disengage the detent.
Individual electrical equipment and
accessories are available for use.2 Ignition onAll electrical equipment and accesso-
ries are available for use.3 Starting the engineVehicles with manual transmission:
When starting, depress the clutch,
since a lock otherwise prevents the
engine from being started.
Ignition lock
Page 69 of 187

69n
IndexDataTechnologyRepairsMaintenanceControlsOverview
Coolant temperature gauge Service Interval DisplayBlueThe engine is still cold. Drive at
moderate engine and vehicle speeds.RedWhen you switch on the ignition, the
warning lamp comes on briefly to
confirm that the system is operational.
Comes on while driving: the engine is
overheated. Switch off the engine
immediately and allow it to cool down.367de007
Between the blue and red zonesNormal operating range. It is not
unusual for the needle to rise as far as
the edge of the red zone in response to
high outside temperatures or severe
operating conditions.
Checking coolant level, refer to
page 125.
Green lamps The number of illuminated lamps
decreases as the time for your next
maintenance visit approaches.Yellow lamp This field appears together with
OILSERVICE or INSPECTION.
This alerts you that maintenance is due.
Please arrange for an appointment with
your BMW center.Red lamp Maintenance is overdue.367us709
Page 71 of 187

71n
IndexDataTechnologyRepairsMaintenanceControlsOverview
Computer
*
To enter the timeEnter the numbers for hours and
minutes by pressing the button.
Enter the hour first. Each time the
button is pressed, the hour display
increases by one. Pressing and holding
the button starts the rapid advance.
Confirm the time set with the
button. Now enter the minutes when
two zeros appear.
Enter the minutes in the same manner
as the hours.
Press the save button : the time is
started exactly on the second. The
colon stops flashing.To reset the timePress and hold the button for
approx. 3 seconds: enter the hour when
the colon begins to flash.
Enter the numbers by pressing the
button in the same manner as when
entering the time.
Setting the 12-hour or 24-hour
modePress and hold the buttons
simultaneously for approx. 1 second.
Then press the button. Now, the
mode changes from 12 to 24 hours
whenever you press the button.
When you select the 12-hour mode,
AM or PM will appear on the right-hand
side of the display panel.
The last mode selected is adopted
when you press or automatically
stored approx. 5 seconds after the last
setting.
Outside temperatureIf the outside temperature drops to
approx. +37.5 7 (+3 6), a warning
signal sounds (ice warning). The
temperature display appears automati-
cally and flashes for 8 seconds.
The warning is repeated whenever the
temperature has reached at least
+43 7 (+6 6) and then drops to
+37.5 7 (+3 6) again.
The ice warning does not alter the
fact that surface ice can form at
temperatures above +37.5 7 (+3 6),
on bridges or shaded road surfaces, for
instance.< 367us712
Page 74 of 187

74n
ASC+T Dynamic Stability Control (DSC)*Reactivate the ASC+TPress the button again; the indicator
lamp goes out.
The laws of physics cannot be
repealed, even with ASC+T. It will
always be the driver's responsibility to
drive in a manner that matches road
conditions. We therefore urge you to
avoid using the additional safety margin
of the system as an excuse for taking
risks.<
For additional details concerning
ASC+T, please refer to the chapter,
"Advanced technology," page 165.
The conceptDSC maintains vehicle stability, even in
critical driving situations.
The system optimizes vehicle stability
during acceleration and when starting
from a full stop, as well as optimizing
traction. In addition, it recognizes
unstable vehicle conditions, such as
understeering or oversteering, and, as
far as is possible within the laws of
physics, helps keep the vehicle on a
steady course by reducing the engine
speed and brake applications to the
individual wheels.
The DSC is operational every time you
start the engine. DSC includes the
functions of ADB and CBC, refer to
page 102.
The ADB (Automatic Differential
Braking) copies the function of conven-
tional differential and transverse locks
through brake intervention, and
increases traction whenever conditions
merit, e. g. when driving on snow-
covered roads.
If the DSC is deactivated the ADB is in
ready mode.
Indicator lamp
The indicator lamp in the instru-
ment cluster goes out shortly
after you switch on the ignition,
refer to page 22.
The indicator lamp flashes:
DSC controls the drive and braking
forces.
The indicator lamp stays lit:
DSC has been switched off via the
button; ADB is in ready mode.
ADB control intervention is not indi-
cated.
The indicator lamp and the
brake warning lamp remain on:
The DSC, ADB and DBC have
been switched off via the button
or are defective.
The vehicle will remain completely
operational, however without DSC. In
the event of a fault, please see your
BMW center.
Indicator and warning lamps for
Canadian models.