2002 BMW 525I SPORT WAGON maintenance
[x] Cancel search: maintenancePage 91 of 186
91n
OverviewControlsMaintenanceRepairsDataIndex
Computer in the MID
*
Only make entries when the
vehicle is standing still to avoid
endangering yourself or other road
users.<
Computer calculations begin at the
start of the journey.
Information can also be accessed for
display by remote control, refer to
page 95.
Speed limitSpeed limit entry:
You can enter the road speed at which
you wish to hear and see a reminder
signal: a signal will sound, the word
LIMIT will flash, and for a moment, the
speed limit warning stored in the
memory will appear on the instrument
cluster as an alphanumeric display
*,
along with the Check Control.
The speed limit reminder is only
repeated if the vehicle has in the
meantime been driven at least 3 mph
(approx. 5 km/h) slower.
Press the right side of the button.
Press.
Press the right side of the button.
Display shows:
Enter the limit by pressing the function
buttons.
To correct an entry:
Press the left side of the button and
repeat the entry.
To store the entry:
Press the right side of the button.
Page 93 of 186
93n
OverviewControlsMaintenanceRepairsDataIndex
Computer in the MID
*
Estimated time of arrivalWhen you have entered the distance
from your destination, you can obtain
an estimated time of arrival display
which is continuously updated by the
computer as your average driving
period varies.
Press the right side of the button.
Press the right side of the button:
The estimated time of arrival is
displayed.
Cruising rangeThe distance which the vehicle should
cover on the remaining fuel in the tank
is displayed.
Press the right side of the button.
Press:
The display shows the probable range.
Always refuel when the range falls
below 30 miles (50 km), as other-
wise the engine or the catalytic
converter could be damaged.<
The computer will only register fuel
amounts over 1.8 gal (6 liter).
Fuel consumptionYou can have the average fuel
consumption displayed for two different
distances, for example a complete
journey and part of the journey.
To start the calculation, select the func-
tion with the engine running:
Press the right side of the button.
Press on the left or right:
The display will show the average fuel
consumption.
To restart the fuel consumption
calculation:
Press on the left or right.
Press the right side of the button.
Page 95 of 186
95n
OverviewControlsMaintenanceRepairsDataIndex
Computer in the MID
*
After three incorrect code entries, or
three attempts to start the engine
without a code entry, the alarm will
sound for 30 seconds on vehicles
equipped with an alarm.
Deactivating the alarm in an emer-
gency:
If you have forgotten the code, proceed
as follows:
1. Disconnect the battery, wait approx.
2 minutes, then reconnect it. Note
that on vehicles with an alarm, this
will sound
2. Set the ignition key to position 1:
The time display will count down for
the next ten minutes
3. After ten minutes, start the engine.
If the code becomes available
again in the meantime, it can be
entered during the waiting period after
pressing the CODE button.<
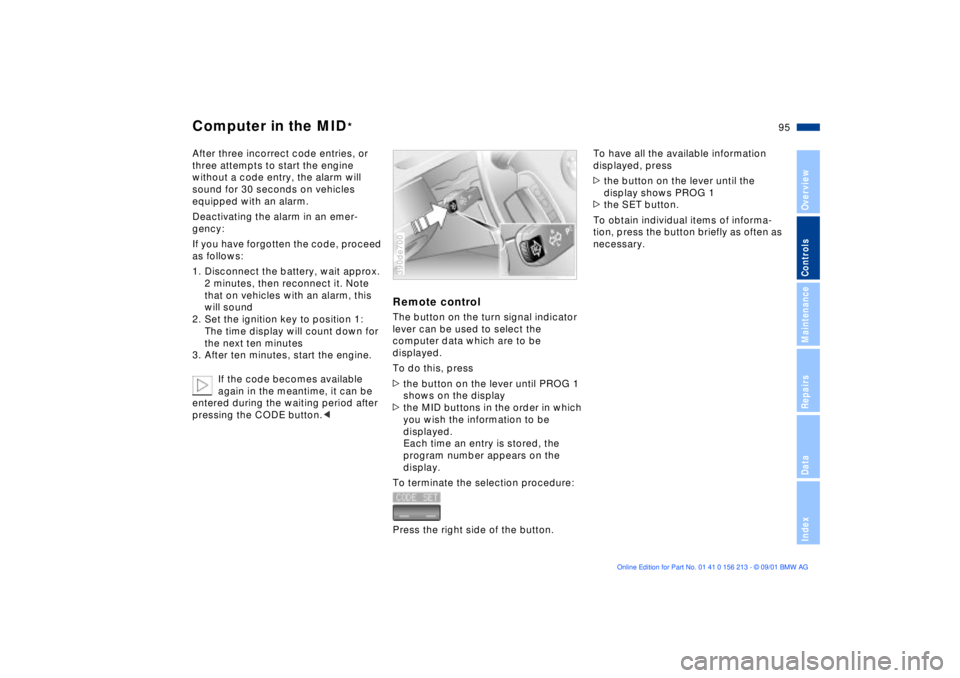
Remote controlThe button on the turn signal indicator
lever can be used to select the
computer data which are to be
displayed.
To do this, press
>the button on the lever until PROG 1
shows on the display
>the MID buttons in the order in which
you wish the information to be
displayed.
Each time an entry is stored, the
program number appears on the
display.
To terminate the selection procedure:
Press the right side of the button.390de700
To have all the available information
displayed, press
>the button on the lever until the
display shows PROG 1
>the SET button.
To obtain individual items of informa-
tion, press the button briefly as often as
necessary.
Page 97 of 186
97n
OverviewControlsMaintenanceRepairsDataIndex
Park Distance Control (PDC)
*
ASC+T/DSC
*
PDC does not remove the driver's
personal responsibility for evalu-
ating the distance between the vehicle
and any obstacles. Even with the
sensors, there is a blind spot in which
objects cannot be detected. This
applies especially in those cases where
the system approaches the physical
limits of ultrasonic measurement, as
occurs with tow bars and trailer
couplings, and in the vicinity of thin or
wedge-shaped objects.
Certain sources of sound, such as a
loud radio, could drown out the PDC
signal tone.<
Keep the sensors clean and free
of ice or snow in order to ensure
that they continue to operate effec-
tively.
Do not apply high pressure spray to the
sensors for a prolonged period of time.
Maintain an adequate distance of more
than 4 in (10 cm).<
Automatic Stability Control plus
Traction (ASC+T)/Dynamic
Stability Control (DSC)
*
These systems contribute to additional
vehicle stability, especially during
acceleration and when cornering.
The DSC system enhances the benefits
of the ASC+T. In addition to optimizing
vehicle stability and traction during
acceleration or when starting from a
standstill, a further benefit is realized in
cornering. This, of course, is true only
within physically feasible limits.
The system activates automatically
each time you start the engine.
Page 99 of 186
99n
OverviewControlsMaintenanceRepairsDataIndex
Level control system
*
Tire Pressure Monitor (RDC)
*
The warning lamp for the level
control system comes on, or the
message "SELFLEVEL
SUSP.INACT" appears in the Check
Control: there is a malfunction in the
self-level control system.
Stop and inspect the vehicle. If it is
riding significantly lower in the rear than
in the front, or if it is sitting at an incline
(left rear compared to right rear),
consult the nearest BMW center. Drive
with appropriate caution in the mean-
time. The vehicle has reduced ground
clearance or driving comfort is notice-
ably reduced.
Even if the attitude of the vehicle is
normal, you should consult the nearest
BMW center if the warning lamp indi-
cates a system fault.
The conceptRDC monitors the tire pressures at all
four wheels, even when the vehicle is
moving. The system provides an alert
whenever the inflation pressure drops
significantly below the specified pres-
sure in one or more tires.
In order for the system to "learn" the
correct tire inflation pressure, check the
inflation pressure in all tires. Refer to
the table of "Tire inflation pressures"
beginning on page 27 and make any
necessary corrections. Then activate
the system.
This indicator lamp in the instru-
ment cluster or the Check
Control will inform you if the tire
pressure is not correct.
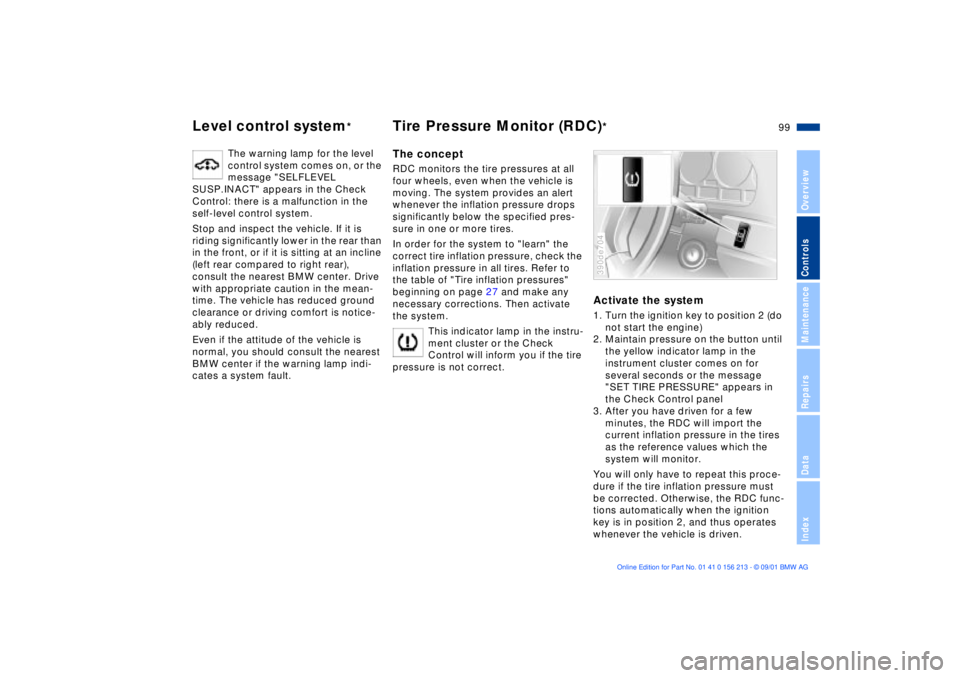
Activate the system1. Turn the ignition key to position 2 (do
not start the engine)
2. Maintain pressure on the button until
the yellow indicator lamp in the
instrument cluster comes on for
several seconds or the message
"SET TIRE PRESSURE" appears in
the Check Control panel
3. After you have driven for a few
minutes, the RDC will import the
current inflation pressure in the tires
as the reference values which the
system will monitor.
You will only have to repeat this proce-
dure if the tire inflation pressure must
be corrected. Otherwise, the RDC func-
tions automatically when the ignition
key is in position 2, and thus operates
whenever the vehicle is driven.390de704
Page 101 of 186
101n
OverviewControlsMaintenanceRepairsDataIndex
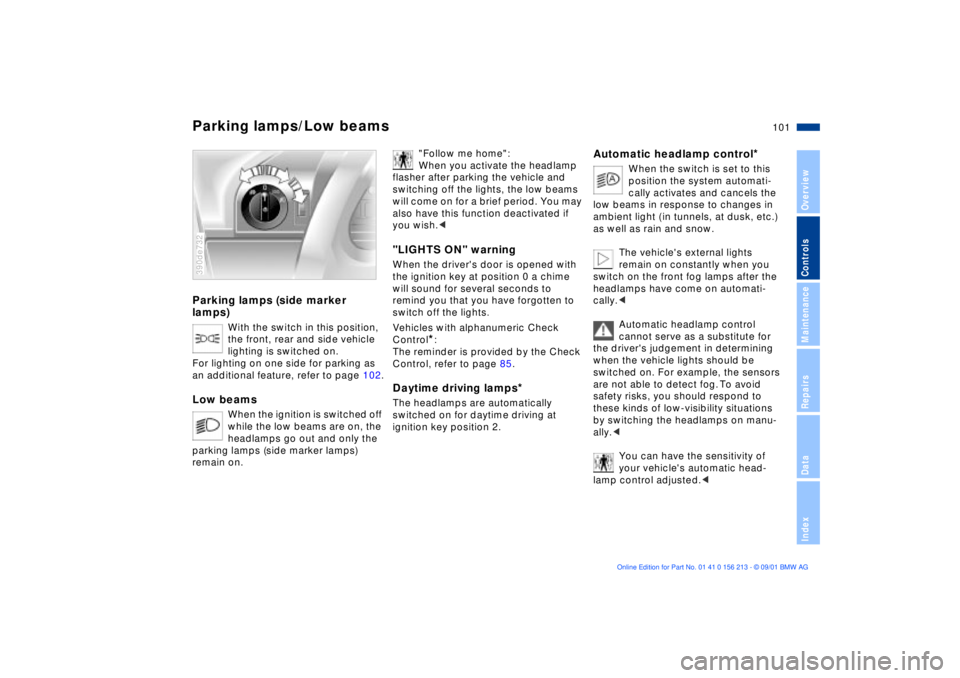
Parking lamps (side marker
lamps)
With the switch in this position,
the front, rear and side vehicle
lighting is switched on.
For lighting on one side for parking as
an additional feature, refer to page 102.
Low beams
When the ignition is switched off
while the low beams are on, the
headlamps go out and only the
parking lamps (side marker lamps)
remain on.
390de732
"Follow me home":
When you activate the headlamp
flasher after parking the vehicle and
switching off the lights, the low beams
will come on for a brief period. You may
also have this function deactivated if
you wish.<
"LIGHTS ON" warningWhen the driver's door is opened with
the ignition key at position 0 a chime
will sound for several seconds to
remind you that you have forgotten to
switch off the lights
.
Vehicles with alphanumeric Check
Control
*:
The reminder is provided by the Check
Control, refer to page 85.
Daytime driving lamps
*
The headlamps are automatically
switched on for daytime driving at
ignition key position 2.
Automatic headlamp control
*
When the switch is set to this
position the system automati-
cally activates and cancels the
low beams in response to changes in
ambient light ( in tunnels, at dusk, etc.)
as well as rain and snow.
The vehicle's external lights
remain on constantly when you
switch on the front fog lamps after the
headlamps have come on automati-
cally.<
Automatic headlamp control
cannot serve as a substitute for
the driver's judgement in determining
when the vehicle lights should be
switched on. For example, the sensors
are not able to detect fog. To avoid
safety risks, you should respond to
these kinds of low-visibility situations
by switching the headlamps on manu-
ally.<
You can have the sensitivity of
your vehicle's automatic head-
lamp control adjusted.<
Parking lamps/Low beams
Page 103 of 186
103n
OverviewControlsMaintenanceRepairsDataIndex
Interior lamps Reading lampsThe interior lamps operate automati-
cally.Switching the interior lamps on
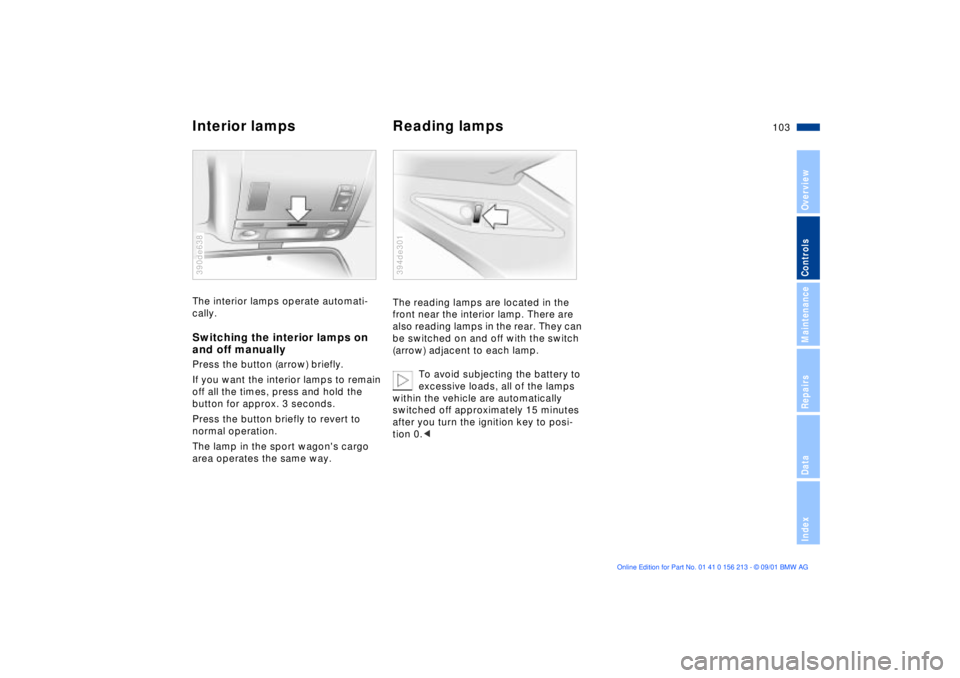
and off manuallyPress the button (arrow) briefly.
If you want the interior lamps to remain
off all the times, press and hold the
button for approx. 3 seconds.
Press the button briefly to revert to
normal operation.
The lamp in the sport wagon's cargo
area operates the same way.390de638
The reading lamps are located in the
front near the interior lamp. There are
also reading lamps in the rear. They can
be switched on and off with the switch
(arrow) adjacent to each lamp.
To avoid subjecting the battery to
excessive loads, all of the lamps
within the vehicle are automatically
switched off approximately 15 minutes
after you turn the ignition key to posi-
tion 0.< 394de301
Page 105 of 186
105n
OverviewControlsMaintenanceRepairsDataIndex
Air conditioningTemperature
The numbers in the display
panel are reference figures for
general orientation. We
recommend a setting of 70 7
(22 6) for a congenial in-car climate.
When you start the vehicle, this system
adjusts the air to the selected tempera-
ture as quickly as possible, and then
maintains that temperature constantly.
Air distribution
You can direct the emerging
air toward the windows ,
toward your upper body or
into the footwell . All inter-
mediate settings are also available. In
the setting, there is a low flow of air
onto the windows to keep them free of
condensation.
Air supply
You can control the emerging
air's flow rate through an infi-
nitely-variable range. The
heating and ventilation
become more and more effective as the
air supply settings are increased. In the
"0" setting, the blower and climate
control are switched off and the outside
air supply is blocked.
Rear window defroster
The indicator lamp comes
on to indicate that the rear
window defroster is in operation. The
rear window defroster switches off
automatically.
Cooling
The air conditioning cools
and dehumidifies the
incoming air before reheating it to the
selected temperature. Depending on
the weather, the windshield may fog
over briefly when the engine is started.
You can reduce condensation forming
on the windows by switching on the air
conditioning.
Condensation forms in the air
conditioning system during opera-
tion, which then exits under the vehicle.
Traces of condensed water of this kind
are thus normal.<
Recirculated-air mode
You can respond to
unpleasant odors in the
surrounding environment by using this
mode to temporarily suspend the flow
of outside air into the vehicle's interior.
The system then recirculates the air
currently within the vehicle.
If your vehicle is equipped with a multi-
function steering wheel
featuring a
recirculated-air button then you can
also select the recirculated-air mode
from this location (refer to page 22).
If the windows should fog over in
the recirculated-air mode, switch
the recirculated-air mode off and
increase the air supply as required.<