Page 89 of 155

89n
OverviewControlsMaintenanceRepairsDataIndex
Automatic climate control
*
Tips for pleasant drivingUse the automatic system Ð switch on
with AUTO button 7. Select the desired
interior temperature.
Detailed setting options are described
for you in the following section.Automatic air distribution
The AUTO program adjusts the
air distribution and the air
supply for you and in addition adapts
the temperature to external influences
(summer, winter) to meet preferences
you can specify.
Individual air distribution
You can cancel the AUTO
program by selecting specific
distribution patterns to suit your
own individual requirements.
While the AUTO program is then deacti-
vated, the automatic airflow control
remains in operation. The system
directs air to the windows , the upper
body and into the footwells . You
can reactivate the automatic air distri-
bution mode by selecting the AUTO
button.
Temperature
The interior temperature that
appears in the display panel is a
general figure intended for reference
purposes. We recommend 72 7
(+22 6) as a comfortable setting, even
if the air conditioning is on. When you
start the vehicle, the system ensures
that the selected temperature is
achieved as quickly as possible regard-
less of the season. It then maintains this
temperature.
Air supply
By pressing the left or right half
of the button, you can vary the
air supply. This deactivates the auto-
matic control of the air supply, AUTO
disappears from the display panel.
Nevertheless, the automatic air distri-
bution remains unchanged. You can
reactivate the automatic air distribution
mode by selecting the AUTO button.
When you select the lowest blower
speed by pressing the left half of the
button, all of the displays are canceled:
the blower, heating and air conditioning
are switched off. The outside air supply
is blocked. You can reactivate the
system by pressing any button for the
automatic climate control.
To defrost windows and remove
condensation
This program quickly removes
ice and condensation from the
windshield and the side windows.
Air conditioning
The air is cooled and dehumidi-
fied and Ð depending on the
temperature setting Ð rewarmed.
Depending on the weather, the wind-
shield may fog over briefly when the
engine is started. Switching on the air
conditioning will reduce condensation
forming on the windows.
As the air-conditioning system
operates, condensation forms
within the system.This moisture is
conducted to an outlet beneath the
vehicle; it is thus not unusual for a small
puddle to form under the car while the
system is running.<
Page 90 of 155

90n
Automatic climate control
*
Automatic recirculated-air control
(AUC)
You can respond to unpleasant
external odors or pollutants by
temporarily stopping the flow of outside
air. The system then recirculates the air
currently within the vehicle.
Press the button repeatedly to select
one of three different operating modes.
>Indicator lamps off: outside air supply
is on
>Left indicator lamp on Ð AUC mode:
the system recognizes pollutants in
the outside air and blocks the flow of
air when necessary. The system then
recirculates the air currently within
the vehicle.
Depending on the air quality, the
automatic system then switches back
and forth between outside air supply
and recirculation of the air within the
vehicle
>Right indicator lamp on: the flow of
external air into the vehicle is perma-
nently blocked. The system then
recirculates the air currently within
the vehicle.
If the windows fog over in the
recirculated-air mode, switch the
recirculated-air mode off and increase
the air supply as required.<
Rear window defroster
When the rear window defroster
is activated, the indicator lamp
comes on. The rear window defroster
switches off automatically.
At outside temperatures colder
than approx. 39 7 (+4 6) the
rear window defroster automatically
assumes operation within 5 minutes
after the engine is started.<
Draft-free ventilationYou can adjust the blower controls for
the upper body area to obtain the
optimum airflow rates and directions for
your personal requirements:
1 Rotary dials for infinitely-variable
opening and closing of the vent
outlets
2 Selector levers for airflow direction
3 Rotary dial 3 allows you to control the
temperature of the airflow from these
outlets as desired
Page 91 of 155
91n
OverviewControlsMaintenanceRepairsDataIndex
Automatic climate control
*Sound system
*
Microfilter/activated-charcoal
filterThe built-in microfilter removes dust
and pollen from the incoming air. The
activated-charcoal filter provides addi-
tional protection by filtering gaseous
pollutants from the outside air. Your
BMW center replaces this combined
filter as a standard part of your sched-
uled maintenance. A substantial reduc-
tion in airflow indicates that the filter
needs to be replaced before scheduled
maintenance.
Harman Kardon premium sound
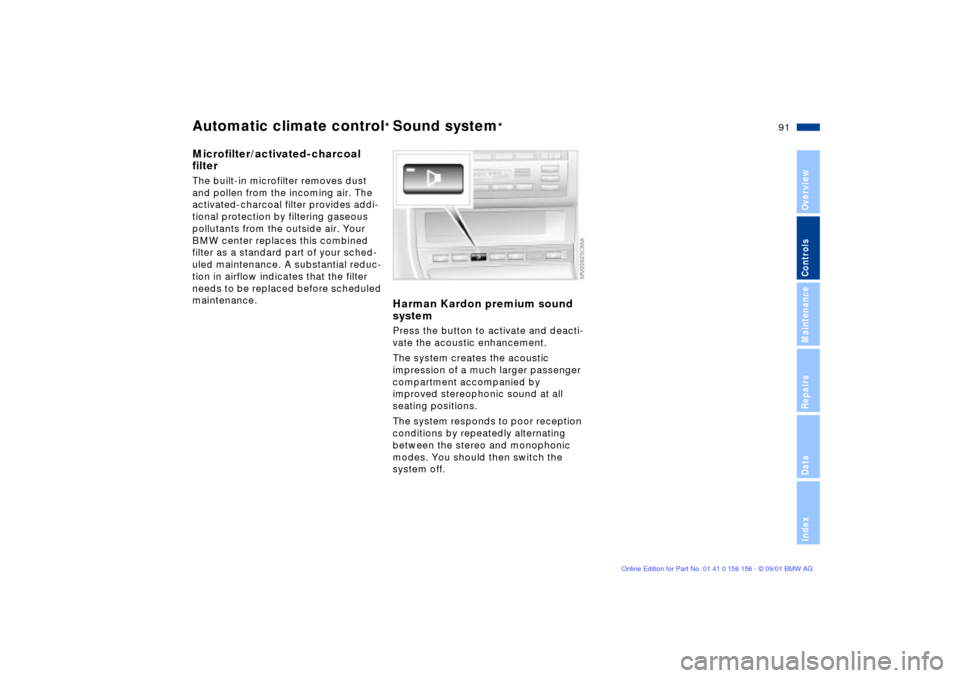
systemPress the button to activate and deacti-
vate the acoustic enhancement.
The system creates the acoustic
impression of a much larger passenger
compartment accompanied by
improved stereophonic sound at all
seating positions.
The system responds to poor reception
conditions by repeatedly alternating
between the stereo and monophonic
modes. You should then switch the
system off.
Page 92 of 155

92n
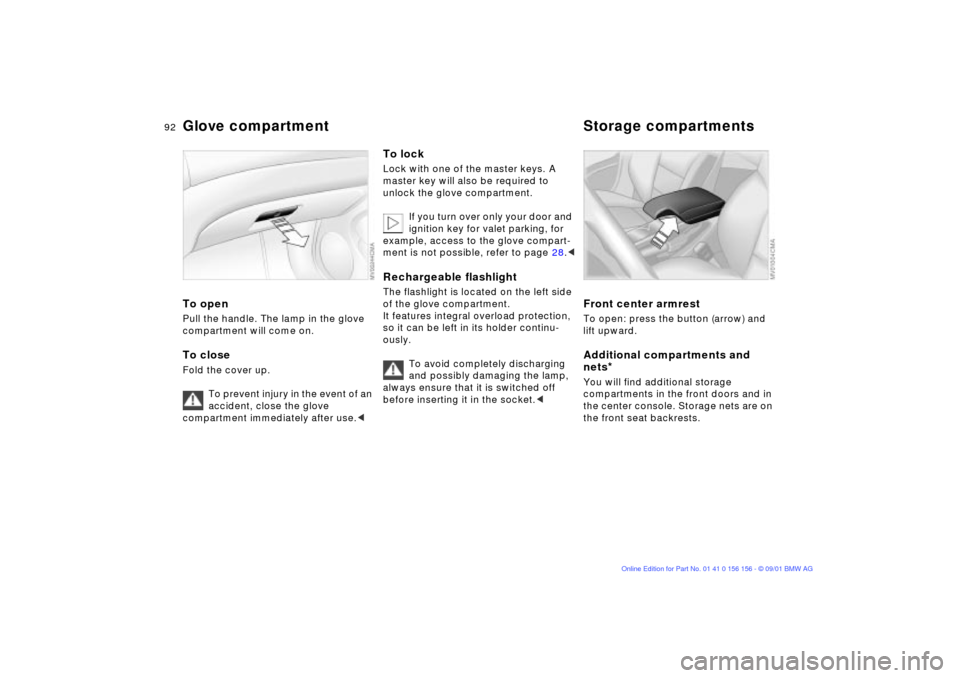
Glove compartment Storage compartmentsTo openPull the handle. The lamp in the glove
compartment will come on.To closeFold the cover up.
To prevent injury in the event of an
accident, close the glove
compartment immediately after use.<
To lockLock with one of the master keys. A
master key will also be required to
unlock the glove compartment.
If you turn over only your door and
ignition key for valet parking, for
example, access to the glove compart-
ment is not possible, refer to page 28.
of the glove compartment.
It features integral overload protection,
so it can be left in its holder continu-
ously.
To avoid completely discharging
and possibly damaging the lamp,
always ensure that it is switched off
before inserting it in the socket.<
Front center armrest To open: press the button (arrow) and
lift upward.Additional compartments and
nets
*
You will find additional storage
compartments in the front doors and in
the center console. Storage nets are on
the front seat backrests.
Page 93 of 155
93n
OverviewControlsMaintenanceRepairsDataIndex
Storage compartmentsBeverage holder, coin boxA coin box and two beverage holders
are provided in the center console.
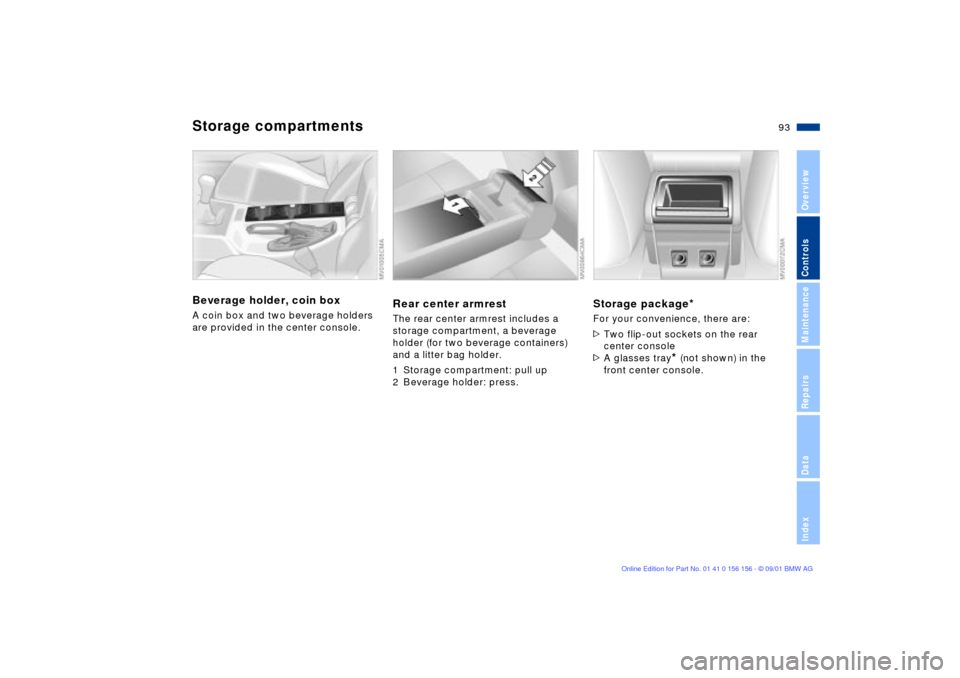
Rear center armrestThe rear center armrest includes a
storage compartment, a beverage
holder (for two beverage containers)
and a litter bag holder.
1 Storage compartment: pull up
2 Beverage holder: press.
Storage package
*
For your convenience, there are:
>Two flip-out sockets on the rear
center console
>A glasses tray
* (not shown) in the
front center console.
Page 94 of 155
94n
Cellular phone
*
Ashtray, front
*
Hands-free systemOn vehicles with telephone prepara-
tion
* or communications package
* the
cover for the hands-free microphone is
located in the headliner near the interior
lamp.
For further information on using your
cellular phone, refer to the separate
"Owner's Manual".
To emptyPress on the edge of the open cover
(arrow): the ashtray moves up and can
be removed.
Cigarette lighterPress the lighter 1 in. You can remove
the lighter from its socket for use as
soon as it snaps back out.
Hold or touch the hot cigarette
lighter by the knob only. Holding
or touching it in other areas could result
in burns.
The cigarette lighter remains opera-
tional when the ignition key has been
removed. For this reason, children
should never be left in the vehicle unat-
tended.
for flashlights, car vacuum cleaners,
etc., up to a rating of approx. 200 watts
at 12 volts. Avoid damage to the socket
caused by inserting plugs of different
shapes or sizes.
Page 95 of 155
95n
OverviewControlsMaintenanceRepairsDataIndex
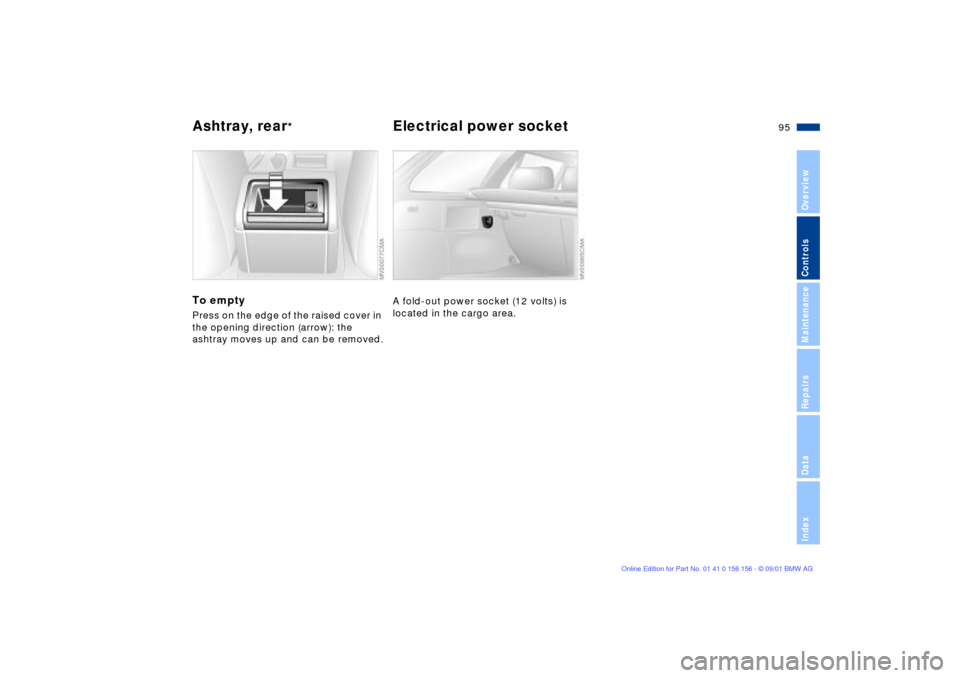
Ashtray, rear
*
Electrical power socket
To emptyPress on the edge of the raised cover in
the opening direction (arrow): the
ashtray moves up and can be removed.
A fold-out power socket (12 volts) is
located in the cargo area.
Page 96 of 155

96n
Ski bag
*
The ski bag allows the safe and clean
transport of up to 4 pairs of standard
skis or up to two snowboards.
The length of the ski bag and the addi-
tional space provided in the cargo area
make it possible to carry skis up to
6.8 ft (2.1 m) long. Because of the
tapered shape of the bag, the ski bag
can only accommodate two pairs of
skis up to 6.8 ft (2.1 m) long.
Loading1. Fold the center armrest outward.
Loosen the trim from the upper
Velcro¨ fastener and place it on the
armrest
2. Press the button (arrow 1, access
from the passenger compartment):
the cargo hatch drops onto the floor
of the cargo area
3. Press down the detent lever (arrow 2)
and fold the cover forward
4. Extend the ski bag between the front
seats. The zipper provides conve-
nient access to the inside of the bag,
and can also be left open to promote
drying.
To store the ski bag, perform the above
steps in reverse sequence.
Securing cargo
Secure skis and any other objects
stored in the bag by tightening the
retaining strap at the buckle.<
Make sure that your skis are clean
before loading them into the bag.
Avoid damage from sharp edges during
loading.<