Page 20 of 132

INSTRUMENT AND CONTROL FUNCTIONS
3-5
3
EAU03565
Speedometer unit The speedometer unit is equipped with
the following:l
a digital speedometer (which
shows riding speed)
l
an odometer (which shows the to-
tal distance traveled)
l
two tripmeters (which show the
distance traveled since they were
last set to zero)
l
a fuel reserve tripmeter (which
shows the distance traveled on the
fuel reserve)
l
a clockOdometer and tripmeter modes
Pushing the “SELECT” button switches
the display between the odometer
mode “ODO” and the tripmeter modes
“TRIP 1” and “TRIP 2” in the following
order:
ODO
® TRIP 1
® TRIP 2
® ODO
If the fuel level warning light comes on
(see page 3-4), the odometer display
will automatically change to the fuel re-
serve tripmeter mode “TRIP F” and
start counting the distance traveled
from that point. In that case, pushing
the “SELECT” button switches the dis-
play between the various tripmeter and
odometer modes in the following order:
TRIP F
® TRIP 1
® TRIP 2
® ODO
®
TRIP FTo reset a tripmeter, select it by push-
ing the “SELECT” button, and then
push the “RESET” button. If you do not
reset the fuel reserve tripmeter manu-
ally, it will reset itself automatically and
the display will return to “TRIP 1” after
refueling and traveling 5 km.
NOTE:@ After resetting the fuel reserve tripme-
ter, the display will return to “TRIP 1”,
unless a different mode had been pre-
viously selected; in that case, the dis-
play automatically returns to the prior
mode. @Clock mode
To change the display to the clock
mode, push both the “SELECT” and
“RESET” buttons.
To change the display back to the
odometer modes, push the “SELECT”
button.
1. Speedometer
2. Odometer/tripmeters/clock
3. “RESET” button
4. “SELECT” buttonE_5jc.book Page 5 Monday, January 22, 2001 12:12 PM
Page 21 of 132

INSTRUMENT AND CONTROL FUNCTIONS
3-6
3 To set the clock:
1. Push both the “SELECT” and
“RESET” buttons for at least two
seconds.
2. When the hour digits start flashing,
push the “RESET” button to set
the hours.
3. Push the “SELECT” button, and
the minute digits will start flashing.
4. Push the “RESET” button to set
the minutes.
5. Push the “SELECT” button to start
the clock.
NOTE:@ After setting the clock, be sure to push
the “SELECT” button before turning the
key to “OFF”, otherwise the clock will
not be set. @
EAU04037
Cruise control systemThis motorcycle is equipped with a
cruise control system designed to
maintain a set traveling speed.
Activating and setting the cruise
control system
The cruise control system can only be
activated when riding in 4th or 5th gear
at speeds between 50 km/h and
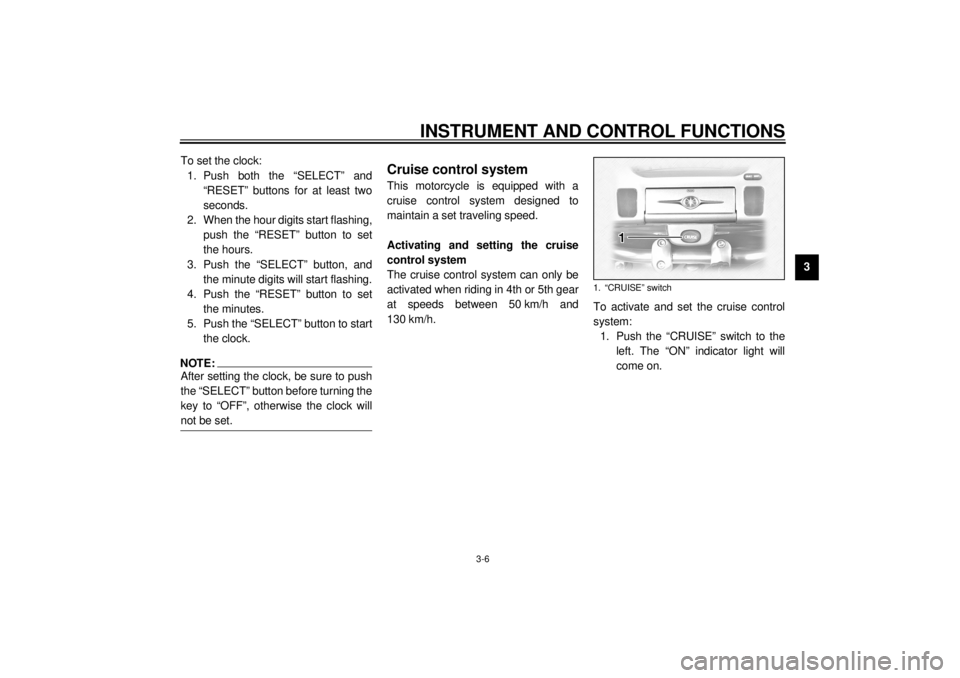
130 km/h.To activate and set the cruise control
system:
1. Push the “CRUISE” switch to the
left. The “ON” indicator light will
come on.
1. “CRUISE” switch
E_5jc.book Page 6 Monday, January 22, 2001 12:12 PM
Page 26 of 132
INSTRUMENT AND CONTROL FUNCTIONS
3-11
3
EAU00158
Brake lever The brake lever is located at the right
handlebar grip. To apply the front
brake, pull the lever toward the handle-
bar grip.
EAU00162
Brake pedal The brake pedal is on the right side of
the motorcycle. To apply the rear
brake, press down on the brake pedal.
EAU02917
Fuel tank cap To remove the fuel tank cap
Slide the lock cover open, insert the
key into the lock, and then turn it 1/4
turn clockwise. The lock will be re-
leased and the fuel tank cap can be
removed.
To install the fuel tank cap
1. Insert the fuel tank cap into the
tank opening with the key inserted
in the lock and with the “ ” mark
facing forward.
1. Brake lever
1. Brake pedal
1. Fuel tank cap lock cover
2. Unlock.
E_5jc.book Page 11 Monday, January 22, 2001 12:12 PM
Page 27 of 132

INSTRUMENT AND CONTROL FUNCTIONS
3-12
3 2. Turn the key counterclockwise to
the original position, remove it,
and then close the lock cover.
NOTE:@ The fuel tank cap cannot be installed
unless the key is in the lock. In addition,
the key cannot be removed if the cap is
not properly installed and locked. @
EW000024
WARNING
@ Make sure that the fuel tank cap is
properly installed before riding. @
EAU03753
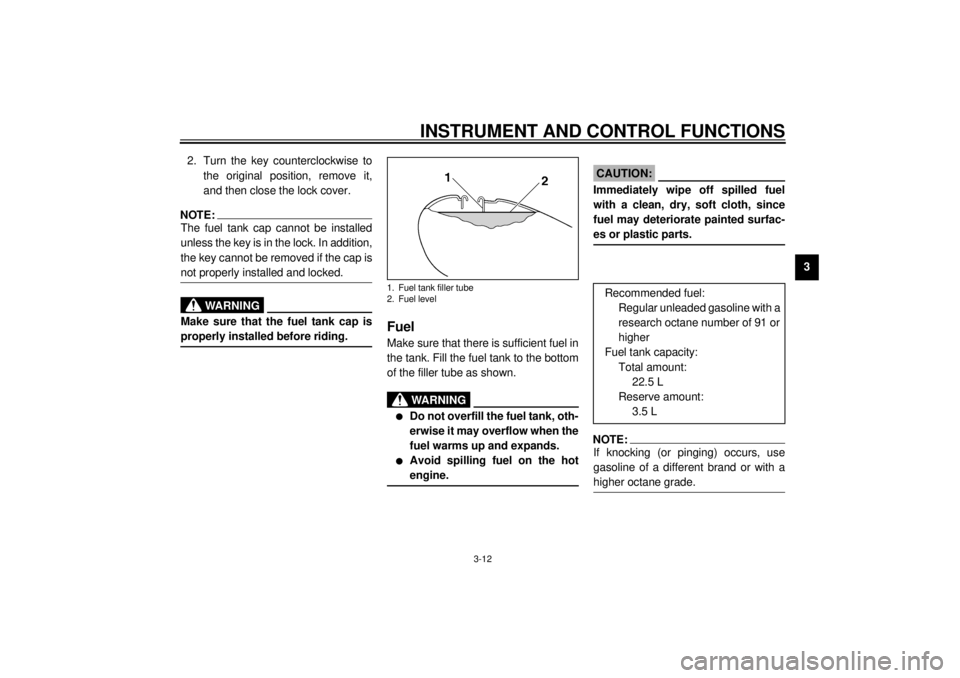
Fuel Make sure that there is sufficient fuel in
the tank. Fill the fuel tank to the bottom
of the filler tube as shown.
EW000130
WARNING
_ l
Do not overfill the fuel tank, oth-
erwise it may overflow when the
fuel warms up and expands.
l
Avoid spilling fuel on the hot
engine.
_
EAU00185
CAUTION:_ Immediately wipe off spilled fuel
with a clean, dry, soft cloth, since
fuel may deteriorate painted surfac-
es or plastic parts. _
EAU00191
NOTE:_ If knocking (or pinging) occurs, use
gasoline of a different brand or with a
higher octane grade. _
1. Fuel tank filler tube
2. Fuel level
Recommended fuel:
Regular unleaded gasoline with a
research octane number of 91 or
higher
Fuel tank capacity:
Total amount:
22.5 L
Reserve amount:
3.5 L
E_5jc.book Page 12 Monday, January 22, 2001 12:12 PM
Page 32 of 132
INSTRUMENT AND CONTROL FUNCTIONS
3-17
3
Side cases
To open a side case
1. Insert the key into the lock, turn it
counterclockwise, and then push it
in.2. Fold the side case lid up.
To close a side case
1. Fold the side case lid down.
2. Turn the key clockwise, and then
remove it.NOTE:Push both sides of the lid down so that
both latches snap into place. @
Travel trunk
To open the travel trunk1. Insert the key into the lock, turn it
counterclockwise, and then push it
in.
1. Side case lock
2. Unlock.
1. Main storage area
2. Storage pouch
1. Travel trunk lock
2. Unlock.
E_5jc.book Page 17 Monday, January 22, 2001 12:12 PM
Page 33 of 132
INSTRUMENT AND CONTROL FUNCTIONS
3-18
3
2. Fold the travel trunk lid up, and
then release it so that it will rest in
place as shown.
ECA00029
CAUTION:@ Do not apply excessive pressure on
the travel trunk lid when it is open. @
To close the travel trunk1. Fold the travel trunk lid up com-
pletely, and then fold it down.
NOTE:Push both sides of the lid down so that
both latches snap into place. @2. Turn the key clockwise, and then
remove it.
ECA00030
CAUTION:@ To avoid locking the key in, never
lock either side case or the travel
trunk and remove the key from the
lock before closing the lid. @
1. Travel trunk lid resting in opened position
2. Storage pouch
E_5jc.book Page 18 Monday, January 22, 2001 12:12 PM
Page 108 of 132
PERIODIC MAINTENANCE AND MINOR REPAIR
7-35
73. Turn the key to “ON” and turn on
the electrical circuit in question to
check if the device operates.
4. If the fuse immediately blows
again, have a Yamaha dealer
check the electrical system.
EAU01802
Replacing the headlight bulb This motorcycle is equipped with a
quartz bulb headlight. If the headlight
bulb burns out, replace it as follows.
1. Disconnect the headlight coupler,
and then remove the headlight
bulb cover.2. Remove the headlight bulb holder
by turning it counterclockwise, and
then remove the defective bulb.
EW000119
WARNING
@ Headlight bulbs get very hot. There-
fore, keep flammable products away
from a lit headlight bulb, and do not
touch the bulb until it has cooled
down. @3. Place a new bulb into position, and
then secure it with the bulb holder.
1. Headlight bulb cover
2. Headlight coupler
1. Headlight bulb holder
E_5jc.book Page 35 Monday, January 22, 2001 12:12 PM
Page 109 of 132

PERIODIC MAINTENANCE AND MINOR REPAIR
7-36
7
EC000105
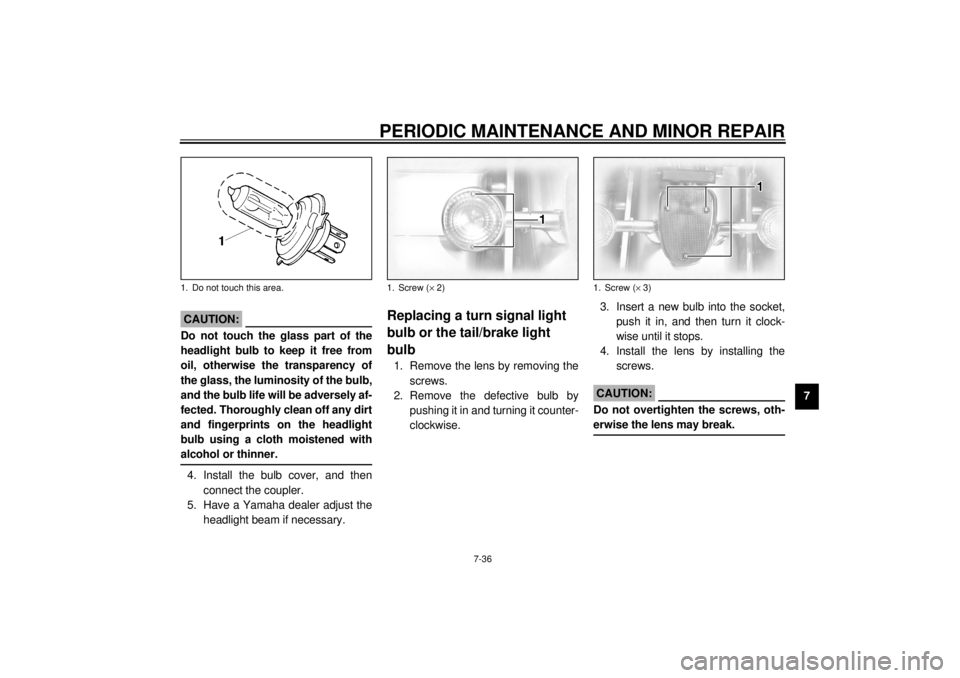
CAUTION:@ Do not touch the glass part of the
headlight bulb to keep it free from
oil, otherwise the transparency of
the glass, the luminosity of the bulb,
and the bulb life will be adversely af-
fected. Thoroughly clean off any dirt
and fingerprints on the headlight
bulb using a cloth moistened with
alcohol or thinner. @4. Install the bulb cover, and then
connect the coupler.
5. Have a Yamaha dealer adjust the
headlight beam if necessary.
EAU00855
Replacing a turn signal light
bulb or the tail/brake light
bulb 1. Remove the lens by removing the
screws.
2. Remove the defective bulb by
pushing it in and turning it counter-
clockwise.3. Insert a new bulb into the socket,
push it in, and then turn it clock-
wise until it stops.
4. Install the lens by installing the
screws.
EC000108
CAUTION:@ Do not overtighten the screws, oth-
erwise the lens may break. @
1. Do not touch this area.
1. Screw (´ 2)
1. Screw (´ 3)
E_5jc.book Page 36 Monday, January 22, 2001 12:12 PM