2001 VOLVO S60 roof
[x] Cancel search: roofPage 4 of 128
6. Horn4
7. Instrument panel30
8. Audio controls67
9. Windshield wipers41
10. Parking brake (hand brake)45
11. Center console switches37, 38
12. Climate control51
13. Audio system61
14. 12 V socket45
15. Hazard warning flashers42
16. Glove compartment108
17. Panel vents53
18. Text window30
19. Temperature gauge30
20. Odometer/ Trip odometer/Cruise control indicator30/ 44
21. Speedometer30
22. Turn signal indicators30
23. Tachometer30
24. Ambient temperature/ Clock/Selected gear indicator30
25. Fuel gauge30
26. Indicator and warning symbols31
27. Cup holder (option)108
28. Panel vents53
29. Instrument lighting39
30. Lighting panel39
31. Reading lights104
32. Interior lighting104
33. Sun roof control49
34. Seat belt reminder4, 10
35. Rearview mirror48
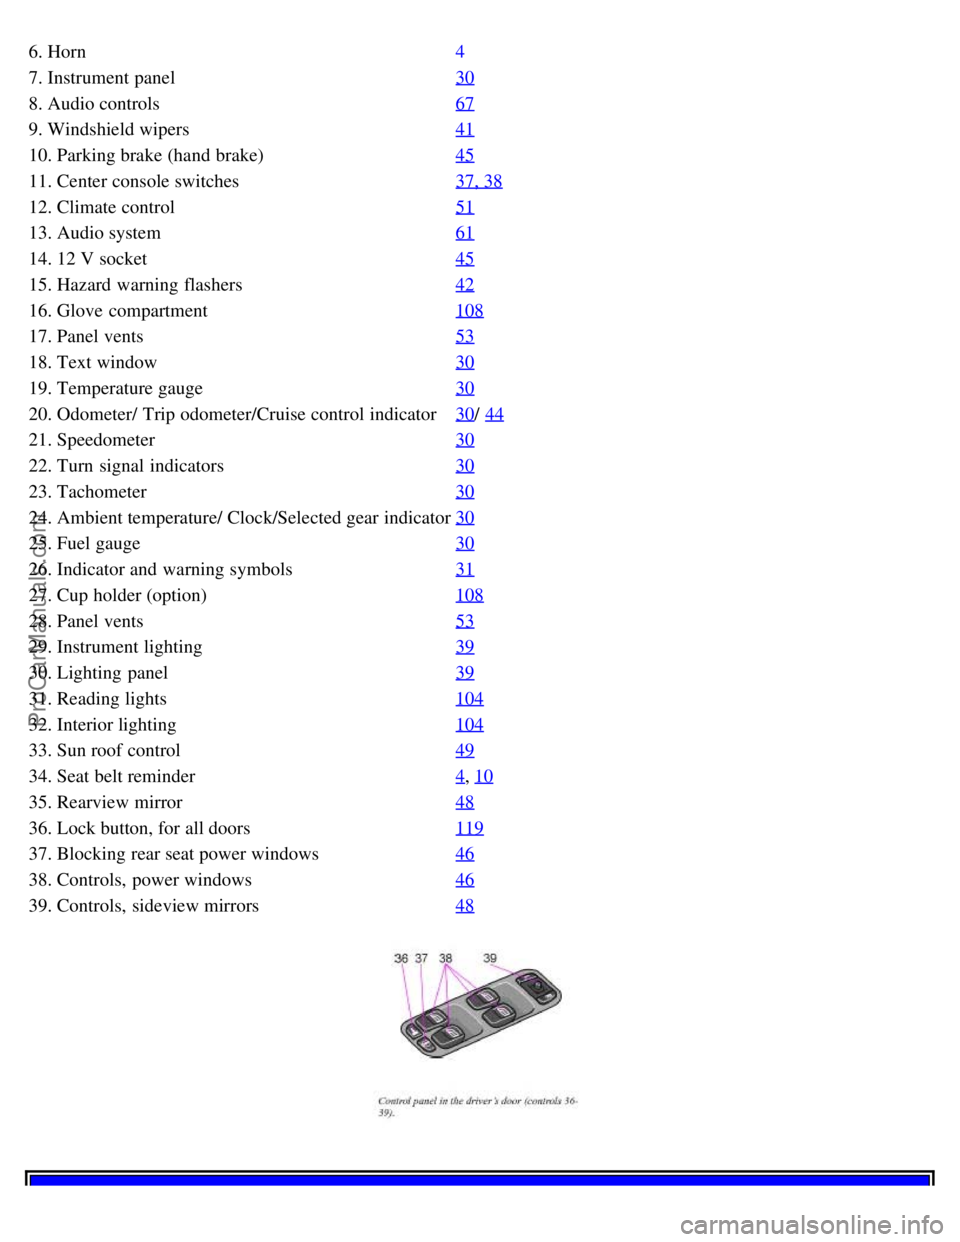
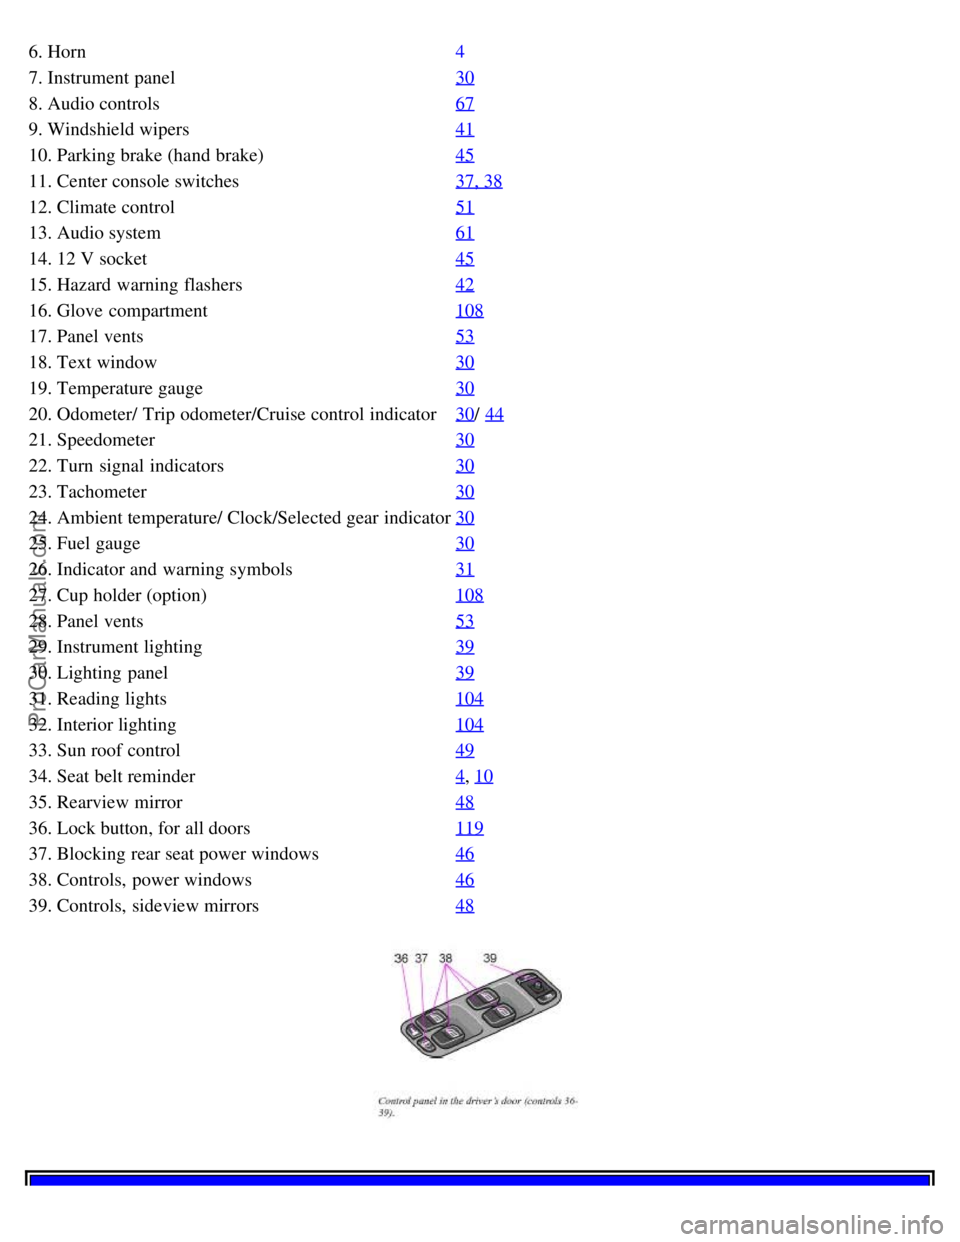
36. Lock button, for all doors119
37. Blocking rear seat power windows46
38. Controls, power windows46
39. Controls, sideview mirrors48
ProCarManuals.com
Page 6 of 128

2 0 0 1
VOLVO S60
Instruments and controls
pg. 29 Instruments and controls
Instrument panel 30
Indicator and warning symbols31
Steering wheel adjustment36
Switches in the center console37
Lighting panel39
Turn signals40
Windshield wipers/ washer41
Hazard warning flashers, rear window/ sideview mirror defroster, heated front seats42
Trip computer (option)43
Cruise control44
Parking brake, electric socket/ cigarette lighter45
Electrically operated windows46
Rearview mirror/ sideview mirrors48
Electrically operated sun roof49
pg. 30 Instrument panel
1. Turn signal indicators - right - left
2. Text window
The text window displays information and warning messages.
3. Temperature gauge
The pointer should be approximately midway on the gauge when driving. Do not drive the car if the warning light is
on. The text window will provide you with additional information. If the engine temperature remains high, check
coolant level - see page 169
.
4. Trip odometer
The trip odometers are used for measuring shorter distances. The right- hand digit gives tenth of a mile/ kilometer.
Press the button for more than 2 seconds to reset. Change between trip odometers 1 and 2 using one short press on the
button.
ProCarManuals.com
Page 21 of 128
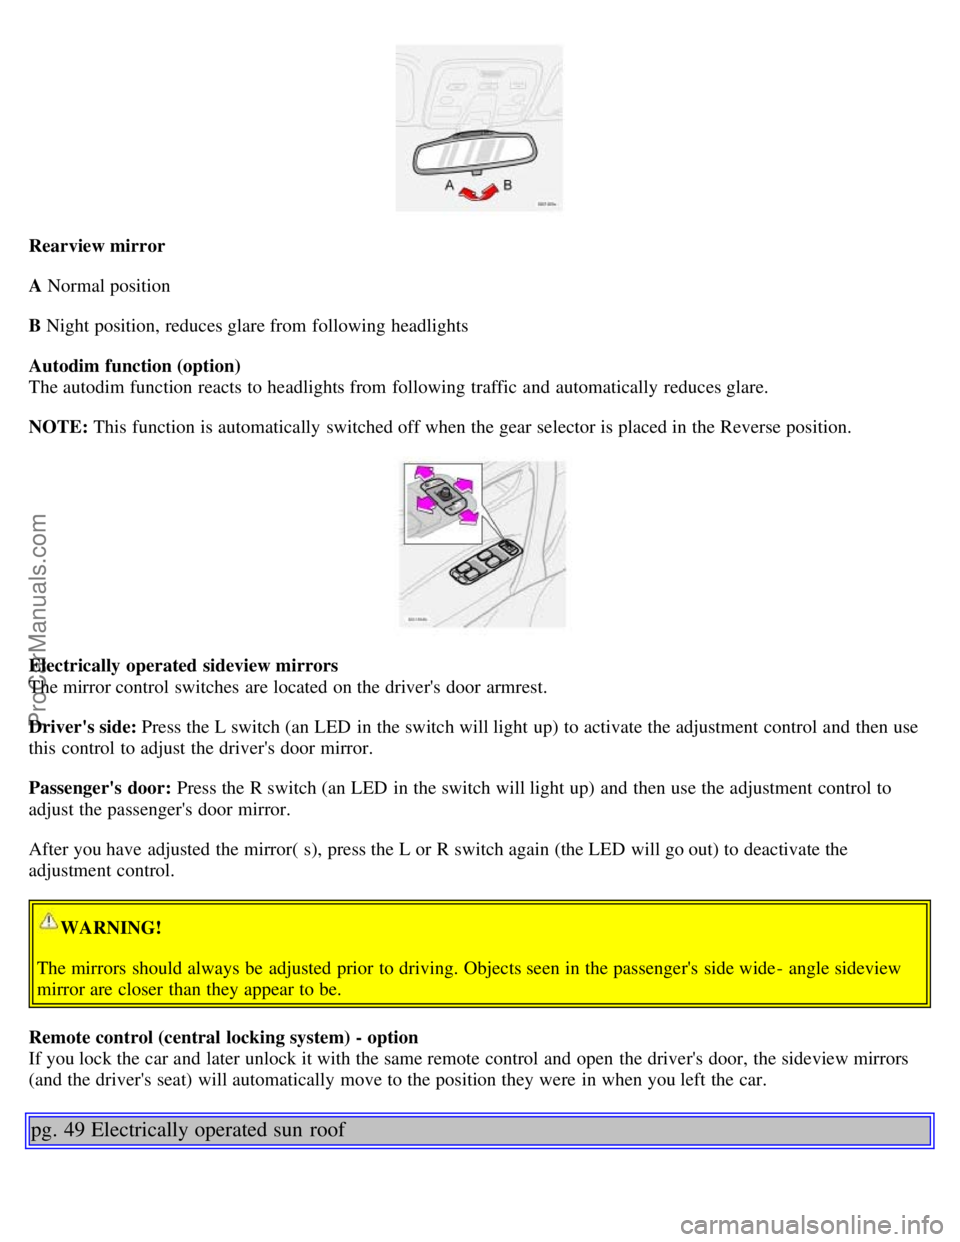
Rearview mirror
A Normal position
B Night position, reduces glare from following headlights
Autodim function (option)
The autodim function reacts to headlights from following traffic and automatically reduces glare.
NOTE: This function is automatically switched off when the gear selector is placed in the Reverse position.
Electrically operated sideview mirrors
The mirror control switches are located on the driver's door armrest.
Driver's side: Press the L switch (an LED in the switch will light up) to activate the adjustment control and then use
this control to adjust the driver's door mirror.
Passenger's door: Press the R switch (an LED in the switch will light up) and then use the adjustment control to
adjust the passenger's door mirror.
After you have adjusted the mirror( s), press the L or R switch again (the LED will go out) to deactivate the
adjustment control.
WARNING!
The mirrors should always be adjusted prior to driving. Objects seen in the passenger's side wide - angle sideview
mirror are closer than they appear to be.
Remote control (central locking system) - option
If you lock the car and later unlock it with the same remote control and open the driver's door, the sideview mirrors
(and the driver's seat) will automatically move to the position they were in when you left the car.
pg. 49 Electrically operated sun roof
ProCarManuals.com
Page 22 of 128
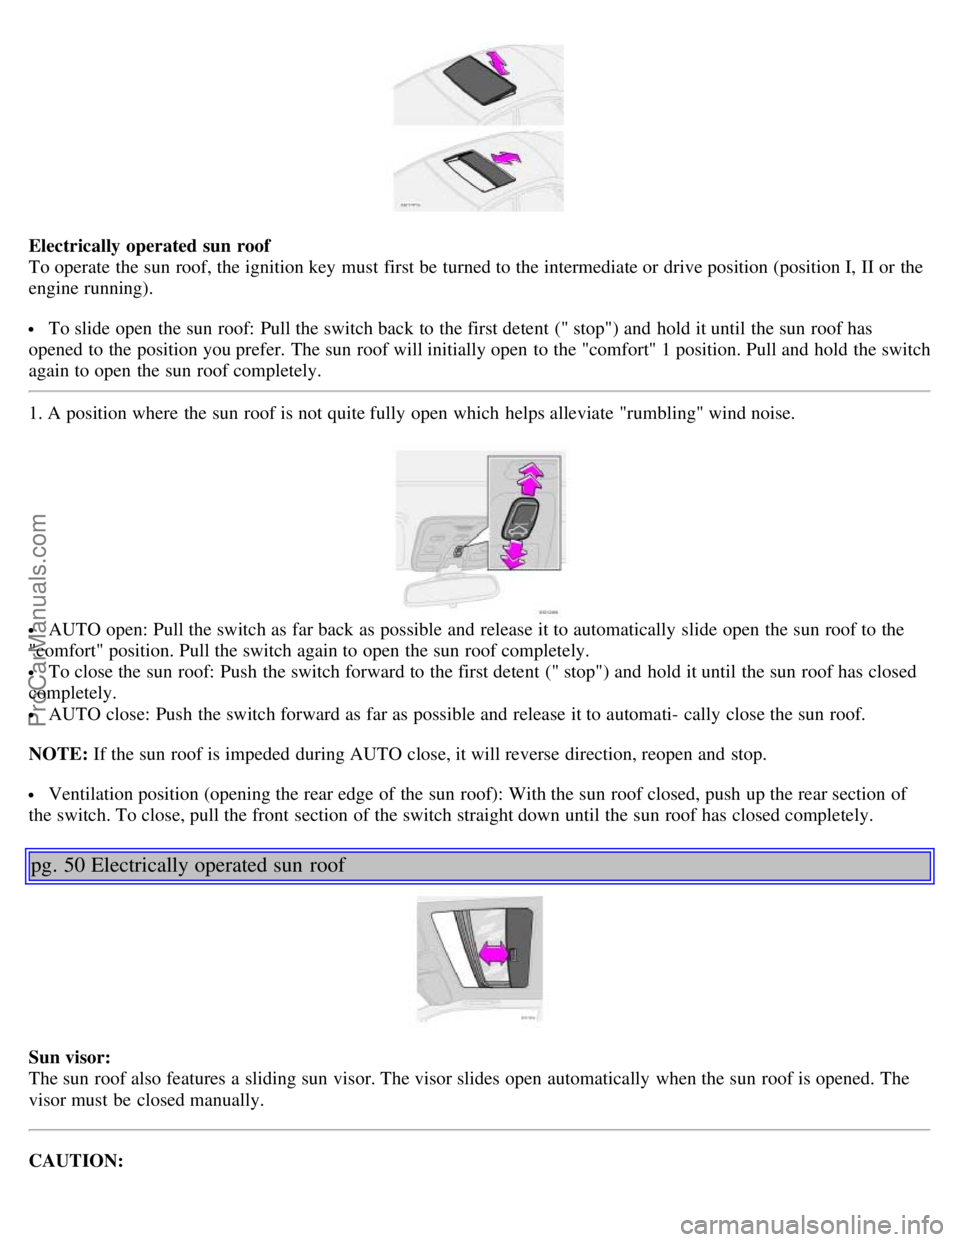
Electrically operated sun roof
To operate the sun roof, the ignition key must first be turned to the intermediate or drive position (position I, II or the
engine running).
To slide open the sun roof: Pull the switch back to the first detent (" stop") and hold it until the sun roof has
opened to the position you prefer. The sun roof will initially open to the "comfort" 1 position. Pull and hold the switch
again to open the sun roof completely.
1. A position where the sun roof is not quite fully open which helps alleviate "rumbling" wind noise.
AUTO open: Pull the switch as far back as possible and release it to automatically slide open the sun roof to the
"comfort" position. Pull the switch again to open the sun roof completely.
To close the sun roof: Push the switch forward to the first detent (" stop") and hold it until the sun roof has closed
completely.
AUTO close: Push the switch forward as far as possible and release it to automati- cally close the sun roof.
NOTE: If the sun roof is impeded during AUTO close, it will reverse direction, reopen and stop.
Ventilation position (opening the rear edge of the sun roof): With the sun roof closed, push up the rear section of
the switch. To close, pull the front section of the switch straight down until the sun roof has closed completely.
pg. 50 Electrically operated sun roof
Sun visor:
The sun roof also features a sliding sun visor. The visor slides open automatically when the sun roof is opened. The
visor must be closed manually.
CAUTION:
ProCarManuals.com
Page 23 of 128
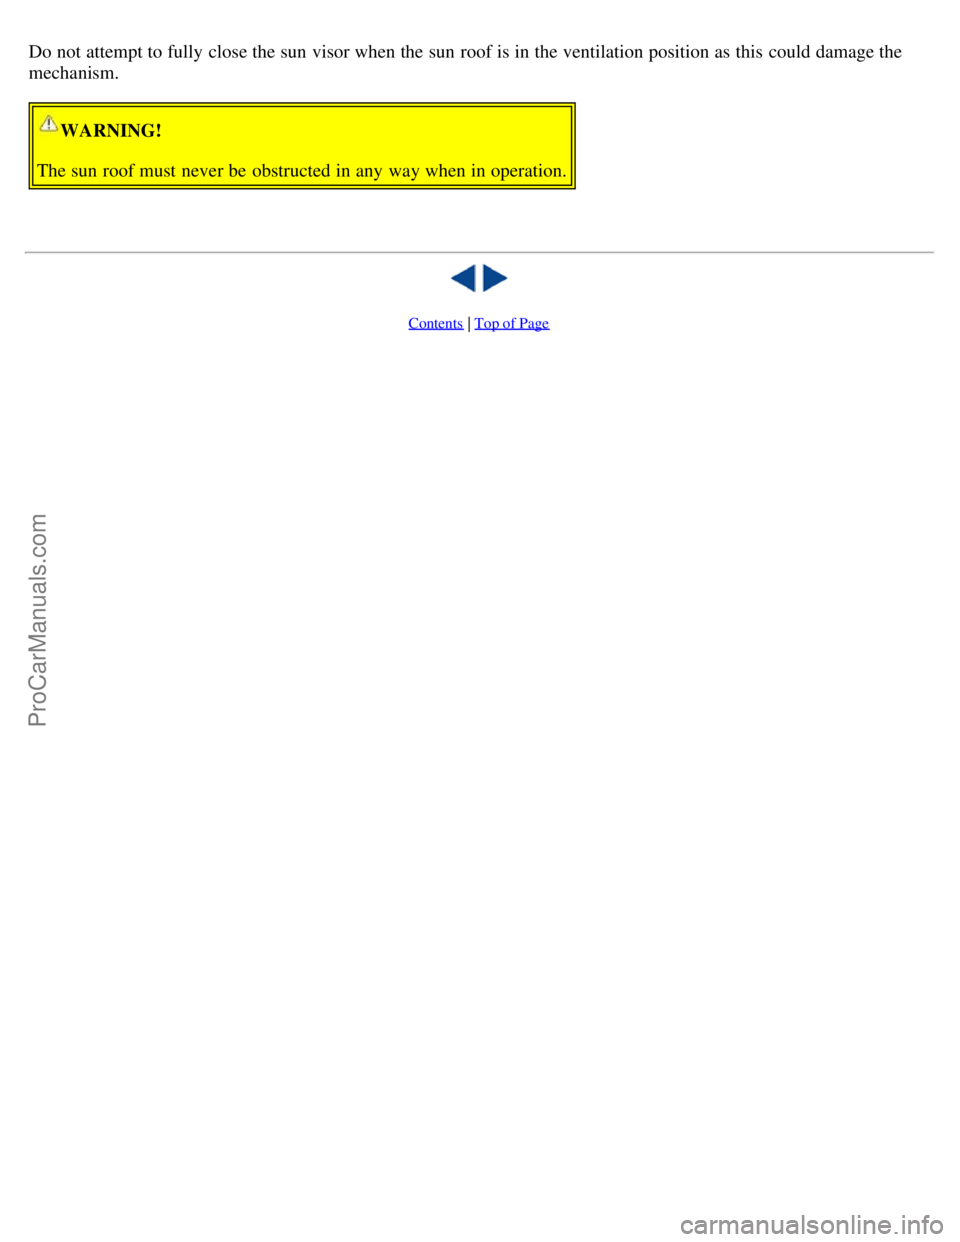
Do not attempt to fully close the sun visor when the sun roof is in the ventilation position as this could damage the
mechanism.
WARNING!
The sun roof must never be obstructed in any way when in operation.
Contents | Top of Page
ProCarManuals.com
Page 27 of 128
6. Horn4
7. Instrument panel30
8. Audio controls67
9. Windshield wipers41
10. Parking brake (hand brake)45
11. Center console switches37, 38
12. Climate control51
13. Audio system61
14. 12 V socket45
15. Hazard warning flashers42
16. Glove compartment108
17. Panel vents53
18. Text window30
19. Temperature gauge30
20. Odometer/ Trip odometer/Cruise control indicator30/ 44
21. Speedometer30
22. Turn signal indicators30
23. Tachometer30
24. Ambient temperature/ Clock/Selected gear indicator30
25. Fuel gauge30
26. Indicator and warning symbols31
27. Cup holder (option)108
28. Panel vents53
29. Instrument lighting39
30. Lighting panel39
31. Reading lights104
32. Interior lighting104
33. Sun roof control49
34. Seat belt reminder4, 10
35. Rearview mirror48
36. Lock button, for all doors119
37. Blocking rear seat power windows46
38. Controls, power windows46
39. Controls, sideview mirrors48
ProCarManuals.com
Page 38 of 128

2 0 0 1
VOLVO S60
Climate control
pg. 51 Climate control
Climate control systems - general information 52
Air distribution53
Electronic climate control, ECC (option)54
Manual climate control with air conditioning, (A/ C)58
pg. 52 Climate control systems - general information
Condensation on the inside of the windows
Keeping the insides of the windows clean will help reduce the amount of condensation that forms on the windows.
Use a commercial window cleaning agent to clean the windows.
Ice and snow
Always keep the air intake grille at the base of the windshield free of snow.
Cabin air filter
Replace the cabin air filter with a new one at the recommended intervals. The filter should be replaced more often
when driving under dirty and dusty conditions. The filter cannot be cleaned and therefore should always be replaced
with a new one.
Sensors
The sunlight sensor on the dashboard and passenger compartment temperature sensor in the ECC control panel should
not be covered in any way as this could cause incorrect information to be sent to the ECC system.
Parking the car in warm weather
If your car has been parked in the sun in warm weather, opening the windows and sun roof (option) for several
minutes before driving will help release the warm air from the passenger compartment. When the engine is running,
close the windows and sun roof and use the recirculation function for several minutes to enable the air conditioning to
cool the compartment as quickly as possible.
Windows and optional sun roof
The optional ECC system will function best if the windows and optional sun roof are closed. If you drive with the sun
roof open, we recommend that you manually adjust the temperature and blower control (the LED in the AUTO switch
should be off).
Acceleration
The air conditioning is momentarily disengaged during full-throttle acceleration.
Climate control maintenance
All maintenance on the climate control systems should be carried out by an authorized Volvo service technician only.
Refrigerant
Volvo cares about the environment. The air conditioning system in your car contains a CFC-free refrigerant - R134a.
ProCarManuals.com
Page 72 of 128

in alarm, which would sound if one of the doors were opened
the optional interior motion and inclination alarm sensors.
Doing so would DEACTIVATE:
the sunroof and interior courtesy light controls.
the central locking buttons on the front door armrests, although the interior door handles would still function to
allow occupants to leave the car.
Disabled features would remain disabled until the remote were used again to unlock the car.
In addition, locking an occupied vehicle would hinder rapid access to the occupants in an accident or emergency.
Replacing the battery in the remote control
If the range of the transmitter is noticeably reduced, this indicates that the battery is weak and should be replaced.
To replace the battery
Remove the screw on the transmitter cover with a small screwdriver.
Remove the cover carefully pressing it rearward/ upward.
Replace the battery with a new 3- volt, CR 2032 battery. The battery should be inserted with the minus side
upward. Avoid touching the contact surfaces of the battery with your fingers.
Reinstall the cover and tighten the screw to help protect the transmitter.
pg. 119 Locking and unlocking
Locking and unlocking the car from the inside
The switch on the driver's door armrest can be used to lock or unlock all doors and the trunk, and to set the alarm.
ProCarManuals.com