2001 VOLVO S60 lights
[x] Cancel search: lightsPage 3 of 128

For Volvo, all homogeneous plastic parts weighing more than 1.7 oz. (50 grams) are marked with international
symbols that indicate how the component is to be sorted for recycling.
In addition to continuous environmental refinement of conventional gasoline- powered internal combustion engines,
Volvo is actively looking at advanced technology alternative- fuel vehicles.
When you drive a Volvo, you become our partner in the work to lessen the car's impact on the environment. To reduce
your vehicle's environmental impact, you can:
Maintain proper air pressure in your tires. Tests have shown decreased fuel economy with improperly inflated tires.
Follow the recommended maintenance schedule.
Drive at a constant speed.
See an authorized Volvo retailer as soon as possible for inspection if the check engine (malfunction indicator) lamp
illuminates, or stays on after the vehicle has started.
Properly dispose of any vehicle- related waste such as used motor oil, used batteries, brake pads, etc.
When cleaning your car, use Volvo's own car care products, all of which have systematically been adapted to the
environment.
For additional information regarding the environmental activities in which Volvo Cars of North America, Inc. and
Volvo Car Corporation are involved, visit our Internet Home Page at: http://www.volvocars.com
Prem-Air
On the surface of the radiator in the engine compartment, there is a special coating called Prem- Air. Prem- Air works
as a catalytic converter, converting most of the ground level ozone passing through the radiator into oxygen, thereby
reducing harmful ground-level ozone.
Instruments, switches and controls
Page
1. Front fog lights 39
2. Headlights/ Parking lights39
3. Rear fog light39
4. Turn signals/ High/ low beams40
5. Cruise control44
ProCarManuals.com
Page 4 of 128

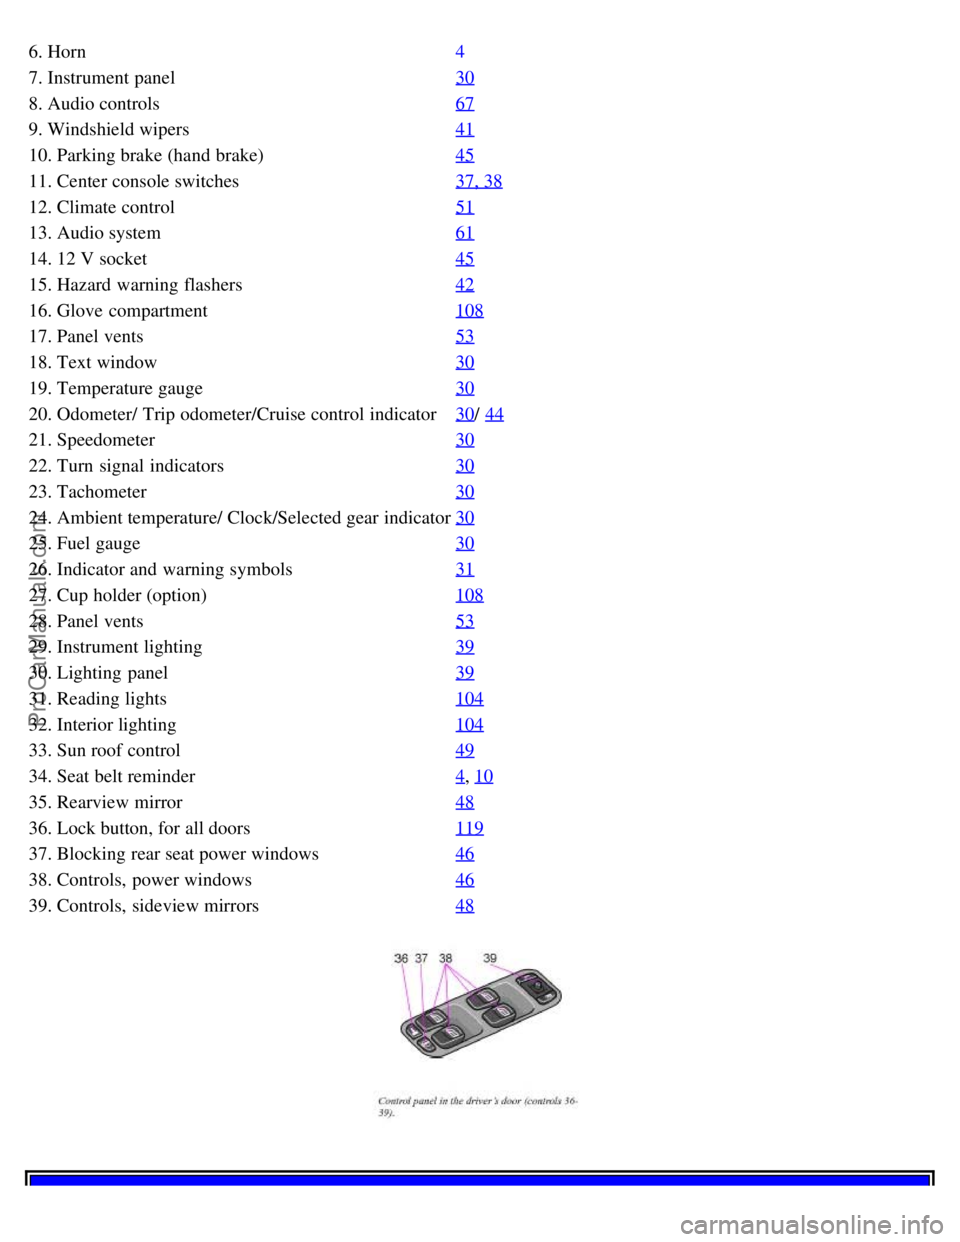
6. Horn4
7. Instrument panel30
8. Audio controls67
9. Windshield wipers41
10. Parking brake (hand brake)45
11. Center console switches37, 38
12. Climate control51
13. Audio system61
14. 12 V socket45
15. Hazard warning flashers42
16. Glove compartment108
17. Panel vents53
18. Text window30
19. Temperature gauge30
20. Odometer/ Trip odometer/Cruise control indicator30/ 44
21. Speedometer30
22. Turn signal indicators30
23. Tachometer30
24. Ambient temperature/ Clock/Selected gear indicator30
25. Fuel gauge30
26. Indicator and warning symbols31
27. Cup holder (option)108
28. Panel vents53
29. Instrument lighting39
30. Lighting panel39
31. Reading lights104
32. Interior lighting104
33. Sun roof control49
34. Seat belt reminder4, 10
35. Rearview mirror48
36. Lock button, for all doors119
37. Blocking rear seat power windows46
38. Controls, power windows46
39. Controls, sideview mirrors48
ProCarManuals.com
Page 8 of 128

Anti-lock brake system ABS If the warning light comes on, there is a malfunction of the ABS system (the
standard braking system will still function). The vehicle should be driven to a Volvo retailer for inspection. See page
138 for additional information.
pg. 32 Indicator and warning symbols
BRAKE Brake failure warning light
If the light comes on while driving or braking, stop immediately, open the hood and check the brake fluid level in the
reservoir. See page 170
for reservoir position and page 174 for instructions.
Canadian models are equipped with this warning light:
If the BRAKE and ABS warning lights come on at the same time, this could indicate a fault in the brake
system.
Stop the car in a suitable place and switch off the engine.
Restart the engine.
If both warning lights go off, no further action is required.
If both lights are still on after the engine has been restarted, switch off the engine again and check the brake fluid
level (see page 170
for the location of the brake fluid reservoir).
WARNING!
If the fluid level is below the MIN mark in the reservoir or if a "Brake failure - Service urgent" message is
displayed in the text window: DO NOT DRIVE. Have the car towed to an authorized Volvo retailer and have the
brake system inspected.
If the brake fluid level is above the MIN mark, drive carefully to an authorized Volvo retailer and have the brake
system inspected.
pg. 33 Indicator and warning symbols
Supplemental Restraint System SRS
If the light comes on (or stays on after the vehicle has started), the SRS diagnostic system has detected a fault. Drive
to an authorized Volvo retailer for an inspection of the system. See the SRS section for more information.
Generator warning light
If the light comes on while the engine is running, have the charging system checked.
Service reminder indicator
This light will come on at 7,500 mile (12,000 km) intervals, after 750 hours of driving or after 12 months, whichever
occurs first, to remind the driver that the service interval has been exceeded. The light will stay on for 2 minutes after
start until reset by the servicing retailer.
ProCarManuals.com
Page 12 of 128

Please be aware that the car's handling characteristics may be affected if Dynamic Stability Traction Control
(DSTC) is switched off.
6. Temporarily disconnecting the alarm sensors (option)
See page 123
for more details.
7. Not in use
8. 12 volt socket
This 12 volt socket can be used to plug in certain accessories such as cellular telephones, etc. The ignition key must
be in position 1 (or higher) for the auxiliary socket to function.
NOTE: The auxiliary sockets can also be used for cigarette lighters, which are available at your Volvo retailer.
pg. 39 Lighting panel
A - Headlights and parking lights
All lighting off.
Models with daytime running lights:
Low beam headlights will automatically come on if the ignition key is in position II. Front and rear parking lights and
license plate lights will also be on. Volvo recommends the use of daytime running lights. If, however, you would
prefer to have these lights turned off (USA only), please consult your Volvo retailer. Please note that the use of
daytime running lights is mandatory in Canada.
Parking lights on. The parking lights should be switched off when you leave the car to help avoid battery
drain.
Headlights, parking lights, license plate lights and instrument panel illumination are on if the ignition key is in
position II.
If the headlight switch is in this position, all lights will go out when the ignition is switched off.
The headlight switch must be in this position before the high beams will function.
Switch from high to low beams and vice versa by pulling the turn signal switch lever on the left side of steering
column toward you.
B - Instrument lighting
Move the thumb wheel up to increase brightness or down to decrease brightness. There is also an instrument panel
illumination sensor (see illustration on page 54
) which automatically adjusts the level of illumination.
The symbols have maximum illumination in daylight (only the background lighting can be adjusted). At night, both
the symbol light and background lighting can be adjusted.
ProCarManuals.com
Page 13 of 128

C - Front fog lights (option)*
The front fog lights will function only in combination with the low beam headlights.
An LED in the switch indicates when the front fog lights are on.
D - Rear fog light*
The rear fog light is considerably brighter than the normal tail lights and should be used only when conditions such as
fog, rain, snow, smoke or dust reduce visibility for other vehicles to less than 500 ft (150 meters).
An LED in the switch indicates when the rear fog light is on.
The rear fog light will only function in combination with the high/ low beam headlights. By design, there is one rear
fog light only, located in the driver's side tail light cluster.
* These lights will be automatically switched off the next time the car is started.
Contents | Top of Page
ProCarManuals.com
Page 14 of 128

2 0 0 1
VOLVO S60
pg. 40 Turn Signals
1. Lane change position
In maneuvers such as lane changing, the driver can flash the turn signals by moving the turn signal lever to the first
stop and holding it there. The lever will return to the neutral position when released.
2. Signal lever engaged for normal turns
3. High/ low beam switch (headlights on).
Move the lever towards the steering wheel and release it.
Headlight flasher (headlights off).
Move the lever towards the steering wheel. The headlight high beam will be on until the lever is released.
NOTE:
If the turn signal indicator flashes faster than normal, check for a burned- out turn signal bulb.
3. Exterior courtesy lights
Home Safe System
When you leave your car at night, you can make use of the courtesy lighting function:
Remove the key from the ignition switch.
Pull the direction indicator lever towards the steering wheel (as when using the headlight flasher function).
Exit the car and lock the doors. The headlights, parking lights, license plate lights and the lights in the sideview
mirrors will now come on and remain on for 30, 60 or 90 seconds (the time interval is at your discretion and can be
changed by an authorized Volvo retailer).
Approach lighting
When approaching the car at night, press the yellow button in the central locking remote control (see illustration on
page 117
). This lights up the interior courtesy lights, parking lights, license plate lights and the lights in the sideview
mirrors.
pg. 41 Windshield wipers/ washer
ProCarManuals.com
Page 15 of 128

Windshield wipers
Windshield wipers off
If the lever is in the 0 position and you move it upwards, the wipers will sweep one stroke at a time for as long as you
hold the lever up.
Intermittent wiper function With the lever in this position, you can set the wiper interval by twisting the
control ring (A) upward to increase wiper speed or downward to decrease the speed.
Rain sensor (option) The rain sensor replaces the intermittent wiper function. The windshield wiper speed increases
or decreases according to the amount of rain. The sensitivity of the sensor can be adjusted by twisting control A
upward or downward.
Wipers operate at "normal" speed
Wipers operate at "high" speed
3 - Windshield washer/ headlight washer (certain models)
The wipers will make 2- 3 sweeps across the windshield and headlights (certain models) after the lever is released.
pg. 42 Hazard warning flashers, rear window/ sideview mirror defroster, heated front seats
Hazard warning flashers
The four- way flasher should be used to indicate that the vehicle has become a traffic hazard. To activate the flashers,
press the triangular button in the center dash. Press the button again to turn off the flashers.
NOTE: Regulations regarding the use of the hazard warning flasher may vary, depending on where you live.
Sideview mirror and rear window defroster Press the switch to start heating the rear window and sideview mirrors
ProCarManuals.com
Page 21 of 128

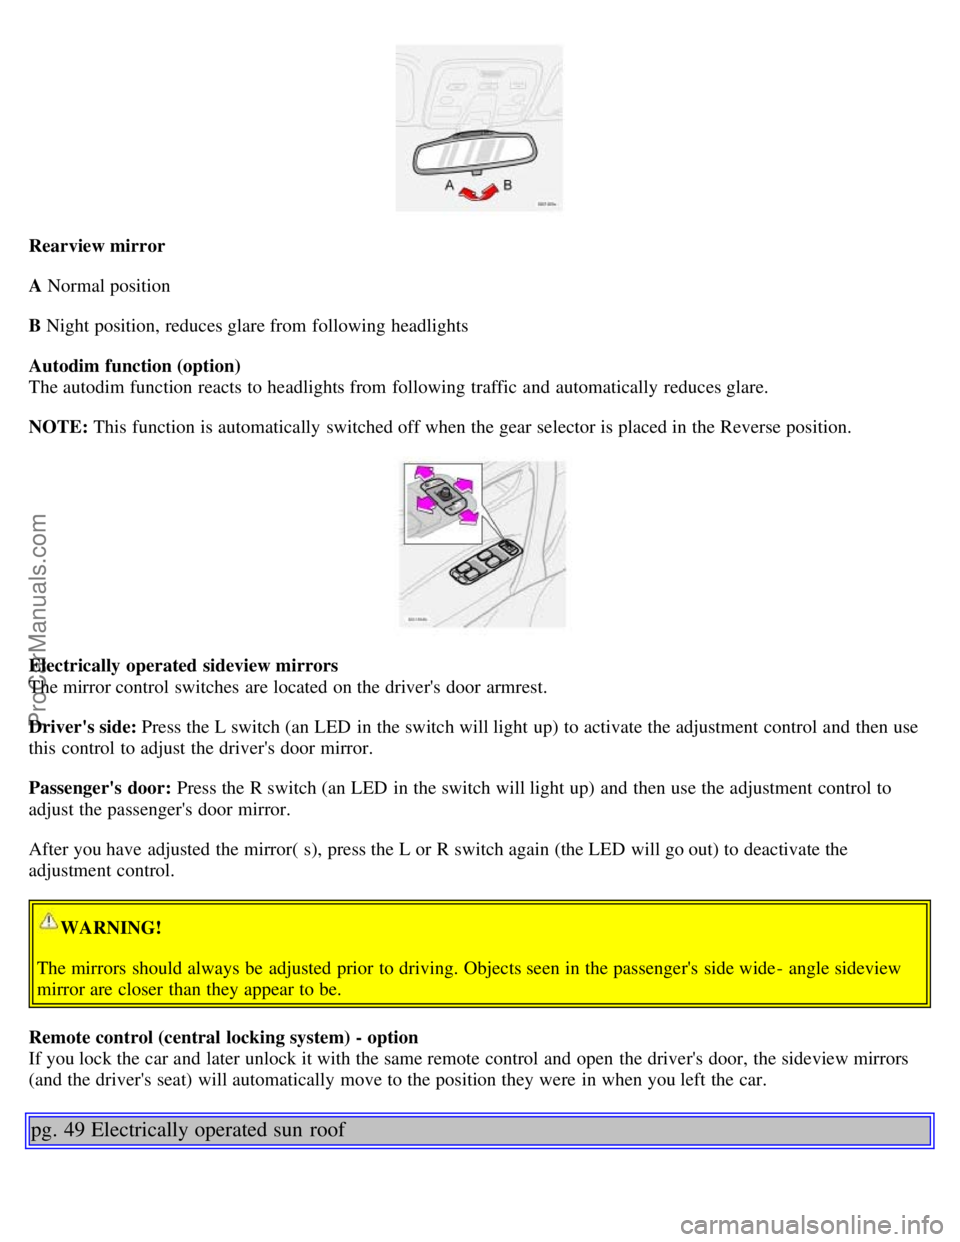
Rearview mirror
A Normal position
B Night position, reduces glare from following headlights
Autodim function (option)
The autodim function reacts to headlights from following traffic and automatically reduces glare.
NOTE: This function is automatically switched off when the gear selector is placed in the Reverse position.
Electrically operated sideview mirrors
The mirror control switches are located on the driver's door armrest.
Driver's side: Press the L switch (an LED in the switch will light up) to activate the adjustment control and then use
this control to adjust the driver's door mirror.
Passenger's door: Press the R switch (an LED in the switch will light up) and then use the adjustment control to
adjust the passenger's door mirror.
After you have adjusted the mirror( s), press the L or R switch again (the LED will go out) to deactivate the
adjustment control.
WARNING!
The mirrors should always be adjusted prior to driving. Objects seen in the passenger's side wide - angle sideview
mirror are closer than they appear to be.
Remote control (central locking system) - option
If you lock the car and later unlock it with the same remote control and open the driver's door, the sideview mirrors
(and the driver's seat) will automatically move to the position they were in when you left the car.
pg. 49 Electrically operated sun roof
ProCarManuals.com