2001 VOLVO S60 interior lights
[x] Cancel search: interior lightsPage 4 of 128

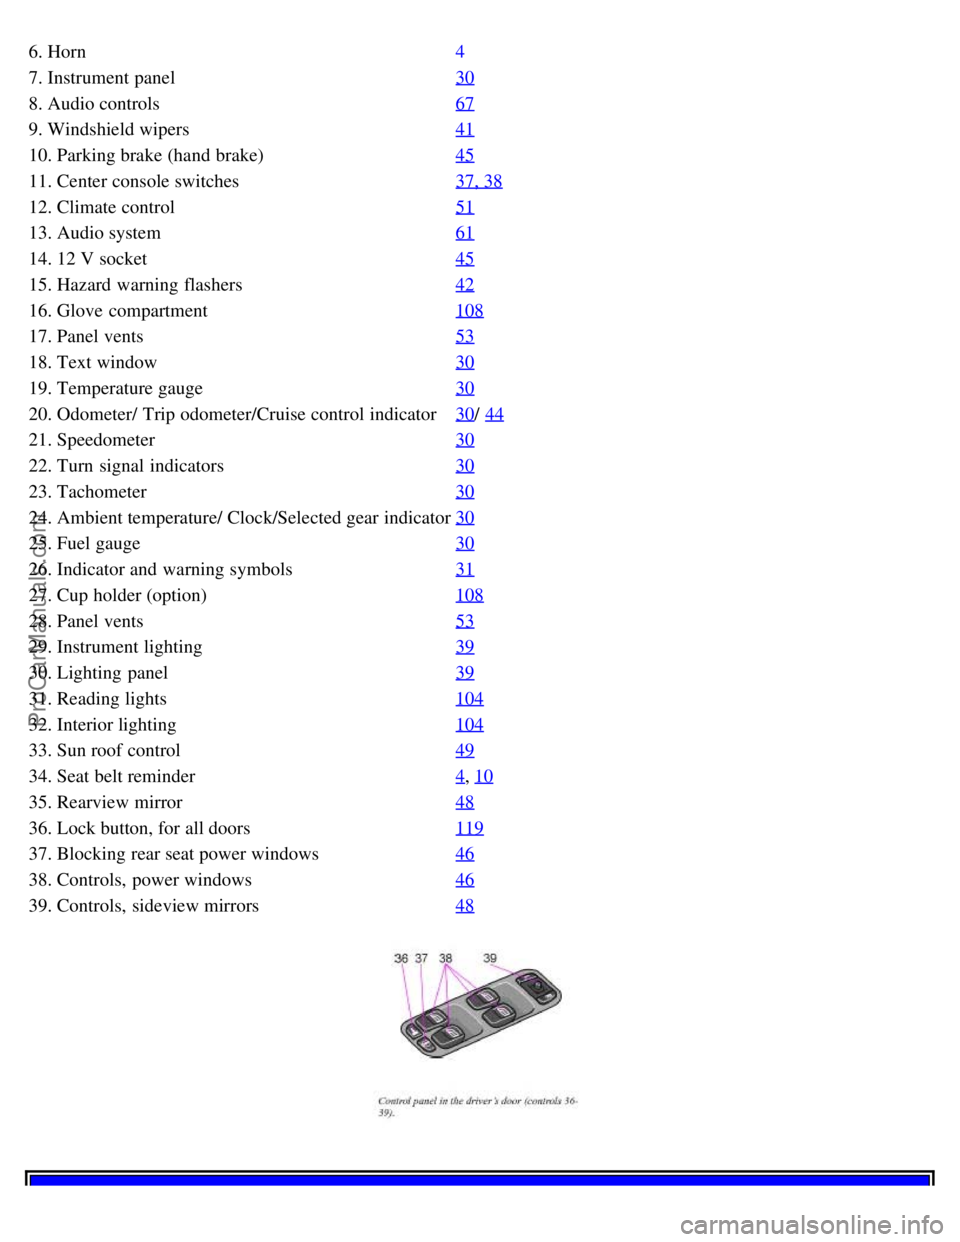
6. Horn4
7. Instrument panel30
8. Audio controls67
9. Windshield wipers41
10. Parking brake (hand brake)45
11. Center console switches37, 38
12. Climate control51
13. Audio system61
14. 12 V socket45
15. Hazard warning flashers42
16. Glove compartment108
17. Panel vents53
18. Text window30
19. Temperature gauge30
20. Odometer/ Trip odometer/Cruise control indicator30/ 44
21. Speedometer30
22. Turn signal indicators30
23. Tachometer30
24. Ambient temperature/ Clock/Selected gear indicator30
25. Fuel gauge30
26. Indicator and warning symbols31
27. Cup holder (option)108
28. Panel vents53
29. Instrument lighting39
30. Lighting panel39
31. Reading lights104
32. Interior lighting104
33. Sun roof control49
34. Seat belt reminder4, 10
35. Rearview mirror48
36. Lock button, for all doors119
37. Blocking rear seat power windows46
38. Controls, power windows46
39. Controls, sideview mirrors48
ProCarManuals.com
Page 14 of 128

2 0 0 1
VOLVO S60
pg. 40 Turn Signals
1. Lane change position
In maneuvers such as lane changing, the driver can flash the turn signals by moving the turn signal lever to the first
stop and holding it there. The lever will return to the neutral position when released.
2. Signal lever engaged for normal turns
3. High/ low beam switch (headlights on).
Move the lever towards the steering wheel and release it.
Headlight flasher (headlights off).
Move the lever towards the steering wheel. The headlight high beam will be on until the lever is released.
NOTE:
If the turn signal indicator flashes faster than normal, check for a burned- out turn signal bulb.
3. Exterior courtesy lights
Home Safe System
When you leave your car at night, you can make use of the courtesy lighting function:
Remove the key from the ignition switch.
Pull the direction indicator lever towards the steering wheel (as when using the headlight flasher function).
Exit the car and lock the doors. The headlights, parking lights, license plate lights and the lights in the sideview
mirrors will now come on and remain on for 30, 60 or 90 seconds (the time interval is at your discretion and can be
changed by an authorized Volvo retailer).
Approach lighting
When approaching the car at night, press the yellow button in the central locking remote control (see illustration on
page 117
). This lights up the interior courtesy lights, parking lights, license plate lights and the lights in the sideview
mirrors.
pg. 41 Windshield wipers/ washer
ProCarManuals.com
Page 27 of 128

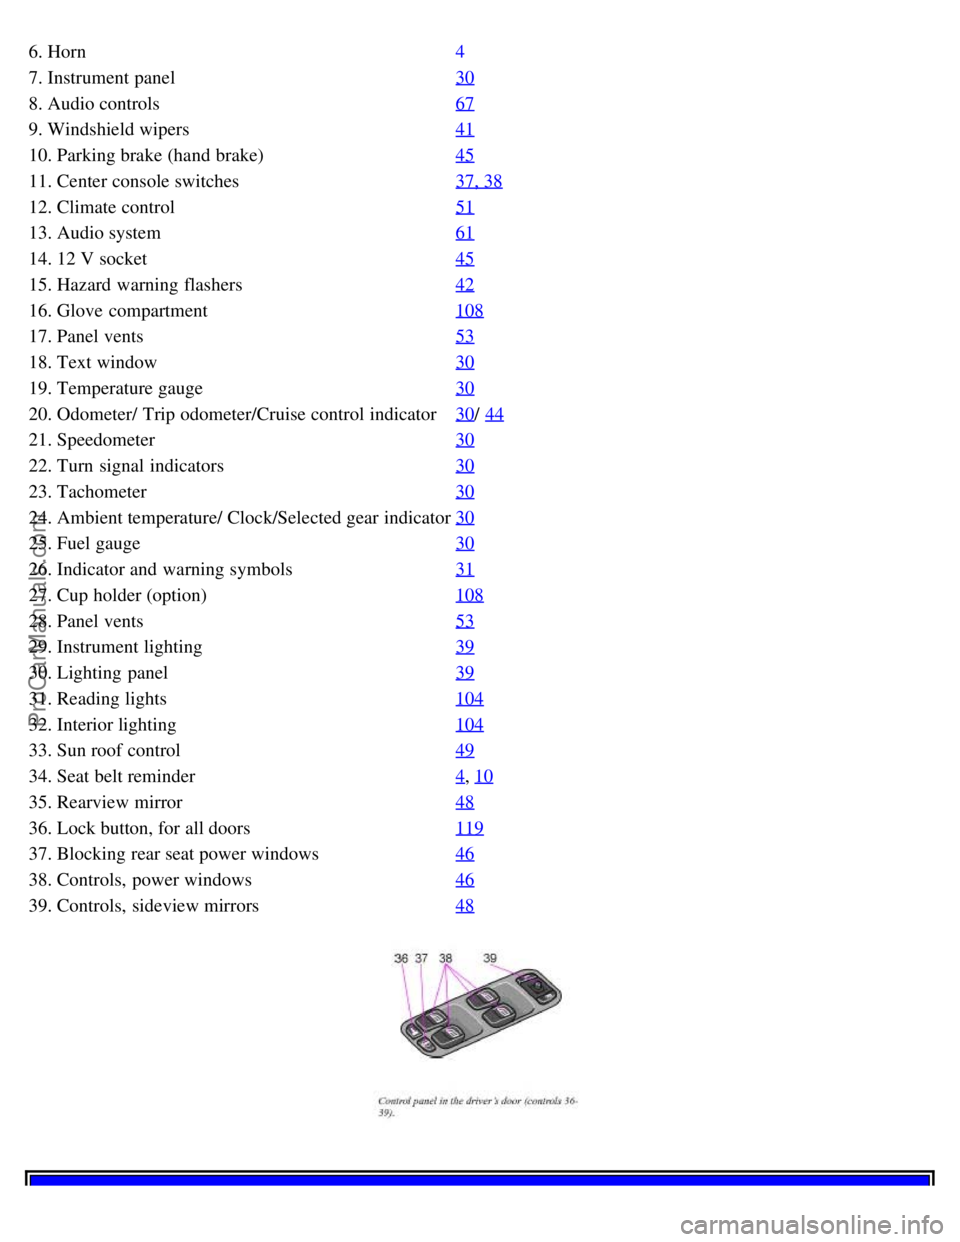
6. Horn4
7. Instrument panel30
8. Audio controls67
9. Windshield wipers41
10. Parking brake (hand brake)45
11. Center console switches37, 38
12. Climate control51
13. Audio system61
14. 12 V socket45
15. Hazard warning flashers42
16. Glove compartment108
17. Panel vents53
18. Text window30
19. Temperature gauge30
20. Odometer/ Trip odometer/Cruise control indicator30/ 44
21. Speedometer30
22. Turn signal indicators30
23. Tachometer30
24. Ambient temperature/ Clock/Selected gear indicator30
25. Fuel gauge30
26. Indicator and warning symbols31
27. Cup holder (option)108
28. Panel vents53
29. Instrument lighting39
30. Lighting panel39
31. Reading lights104
32. Interior lighting104
33. Sun roof control49
34. Seat belt reminder4, 10
35. Rearview mirror48
36. Lock button, for all doors119
37. Blocking rear seat power windows46
38. Controls, power windows46
39. Controls, sideview mirrors48
ProCarManuals.com
Page 42 of 128

Recirculation
Press this switch to engage the recirculation function (air in the passenger compartment recirculates - no fresh air
enters the compartment). The LED in the switch will light up to indicate that the function is engaged.
Use this function if the outside air is contaminated with exhaust gases, smoke, etc or to heat/ cool the car quickly.
Recirculation should not be used for more than 15 minutes. If your windows begin to fog or mist, make sure that
the recirculation function is switched off.
Selecting Defroster automatically switches recirculation off.
Timer function (cars equipped with the optional Interior Air Quality system do not have the timer function):
Pressing and holding the switch for at least 3 seconds activates a timer function. The LED in the switch will flash for
approxi- mately 5 seconds. Recirculation will then always operate for periods of 3 to 12 minutes, depending on the
ambient temperature, after which it will switch off automatically. Pressing the switch at any time during the
recirculation period will disengage the function and allow fresh air into the passenger compartment.
Press and hold the switch again for at least 3 seconds to return the button to its original function (i. e., recirculation
will remain on until you switch it off).
pg. 57 Electronic climate control, ECC (option)
Interior air quality sensor (option)
Some cars are equipped with a multifilter and air quality sensor. The filter separates gases and particles, thereby
reducing the amounts of odors and contaminants entering the car. The air quality sensor detects increased levels of
contaminants in the outside air. When the air quality sensor detects contaminated outside air, the air intake closes and
the air inside the passenger compartment is recirculated, i. e. no outside air enters the car. The filter also cleans
recirculated passenger compartment air. When the ECC system is in the AUTO mode, the green LED will be on
.
Operation
Press
to operate the air quality sensor (normal setting).
Or:
Select one of the following three functions by pressing
.1, 2 or 3 times.
1. The AUT LED lights. The air quality sensor is now activated.
2. No LED lights. Recirculation is not activated unless needed to cool the passenger compartment in a warm climate.
3. The MAN LED lights. Recirculation is now activated.
Keep in mind the following:
ProCarManuals.com
Page 75 of 128

Arming the alarm
Press the LOCK button on the remote control, lock the car using the key in the driver's door or press the central lock
button on one of the front doors with the door open. One long flash of the turn signals will confirm that the alarm is
armed.
Disarming the alarm
Press the UNLOCK button on the remote control or unlock the doors with the key.
Turning off (stopping) the alarm
If the alarm is sounding, it can be stopped by pressing the UNLOCK button on the remote control or by unlocking the
driver's door with the key.
Visual alarm signal
The visual alarm signal is given by flashing all turn signals and turning on the interior lighting for approximately 5
minutes.
Audible alarm signal
An audible alarm signal is given by a battery powered siren. One alarm cycle lasts for 25 seconds.
"Panic" button
In an emergency situation, this feature can be used to attract attention.
Activate the "panic" button by pressing the red button on the remote control (see illustration on page 117
) for at least
3 seconds or by pressing this button twice within 3 seconds. The turn signals will flash, the interior lights will go on
and the car's horn will sound.
The function can be turned off by pressing any of the buttons on the remote control or will stop automatically after 25
seconds. When a button is pressed, there is a 5 second delay before the panic alarm is deactivated.
NOTE: This button will NOT unlock the car.
pg. 123 Alarm
Temporarily turning off the alarm sensor( s) - option
This button will only be found in cars equipped with the optional inclination and/ or movement sensors.
In certain situations it may be desirable to turn off the optional inclination and movement alarm sensors if, for
example, you drive your car onto a ferry where the rocking of the boat could trigger the alarm or if a pet is left in the
car with the doors locked.
To temporarily turn off the inclination and movement alarm sensors from the alarm system: B From the time the
ignition key is turned from the Drive position (position II) until you lock the car, you can press the button in the
ProCarManuals.com
Page 122 of 128

Geartronic - manual shifting136
General information2
Generator199
Generator warning light33
Glove compartment108
Glove compartment - locking119
Grocery bag holder112
H
Handling131
Hazard warning flashers42
Head restraint - center, rear112
Headlight washer41
Headlight wiper blades175
Headlights39
Heated front seats42 , 56 , 59
High beam "flash"40
High beam bulb181
High beam indicator30
High/ low beams - replacing179
Hoisting the car168
HomeLink® Universal Transceiver82
Hood170
Hood - opening170
I
IC20
Immobilizer (start inhibitor)116
Indicator and warning symbols30 , 31
Inflatable Curtain20
Instrument lighting39
Instrument panel30
Integrated booster cushion25
Interior99
Interior lighting104
Intermittent wiping41
Introduction1
Isofix fasteners (child seats)25
J
Jack113
, 157
Jump starting143
K
Keylock2
, 128
Keys116
Kickdown134
L
ProCarManuals.com