Page 772 of 1897

�The diagnosis system operates in normal mode
during normal vehicle use, and also has a check
mode for technic")
N09214
- DIAGNOSTICSAUTOMATIC TRANSAXLE
DI-161
317 Author�: Date�:
2001 AVALON (RM808U)
�The diagnosis system operates in normal mode
during normal vehicle use, and also has a check
mode for technicians to simulate malfunction symp-
toms and perform troubleshooting. Most DTCs use
2-trip detection logic(*) to prevent erroneous detec-
tion. By switching the ECM to check mode when
troubleshooting, the technician can cause the MIL
to light up and for a malfunction that is only detected
once or momentarily (TOYOTA hand-held tester)
(See page DI-160).
�*2-trip detection logic:
When a logic malfunction is first detected, the mal-
function is temporarily stored in the ECM memory.
If the same malfunction is detected again during the
2nd test drive, this 2nd detection causes the MIL to
light up.
(b) Inspect the DLC3.
The vehicle's ECM uses ISO 9141-2 for communication.
The terminal arrangement of DLC3 complies with SAE
J1962 and matches the ISO 9141-2 format.
Tester connectionConditionSpecified condition
7 (Bus � Line) - 5 (Signal ground)During communicationPulse generation
4 (Chassis Ground) - BodyAlways1 W or less
5 (Signal Ground) - BodyAlways1 W or less
16 (B+) - BodyAlways9 - 14 V
HINT:
If your display shows ºUNABLE TO CONNECT TO VEHICLEº
when you have connected the cable of OBD II scan tool or TOY-
OTA hand-held tester to DLC3, turned the ignition switch ON
and operated the scan tool, there is a problem on the vehicle
side or tool side.
�If communication is normal when the tool is connected to
another vehicle, inspect DLC3 on the original vehicle.
�If communication is still not possible when the tool is con-
nected to another vehicle, the problem is probably in the
tool itself, so consult the Service Department listed in the
tool's instruction manual.
Page 782 of 1897
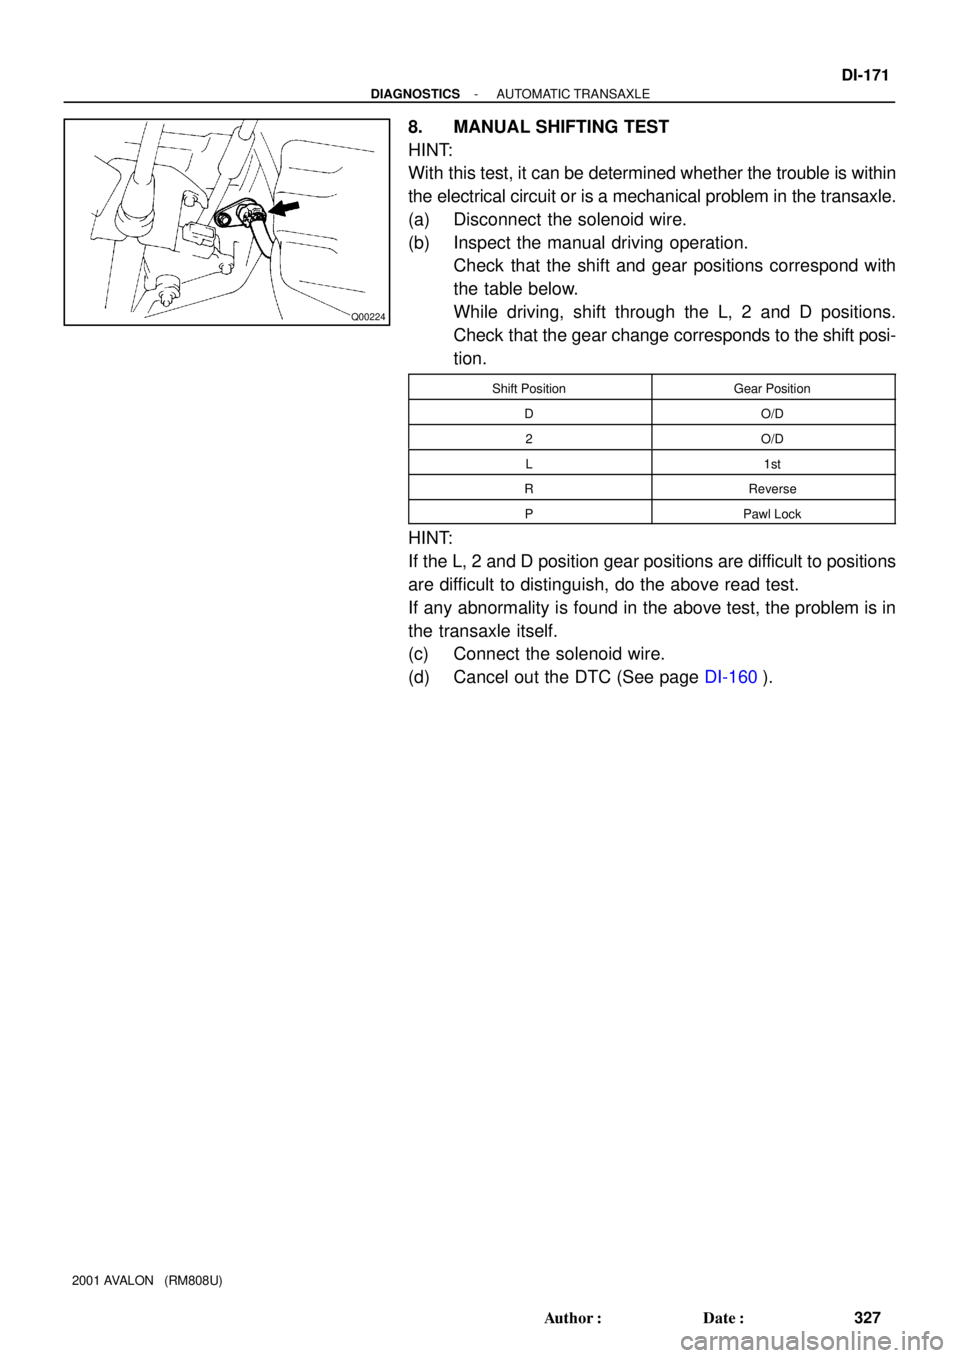
Q00224
- DIAGNOSTICSAUTOMATIC TRANSAXLE
DI-171
327 Author�: Date�:
2001 AVALON (RM808U)
8. MANUAL SHIFTING TEST
HINT:
With this test, it can be determined whether the trouble is within
the electrical circuit or is a mechanical problem in the transaxle.
(a) Disconnect the solenoid wire.
(b) Inspect the manual driving operation.
Check that the shift and gear positions correspond with
the table below.
While driving, shift through the L, 2 and D positions.
Check that the gear change corresponds to the shift posi-
tion.
Shift PositionGear Position
DO/D
2O/D
L1st
RReverse
PPawl Lock
HINT:
If the L, 2 and D position gear positions are difficult to positions
are difficult to distinguish, do the above read test.
If any abnormality is found in the above test, the problem is in
the transaxle itself.
(c) Connect the solenoid wire.
(d) Cancel out the DTC (See page DI-160).
Page 1468 of 1897

CHASSIS
INSPECTION
1. INSPECT STEERING LINKAGE
(a) Check the steering wheel free-play (See page SR-8).
(b) Check the")
MA01O-02
B08915
- MAINTENANCECHASSIS
MA-7
49 Author�: Date�:
2001 AVALON (RM808U)
CHASSIS
INSPECTION
1. INSPECT STEERING LINKAGE
(a) Check the steering wheel free-play (See page SR-8).
(b) Check the steering linkage for looseness or damage.
Check that:
�Tie rod ends do not have excessive play.
�Dust seals and boots are not damaged.
�Boot clamps are not loose.
2. INSPECT SRS AIRBAG (See pages RS-15, RS-30)
3. INSPECT STEERING GEAR HOUSING OIL
Check the steering gear housing for oil leakage.
4. INSPECT DRIVE SHAFT BOOTS
Check the drive shaft boots for clamp looseness, leakage or
damage.
5. INSPECT BALL JOINTS AND DUST COVERS
(a) Inspect the ball joints for excessive looseness.
�Jack up the front of the vehicle and place wooden
blocks with a height of 180 - 200 mm (7.09 - 7.87
in.) under the front tires.
�Lower the jack until there is about half a load on the
front coil spring. Place stands under the vehicle for
safety.
�Check that the front wheels are pointing straight
ahead, and block them with chocks.
�Using a lever, pry up the end of the lower arm, and
check the amount of play.
Maximum ball joint vertical play: 0 mm (0 in.)
If there is play, replace the ball joint.
(b) Check the dust cover for damage.
6. CHECK TRANSAXLE FLUID
Visually check the transaxle for fluid leakage.
If leakage is found, check for the cause and repair.
7. REPLACE TRANSAXLE FLUID (See page DI-160)