Page 31 of 363
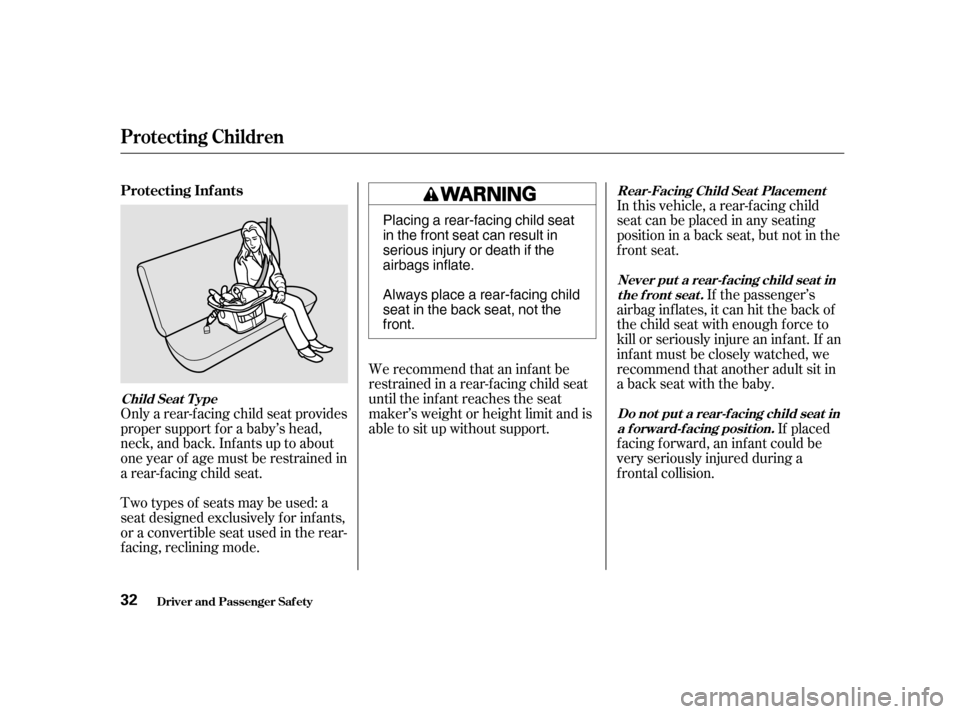
Only a rear-f acing child seat provides
proper support f or a baby’s head,
neck, and back. Inf ants up to about
one year of age must be restrained in
a rear-f acing child seat.We recommend that an inf ant be
restrained in a rear-f acing child seat
until the inf ant reaches the seat
maker’s weight or height limit and is
able to sit up without support. If placed
f acing f orward, an inf ant could be
very seriously injured during a
f rontal collision.If the passenger’s
airbag inflates, it can hit the back of
the child seat with enough force to
kill or seriously injure an inf ant. If an
inf ant must be closely watched, we
recommend that another adult sit in
a back seat with the baby.
Two types of seats may be used: a
seat designed exclusively f or inf ants,
or a convertible seat used in the rear-
f acing, reclining mode. In this vehicle, a rear-f acing child
seatcanbeplacedinanyseating
position in a back seat, but not in the
front seat.
Protecting Inf ants
Child Seat T ype
Do not put a rear-f acing child seat ina f orward-f acing position.
Never put a rear-f acing child seat in
the front seat.
Rear-Facing Child Seat Placement
Protecting Children
Driver and Passenger Saf ety
32 Placing a rear-facing child seat
in the front seat can result in
serious injury or death if the
airbags inflate.
Always place a rear-facing child
seat in the back seat, not thefront.
Page 32 of 363
CONT INUED
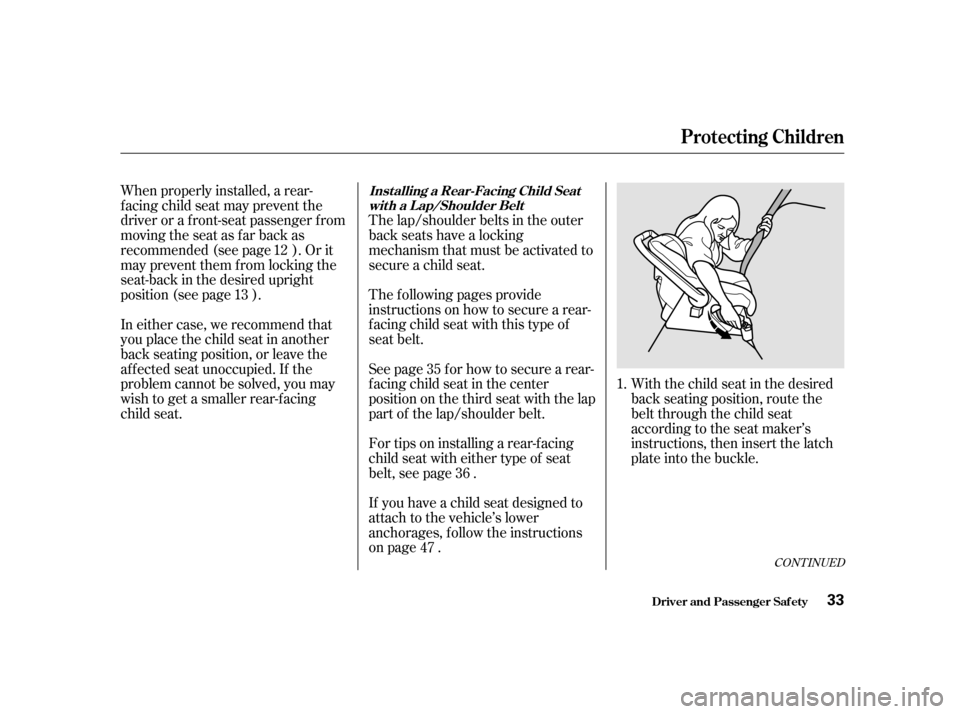
With the child seat in the desired
back seating position, route the
belt through the child seat
according to the seat maker’s
instructions, then insert the latch
plate into the buckle.
The lap/shoulder belts in the outer
back seats have a locking
mechanism that must be activated to
secure a child seat.
The f ollowing pages provide
instructions on how to secure a rear-
facing child seat with this type of
seat belt.
See page f or how to secure a rear-
f acing child seat in the center
position on the third seat with the lap
part of the lap/shoulder belt.
For tips on installing a rear-f acing
child seat with either type of seat
belt, see page .
When properly installed, a rear-
f acing child seat may prevent the
driver or a f ront-seat passenger f rom
moving the seat as far back as
recommended (see page ). Or it
may prevent them f rom locking the
seat-back in the desired upright
position (see page ).
If you have a child seat designed to
attach to the vehicle’s lower
anchorages, f ollow the instructions
on page .
In either case, we recommend that
you place the child seat in another
back seating position, or leave the
af f ected seat unoccupied. If the
problem cannot be solved, you may
wish to get a smaller rear-f acing
child seat.
1.
35
36
12
47
13
Protecting Children
Driver and Passenger Saf ety
Inst alling a Rear-Facing Child Seat
wit h a L ap/Shoulder Belt
33
Page 33 of 363
Af ter conf irming that the belt is
locked, grab the shoulder part of
the belt near the buckle and pull
up to remove any slack from the
lap part of the belt. Remember, if
the lap part of the belt is not tight,
the child seat will not be secure.
To remove slack, it may help to
putweightonthechildseat,or
push on the back of the seat, while
pulling up on the belt.
Af ter the belt has retracted, tug on
it. If the belt is locked, you will not
be able to pull it out. If you can pull
the belt out, it is not locked and
you will need to repeat these steps.
To activate the lockable retractor,
slowly pull the shoulder part of the
belt all the way out until it stops,
then let the belt f eed back into the
retractor (you might hear a
clicking noise as the belt retracts). 4.
3.
2.
Protecting Children
Driver and Passenger Saf ety
34
Page 34 of 363
CONT INUED
To deactivate the locking
mechanism and remove a child seat,
unlatch the buckle, unroute the seat
belt, and let the belt f ully retract.
Push and pull the child seat
f orward and f rom side to side to
verif y that it is secure enough to
stay upright during normal driving
maneuvers. If the child seat is not
secure, unlatch the belt, allow it to
retract f ully, then repeat these
steps. To install a rear-facing child seat in
the center position of the third seat,
use the lap part of the lap/shoulder
belt. Follow instruction number 1 on
page f or routing and latching the
seat belt.
5.
33
Protecting Children
Driver and Passenger Saf ety
Inst alling a Rear-Facing Child Seat int he Cent er Posit ion of t he T hird Seat
35
Page 35 of 363
Forproperprotection,aninfantmust
ride in a reclined, or semi-reclined
position. To determine the proper
reclining angle, check with the baby’s
doctor or f ollow the seat maker’s
recommendations.
To achieve the desired reclining
angle, it may help to put a rolled up
towel under the toe of the child seat,
as shown.
Then pull hard on the loose end of
thebelttoremovetheanyslack(it
may help to put weight on the child
seat while pulling on the belt).
Finally, f ollow instruction number 5
on page to verify that the child
seat is secured.
34
Driver and Passenger Saf ety
Protecting Children
Rear-Facing Child Seat Inst allat ion Tips
36
Page 36 of 363
CONT INUED
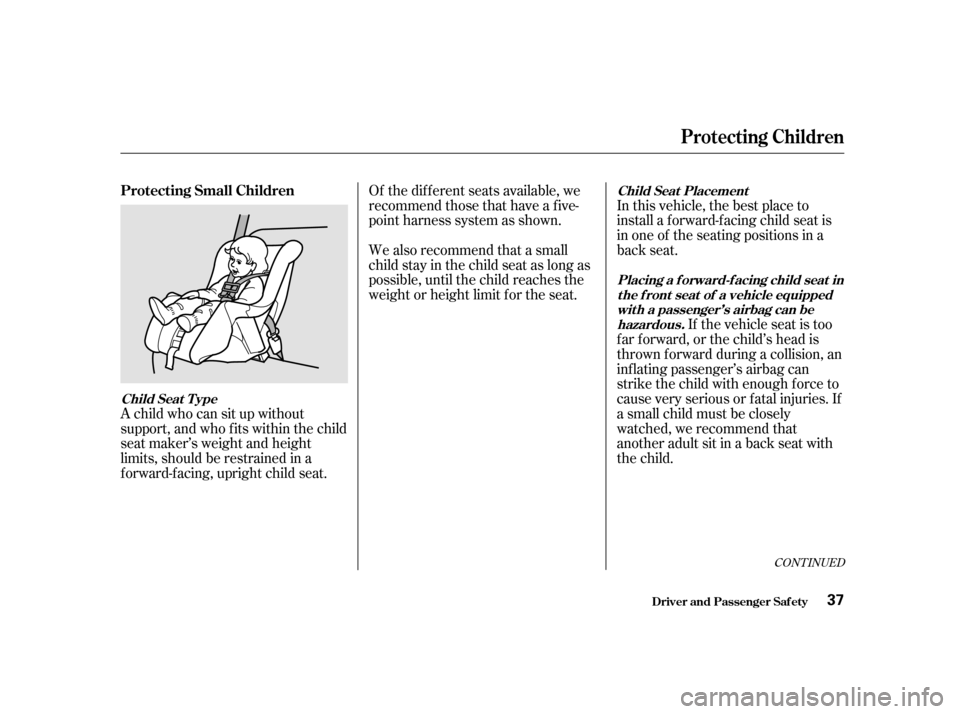
A child who can sit up without
support, and who f its within the child
seat maker’s weight and height
limits, should be restrained in a
f orward-f acing, upright child seat.In this vehicle, the best place to
install a forward-facing child seat is
in one of the seating positions in a
back seat.
If the vehicle seat is too
farforward,orthechild’sheadis
thrown f orward during a collision, an
inf lating passenger’s airbag can
strike the child with enough force to
cause very serious or f atal injuries. If
a small child must be closely
watched, we recommend that
another adult sit in a back seat with
the child.
We also recommend that a small
child stay in the child seat as long as
possible, until the child reaches the
weight or height limit f or the seat.
Of the different seats available, we
recommend those that have a f ive-
point harness system as shown.
Driver and Passenger Saf ety
Protecting Children
Protecting Small Children
Child Seat T ype Child Seat Placement
Placing a f orward-f acing child seat int he f ront seat of a vehicle equippedwith a passenger’s airbag can behazardous.
37
Page 37 of 363
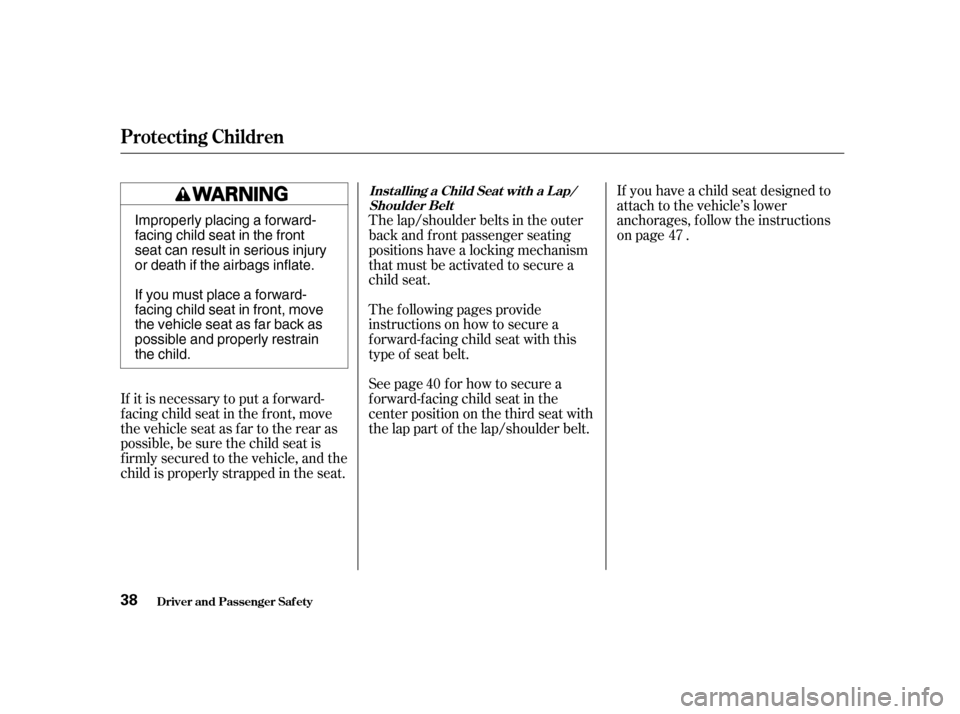
The lap/shoulder belts in the outer
back and f ront passenger seating
positions have a locking mechanism
that must be activated to secure a
child seat.
The f ollowing pages provide
instructions on how to secure a
f orward-f acing child seat with this
type of seat belt.
See page f or how to secure a
f orward-f acing child seat in the
center position on the third seat with
the lap part of the lap/shoulder belt.
If it is necessary to put a f orward-
f acing child seat in the f ront, move
the vehicle seat as far to the rear as
possible, be sure the child seat is
f irmly secured to the vehicle, and the
child is properly strapped in the seat. If you have a child seat designed to
attach to the vehicle’s lower
anchorages, f ollow the instructions
on page .
40 47
Driver and Passenger Saf ety
Protecting Children
Inst alling a Child Seat wit h a L ap/ Shoulder Belt
38 Improperly placing a forward-
facing child seat in the front
seat can result in serious injury
or death if the airbags inflate.
Ifyoumustplaceaforward-
facing child seat in front, move
the vehicle seat as far back as
possible and properly restrain
the child.
Page 38 of 363
CONT INUED
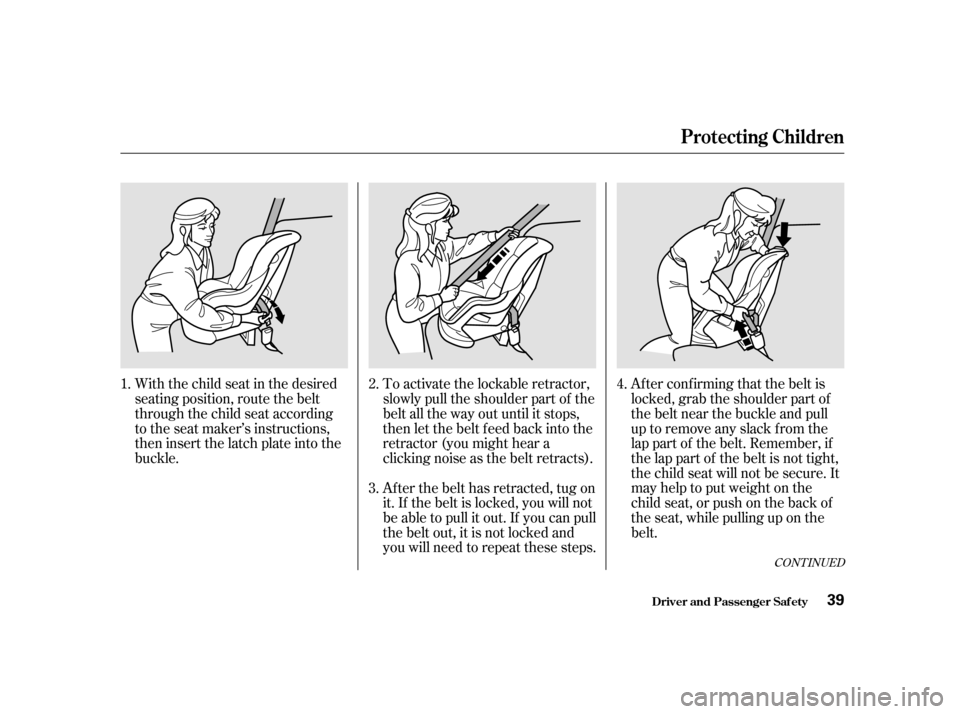
Af ter conf irming that the belt is
locked, grab the shoulder part of
the belt near the buckle and pull
up to remove any slack from the
lap part of the belt. Remember, if
the lap part of the belt is not tight,
the child seat will not be secure. It
mayhelptoputweightonthe
child seat, or push on the back of
the seat, while pulling up on the
belt.
To activate the lockable retractor,
slowly pull the shoulder part of the
belt all the way out until it stops,
then let the belt f eed back into the
retractor (you might hear a
clicking noise as the belt retracts).
Af ter the belt has retracted, tug on
it. If the belt is locked, you will not
be able to pull it out. If you can pull
the belt out, it is not locked and
you will need to repeat these steps.
With the child seat in the desired
seating position, route the belt
through the child seat according
to the seat maker’s instructions,
then insert the latch plate into the
buckle.
4.
2. 3.
1.
Driver and Passenger Saf ety
Protecting Children
39