Page 42 of 288
Speaker fade adjust (if equipped)
Speaker sound can be adjusted
between the front and rear
speakers.
Press the TONE control four times,
then use the volume knob to adjust
the desired level.
Setting the clock
Press CLK to toggle between
listening frequencies and clock
mode.
To set the hour, press and hold the
CLK control until CLOCK SET
appears in the display and press the
SEEK control:
²
to decrease hours and
²
to increase hours.
To set the minute, press and hold
the CLK control until CLOCK SET
appears in the display and press the
TUNE control:
²
to decrease minutes and
²
to increase minutes.
The CLK control will allow you to
switch between media display mode
(radio station, stereo information,
etc.) and clock display mode (time).
When in clock mode, the media
TONE
CLK
VOL
PUSH
ON
TONE
CLK
SEEKSEEK
TUNE TUNE
TONE
CLK
SEEK
TUNE
SEEK
TUNE
Controls and features
42
Page 43 of 288
information will display for ten seconds, when the radio is turned on, and
then revert to clock information. Anytime that the media is changed,
(new radio station, etc.), the media information will again display for ten
seconds before reverting back to the clock. In media mode, the media
information will always be displayed.
AM/FM Stereo/Cassette (CD changer compatible)
Your vehicle is equipped with a delayed accessory feature. This feature
enables the audio playing media to continue playing up to 10 minutes
after the ignition has been turned off, or until a door is opened.
Volume/power control
Press the control to turn the audio
system on or off.
FFREW
SIDE1 - 2
BASS TREB BAL FADE
TAPE
AMS
AM
FM
CD
CLK
VOL - PUSH ON
SHUFFLE COMP CD
EJ
CDSCAN
DISCS
TUNE
SEEK
3 2 1456
VOL - PUSH ON
Controls and features
43
Page 50 of 288
Eject function
Press the control to stop and eject a
tape.
DolbyTnoise reduction
Dolbytnoise reduction operates
only in tape mode. Dolbytnoise
reduction reduces the amount of
hiss and static during tape playback.
Press thecontrol to activate (and deactivate) Dolbytnoise reduction.
Dolbytnoise reduction is manufactured under license from Dolbyt
Laboratories Licensing Corporation. ªDolbytº and the double-D symbol
are trademarks of Dolby Laboratories Licensing Corporation.
Setting the clock
Press CLK to toggle between
listening frequencies and clock
mode while in radio mode.
To set the hour, press and hold the
CLK control and press the SEEK
control:
²
to decrease hours and
²
to increase hours.
To set the minute, press and hold
the CLK control and press the
TUNE control:
EJ
4
TAPE
AMS
CLK
SEEK
DISCS
TUNE
TAPE
AMS
CLK
Controls and features
50
Page 51 of 288

²to decrease minutes and
²
to increase minutes.
The CLK control will allow you to switch between media display mode
(radio station, stereo information, etc.) and clock display mode (time).
When in clock mode, the media information will display for 10 seconds,
when the radio is turned on, and then revert to clock information.
Anytime that the media is changed, (new radio station, etc.), the media
information will again display for 10 seconds before reverting back to the
clock. In media mode, the media information will always be displayed.
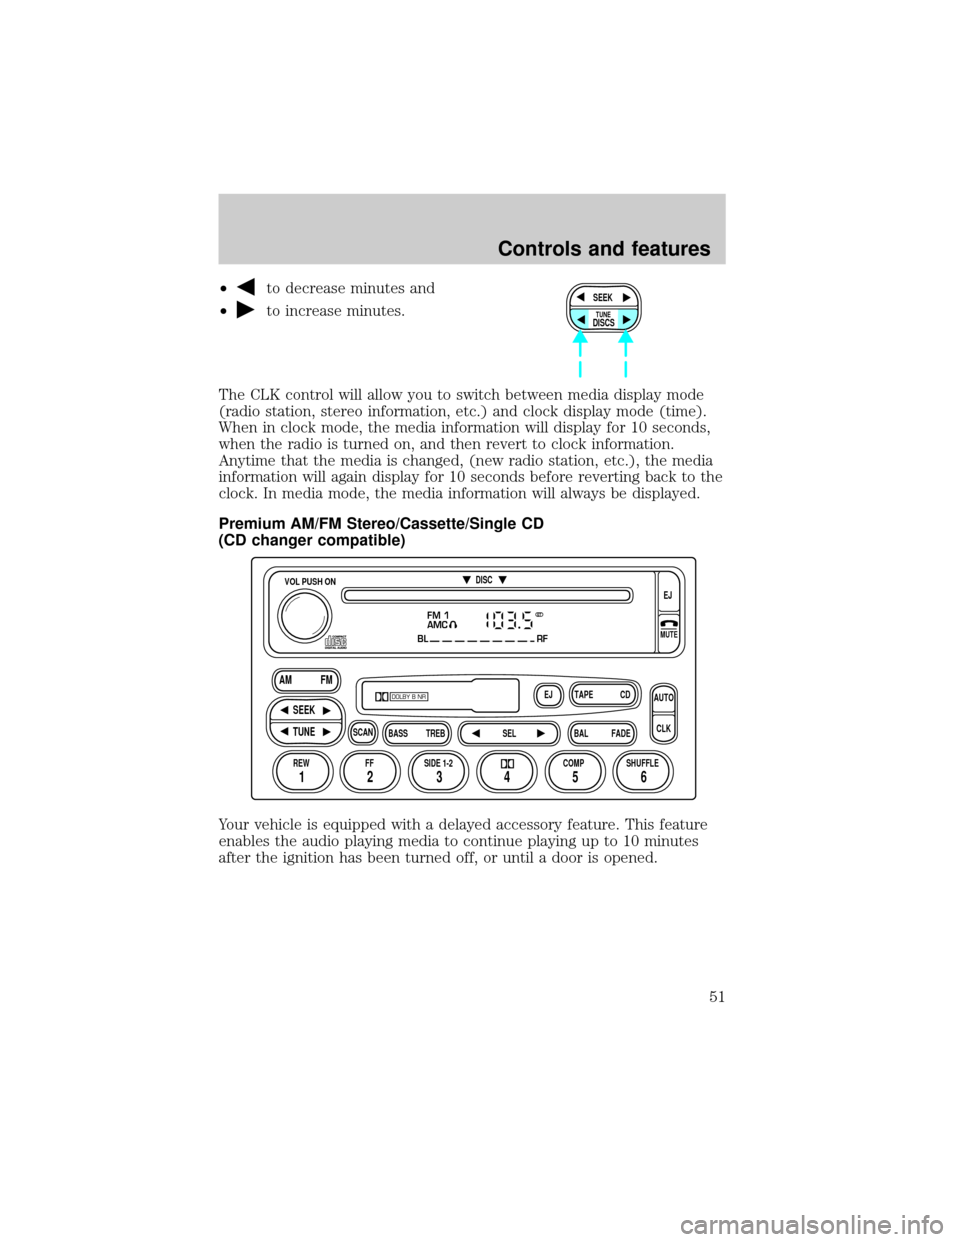
Premium AM/FM Stereo/Cassette/Single CD
(CD changer compatible)
Your vehicle is equipped with a delayed accessory feature. This feature
enables the audio playing media to continue playing up to 10 minutes
after the ignition has been turned off, or until a door is opened.SEEK
DISCS
TUNE
FM 1
AMC
BL RF
REW FFSCAN
BASS TREB SEL BALTAPE DISC
EJ CD
FADEAUTO
CLK
SIDE 1-2 COMP SHUFFLEEJ
MUTE
VOL PUSH ON
SEEK
TUNE AM FM
12 3456
DOLBY B NR
ST
Controls and features
51
Page 59 of 288
Shuffle feature
The shuffle feature operates in CD
mode (if equipped) and plays all
tracks on the current disc in random
order. If equipped with the CD
changer, the shuffle feature
continues to the next disc after all tracks on the current disc are played.
Press the SHUFFLE control to start this feature. Random order play will
continue until the SHUFFLE control is pressed again.
Setting the clock
To set the hour, press and hold the
CLK control and press SEEK:
²
to decrease hours and
²
to increase hours.
To set the minute, press and hold
the CLK control and press TUNE:
SHUFFLE
6
AUTO
CLK
SEEKSEEK
TUNE TUNE
AUTO
CLK
Controls and features
59
Page 71 of 288

²SELECT HOURS Ð Refer toSetting the clock.
²SELECT MINUTES Ð Refer toSetting the clock.
²RDS OFF Ð Refer toRadio data system.
If RDS is turned on, you can access the following:
²TRAFFIC ON/OFF-Refer toTraffic announcements.
²FIND type-Refer toRadio data system.
²SHOW (NAME, TYPE, NONE)-Refer toRadio data system.
²RDS ONÐ Refer toRadio data system.
²SELECT HOURS Ð Refer toSetting the clock.
²SELECT MINUTES ÐRefer toSetting the clock.
When in CD mode, you can access: SELECT HOURS, SELECT MINUTES
or COMP ON/OFF.
SELECT HOURS, SELECT MINUTESÐ Allows you to adjust the hours
and minutes. Refer toSetting the clock.
TRAFFIC ON/OFFÐ Traffic announcements can be programmed as local
or distant. Refer toTraffic announcements.
RDS ON/OFFÐ This feature allows your audio system to receive text
information from RDS-equipped FM radio stations. Refer to.RDS feature.
FIND type Ð Allows you to select your desired FM program type and
search for that selection.
SHOW Ð Allows you to select from NAME (displays the name of the
radio station), TYPE (displays the RDS program type: rock, jazz, etc.), or
NONE (deactivates the RDS display).
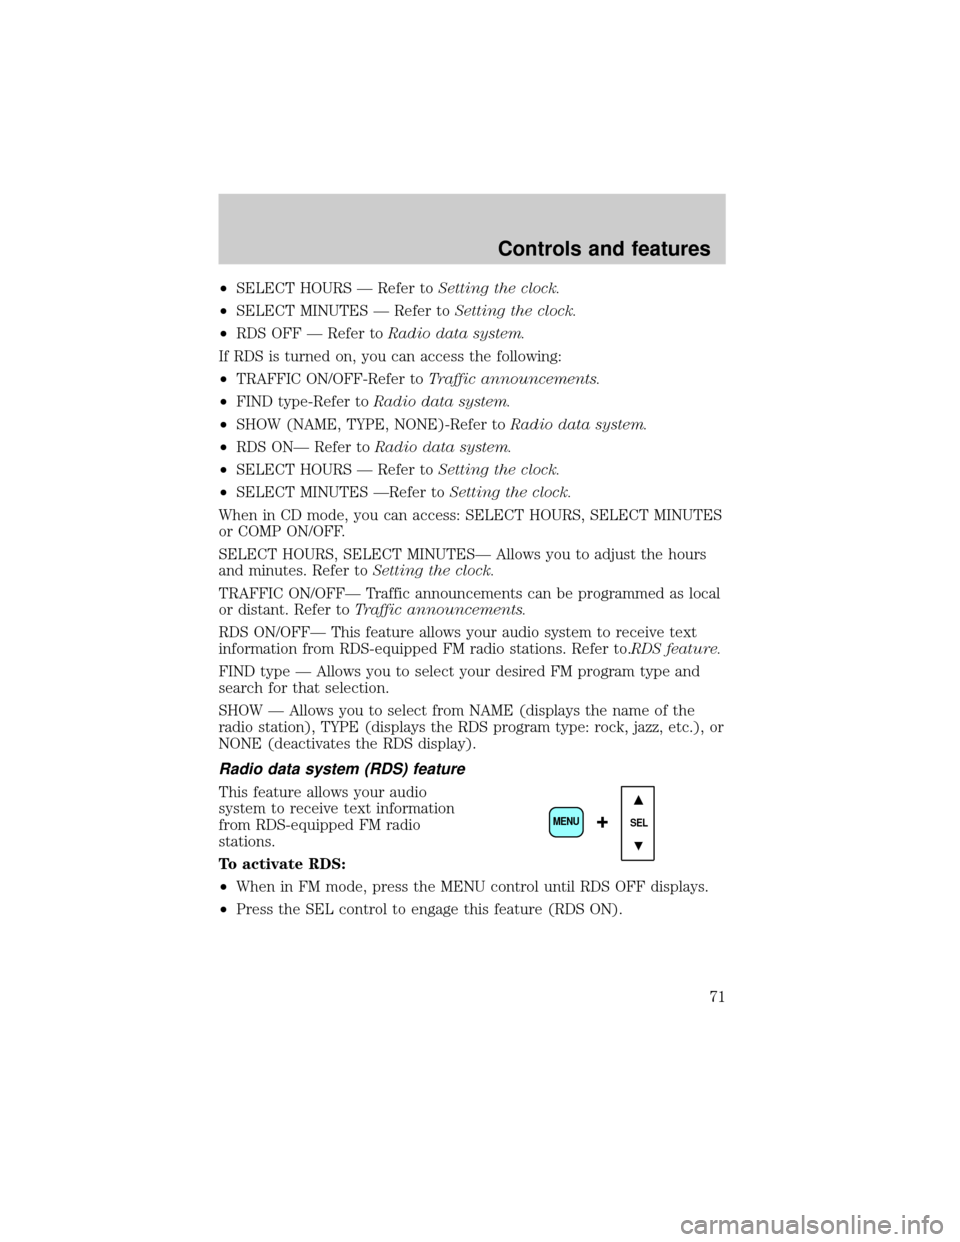
Radio data system (RDS) feature
This feature allows your audio
system to receive text information
from RDS-equipped FM radio
stations.
To activate RDS:
²When in FM mode, press the MENU control until RDS OFF displays.
²Press the SEL control to engage this feature (RDS ON).
SEL+MENU
Controls and features
71
Page 73 of 288
²Religious
²Rock
²Soft
²To p 4 0
Show
This feature allows you to select the
type of RDS broadcast information
the radio will regularly show in the
display.
With RDS activated, press the
MENU control until SHOW is
displayed.
Use the SEL control to select TYPE
(displays the RDS program type:
rock, jazz, etc), NAME (displays the name of the radio station) or NONE
(deactivates the RDS display).
Mute mode
Press the control to mute the
playing media. Press the control
again to return to the playing media.
Setting the clock
Press the MENU control until
SELECT HOUR or SELECT
MINUTE is displayed.
Use the SEL control to manually set
the time.
²Press
to increase hours/
minutes.
²Press
to decrease hours/
minutes.
SEL+MENU
SEL
+MENU
SEL
Controls and features
73
Page 199 of 288

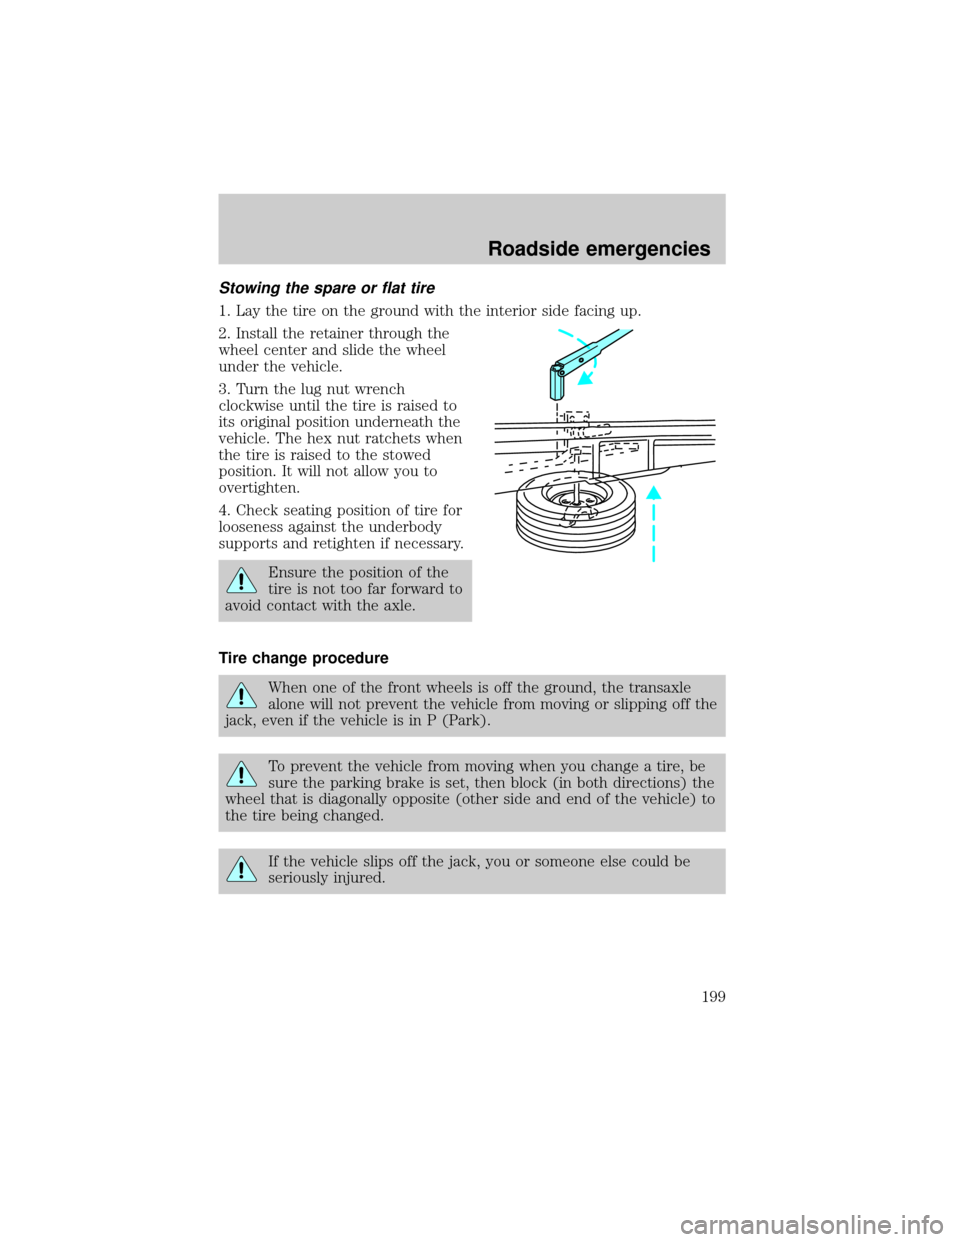
Stowing the spare or flat tire
1. Lay the tire on the ground with the interior side facing up.
2. Install the retainer through the
wheel center and slide the wheel
under the vehicle.
3. Turn the lug nut wrench
clockwise until the tire is raised to
its original position underneath the
vehicle. The hex nut ratchets when
the tire is raised to the stowed
position. It will not allow you to
overtighten.
4. Check seating position of tire for
looseness against the underbody
supports and retighten if necessary.
Ensure the position of the
tire is not too far forward to
avoid contact with the axle.
Tire change procedure
When one of the front wheels is off the ground, the transaxle
alone will not prevent the vehicle from moving or slipping off the
jack, even if the vehicle is in P (Park).
To prevent the vehicle from moving when you change a tire, be
sure the parking brake is set, then block (in both directions) the
wheel that is diagonally opposite (other side and end of the vehicle) to
the tire being changed.
If the vehicle slips off the jack, you or someone else could be
seriously injured.
Roadside emergencies
199