2001 FORD WINDSTAR turn signal bulb
[x] Cancel search: turn signal bulbPage 9 of 288

wheelspin condition. It will be lit for a minimum of four seconds or for the
duration of the Traction Controlyevent.
For more information, refer to theDrivingchapter.
Traction ControlYoff light (if equipped)
Momentarily illuminates when the
ignition is turned to ON position and
illuminates when the Traction
Controlysystem has been disabled
(by the driver or as a result of a system failure). For more information,
refer to theDrivingchapter.
Safety belt
Momentarily illuminates when the
ignition is turned to the ON position
to remind you to fasten your safety
belts. For more information, refer to
theSeating and safety restraints
chapter.
Anti-theft system
Refer toSecuriLockypassive
anti-theft systemin theControls
and featureschapter.
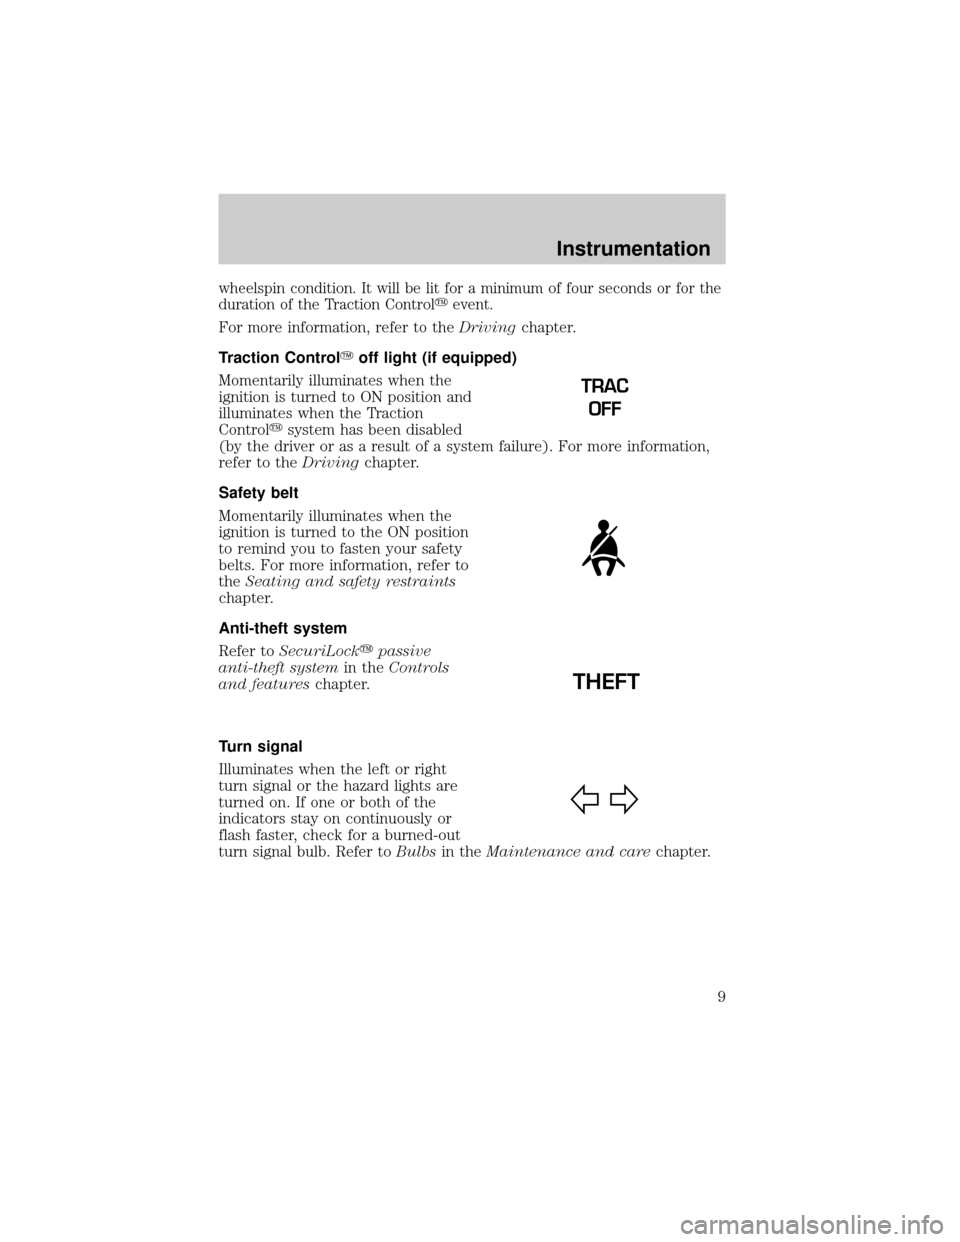
Turn signal
Illuminates when the left or right
turn signal or the hazard lights are
turned on. If one or both of the
indicators stay on continuously or
flash faster, check for a burned-out
turn signal bulb. Refer toBulbsin theMaintenance and carechapter.
TRAC
OFF
THEFT
Instrumentation
9
Page 21 of 288

driving in a low gear at a high speed for an extended period of time.
Stop the vehicle as soon as safely possible, turn off the engine and let it
cool. Check the transmission fluid and level. Refer toTransmission
fluidin theMaintenance and carechapter. If the warning stays on or
continues to come on, contact your dealer for transmission service as
soon as possible.
CHECK BRAKE LAMPS. Displayed when the brake lamps are
activated and at least one is burned out. Check the lamps as soon as
possible and have the burned out lamp replaced. The center high-mount
brakelamp is not monitored.
CHECK HEADLAMPS. Displayed when the headlamps are activated
and at least one is burned out. Check the lamps as soon as possible and
have the burned out lamp replaced. Refer toReplacing headlamp bulbs
in theMaintenance and carechapter.
CHECK TAIL LAMPS.Displayed when the tail lamps are activated and
at least one is burned out. Check the lamps as soon as possible and have
the burned out lamp replaced.
CHECK FRONT TURN LAMPS.Displayed when the turn signals are
activated and at least one is burned out. Check the lamps as soon as
safely possible and have the burned out lamp replaced.
CHECK REAR TURN LAMPS.Displayed when the turn signals are
activated and at least one is burned out. Check the lamps as soon as
possible and have the burned out lamp replaced.
CHECK SIDE REPEATER LAMPS (if equipped).Displayed when
the turn signals are activated and at least one is burned out. Check the
lamps as soon as possible and have the burned out lamp replaced.
TURN SIGNAL ON REMINDER.Displayed when the turn signal is
activated and the vehicle is driven more that 0.8 km (1/2 mile).
LOW WASHER FLUID.Indicates the washer fluid reservoir is less than
one quarter full. Check the washer fluid level. Refer toWindshield
washer fluidin theMaintenance and carechapter.
CHECK TRACTION CONTROL (if equipped).Displayed when the
Traction Controlysystem is not operating properly. If this warning stays
on, contact your dealer for service as soon as possible. For further
information, refer toTraction controlyin theDrivingchapter.
CHECK ADVANCETRAC (if equipped).Displayed when the
AdvanceTracysystem is not operating properly. If this message is
displayed on the message center the AdvanceTracysystem might be
Instrumentation
21
Page 245 of 288

Readiness for Inspection/Maintenance (I/M) testing
In some localities, it may be a legal requirement to pass an I/M test of
the on-board diagnostics system. If your ªCheck Engine/Service Engine
Soonº light is on, refer to the description in theWarning Lights and
Chimessection of theInstrumentationchapter. Your vehicle may not
pass the I/M test with the ªCheck Engine/Service Engine Soonº light on.
If the vehicle's powertrain system or its battery has just been serviced,
the on-board diagnostics system is reset to a ªnot ready for I/M testº
condition. To ready the on-board diagnostics system for I/M testing, a
minimum of 30 minutes of city and highway driving is necessary as
described below:
²First, at least 10 minutes of driving on an expressway or highway.
²Next, at least 20 minutes driving in stop-and-go, city-type traffic with
at least four idle periods.
Allow the vehicle to sit for at least eight hours without starting the
engine. Then, start the engine and complete the above driving cycle. The
engine must warm up to its normal operating temperature. Once started,
do not turn off the engine until the above driving cycle is complete.
BULBS
Replacing exterior bulbs
It is a good idea to check the operation of the following lights frequently:
²Headlamps
²Turn signals
²Cornering lamps (if equipped)
²Auxiliary parking lamps (if equipped)
²High-mount brakelamp
²Tail lamps
²Brakelamps
²Backup lamps
²License plate lamps
Do not remove lamp bulbs unless they will be replaced immediately. If a
bulb is removed for an extended period of time, contaminants may enter
the lamp housings and affect performance.
Maintenance and care
245
Page 247 of 288

To install the new bulb:
Handle a halogen headlamp bulb carefully and keep out of
children's reach. Grasp the bulb only by its plastic base and do
not touch the glass. The oil from your hand could cause the bulb to
break the next time the headlamps are operated.
1. With the flat side of the new bulb's plastic base facing upward, insert
the glass end of the bulb into the lamp assembly. Turn the bulb left or
right to align the grooves in the plastic base with the tabs in the lamp
assembly. When the grooves are aligned, push the bulb into the lamp
assembly until the plastic base contacts the rear of the lamp assembly.
2. Install the bulb retaining ring over the plastic base until it contacts the
rear of the socket by rotating clockwise until you feel a ªstop.º
3. Connect the electrical connector into the rear of the plastic base until
it snaps, locking it into position.
4. Install the headlamp on vehicle by aligning the lamp with the rear
retainer, push rearward and secure with two retainer pins.
5. Turn the headlamps on and make sure they work properly. If the
headlamp was correctly aligned before you changed the bulb, you should
not need to align it again.
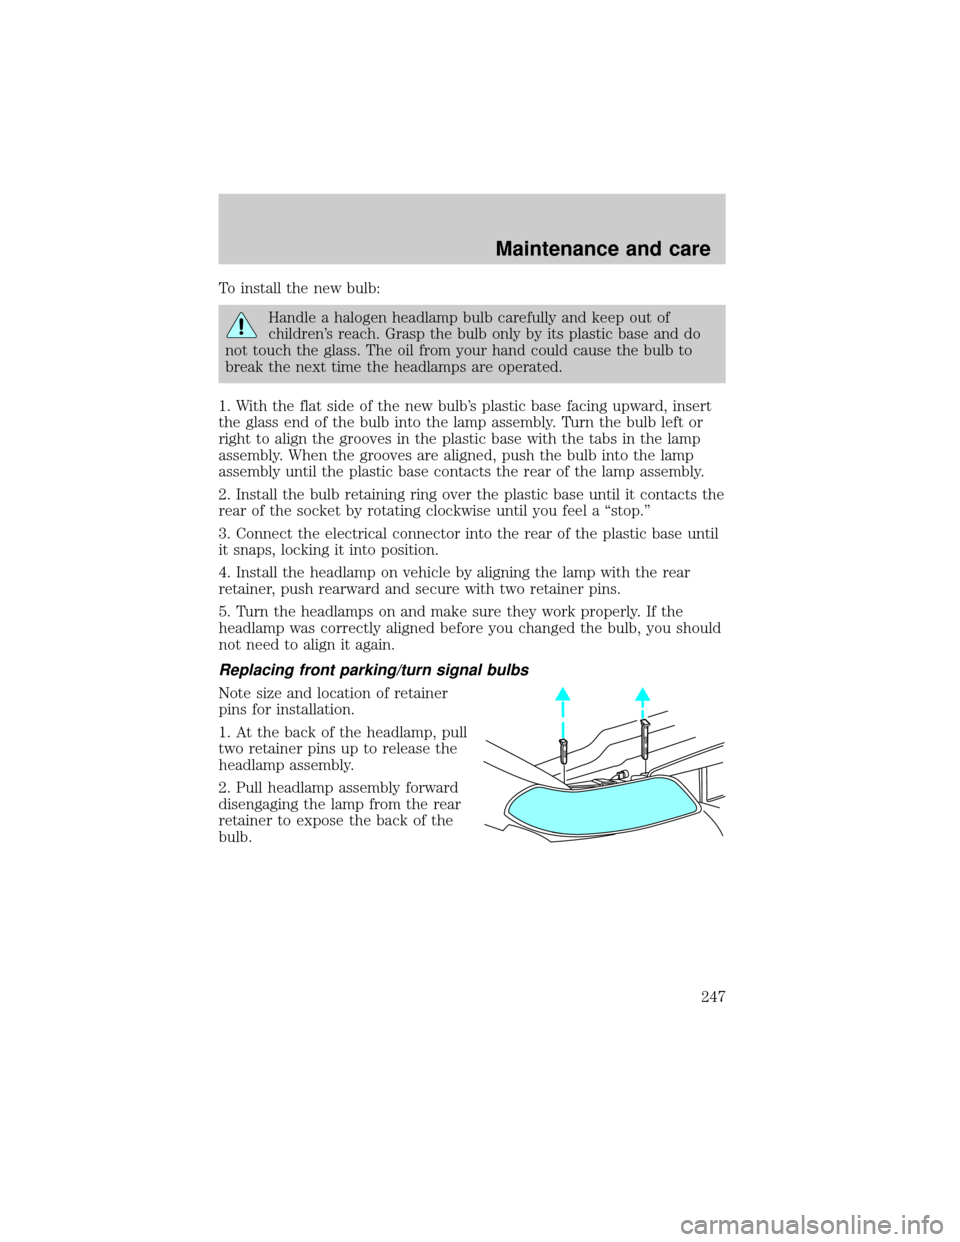
Replacing front parking/turn signal bulbs
Note size and location of retainer
pins for installation.
1. At the back of the headlamp, pull
two retainer pins up to release the
headlamp assembly.
2. Pull headlamp assembly forward
disengaging the lamp from the rear
retainer to expose the back of the
bulb.
Maintenance and care
247
Page 281 of 288

daytime running lights .............27
flash to pass ..............................28
high beam ...........................10, 27
replacing bulbs .......................246
turning on and off ....................27
warning chime ..........................14
Heating ........................................29
heater only system ...................29
rear seat controls .....................37
HomeLink universal
transceiver (see
Garage door opener) ......90, 92±94
Hood ..........................................209
I
Ignition .................................79, 261
Infant seats
(see Safety seats) .....................153
Inspection/maintenance
(I/M) testing ..............................245
Instrument panel
cleaning ...................................255
cluster ..................................8, 255
lighting up panel and interior .28
location of components ..............8
J
Jack ............................................196
positioning ...............................196
storage .....................................196
Jump-starting your vehicle ......202
K
Keyless entry system
autolock ...................................110
locking and unlocking doors ..112programming entry code .......111
Keys ...................................113±115
key in ignition chime ...............14
positions of the ignition ...........79
L
Lamps
autolamp system .......................29
bulb replacement
specifications chart ................250
cargo lamps ...............................28
daytime running light ...............27
headlamps .................................27
headlamps, flash to pass ..........28
instrument panel, dimming .....28
interior lamps .....................95±97
replacing bulbs ...............245±249
Lane change indicator
(see Turn signal) ........................82
Liftgate ..............................117±118
Lights, warning and indicator ......8
air bag ........................................10
anti-lock brakes (ABS) ....10, 168
anti-theft .....................................9
brake ..........................................10
charging system ..........................8
check engine .............................11
door ajar ....................................13
fuel cap light .............................12
fuel reset ...................................13
high beam ...........................10, 13
low fuel ........................................8
low washer fluid .......................13
oil pressure ...............................10
overdrive off ..............................11
safety belt ...................................9
traction control active ................8
traction control off .....................9
turn signal indicator ...................9
Index
281