2001 FORD WINDSTAR ECO mode
[x] Cancel search: ECO modePage 11 of 288
One of the following conditions may exist:
²low brake fluid level in the reservoir.
²Brake force distribution system failure. The ABS light will also
illuminate if this condition is present.
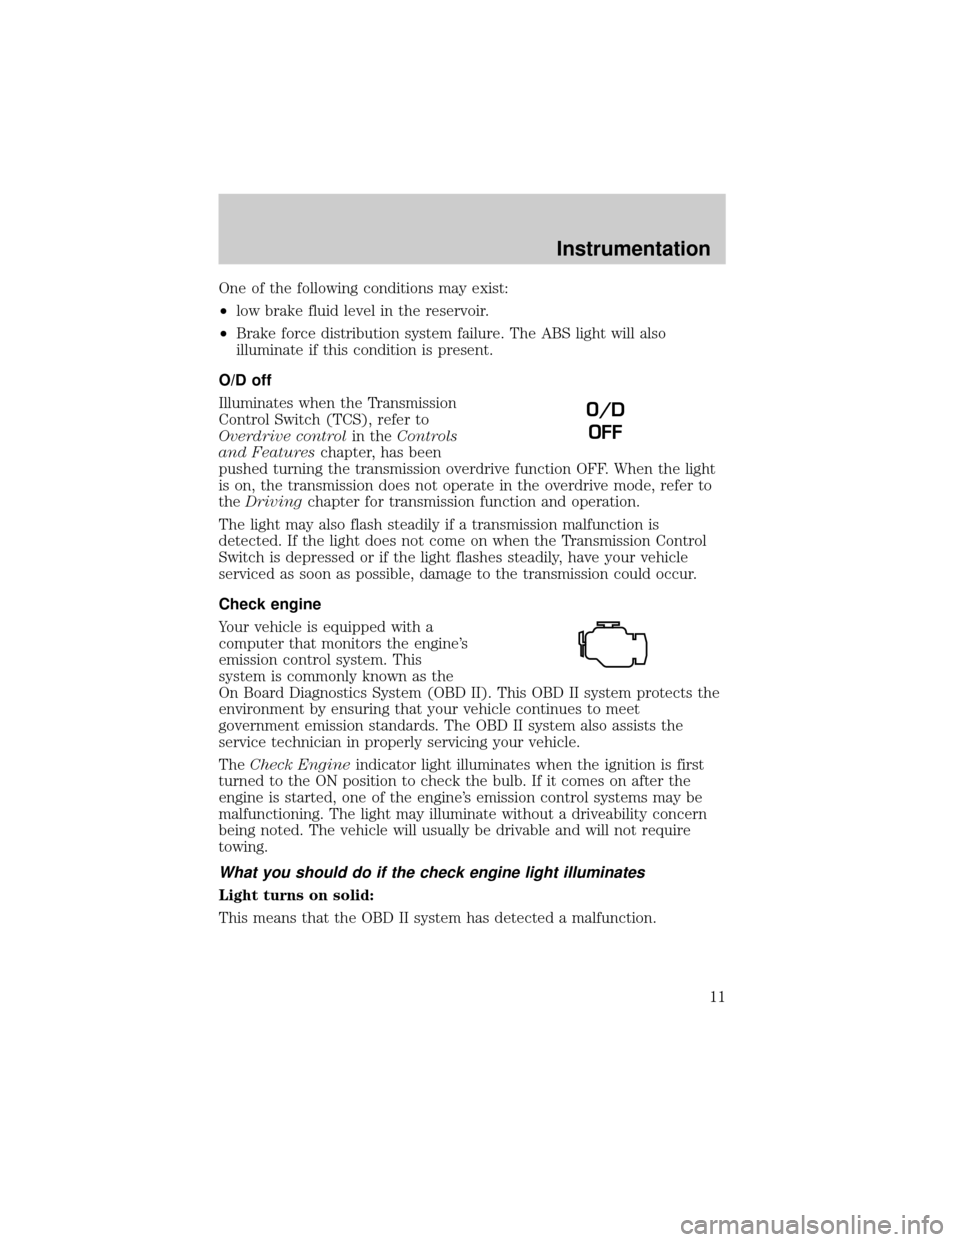
O/D off
Illuminates when the Transmission
Control Switch (TCS), refer to
Overdrive controlin theControls
and Featureschapter, has been
pushed turning the transmission overdrive function OFF. When the light
is on, the transmission does not operate in the overdrive mode, refer to
theDrivingchapter for transmission function and operation.
The light may also flash steadily if a transmission malfunction is
detected. If the light does not come on when the Transmission Control
Switch is depressed or if the light flashes steadily, have your vehicle
serviced as soon as possible, damage to the transmission could occur.
Check engine
Your vehicle is equipped with a
computer that monitors the engine's
emission control system. This
system is commonly known as the
On Board Diagnostics System (OBD II). This OBD II system protects the
environment by ensuring that your vehicle continues to meet
government emission standards. The OBD II system also assists the
service technician in properly servicing your vehicle.
TheCheck Engineindicator light illuminates when the ignition is first
turned to the ON position to check the bulb. If it comes on after the
engine is started, one of the engine's emission control systems may be
malfunctioning. The light may illuminate without a driveability concern
being noted. The vehicle will usually be drivable and will not require
towing.
What you should do if the check engine light illuminates
Light turns on solid:
This means that the OBD II system has detected a malfunction.
O/D
OFF
Instrumentation
11
Page 12 of 288
Temporary malfunctions may cause yourCheck Enginelight to
illuminate. Examples are:
1. The vehicle has run out of fuel. (The engine may misfire or run
poorly.)
2. Poor fuel quality or water in the fuel.
3. The fuel cap may not have been properly installed and securely
tightened.
These temporary malfunctions can be corrected by filling the fuel tank
with high quality fuel of the recommended octane and/or properly
installing and securely tightening the gas cap. After three driving cycles
without these or any other temporary malfunctions present, theCheck
Enginelight should turn off. (A driving cycle consists of a cold engine
startup followed by mixed city/highway driving.) No additional vehicle
service is required.
If theCheck Enginelight remains on, have your vehicle serviced at the
first available opportunity.
Light is blinking:
Engine misfire is occurring which could damage your catalytic converter.
You should drive in a moderate fashion (avoid heavy acceleration and
deceleration) and have your vehicle serviced at the first available
opportunity.
Under engine misfire conditions, excessive exhaust temperatures
could damage the catalytic converter, the fuel system, interior
floor coverings or other vehicle components, possibly causing a fire.
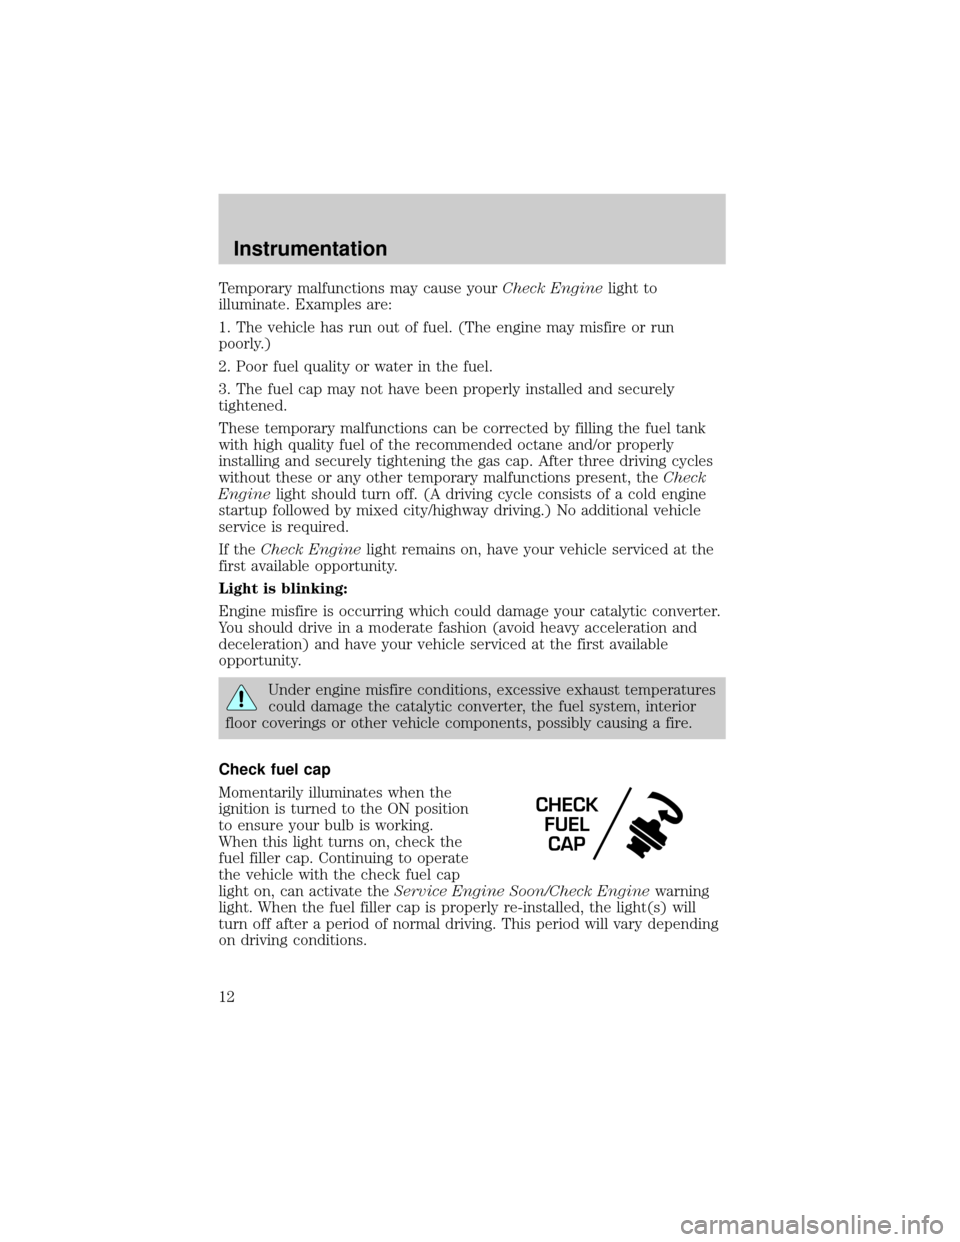
Check fuel cap
Momentarily illuminates when the
ignition is turned to the ON position
to ensure your bulb is working.
When this light turns on, check the
fuel filler cap. Continuing to operate
the vehicle with the check fuel cap
light on, can activate theService Engine Soon/Check Enginewarning
light. When the fuel filler cap is properly re-installed, the light(s) will
turn off after a period of normal driving. This period will vary depending
on driving conditions.
CHECK
FUEL
CAP
Instrumentation
12
Page 17 of 288
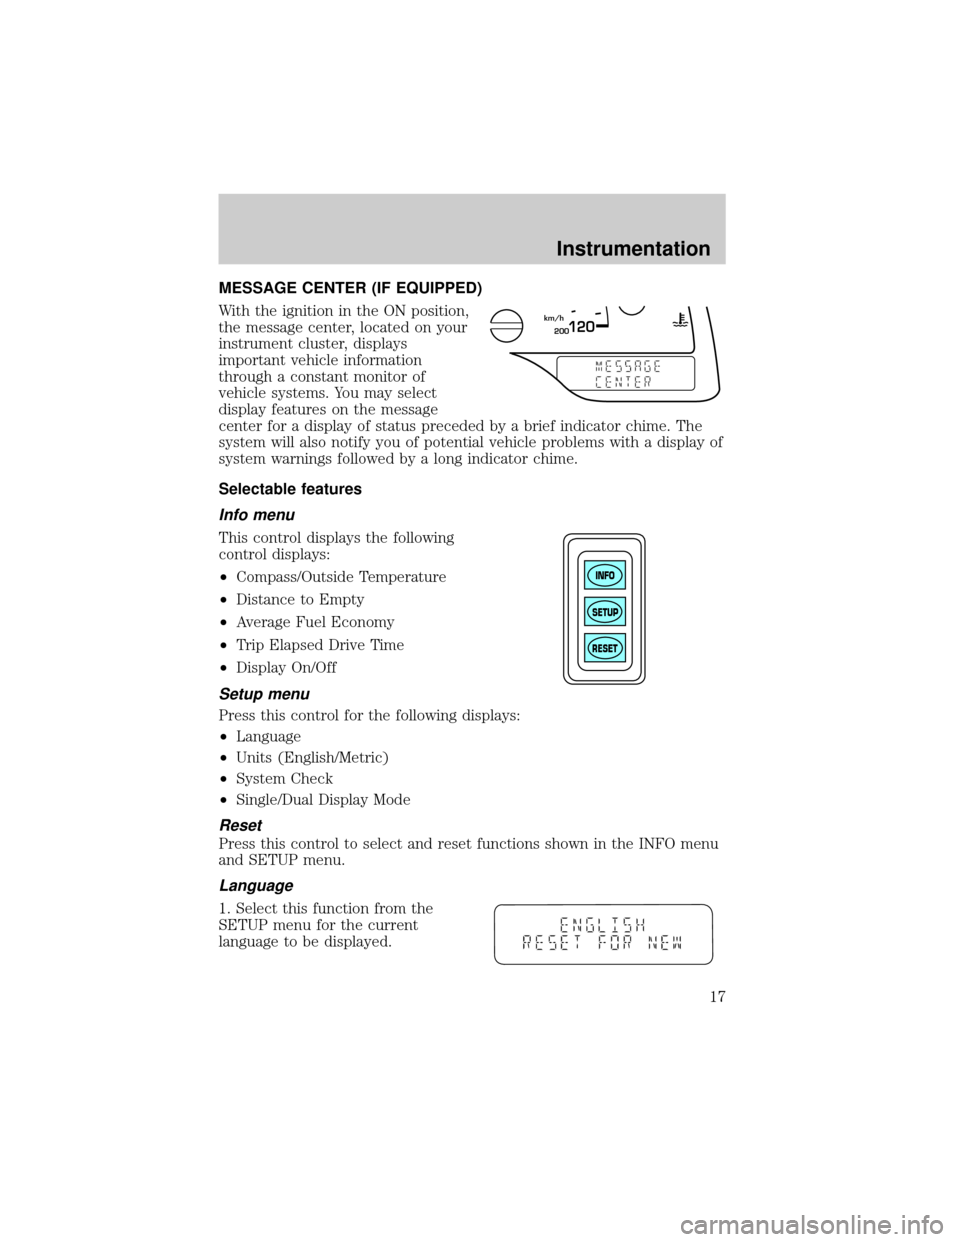
MESSAGE CENTER (IF EQUIPPED)
With the ignition in the ON position,
the message center, located on your
instrument cluster, displays
important vehicle information
through a constant monitor of
vehicle systems. You may select
display features on the message
center for a display of status preceded by a brief indicator chime. The
system will also notify you of potential vehicle problems with a display of
system warnings followed by a long indicator chime.
Selectable features
Info menu
This control displays the following
control displays:
²Compass/Outside Temperature
²Distance to Empty
²Average Fuel Economy
²Trip Elapsed Drive Time
²Display On/Off
Setup menu
Press this control for the following displays:
²Language
²Units (English/Metric)
²System Check
²Single/Dual Display Mode
Reset
Press this control to select and reset functions shown in the INFO menu
and SETUP menu.
Language
1. Select this function from the
SETUP menu for the current
language to be displayed.
200120km/h
INFO
SETUP
RESET
Instrumentation
17
Page 19 of 288
8. Traction Controlyor AdvanceTracy(if equipped)
9. fuel level
10. distance to empty
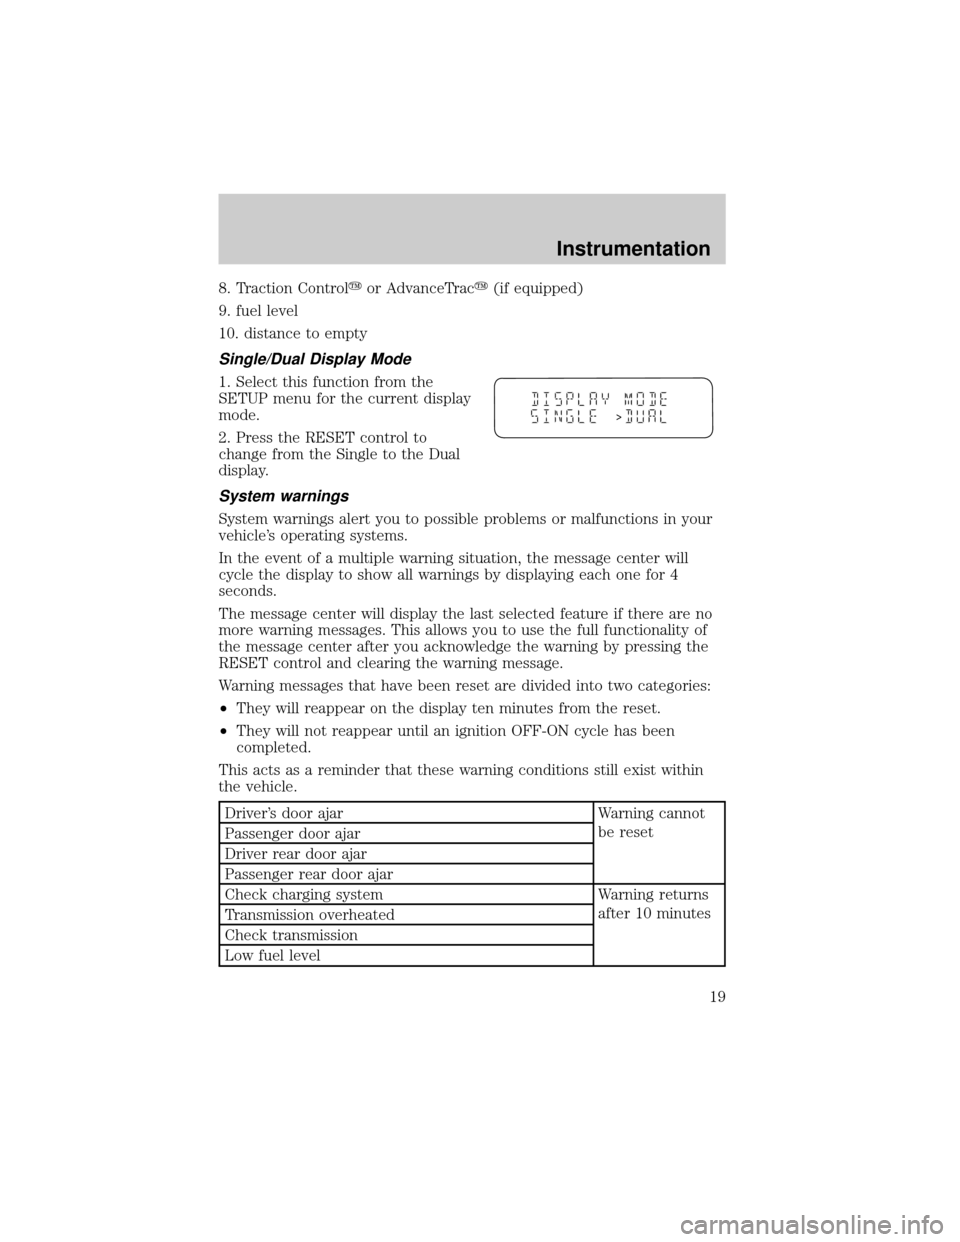
Single/Dual Display Mode
1. Select this function from the
SETUP menu for the current display
mode.
2. Press the RESET control to
change from the Single to the Dual
display.
System warnings
System warnings alert you to possible problems or malfunctions in your
vehicle's operating systems.
In the event of a multiple warning situation, the message center will
cycle the display to show all warnings by displaying each one for 4
seconds.
The message center will display the last selected feature if there are no
more warning messages. This allows you to use the full functionality of
the message center after you acknowledge the warning by pressing the
RESET control and clearing the warning message.
Warning messages that have been reset are divided into two categories:
²They will reappear on the display ten minutes from the reset.
²They will not reappear until an ignition OFF-ON cycle has been
completed.
This acts as a reminder that these warning conditions still exist within
the vehicle.
Driver's door ajar Warning cannot
be reset
Passenger door ajar
Driver rear door ajar
Passenger rear door ajar
Check charging system Warning returns
after 10 minutes
Transmission overheated
Check transmission
Low fuel level
>
Instrumentation
19
Page 23 of 288
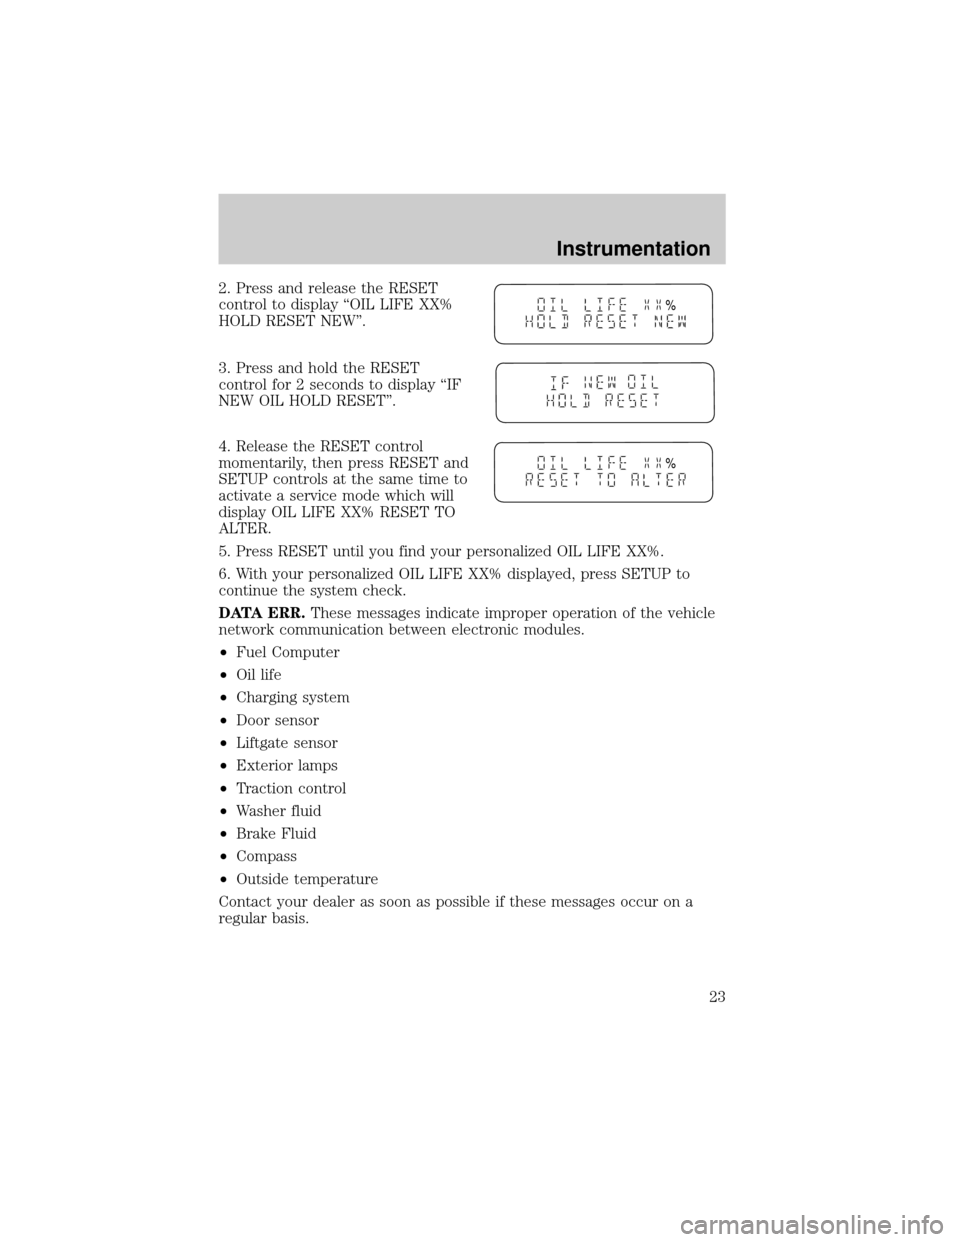
2. Press and release the RESET
control to display ªOIL LIFE XX%
HOLD RESET NEW''.
3. Press and hold the RESET
control for 2 seconds to display ªIF
NEW OIL HOLD RESET''.
4. Release the RESET control
momentarily, then press RESET and
SETUP controls at the same time to
activate a service mode which will
display OIL LIFE XX% RESET TO
ALTER.
5. Press RESET until you find your personalized OIL LIFE XX%.
6. With your personalized OIL LIFE XX% displayed, press SETUP to
continue the system check.
DATA ERR.These messages indicate improper operation of the vehicle
network communication between electronic modules.
²Fuel Computer
²Oil life
²Charging system
²Door sensor
²Liftgate sensor
²Exterior lamps
²Traction control
²Washer fluid
²Brake Fluid
²Compass
²Outside temperature
Contact your dealer as soon as possible if these messages occur on a
regular basis.
%
%
Instrumentation
23
Page 25 of 288
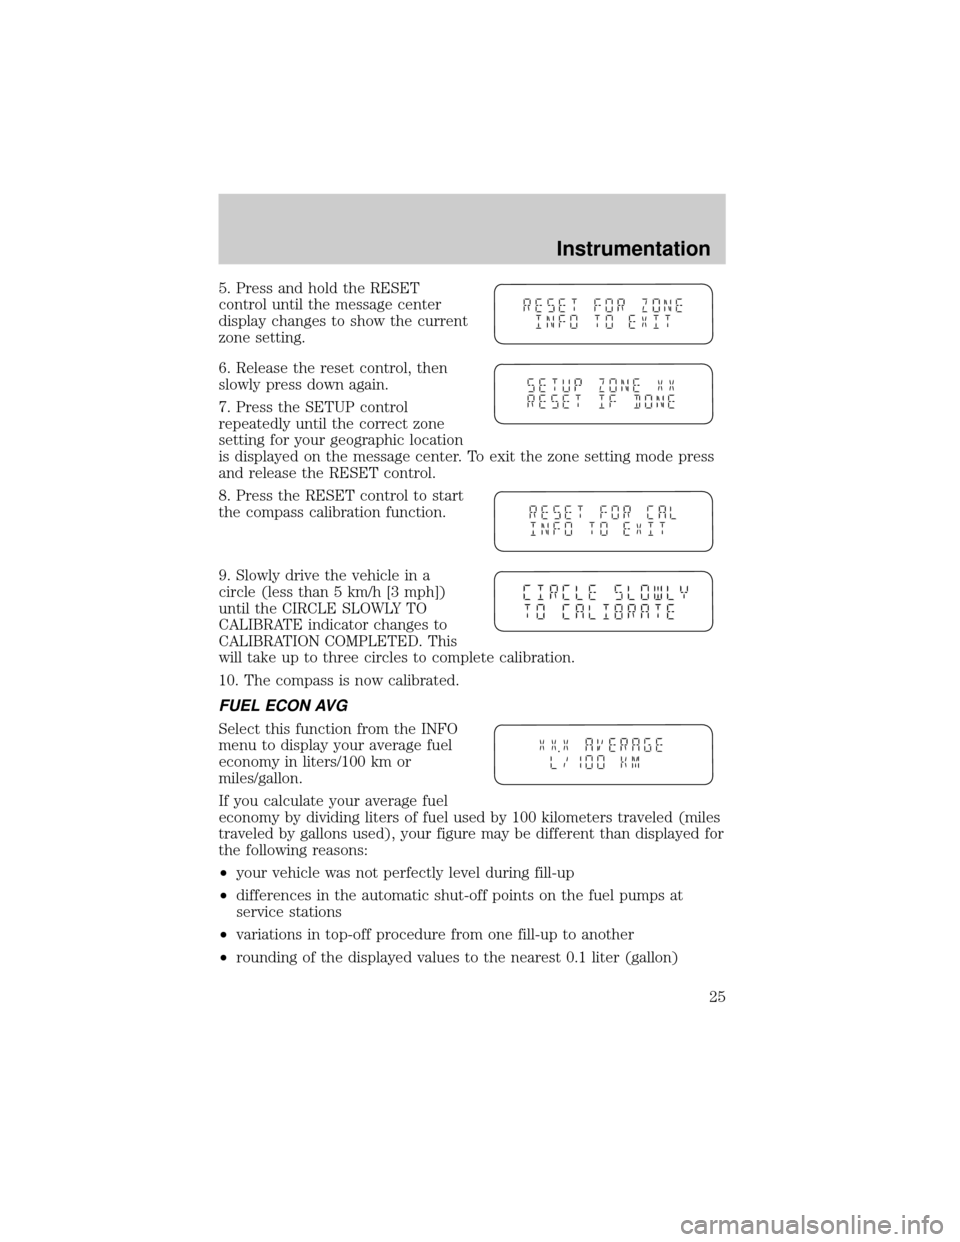
5. Press and hold the RESET
control until the message center
display changes to show the current
zone setting.
6. Release the reset control, then
slowly press down again.
7. Press the SETUP control
repeatedly until the correct zone
setting for your geographic location
is displayed on the message center. To exit the zone setting mode press
and release the RESET control.
8. Press the RESET control to start
the compass calibration function.
9. Slowly drive the vehicle in a
circle (less than 5 km/h [3 mph])
until the CIRCLE SLOWLY TO
CALIBRATE indicator changes to
CALIBRATION COMPLETED. This
will take up to three circles to complete calibration.
10. The compass is now calibrated.
FUEL ECON AVG
Select this function from the INFO
menu to display your average fuel
economy in liters/100 km or
miles/gallon.
If you calculate your average fuel
economy by dividing liters of fuel used by 100 kilometers traveled (miles
traveled by gallons used), your figure may be different than displayed for
the following reasons:
²your vehicle was not perfectly level during fill-up
²differences in the automatic shut-off points on the fuel pumps at
service stations
²variations in top-off procedure from one fill-up to another
²rounding of the displayed values to the nearest 0.1 liter (gallon)
Instrumentation
25
Page 28 of 288
Flash to pass
Pull toward you to activate and
release to deactivate.
Battery saver
The battery saver will shut off the exterior lamps 10 minutes after the
ignition switch has been turned off and the headlamp control is in the
HEADLAMP position. The system will not turn off the parking lamps if
the headlamp control is in the PARK position. For interior lights, refer to
Illuminated entryin this chapter.
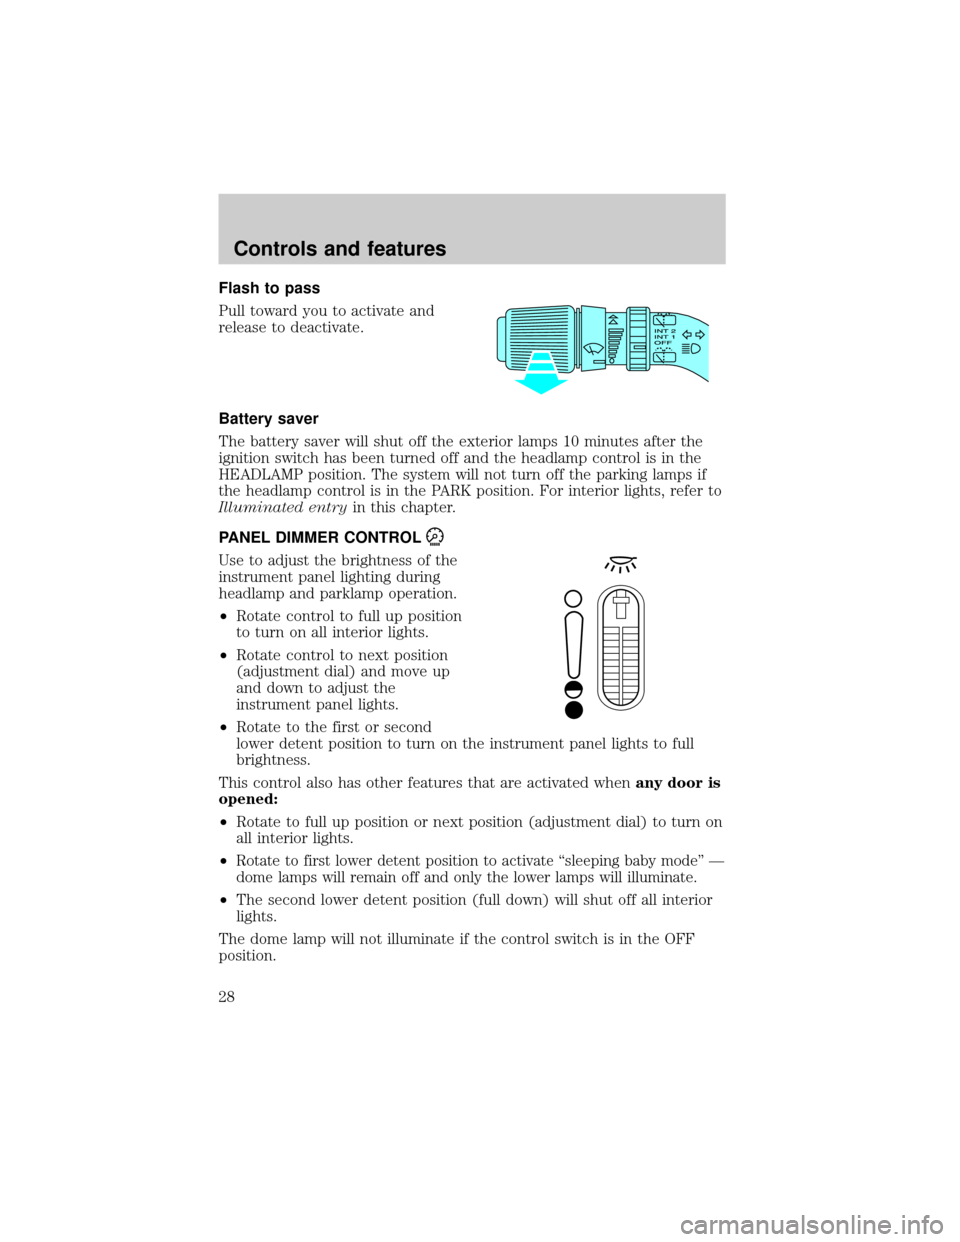
PANEL DIMMER CONTROL
Use to adjust the brightness of the
instrument panel lighting during
headlamp and parklamp operation.
²Rotate control to full up position
to turn on all interior lights.
²Rotate control to next position
(adjustment dial) and move up
and down to adjust the
instrument panel lights.
²Rotate to the first or second
lower detent position to turn on the instrument panel lights to full
brightness.
This control also has other features that are activated whenany door is
opened:
²Rotate to full up position or next position (adjustment dial) to turn on
all interior lights.
²
Rotate to first lower detent position to activate ªsleeping baby modeº Ð
dome lamps will remain off and only the lower lamps will illuminate.
²The second lower detent position (full down) will shut off all interior
lights.
The dome lamp will not illuminate if the control switch is in the OFF
position.
Controls and features
28
Page 34 of 288
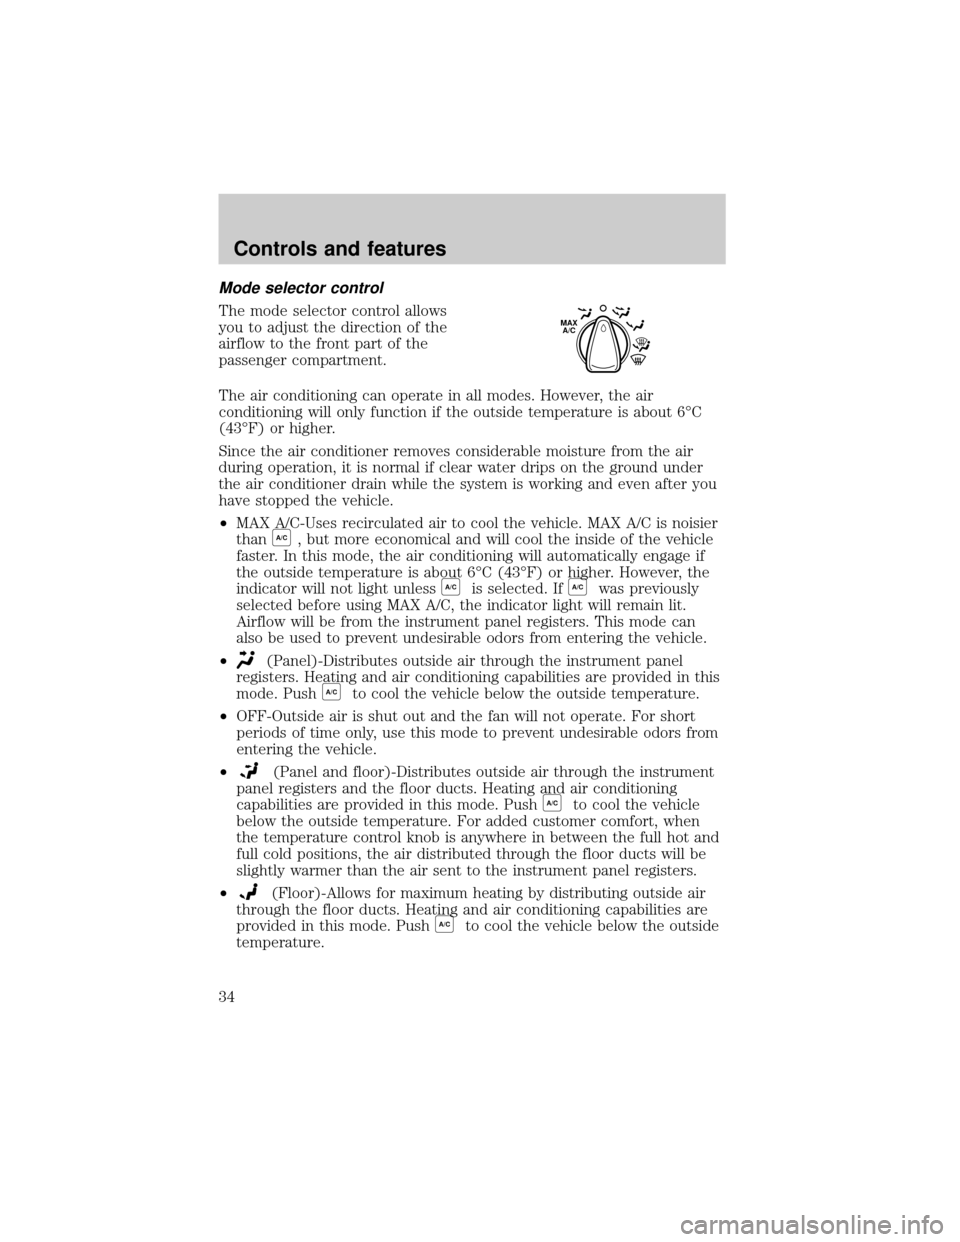
Mode selector control
The mode selector control allows
you to adjust the direction of the
airflow to the front part of the
passenger compartment.
The air conditioning can operate in all modes. However, the air
conditioning will only function if the outside temperature is about 6ÉC
(43ÉF) or higher.
Since the air conditioner removes considerable moisture from the air
during operation, it is normal if clear water drips on the ground under
the air conditioner drain while the system is working and even after you
have stopped the vehicle.
²MAX A/C-Uses recirculated air to cool the vehicle. MAX A/C is noisier
than
A/C, but more economical and will cool the inside of the vehicle
faster. In this mode, the air conditioning will automatically engage if
the outside temperature is about 6ÉC (43ÉF) or higher. However, the
indicator will not light unless
A/Cis selected. IfA/Cwas previously
selected before using MAX A/C, the indicator light will remain lit.
Airflow will be from the instrument panel registers. This mode can
also be used to prevent undesirable odors from entering the vehicle.
²
(Panel)-Distributes outside air through the instrument panel
registers. Heating and air conditioning capabilities are provided in this
mode. Push
A/Cto cool the vehicle below the outside temperature.
²OFF-Outside air is shut out and the fan will not operate. For short
periods of time only, use this mode to prevent undesirable odors from
entering the vehicle.
²
(Panel and floor)-Distributes outside air through the instrument
panel registers and the floor ducts. Heating and air conditioning
capabilities are provided in this mode. Push
A/Cto cool the vehicle
below the outside temperature. For added customer comfort, when
the temperature control knob is anywhere in between the full hot and
full cold positions, the air distributed through the floor ducts will be
slightly warmer than the air sent to the instrument panel registers.
²
(Floor)-Allows for maximum heating by distributing outside air
through the floor ducts. Heating and air conditioning capabilities are
provided in this mode. Push
A/Cto cool the vehicle below the outside
temperature.
MAX
A/C
Controls and features
34