Page 172 of 460

2-59
Turn Signal/Multifunction Lever
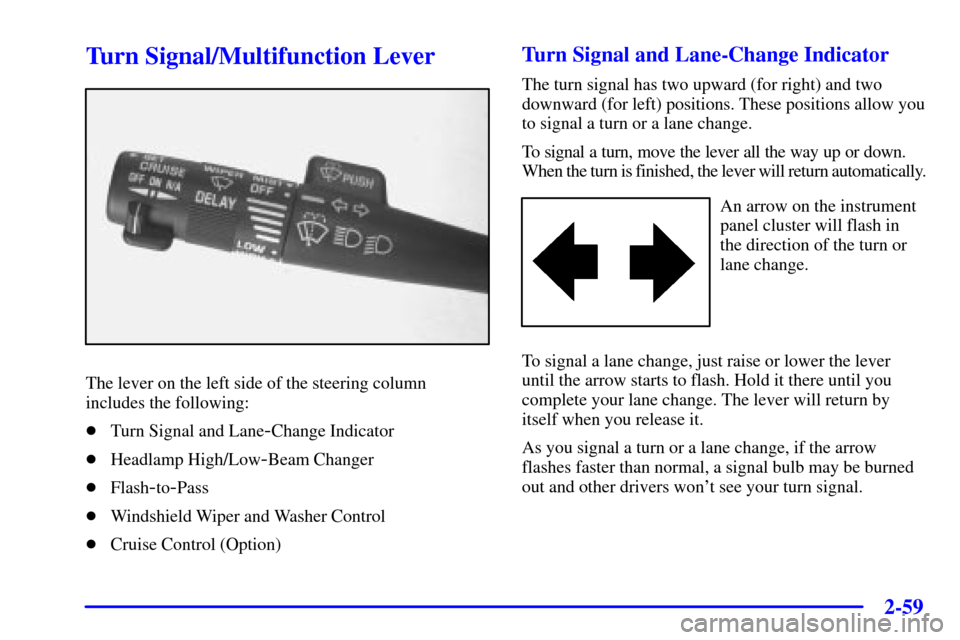
The lever on the left side of the steering column
includes the following:
�Turn Signal and Lane
-Change Indicator
�Headlamp High/Low
-Beam Changer
�Flash
-to-Pass
�Windshield Wiper and Washer Control
�Cruise Control (Option)
Turn Signal and Lane-Change Indicator
The turn signal has two upward (for right) and two
downward (for left) positions. These positions allow you
to signal a turn or a lane change.
To signal a turn, move the lever all the way up or down.
When the turn is finished, the lever will return automatically.
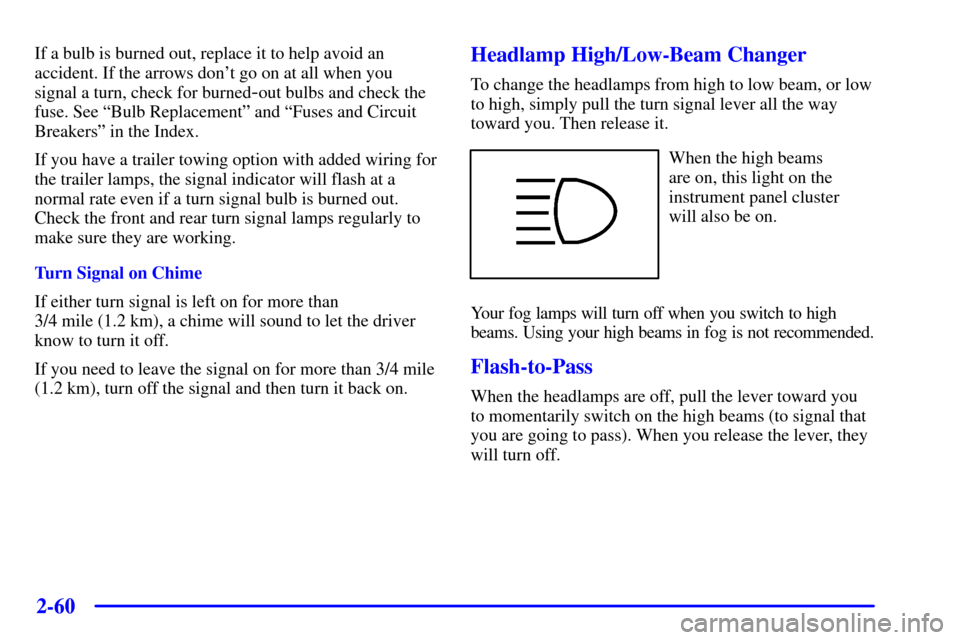
An arrow on the instrument
panel cluster will flash in
the direction of the turn or
lane change.
To signal a lane change, just raise or lower the lever
until the arrow starts to flash. Hold it there until you
complete your lane change. The lever will return by
itself when you release it.
As you signal a turn or a lane change, if the arrow
flashes faster than normal, a signal bulb may be burned
out and other drivers won't see your turn signal.
Page 173 of 460

2-60
If a bulb is burned out, replace it to help avoid an
accident. If the arrows don't go on at all when you
signal a turn, check for burned
-out bulbs and check the
fuse. See ªBulb Replacementº and ªFuses and Circuit
Breakersº in the Index.
If you have a trailer towing option with added wiring for
the trailer lamps, the signal indicator will flash at a
normal rate even if a turn signal bulb is burned out.
Check the front and rear turn signal lamps regularly to
make sure they are working.
Turn Signal on Chime
If either turn signal is left on for more than
3/4 mile (1.2 km), a chime will sound to let the driver
know to turn it off.
If you need to leave the signal on for more than 3/4 mile
(1.2 km), turn off the signal and then turn it back on.
Headlamp High/Low-Beam Changer
To change the headlamps from high to low beam, or low
to high, simply pull the turn signal lever all the way
toward you. Then release it.
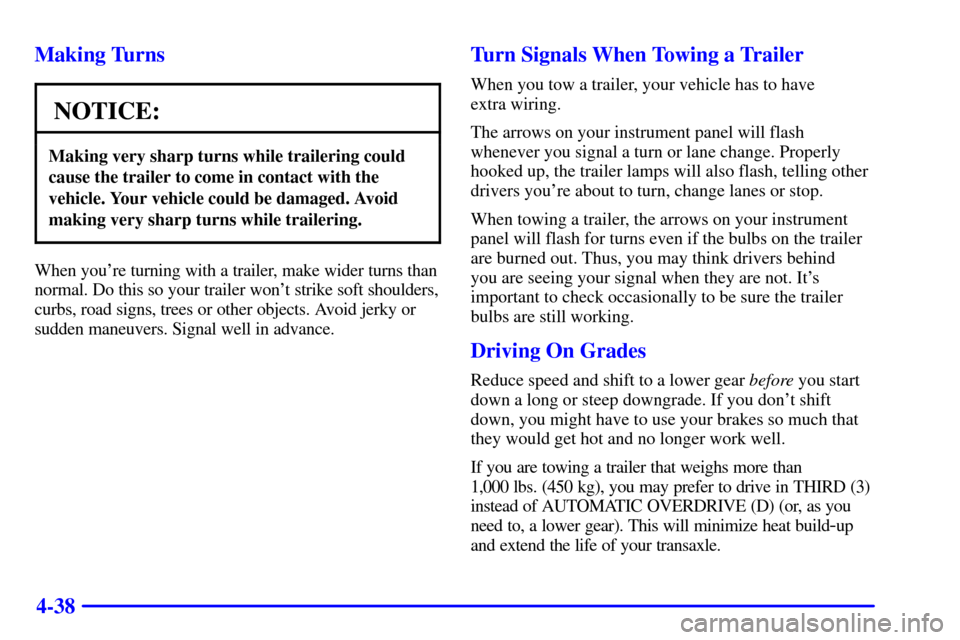
When the high beams
are on, this light on the
instrument panel cluster
will also be on.
Your fog lamps will turn off when you switch to high
beams. Using your high beams in fog is not recommended.
Flash-to-Pass
When the headlamps are off, pull the lever toward you
to momentarily switch on the high beams (to signal that
you are going to pass). When you release the lever, they
will turn off.
Page 316 of 460

4-38 Making Turns
NOTICE:
Making very sharp turns while trailering could
cause the trailer to come in contact with the
vehicle. Your vehicle could be damaged. Avoid
making very sharp turns while trailering.
When you're turning with a trailer, make wider turns than
normal. Do this so your trailer won't strike soft shoulders,
curbs, road signs, trees or other objects. Avoid jerky or
sudden maneuvers. Signal well in advance.
Turn Signals When Towing a Trailer
When you tow a trailer, your vehicle has to have
extra wiring.
The arrows on your instrument panel will flash
whenever you signal a turn or lane change. Properly
hooked up, the trailer lamps will also flash, telling other
drivers you're about to turn, change lanes or stop.
When towing a trailer, the arrows on your instrument
panel will flash for turns even if the bulbs on the trailer
are burned out. Thus, you may think drivers behind
you are seeing your signal when they are not. It's
important to check occasionally to be sure the trailer
bulbs are still working.
Driving On Grades
Reduce speed and shift to a lower gear before you start
down a long or steep downgrade. If you don't shift
down, you might have to use your brakes so much that
they would get hot and no longer work well.
If you are towing a trailer that weighs more than
1,000 lbs. (450 kg), you may prefer to drive in THIRD (3)
instead of AUTOMATIC OVERDRIVE (D) (or, as you
need to, a lower gear). This will minimize heat build
-up
and extend the life of your transaxle.
Page 384 of 460
6-33
CAUTION:
Batteries have acid that can burn you and gas
that can explode. You can be badly hurt if you
aren't careful. See ªJump Startingº in the Index
for tips on working around a battery without
getting hurt.
Contact your dealer to learn how to prepare your vehicle
for longer storage periods.
Also, for your audio system, see ªTheft
-Deterrent
Featureº in the Index.
Bulb Replacement
For the type of bulbs, see ªReplacement Bulbsº in
the Index.
For any bulb changing procedure not listed in this
section, contact your dealer's service department.
Halogen Bulbs
CAUTION:
Halogen bulbs have pressurized gas inside and
can burst if you drop or scratch the bulb. You or
others could be injured. Be sure to read and
follow the instructions on the bulb package.
Headlamps
To replace the headlamp bulb(s) do the following:
1. Open the hood.
2. Remove the front turn signal/parking lamp assembly.
See ªFront Turn Signal/Parking Lampsº later in
this section.
Page 387 of 460
6-36
9. Align the pins on the bottom of the headlamp
assembly with the holes in the lamp support bracket
while placing the holes in the assembly over the
bolts where the wing nuts attach.
10. Reinstall and tighten the wing nuts.
11. Reinstall the front turn signal/parking lamp
assembly by lining up the tabs at the back of the
assembly with the holes in the fender and tighten
the thumbscrew.
Be sure the tab from the front turn signal/parking
lamp assembly is inboard of the tab from the
headlamp assembly.
Front Turn Signal/Parking Lamps
To replace the front turn signal/parking lamp bulb(s) do
the following:
1. Open the hood.
2. Remove the thumbscrew attaching the front
turn signal/parking lamp assembly to the
headlamp assembly.
3. Pull the front turn signal/parking lamp assembly
away from the vehicle.
Page 388 of 460
6-37
4. Unscrew the bulb socket from the lamp assembly by
pressing the tab while turning it counterclockwise.
5. Replace the bulb by pulling the old one out and
gently pushing the new one into the lamp socket.
6. Line up the tabs on the sockets with the gaps in the
socket holes and screw the bulb socket back into the
lamp housing until a click is heard (the tab popping
back out).
7. To reinstall the lamp assembly, line up and insert the
tabs on the back of the assembly in the slots in the
fender. Engage the lower clip on the back of the
lamp assembly into the fender, keeping the upper tab
on the front turn signal/parking lamp assembly
inboard of the headlamp bracket tab.
8. To align the front turn signal/parking lamp assembly
with the headlamp assembly, lift up the front turn
signal/parking lamp assembly until the upper edge is
contacting the fender.
9. Fasten the front turn signal/parking lamp assembly
to the headlamp assembly with the thumbscrew
removed in Step 2.
Page 389 of 460
6-38 Front Sidemarker
To replace the front sidemarker bulb(s) do
the following:
1. Open the hood.
2. Remove the thumb screw attaching the front
turn signal/parking lamp assembly to the
headlamp assembly.
3. Pull the front turn signal/parking lamp assembly
away from the vehicle.4. Unscrew the bulb socket from the lamp assembly by
turning it counterclockwise.
5. Replace the bulb by pulling the old one out and
gently pushing the new one into the lamp socket.
6. Line up the tabs on the sockets with the gaps in the
socket holes and screw the bulb socket back into the
lamp housing.
Page 390 of 460
6-39
7. To reinstall the lamp assembly, line up and insert the
tabs on the back of the assembly in the slots in the
fender. Engage the lower clip on the back of the
lamp assembly into the fender, keeping the upper tab
on the front turn signal/parking lamp assembly
inboard of the headlamp bracket tab.
8. To align the front turn signal/parking lamp assembly
with the headlamp assembly, lift up the front turn
signal/parking lamp assembly until the upper edge is
contacting the fender.
9. Fasten the front turn signal/parking lamp assembly to
the headlamp assembly with the thumbscrew
removed in Step 2.
Taillamps
To replace the taillamp bulb(s) do the following:
1. Open the liftgate.
2. Remove the two screws from the taillamp housing
on the inboard side.
3. Pull off the entire taillamp housing.
The locator/retaining pins on the outboard side are
part of the lamp assembly and will remain intact
during removal.