Page 6 of 460
Table of Contents (cont'd)
Maintenance Schedule Service and Appearance Care
Section
7
Section
6
Scheduled Maintenance
Owner Checks and Services
Periodic Maintenance InspectionsRecommended Fluids and Lubricants
Maintenance Records Fuel
Checking Fluids and Lubricants
GM Oil Life System™
Engine Air Cleaner/Filter
Passenger Compartment Air Filter
Brakes
Bulb ReplacementWindshield Wiper Blade Replacement
Tires and Wheels
Appearance Care
Electrical System/Fuses and Circuit Breakers
Capacities and Specifications
Normal Maintenance Replacement Parts
iv
Page 352 of 460

6-
6-1
Section 6 Service and Appearance Care
Here you will find information about the care of your vehicle. This section begins with service and fuel information,
and then it shows how to check important fluid and lubricant levels. There is also technical information about your
vehicle, and a part devoted to its appearance care.
6
-2 Service
6
-3 Fuel
6
-5 Fuels in Foreign Countries
6
-6 Filling Your Tank
6
-8 Filling a Portable Fuel Container
6
-9 Checking Things Under the Hood
6
-12 Engine Oil
6
-16 Engine Air Cleaner/Filter
6
-18 Passenger Compartment
Air Filter Replacement
6
-20 Automatic Transaxle Fluid
6
-23 Engine Coolant
6
-26 Radiator Pressure Cap
6
-27 Power Steering Fluid
6
-28 Windshield Washer Fluid
6
-29 Brakes6
-32 Battery
6
-33 Bulb Replacement
6
-40 Windshield Wiper Blade Replacement
6
-42 Tires
6
-51 Appearance Care
6
-51 Cleaning the Inside of Your Vehicle
6
-55 Cleaning the Outside of Your Vehicle
6
-58 Underbody Maintenance
6
-58 Chemical Paint Spotting
6
-59 GM Vehicle Care/Appearance Materials
6
-60 Vehicle Identification Number (VIN)
6
-61 Electrical System
6
-69 Replacement Bulbs
6
-69 Capacities and Specifications
6
-70 Normal Maintenance Replacement Parts
Page 362 of 460
6-11 Engine Compartment Overview
When you lift the hood, you'll see these items:
A. Underhood Fuse and
Relay Center
B. Remote Positive (+) Terminal
C. Windshield Washer
Fluid ReservoirD. Radiator Pressure Cap
E. Power Steering Fluid Reservoir
F. Engine Oil Fill Cap
G. Engine Oil DipstickH. Transaxle Fluid Dipstick
I. Brake Master Cylinder Reservoir
J. Engine Air Cleaner/Filter
K. Engine Coolant Reservoir
Page 367 of 460

6-16
How to Reset the Change Engine Oil Message
1. With the ignition key in RUN but the engine off,
repeatedly push the trip/reset button until OIL
is displayed.
2. When OIL is displayed, push and hold the trip/reset
button for five seconds. The number will disappear
and be replaced by 100 (indicating 100% oil
life remaining).
3. Turn the key to OFF.
If the change engine oil message comes back on,
the engine oil life monitor has not reset. Repeat
the procedure.
What to Do with Used Oil
Did you know that used engine oil contains certain
elements that may be unhealthy for your skin and could
even cause cancer? Don't let used oil stay on your skin
for very long. Clean your skin and nails with soap and
water, or a good hand cleaner. Wash or properly throw
away clothing or rags containing used engine oil. See
the manufacturer's warnings about the use and disposal
of oil products.Used oil can be a real threat to the environment. If you
change your own oil, be sure to drain all free
-flowing oil
from the filter before disposal. Don't ever dispose of oil
by putting it in the trash, pouring it on the ground, into
sewers, or into streams or bodies of water. Instead,
recycle it by taking it to a place that collects used oil. If
you have a problem properly disposing of your used oil,
ask your dealer, a service station or a local recycling
center for help.
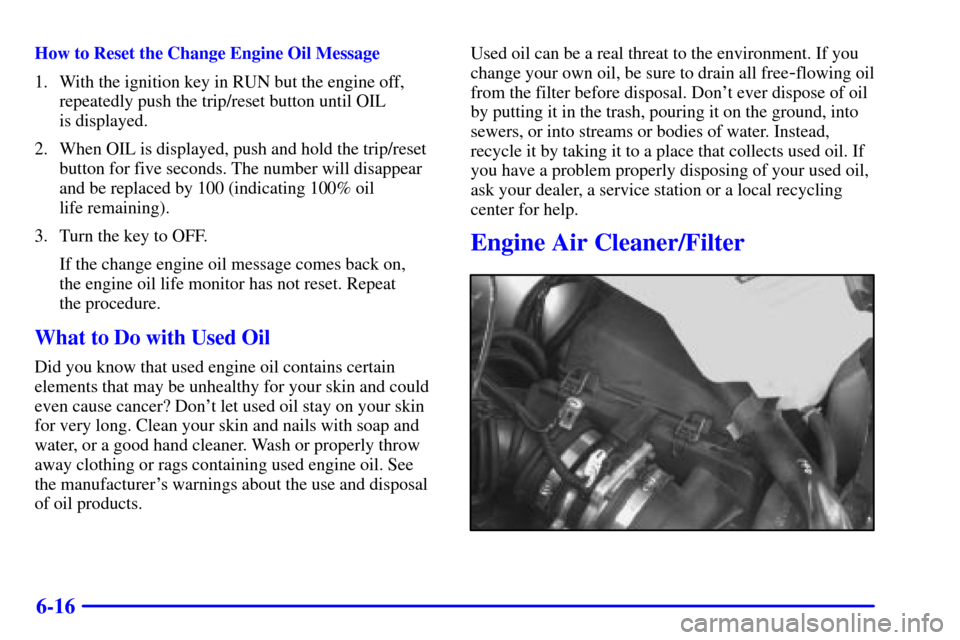
Engine Air Cleaner/Filter
Page 368 of 460

6-17
The engine air cleaner/filter is located at the front of the
engine compartment, on the driver's side of the vehicle,
under the engine coolant reservoir. See ªEngine
Compartment Overviewº in the Index for more
information on location.
Checking or Replacing the Engine Air Cleaner/Filter
1. Unlatch the two hooks on top of the engine air
cleaner/filter housing.
2. Turn back the air inlet panel and rest it on top of the
housing. The air intake tube is designed to flex back;
you do not need to disconnect it.
3. After replacing the engine air cleaner/filter, seat the
tabs on the bottom of the panel into the slots on
the housing.
4. Latch the hooks to secure the panel in place. If the
panel moves easily, check that the tabs are seated
correctly in the slots.
CAUTION:
Operating the engine with the air cleaner/filter
off can cause you or others to be burned. The air
cleaner not only cleans the air, it stops flame if
the engine backfires. If it isn't there, and the
engine backfires, you could be burned. Don't
drive with it off, and be careful working on the
engine with the air cleaner/filter off.
NOTICE:
If the air cleaner/filter is off, a backfire can
cause a damaging engine fire. And, dirt can easily
get into your engine, which will damage it.
Always have the air cleaner/filter in place when
you're driving.
Page 369 of 460
6-18
Passenger Compartment Air
Filter Replacement
Passenger compartment air, both outside air and
recirculated air, is routed through a passenger
compartment filter, which is part of a two
-piece filter
system. The filter removes certain contaminants from
the air, including pollen and dust particles, as well as
odors such as exhaust or fuel fumes. Reductions in
airflow, which may occur more quickly in dusty areas,
indicate that the filter needs to be replaced early. For
how often to change the air filter, see ªScheduled
Maintenanceº in the Index.
The access panel for the passenger compartment air
filter is located in the back of the glove box.
1. Pull the tab up and out on the outer access panel.
Page 370 of 460
6-19
2. Then push the tab, located on the left of the inner
access panel, to the right.
3. The first air filter will pull straight out. To remove
the second, reach in and slide it toward the opening.
Pull the second filter out.
4. Replace the filters by reversing Step 3. Make sure
the filters are inserted so that the sealing foam is
angled in the same direction on both filters. For the
type of filter to use, see ªNormal Maintenance
Replacement Partsº in the Index.
5. Close the inner access door, while squeezing the tab.
Be sure it is tightly closed.
6. Snap the outer access panel into the back of the
glove box.
Page 376 of 460
6-25 Checking Coolant
The engine coolant reservoir is located on the driver's
side of the vehicle, above the engine air cleaner/filter.
See ªEngine Compartment Overviewº in the Index for
more information on location.
The vehicle must be on a level surface. When your
engine is cold, the coolant level should be at the FULL
COLD mark, or a little higher. When your engine is
warm, the level should be above the FULL COLD mark
or a little higher.Adding Coolant
If you need more coolant, add the proper DEX
-COOL�
coolant mixture at the coolant recovery tank.
CAUTION:
Turning the radiator pressure cap when the
engine and radiator are hot can allow steam and
scalding liquids to blow out and burn you badly.
With the coolant recovery tank, you will almost
never have to add coolant at the radiator.
Never turn the radiator pressure cap
-- even a
little
-- when the engine and radiator are hot.
Add coolant mixture at the recovery tank, but be careful
not to spill it.