Page 95 of 371
2-28
REVERSE (R): Use this gear to back up.
NOTICE:
Shifting to REVERSE (R) while your vehicle is
moving forward could damage your transaxle.
Shift to REVERSE (R) only after your vehicle
has stopped.
Also use this gear to rock your vehicle back and forth to
get out of snow, ice or sand without damaging your
transaxle. See ªIf You're Stuck in Sand, Mud, Ice or
Snowº in the Index for additional information.NEUTRAL (N): In this position, the engine doesn't
connect with the wheels. To restart when you're already
moving, use NEUTRAL (N) only. Also use
NEUTRAL (N) when your vehicle is being towed.
CAUTION:
Shifting out of PARK (P) or NEUTRAL (N) while
your engine is ªracingº (running at high speed) is
dangerous. Unless your foot is firmly on the
brake pedal, your vehicle could move very
rapidly. You could lose control and hit people or
objects. Don't shift out of PARK (P) or
NEUTRAL (N) while your engine is racing.
Page 99 of 371
2-32
Reach under the driver's side of the instrument panel
and pull down on the manual release lever, which is
located behind the parking brake pedal. Pull down on
the yellow tab as shown by the arrow in the illustration.
If the parking brake does not release, you should have
your vehicle towed to your dealer for service.
NOTICE:
Driving with the parking brake on can cause
your rear brakes to overheat. You may have to
replace them and you could also damage other
parts of your vehicle.
If you are towing a trailer and are parking on a hill, see
ªTowing a Trailerº in the Index.
Page 100 of 371
2-33
Shifting Into PARK (P)
CAUTION:
It can be dangerous to get out of your vehicle if
the shift lever is not fully in PARK (P) with the
parking brake firmly set. Your vehicle can roll. If
you have left the engine running, the vehicle can
move suddenly. You or others could be injured.
To be sure your vehicle won't move, even when
you're on fairly level ground, use the steps that
follow. If you're pulling a trailer, see ªTowing a
Trailerº in the Index.
Console Shift Lever
1. Hold the brake pedal down with your right foot.
2. Move the shift lever into
PARK (P) by pushing
the lever all the way
toward the front of
your vehicle.
3. With your right foot still holding the brake pedal
down, set the parking brake.
4. Turn the ignition key to OFF.
5. Remove the key and take it with you. If you can
leave your vehicle with the ignition key in your
hand, your vehicle is in PARK (P).
Page 104 of 371

2-37
CAUTION:
It can be dangerous to get out of your vehicle if
the shift lever is not fully in PARK (P) with the
parking brake firmly set. Your vehicle can roll.
Don't leave your vehicle when the engine is
running unless you have to. If you've left the
engine running, the vehicle can move suddenly.
You or others could be injured. To be sure your
vehicle won't move, even when you're on fairly
level ground, always set your parking brake after
you move the shift lever to PARK (P).
Follow the proper steps to be sure your vehicle won't
move. See ªShifting Into PARK (P)º in the Index.
If you are parking on a hill and if you're pulling a
trailer, also see ªTowing a Trailerº in the Index.
Horn
The horn can be sounded by pressing on the center of
the steering wheel pad.
Tilt Wheel
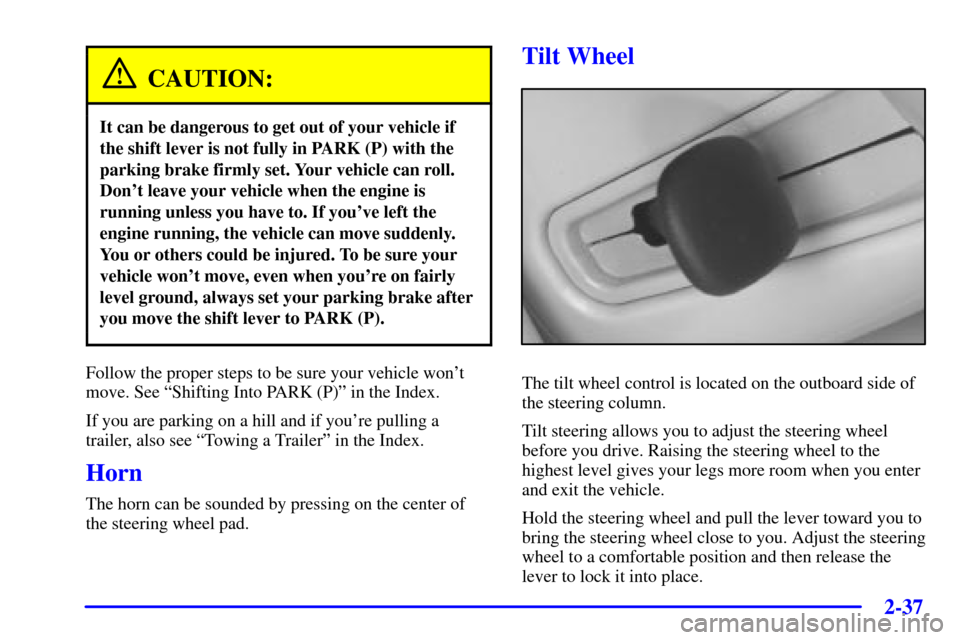
The tilt wheel control is located on the outboard side of
the steering column.
Tilt steering allows you to adjust the steering wheel
before you drive. Raising the steering wheel to the
highest level gives your legs more room when you enter
and exit the vehicle.
Hold the steering wheel and pull the lever toward you to
bring the steering wheel close to you. Adjust the steering
wheel to a comfortable position and then release the
lever to lock it into place.
Page 105 of 371

2-38
Power Tilt and Telescopic Wheel
(If Equipped)
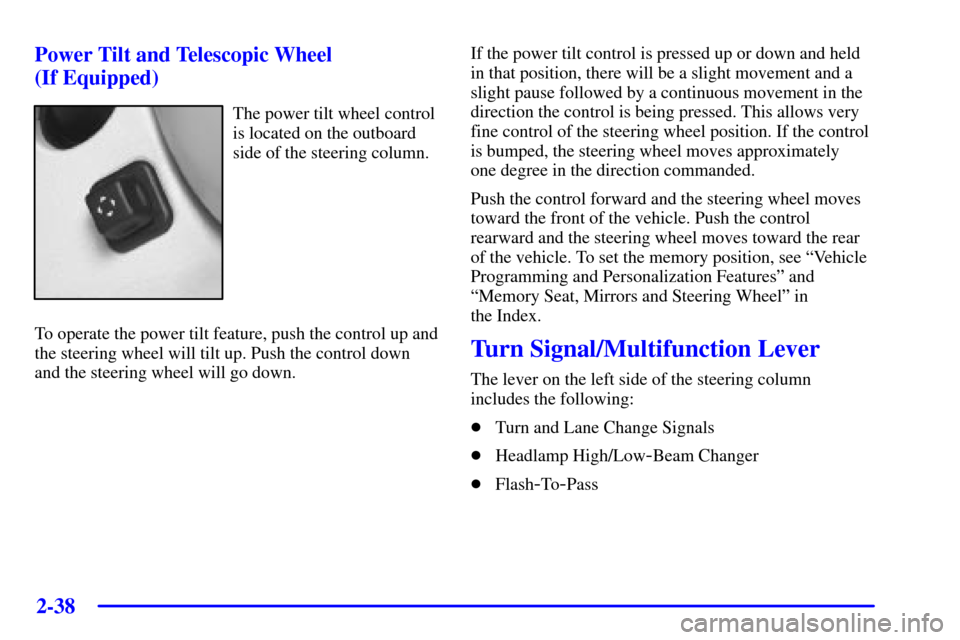
The power tilt wheel control
is located on the outboard
side of the steering column.
To operate the power tilt feature, push the control up and
the steering wheel will tilt up. Push the control down
and the steering wheel will go down.If the power tilt control is pressed up or down and held
in that position, there will be a slight movement and a
slight pause followed by a continuous movement in the
direction the control is being pressed. This allows very
fine control of the steering wheel position. If the control
is bumped, the steering wheel moves approximately
one degree in the direction commanded.
Push the control forward and the steering wheel moves
toward the front of the vehicle. Push the control
rearward and the steering wheel moves toward the rear
of the vehicle. To set the memory position, see ªVehicle
Programming and Personalization Featuresº and
ªMemory Seat, Mirrors and Steering Wheelº in
the Index.
Turn Signal/Multifunction Lever
The lever on the left side of the steering column
includes the following:
�Turn and Lane Change Signals
�Headlamp High/Low
-Beam Changer
�Flash
-To-Pass
Page 106 of 371

2-39
Turn and Lane Change Signals
To signal a turn, move the lever on the left side of the
steering wheel all the way up or down. The lever returns
automatically when the turn is complete.
An arrow located on the
instrument panel cluster will
flash in the direction of the
turn or lane change.
Raise or lower the lever until the arrow starts to flash to
signal a lane change. Hold it there until the lane change
is complete. The lever returns when it is released.
If the turn signal is left on, a warning chime will sound
and the Driver Information Center (DIC) will display
TURN SIGNAL ON (after driving about a mile) to
remind you to turn it off.Arrows that flash rapidly when signaling for a turn or
lane change may be caused by a burned
-out signal bulb.
Other drivers won't see the turn signal.
Replace burned
-out bulbs to help avoid possible
accidents. Check the fuse (see ªFuses and Circuit
Breakersº in the Index) and check for burned
-out bulbs
if the arrow fails to work when signaling a turn.
Headlamp High/Low-Beam Changer
When the low-beam headlamps are on, push the turn
signal lever away from you to change the headlamps to
high beam.
This light on the instrument
panel cluster will be on,
indicating high
-beam usage.
Pull the turn signal lever toward you to return to
low
-beam headlamps.
Page 107 of 371
2-40
Flash-To-Pass
This feature lets you use the high-beam headlamps to
signal the driver in front of you that you want to pass.
Pull the turn signal lever toward you briefly to
flash
-to-pass. When you do, the following will occur:
�If the headlamps are either off or in the Daytime
Running Lamps (DRL) mode, the high
-beam
headlamps will turn on. They'll stay on as long as
you hold the lever there. Release the lever to turn
them off.
�If the headlamps are on low beam, they will remain
active and the high beam will also illuminate until
you release the lever.
Windshield Wipers
You can control the windshield wipers by moving the
lever with the wiper symbol on it. This lever is located
on the right side of your steering column. For
information on wiper
-activated headlamp operation,
refer to ªWiper
-Activated Headlampsº in the Index.
Page 121 of 371

2-54
This is the on/off button, located on the lower left
side of the mirror for the electrochromic and compass
functions of the rearview mirror.
The mirror also includes an eight
-point compass
display in the upper right corner of the mirror face.
When on, the compass automatically calibrates as the
vehicle is driven.
When cleaning the mirror, use a paper towel or similar
material dampened with glass cleaner. Do not spray
glass cleaner directly on the mirror as that may cause the
liquid cleaner to enter the mirror housing.
Mirror Operation
To turn on the automatic dimming feature, press and
hold the on/off button for about three seconds. To turn
off automatic dimming, press and hold the on/off button
for about three seconds again. The green indicator light
will be illuminated when this feature is active. The
automatic dimming feature will be active each time the
vehicle is started.Compass Operation
Press the on/off button once to turn the compass on
or off.
When the ignition and the compass feature are on, the
compass will show two character boxes for
approximately two seconds. After two seconds, the
mirror will display the compass heading.
Compass Calibration
If after two seconds, the display does not show a
compass heading (ªNº for North, for example), there
may be a strong magnetic field interfering with the
compass. Such interference may be caused by a
magnetic antenna mount, magnetic note pad holder
or a similar magnetic item. If the letter ªCº should
ever appear in the compass window, the compass may
need calibration.
The mirror can be calibrated by driving the vehicle in
circles at 5 mph (8 km/h) or less until the display
reads a direction.
The compass can be placed in calibration mode by
pressing and holding the on/off button until a ªCº is
shown in the compass display.