Page 276 of 371
5-23
3. Turn the jack handle counterclockwise to lower the
jack lift head until the jack fits under the car.
4. Raise the jack until the metal flange fits firmly into
the channel of the jack head.
5. Put the compact spare near you.
6. Raise the vehicle by turning the jack handle
clockwise. Raise the vehicle far enough off the
ground for the spare tire to fit under the vehicle.
7. Remove all wheel nuts and take off the flat tire.
8. Remove any rust or dirt
from the wheel bolts,
mounting surfaces and
spare wheel.
CAUTION:
Rust or dirt on the wheel, or on the parts to
which it is fastened, can make the wheel nuts
become loose after a time. The wheel could come
off and cause an accident. When you change a
wheel, remove any rust or dirt from the places
where the wheel attaches to the vehicle. In an
emergency, you can use a cloth or a paper towel
to do this; but be sure to use a scraper or wire
brush later, if you need to, to get all the rust or
dirt off.
Page 277 of 371
5-24
CAUTION:
Never use oil or grease on studs or nuts. If you
do, the nuts might come loose. Your wheel could
fall off, causing a serious accident.
9. Place the
spare on the
wheel
-mounting
surface.
10. Replace the wheel nuts
with the rounded end
of the nuts toward the
wheel. Tighten each nut
by hand until the wheel
is held against the hub.
11. Lower the vehicle by turning the jack handle
counterclockwise. Lower the jack completely.
Page 282 of 371
5-29
If You're Stuck: In Sand, Mud,
Ice or Snow
In order to free your vehicle when it is stuck, you will
need to spin the wheels, but you don't want to spin
your wheels too fast. The method known as ªrockingº
can help you get out when you're stuck, but you must
use caution.
CAUTION:
If you let your tires spin at high speed, they can
explode, and you or others could be injured.
And, the transaxle or other parts of the vehicle
can overheat. That could cause an engine
compartment fire or other damage. When you're
stuck, spin the wheels as little as possible. Don't
spin the wheels above 35 mph (55 km/h) as shown
on the speedometer.
NOTICE:
Spinning your wheels can destroy parts of your
vehicle as well as the tires. If you spin the wheels
too fast while shifting your transaxle back and
forth, you can destroy your transaxle.
For information about using tire chains on your vehicle,
see ªTire Chainsº in the Index.
Rocking Your Vehicle To Get It Out
First, turn your steering wheel left and right. That will
clear the area around your front wheels. You should turn
your traction control system off. See ªTraction Control
Systemº in the Index. Then shift back and forth between
REVERSE (R) and a forward gear, spinning the wheels
as little as possible. Release the accelerator pedal while
you shift, and press lightly on the accelerator pedal
when the transaxle is in gear. By slowly spinning your
wheels in the forward and reverse directions, you will
cause a rocking motion that may free your vehicle.
If that doesn't get you out after a few tries, you may
need to be towed out. If you do need to be towed out,
see ªTowing Your Vehicleº in the Index.
Page 285 of 371
6-3
CAUTION:
You can be injured and your vehicle could be
damaged if you try to do service work on a
vehicle without knowing enough about it.
�Be sure you have sufficient knowledge,
experience, the proper replacement parts
and tools before you attempt any vehicle
maintenance task.
�Be sure to use the proper nuts, bolts and
other fasteners. ªEnglishº and ªmetricº
fasteners can be easily confused. If you use
the wrong fasteners, parts can later break
or fall off. You could be hurt.
Adding Equipment to the Outside of
Your Vehicle
Things you might add to the outside of your vehicle can
affect the airflow around it. This may cause wind noise
and affect windshield washer performance. Check with
your dealer before adding equipment to the outside of
your vehicle.
Fuel
Use regular unleaded gasoline rated at 87 octane or
higher. However, for best performance and for trailer
towing, you may wish to use middle grade or premium
unleaded gasoline.
It is recommended that the gasoline meet specifications
which were developed by the American Automobile
Manufacturers Association (AAMA) and endorsed by
the Canadian Motor Vehicle Manufacturers Association
for better vehicle performance and engine protection.
Gasolines meeting the AAMA specification could
provide improved driveability and emission control
system performance compared to other gasolines.
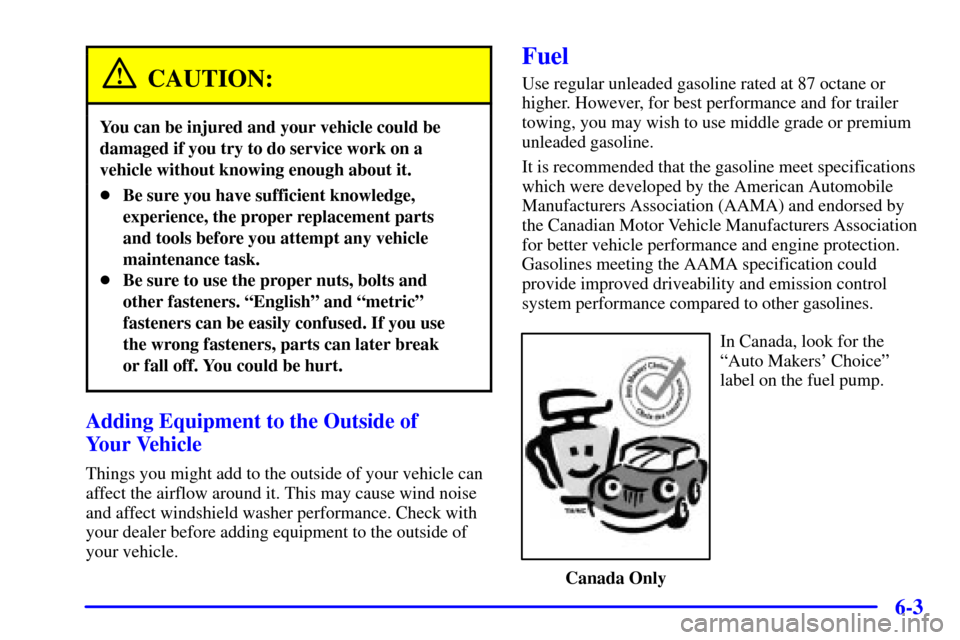
In Canada, look for the
ªAuto Makers' Choiceº
label on the fuel pump.
Canada Only
Page 294 of 371
6-12
Underhood Lamp
Turn the parking lamps on to operate the underhood
lamp. The underhood lamp will come on when the hood
is opened.
Engine Oil
If the CHECK OIL LEVEL Message appears on the
instrument panel, it means you need to check your
engine oil level right away. For more information,
see ªCHECK OIL LEVEL messageº in the Index.
You should check your engine oil level regularly;
this is an added reminder.
Checking Engine Oil
It's a good idea to check your engine oil every time you
get fuel. In order to get an accurate reading, the oil must
be warm and the vehicle must be on level ground.
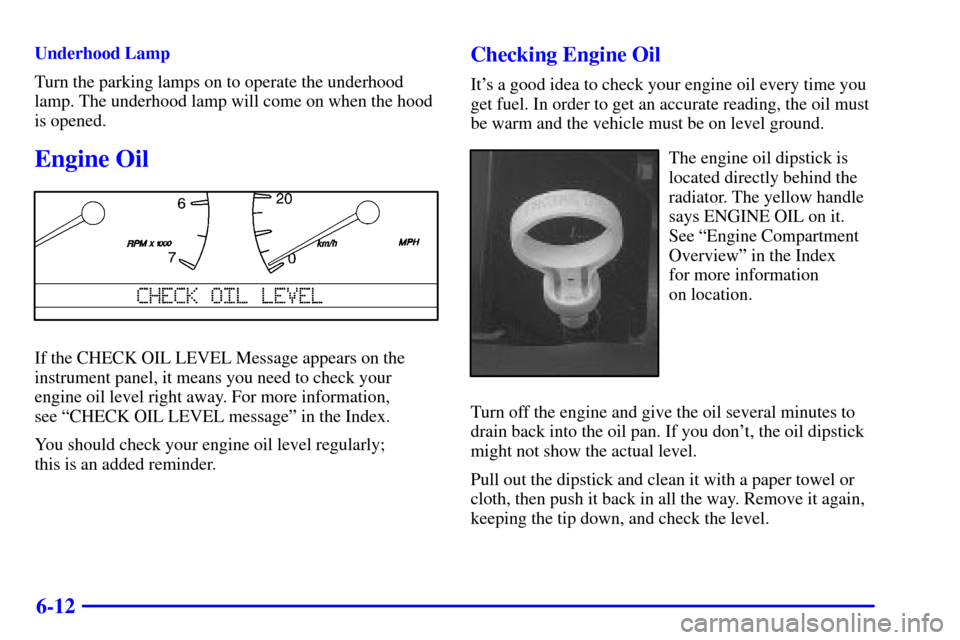
The engine oil dipstick is
located directly behind the
radiator. The yellow handle
says ENGINE OIL on it.
See ªEngine Compartment
Overviewº in the Index
for more information
on location.
Turn off the engine and give the oil several minutes to
drain back into the oil pan. If you don't, the oil dipstick
might not show the actual level.
Pull out the dipstick and clean it with a paper towel or
cloth, then push it back in all the way. Remove it again,
keeping the tip down, and check the level.
Page 302 of 371
6-20
Automatic Transaxle Fluid
When to Check and Change
A good time to check your automatic transaxle fluid
level is when the engine oil is changed.
Change both the fluid and filter every 50,000 miles
(83 000 km) if the vehicle is mainly driven under one or
more of these conditions:
�In heavy city traffic where the outside temperature
regularly reaches 90�F (32�C) or higher.
�In hilly or mountainous terrain.
�When doing frequent trailer towing.
�Uses such as found in taxi, police or delivery service.
If you do not use your vehicle under any of these
conditions, the fluid and filter do not require change
until the message CHANGE TRANS FLUID appears
on the Driver Information Center.
See ªScheduled Maintenance Servicesº in the
Maintenance Schedule booklet.
How to Check
Because this operation can be a little difficult,
you may choose to have this done at the dealership
service department.
If you do it yourself, be sure to follow all the
instructions here, or you could get a false reading
on the dipstick.
NOTICE:
Too much or too little fluid can damage your
transaxle. Too much can mean that some of the
fluid could come out and fall on hot engine parts
or exhaust system parts, starting a fire. Be sure
to get an accurate reading if you check your
transaxle fluid.
Page 304 of 371
6-22
Then, without shutting off the engine, follow these steps:
The transaxle fluid cap is
located next to the radiator
hose and below the engine
air cleaner/filter assembly
on the driver's side of
the engine. See ªEngine
Compartment Overviewº
in the Index for more
information on location.
1. After removing the air cleaner/filter assembly
to reach the transaxle fluid cap, turn the cap
counterclockwise to remove. Pull out the dipstick
and wipe it with a clean rag or paper towel.
2. Push it back in all the way, wait three seconds and
then pull it back out again.
3. Check both sides of the dipstick, and read
the lower level. The fluid level must be in the
cross
-hatched area.
4. If the fluid level is in the acceptable range,
push the dipstick back in all the way and turn
the handle clockwise. Reinstall the engine
air cleaner/filter assembly.
Page 333 of 371
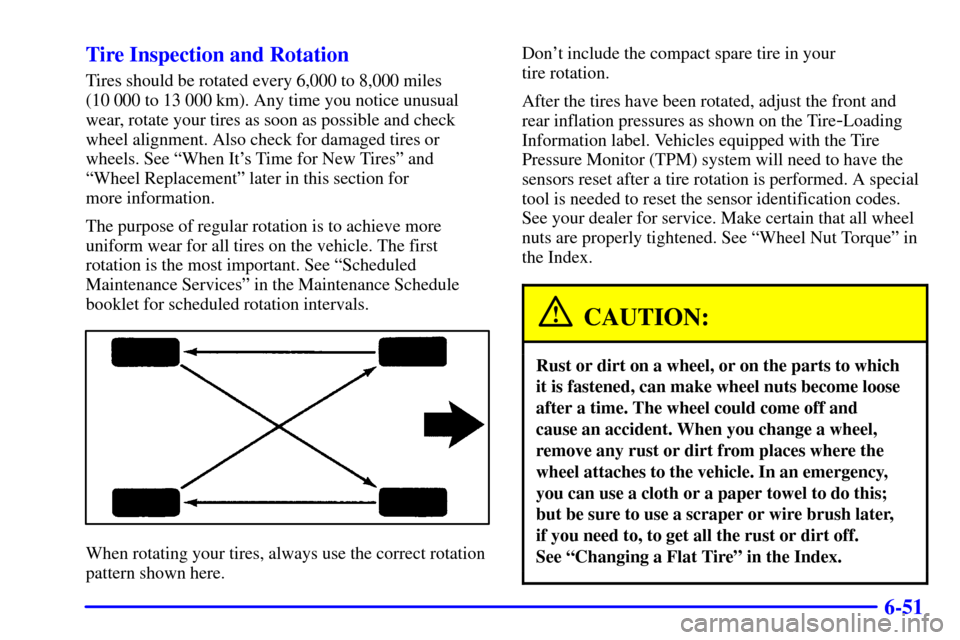
6-51 Tire Inspection and Rotation
Tires should be rotated every 6,000 to 8,000 miles
(10 000 to 13 000 km). Any time you notice unusual
wear, rotate your tires as soon as possible and check
wheel alignment. Also check for damaged tires or
wheels. See ªWhen It's Time for New Tiresº and
ªWheel Replacementº later in this section for
more information.
The purpose of regular rotation is to achieve more
uniform wear for all tires on the vehicle. The first
rotation is the most important. See ªScheduled
Maintenance Servicesº in the Maintenance Schedule
booklet for scheduled rotation intervals.
When rotating your tires, always use the correct rotation
pattern shown here.Don't include the compact spare tire in your
tire rotation.
After the tires have been rotated, adjust the front and
rear inflation pressures as shown on the Tire
-Loading
Information label. Vehicles equipped with the Tire
Pressure Monitor (TPM) system will need to have the
sensors reset after a tire rotation is performed. A special
tool is needed to reset the sensor identification codes.
See your dealer for service. Make certain that all wheel
nuts are properly tightened. See ªWheel Nut Torqueº in
the Index.
CAUTION:
Rust or dirt on a wheel, or on the parts to which
it is fastened, can make wheel nuts become loose
after a time. The wheel could come off and
cause an accident. When you change a wheel,
remove any rust or dirt from places where the
wheel attaches to the vehicle. In an emergency,
you can use a cloth or a paper towel to do this;
but be sure to use a scraper or wire brush later,
if you need to, to get all the rust or dirt off.
See ªChanging a Flat Tireº in the Index.