Page 86 of 223
86n
Digital clock in the MID
*
Reminder signalYou can program a reminder signal
(Memo) to be heard every hour, so that
you are sure not to miss a news
broadcast .
Press the left side of the button.
Press.
MEMO OFF appears in the display for
entry and query buttons, and the tone
symbol will appear in the upper right of
the display.
A signal is then heard 15 seconds be-
fore each hour.
Timer Press the left side of the button.
Press.
Display shows:
To start the stopwatch function:
Press the right side of the button.
To take an intermediate time reading:
Press.
Press.
The stopwatch display can be seen
counting up; the stopwatch continues
to run.
To halt the stopwatch:
Press the right side of the button.
The stopwatch is halted when the
ignition switch is turned back to 0,
but starts to run again when the ignition
key is turned to 1.<
Page 87 of 223

IndexDataTechnologyRepairsCar careControlsOverview
87n
Digital clock in the MID
*
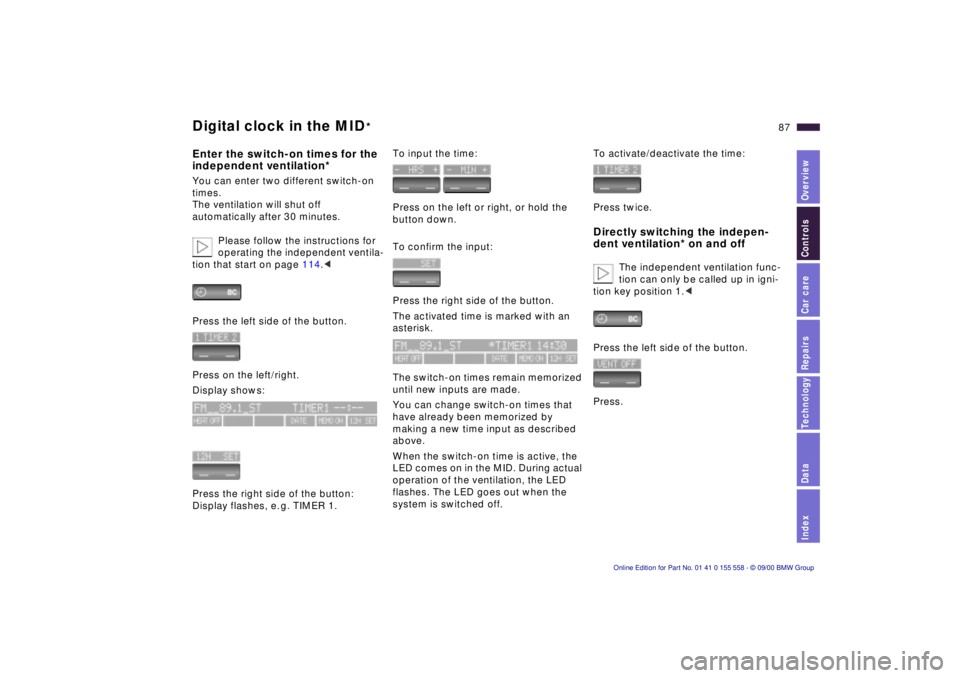
Enter the switch-on times for the
independent ventilation*You can enter two different switch-on
times.
The ventilation will shut off
automatically after 30 minutes.
Please follow the instructions for
operating the independent ventila-
tion that start on page 114.<
Press the left side of the button.
Press on the left/right.
Display shows:
Press the right side of the button:
Display flashes, e. g. TIMER 1.
To input the time:
Press on the left or right, or hold the
button down.
To confirm the input:
Press the right side of the button.
The activated time is marked with an
asterisk.
The switch-on times remain memorized
until new inputs are made.
You can change switch-on times that
have already been memorized by
making a new time input as described
above.
When the switch-on time is active, the
LED comes on in the MID. During actual
operation of the ventilation, the LED
flashes. The LED goes out when the
system is switched off.
To activate/deactivate the time:
Press twice.Directly switching the indepen-
dent ventilation* on and off
The independent ventilation func-
tion can only be called up in igni-
tion key position 1.<
Press the left side of the button.
Press.
Page 91 of 223

IndexDataTechnologyRepairsCar careControlsOverview
91n
Computer in the MID
*
SpeedYou can call up a display of the
vehicle's average speed.
To start the calculation, select the
SPEED function with the engine
running.
Press the right side of the button.
Press.
The display shows the average speed.
To recalculate the speed:
Press the right side of the button.
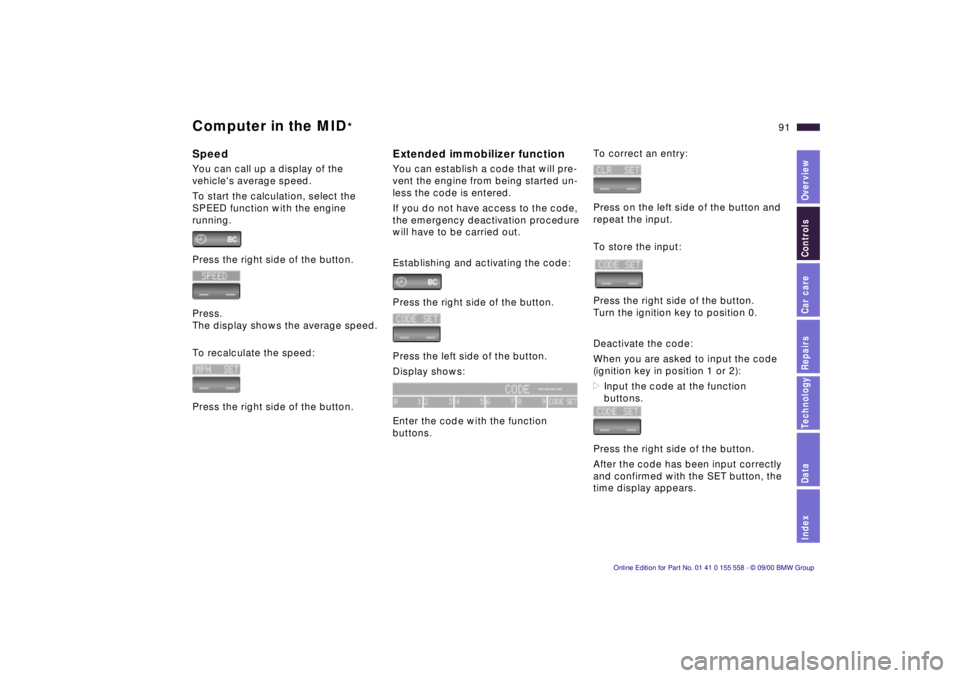
Extended immobilizer functionYou can establish a code that will pre-
vent the engine from being started un-
less the code is entered.
If you do not have access to the code,
the emergency deactivation procedure
will have to be carried out.
Establishing and activating the code:
Press the right side of the button.
Press the left side of the button.
Display shows:
Enter the code with the function
buttons.
To correct an entry:
Press on the left side of the button and
repeat the input.
To store the input:
Press the right side of the button.
Turn the ignition key to position 0.
Deactivate the code:
When you are asked to input the code
(ignition key in position 1 or 2):
>Input the code at the function
buttons.
Press the right side of the button.
After the code has been input correctly
and confirmed with the SET button, the
time display appears.
Page 92 of 223

92n
Computer in the MID
*
After three incorrect code inputs, or
three attempts to start the engine with-
out a code input, the alarm will sound
for 30 seconds on vehicles fitted with
an alarm.
Deactivating the alarm in an
emergency:
If you have forgotten the code, proceed
as follows:
1 Disconnect the battery, wait approx.
2 minutes, then reconnect it. Note
that on vehicles with an alarm, this
will sound.
2 Set the ignition key to position 1:
The time display will count down for
the next ten minutes.
3 After ten minutes, start the engine.
If the code becomes available
again in the meantime, it can be
input during the waiting period after
pressing the CODE button.<
Remote controlThe button on the turn indicator lever
can be used to select the items of
computer information which are to
be displayed.
To do this, press
>the button on the lever until PROG 1
shows on the display.
>the MID buttons in the order in which
you wish the information to be dis-
played.
Each time an entry is stored, the pro-
gram number appears on the display.
To terminate the selection procedure:
Press the right side of the button.530us047
To have all the available information
displayed, press
>the button on the lever until the
display shows PROG 1.
>the SET button.
To obtain individual items of informa-
tion, press the button in briefly as often
as necessary.
Page 93 of 223

IndexDataTechnologyRepairsCar careControlsOverview
93n
The conceptThe PDC assists you when you are
parking. Acoustical signals inform you
of the distance to an obstacle. To do
this, four ultrasonic sensors in the front
and rear bumpers measure the distance
to the nearest object. The monitoring
range for the front sensors as well as
the two rear corner sensors ends
approx. 2 ft (60 cm) behind the
respective bumper. The center sensors
in the rear have a range of approx. 5 ft
(1.50 meters). Automatic functionThe system starts to operate auto-
matically about one second after you
select reverse with the ignition key in
position 2.
Manual activationPress the button (arrow); the indicator
lamp comes on.
After driving a distance of more than
approx. 160 ft (50 meters) or exceeding
a speed of approx. 20 mph (30 km/h),
the system switches off and the indi-
cator lamp goes out. Switch the system
on again as required. Manual deactivationPress the button again. 530us060
Acoustical signalsThe distance from an obstacle is indi-
cated in front with a higher intermittent
tone, at at the rear with a lower intermit-
tent tone. As the distance between
vehicle and object decreases, the inter-
vals between the tones become
shorter.
A continuous tone indicates the pres-
ence of an object less than approx. 1 ft
(30 cm) away.
The warning signal is canceled after
approx. three seconds if you are
moving parallel to a wall.
If there is a malfunction of the system:
The indicator lamp flashes and a short
steady signal tone is sounded
>if you activate PDC with the button.
>when you select reverse for the first
time after switching on the ignition.
>if a malfunction occurs while the PDC
system is active.
Switch the system off and have the
cause of the malfunction corrected by
your BMW center.
Park Distance Control (PDC)
*
Page 97 of 223
IndexDataTechnologyRepairsCar careControlsOverview
97n
Side lamps (side marker lamps)
With the switch in this position,
the front, rear and side vehicle
lighting is switched on.
For lighting on one side for parking as
an additional feature, refer to page 98.
Low beams
When the ignition is switched off
and the low beams are on, only
the side lamps (side marker
lamps) remain on.
530us051
LIGHTS ON warningWhenever you open the driver's door,
after having turned the ignition key to
position 0, you will hear a buzzing
sound for a few seconds to remind you
that the lamps have not been switched
off.
On vehicles with alphanumeric Check
Control
*:
The reminder is given through the
Check Control.
Daytime-driving lamp
*
The headlamps are automatically
switched on for daylight driving at
ignition key position 2. Turn the rotary dial to adjust the illumi-
nation intensity.
530us052
Side lamps/Low beams Instrument lighting
Page 98 of 223

98n
High beams/Parking lamp Fog lamps Interior lamps 1 High beams (blue indicator lamp)
2 Headlamp flasher (blue indicator
lamp)
3 Parking lamp Parking lamp, left or right
*
As an additional feature, you can
illuminate your vehicle on either side for
parking, if you wish to do so:
With the ignition key in position 0,
engage the lever in the appropriate
turn signal position. 530us043
Fog lamps
A green indicator lamp appears
in the instrument cluster to indi-
cate that the front foglamps are
on.
If the high beams are switched on, the
fog lamps go out.
530us055
The interior lamps operate automati-
cally. Switching the interior lamps on
and off manuallyPress the button (arrow).
If you want the interior lamps to remain
off all the times, press and hold the
button for approx. 3 seconds.
Press the button briefly to revert to
normal operation.
The cargo area lamps function in the
same manner.
The button for the interior lamps in the
rear passenger area only switches
these lights on and off. 530us056
Page 99 of 223
IndexDataTechnologyRepairsCar careControlsOverview
99n
Interior lamps Reading lampsFootwell lampsThe footwell lamps are controlled in the
same manner as the front interior
lighting. Front area lighting
*
This lighting system in the two exterior
mirrors lights the ground in the area
near the two front doors. It is also
controlled in the same manner as the
front interior lighting, but it does not
function while the vehicle is moving.
Reading lamps are provided in the front
and rear
* near the interior lamp. They
can be switched on and off with the
button (arrows) next to each lamp.
In order to prevent battery
discharge, all of the lamps in the
vehicle are switched off automatically
approx. 15 minutes after the ignition
key is turned to position 0.<
530us057