2001 BMW 540I SEDAN light
[x] Cancel search: lightPage 48 of 238
48n
Alarm system>If the indicator lamp flashes for
10 seconds when the system is
disarmed: an attempted entry has
been detected in the period since the
system was armed.
Following triggering of an alarm, the
indicator lamp will flash continuously.Avoiding unintentional alarmsThe tilt alarm sensor and interior motion
sensor may be switched off at the same
time to prevent a false alarm from being
triggered (in garages with elevator
ramps, for instance), or when the
vehicle is transported by trailer or train:
Lock the vehicle (arm the alarm system)
twice in succession: press button 2 on
the remote control transmitter twice
(refer to page 40), or turn the key in the
door lock to the right (lock) twice in
succession (refer to page 38).
The indicator lamp lights up briefly and
then flashes continuously. The tilt alarm
sensor and the interior motion sensor
are deactivated for as long as the
system remains armed.
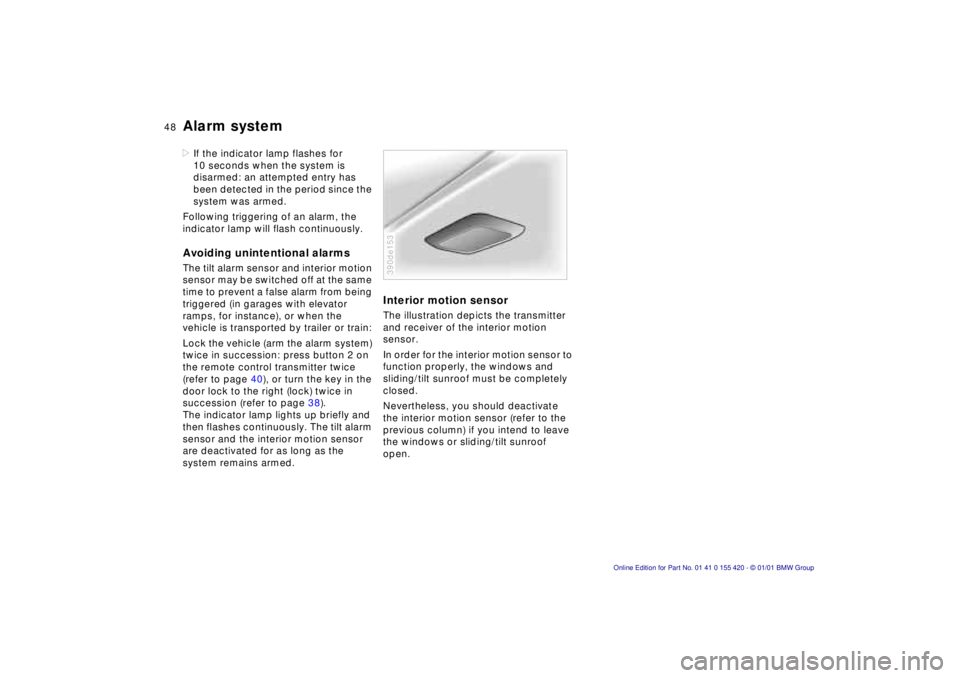
Interior motion sensorThe illustration depicts the transmitter
and receiver of the interior motion
sensor.
In order for the interior motion sensor to
function properly, the windows and
sliding/tilt sunroof must be completely
closed.
Nevertheless, you should deactivate
the interior motion sensor (refer to the
previous column) if you intend to leave
the windows or sliding/tilt sunroof
open.390de153
Page 51 of 238
IndexDataTechnologyRepairsCar careControlsOverview
51n
Sliding/Tilt sunroof
*
Automatic
* opening and closing
Press the appropriate end of the control
switch past the resistance point and
then release it.
Other automatic operations are:
>With the sunroof open, press the
switch briefly toward "Lift:" the sun-
roof automatically extends to its fully
raised position.
>With the sunroof lifted, press the
switch briefly toward "Open:" the
sunroof automatically opens all the
way.
Pressing the switch again briefly stops
the motion.Safety featureIf the sliding/tilt sunroof encounters
resistance at a point roughly past the
middle of its travel when it is closing,
the closing cycle is interrupted and the
sliding/tilt sunroof will open again
slightly.Despite this safety feature, be
extremely careful that the closing
path of the sunroof is not obstructed
whenever it is closed. Otherwise, trig-
gering the closing-force limitation may
not be ensured in some situations (with
very thin objects, for instance). You can
override this safety feature by pressing
the switch beyond the resistance point
and holding it.<
Sliding/tilt sunroof with glass
moonroof
*
The options and control procedures are
essentially the same as those previ-
ously described for the sliding/tilt sun-
roof. In order to open the raised roof,
press the control switch towards
"Open" until the roof has reached the
desired position.
The headliner insert slides back some-
what when you raise the sunroof. When
the sunroof is opened the headliner
retracts with it. The headliner will then
automatically remain in its retracted
position, but can be repositioned as
desired.
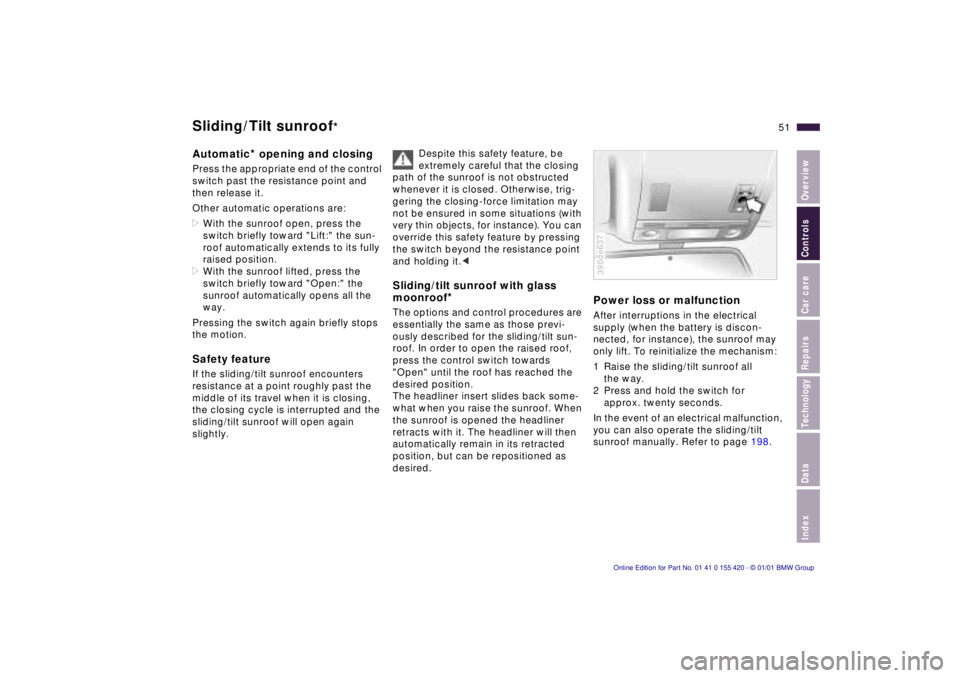
Power loss or malfunctionAfter interruptions in the electrical
supply (when the battery is discon-
nected, for instance), the sunroof may
only lift. To reinitialize the mechanism:
1 Raise the sliding/tilt sunroof all
the way.
2 Press and hold the switch for
approx. twenty seconds.
In the event of an electrical malfunction,
you can also operate the sliding/tilt
sunroof manually. Refer to page 198.390de637
Page 52 of 238
52n
For maximum safety, please comply
with the following instructions when ad-
justing a seat:
Never try to adjust your seat while
operating the vehicle. The seat
could respond with unexpected move-
ment, and the ensuing loss of vehicle
control could lead to an accident.
Wear the safety belt firmly against your
body at all times. In the event of a fron-
tal impact, a loose lap belt could slide
over your hips, leading to abdominal
injury. In addition, the safety belt's
restraint effectiveness is reduced if the
belt is worn loosely.
Never ride with the backrest reclined to
an extreme horizontal angle (especially
important for front passengers to
remember). Keep the backrest relatively
upright to minimize the risk of "sliding
under" the safety belt and sustaining
injury in an accident.
Do not slide the seats to the rear
when the vehicle is at an extreme angle
(on garage ramps or steep slopes, for
instance), to prevent the shoulder
strap's automatic height adjustment
mechanism from disengaging.<
Correct sitting postureTo reduce strain on the spinal column,
sit all the way back in the seat and rest
your back fully against the backrest.
The ideal sitting posture is achieved
with your head extending from your
spine in a straight line.
For long-distance driving, you may wish
to increase the backrest tilt-angle
slightly to reduce muscular tension.
Please remember that you should
always remain able to grasp the entire
periphery of the steering wheel without
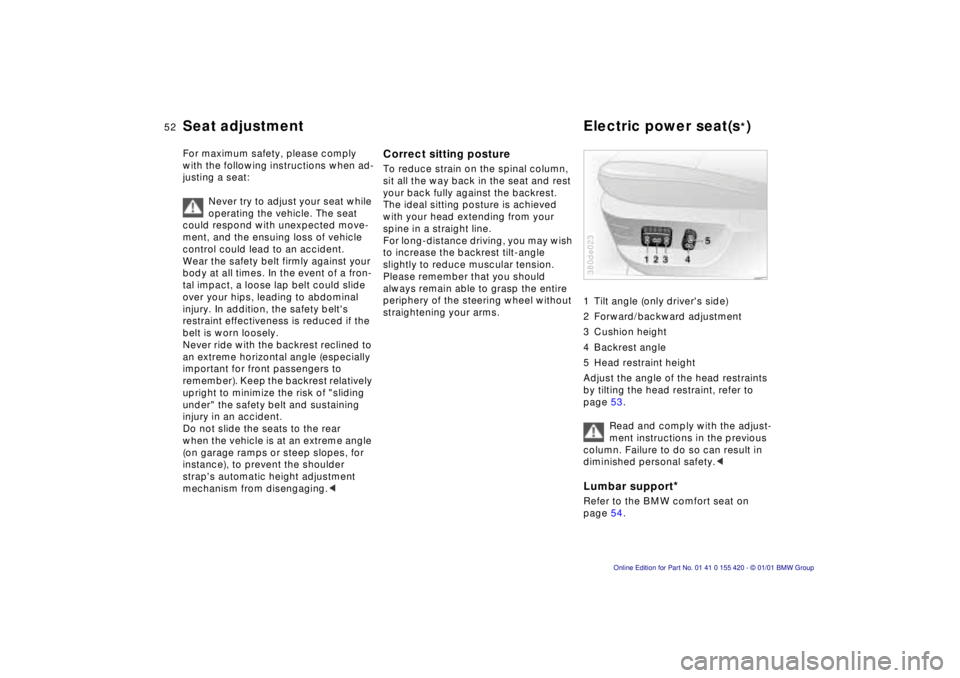
straightening your arms.1 Tilt angle (only driver's side)
2 Forward/backward adjustment
3 Cushion height
4 Backrest angle
5 Head restraint height
Adjust the angle of the head restraints
by tilting the head restraint, refer to
page 53.
Read and comply with the adjust-
ment instructions in the previous
column. Failure to do so can result in
diminished personal safety.<
Lumbar support
*
Refer to the BMW comfort seat on
page 54.380de023
Seat adjustment Electric power seat(s
*)
Page 57 of 238
IndexDataTechnologyRepairsCar careControlsOverview
57n
Mirrors
The mirror on the passenger's
side features a lens with a more
convex surface than the mirror installed
on the driver's side. When estimating
the distance between yourself and
other traffic, bear in mind that the
objects reflected in the mirror are
closer than they appear. This means
that estimations of the distance to
following traffic should not be regarded
as precise.<
Electric heatersBoth mirrors are heated automatically
with the ignition key in position 2.
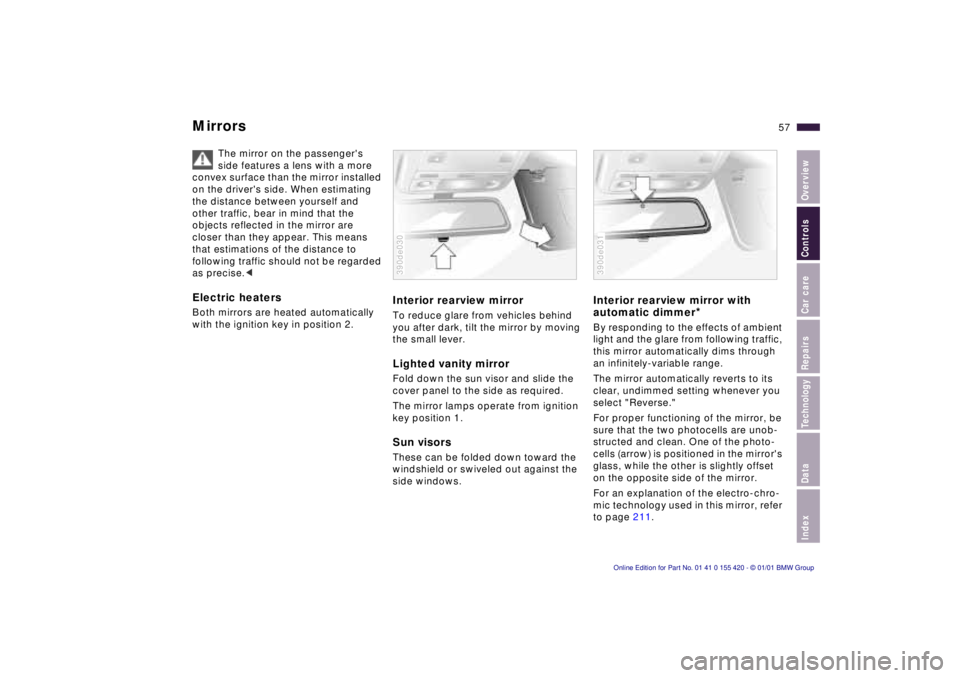
Interior rearview mirrorTo reduce glare from vehicles behind
you after dark, tilt the mirror by moving
the small lever.Lighted vanity mirrorFold down the sun visor and slide the
cover panel to the side as required.
The mirror lamps operate from ignition
key position 1.Sun visorsThese can be folded down toward the
windshield or swiveled out against the
side windows.390de030
Interior rearview mirror with
automatic dimmer
*
By responding to the effects of ambient
light and the glare from following traffic,
this mirror automatically dims through
an infinitely-variable range.
The mirror automatically reverts to its
clear, undimmed setting whenever you
select "Reverse."
For proper functioning of the mirror, be
sure that the two photocells are unob-
structed and clean. One of the photo-
cells (arrow) is positioned in the mirror's
glass, while the other is slightly offset
on the opposite side of the mirror.
For an explanation of the electro-chro-
mic technology used in this mirror, refer
to page 211.390de031
Page 63 of 238
IndexDataTechnologyRepairsCar careControlsOverview
63n
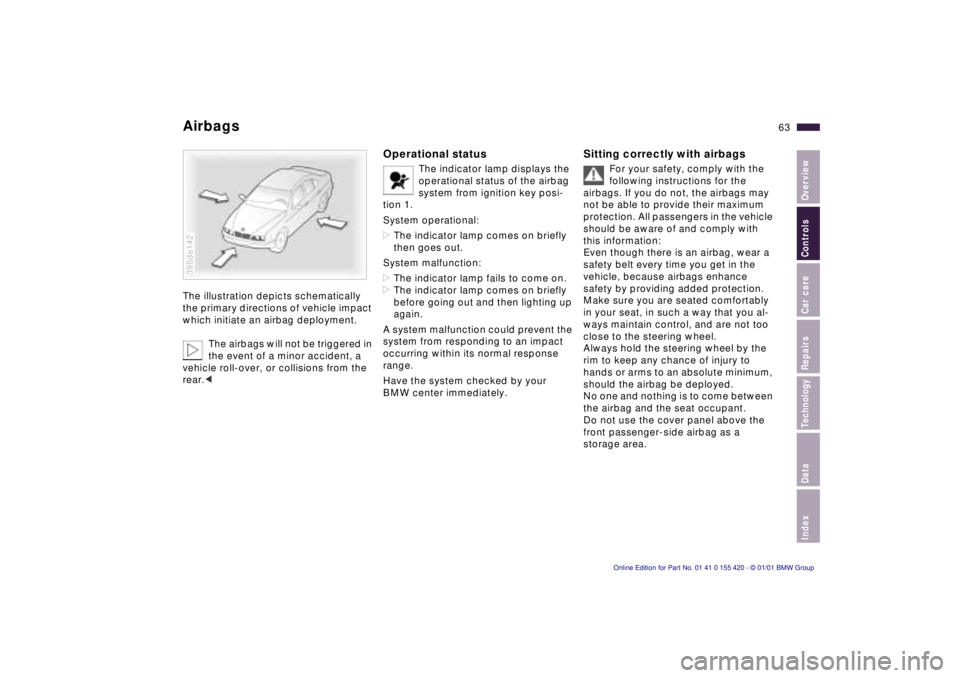
AirbagsThe illustration depicts schematically
the primary directions of vehicle impact
which initiate an airbag deployment.
The airbags will not be triggered in
the event of a minor accident, a
vehicle roll-over, or collisions from the
rear.c390de142
Operational status
The indicator lamp displays the
operational status of the airbag
system from ignition key posi-
tion 1.
System operational:
>The indicator lamp comes on briefly
then goes out.
System malfunction:
>The indicator lamp fails to come on.
>The indicator lamp comes on briefly
before going out and then lighting up
again.
A system malfunction could prevent the
system from responding to an impact
occurring within its normal response
range.
Have the system checked by your
BMW center immediately.
Sitting correctly with airbags
For your safety, comply with the
following instructions for the
airbags. If you do not, the airbags may
not be able to provide their maximum
protection. All passengers in the vehicle
should be aware of and comply with
this information:
Even though there is an airbag, wear a
safety belt every time you get in the
vehicle, because airbags enhance
safety by providing added protection.
Make sure you are seated comfortably
in your seat, in such a way that you al-
ways maintain control, and are not too
close to the steering wheel.
Always hold the steering wheel by the
rim to keep any chance of injury to
hands or arms to an absolute minimum,
should the airbag be deployed.
No one and nothing is to come between
the airbag and the seat occupant.
Do not use the cover panel above the
front passenger-side airbag as a
storage area.
Page 68 of 238
68n
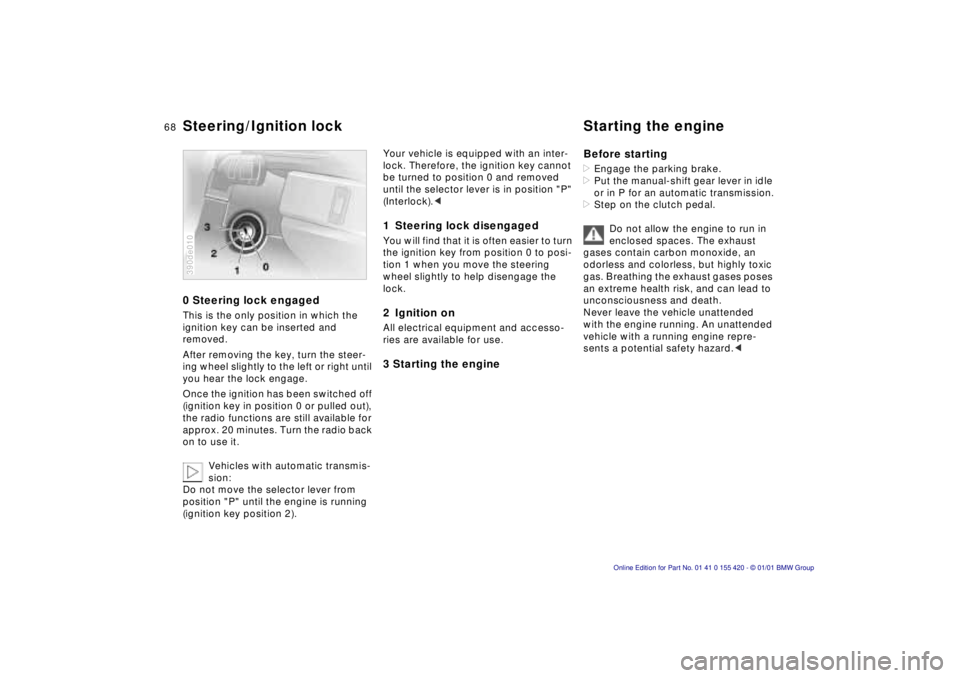
0 Steering lock engagedThis is the only position in which the
ignition key can be inserted and
removed.
After removing the key, turn the steer-
ing wheel slightly to the left or right until
you hear the lock engage.
Once the ignition has been switched off
(ignition key in position 0 or pulled out),
the radio functions are still available for
approx. 20 minutes. Turn the radio back
on to use it.
Vehicles with automatic transmis-
sion:
Do not move the selector lever from
position "P" until the engine is running
(ignition key position 2).390de010
Your vehicle is equipped with an inter-
lock. Therefore, the ignition key cannot
be turned to position 0 and removed
until the selector lever is in position "P"
(Interlock).< 1 Steering lock disengagedYou will find that it is often easier to turn
the ignition key from position 0 to posi-
tion 1 when you move the steering
wheel slightly to help disengage the
lock.2 Ignition onAll electrical equipment and accesso-
ries are available for use.3 Starting the engineBefore starting
>Engage the parking brake.
>Put the manual-shift gear lever in idle
or in P for an automatic transmission.
>Step on the clutch pedal.
Do not allow the engine to run in
enclosed spaces. The exhaust
gases contain carbon monoxide, an
odorless and colorless, but highly toxic
gas. Breathing the exhaust gases poses
an extreme health risk, and can lead to
unconsciousness and death.
Never leave the vehicle unattended
with the engine running. An unattended
vehicle with a running engine repre-
sents a potential safety hazard.<
Steering/Ignition lock Starting the engine
Page 70 of 238
70n
Parking brake Manual transmissionThe parking brake is primarily designed
to prevent the vehicle from rolling while
parked. It operates against the rear
wheels.To engageThe lever engages automatically and
the "PARK BRAKE" or "BRAKE" (in
Canada "P") indicator lamp comes on in
the instrument cluster in ignition key
position 2. Refer to pages 22 and 23.To releasePull up slightly on the lever, press the
button and lower the lever.390de042
If, in exceptional circumstances, it
should be necessary to engage
the parking brake while the vehicle is in
motion, do not pull it with excessive
pressure. Keep your thumb pressed
against the release button while care-
fully pulling up the lever to apply mod-
erate pressure.
Excessive pressure can lead to over-
braking and loss of traction (fishtailing)
at the rear.
The brake lamps do not come on when
the parking brake is applied.
Vehicles with manual transmission:
Always engage the parking brake
when parking on slopes and inclined
surfaces, since not even placing the
lever in 1st gear or reverse may not
provide adequate resistance to rolling.
Vehicles with automatic transmission:
Place the selector lever in "Park."<
To avoid corrosion, apply the parking
brake lightly from time to time when
coasting to a standstill (at a traffic sig-
nal, for instance), provided that it is safe
to do so.
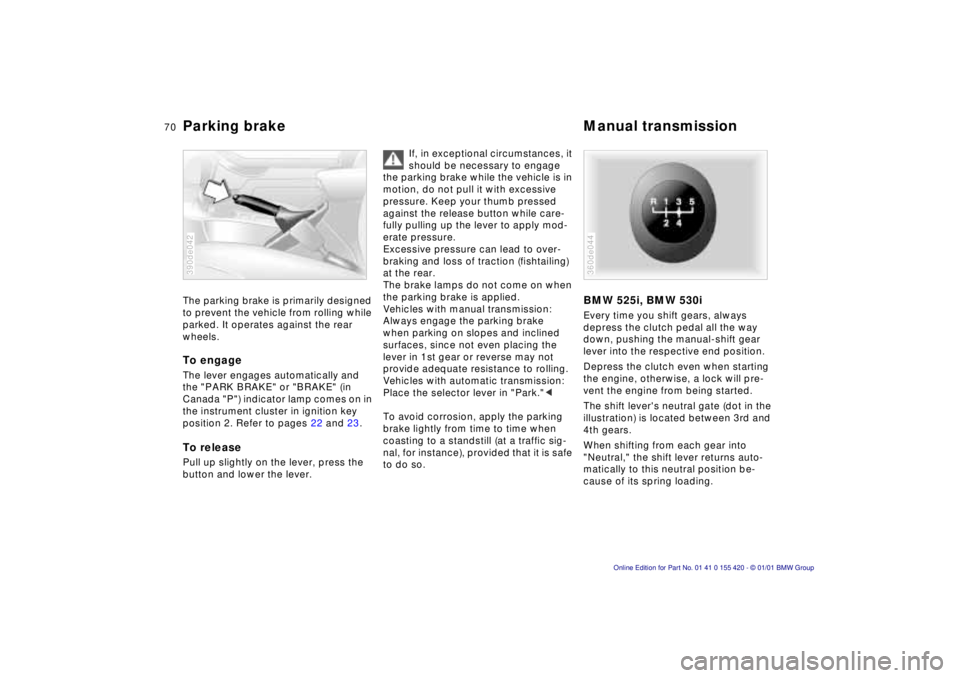
BMW 525i, BMW 530iEvery time you shift gears, always
depress the clutch pedal all the way
down, pushing the manual-shift gear
lever into the respective end position.
Depress the clutch even when starting
the engine, otherwise, a lock will pre-
vent the engine from being started.
The shift lever's neutral gate (dot in the
illustration) is located between 3rd and
4th gears.
When shifting from each gear into
"Neutral," the shift lever returns auto-
matically to this neutral position be-
cause of its spring loading.360de044
Page 84 of 238
84n
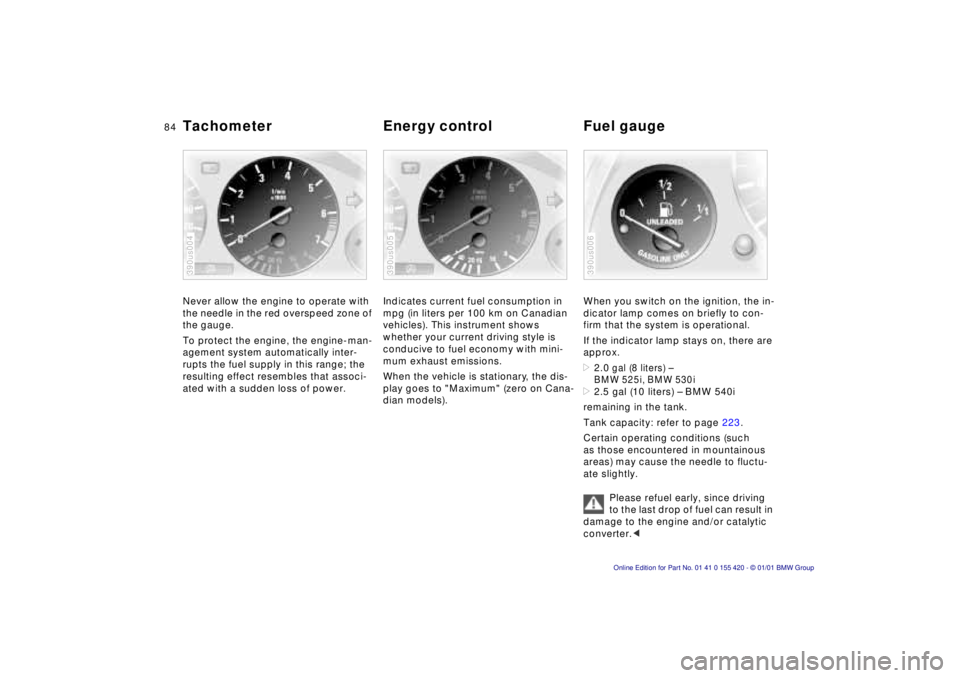
Tachometer Energy control Fuel gaugeNever allow the engine to operate with
the needle in the red overspeed zone of
the gauge.
To protect the engine, the engine-man-
agement system automatically inter-
rupts the fuel supply in this range; the
resulting effect resembles that associ-
ated with a sudden loss of power.390us004
Indicates current fuel consumption in
mpg (in liters per 100 km on Canadian
vehicles). This instrument shows
whether your current driving style is
conducive to fuel economy with mini-
mum exhaust emissions.
When the vehicle is stationary, the dis-
play goes to "Maximum" (zero on Cana-
dian models).390us005
When you switch on the ignition, the in-
dicator lamp comes on briefly to con-
firm that the system is operational.
If the indicator lamp stays on, there are
approx. >2.0
gal (8 liters) –
BMW 525i, BMW 530i
>2.5 gal (10 liters) – BMW 540i
remaining in the tank.
Tank capacity: refer to page 223.
Certain operating conditions (such
as those encountered in mountainous
areas) may cause the needle to fluctu-
ate slightly.
Please refuel early, since driving
to the last drop of fuel can result in
damage to the engine and/or catalytic
converter.< 390us006