2001 BMW 540I SEDAN light
[x] Cancel search: lightPage 174 of 238

174nCaring for your car
Window care
You can use window and glass cleaner
to clean inside window surfaces and
mirrors without smearing and streaking.
Never use polishing pastes or abrasive
(quartz) cleansers on mirror lenses.
When caring for break-resistant
security glass
*, observe the fol-
lowing instructions:
The inner surface of the side windows
is coated with a plastic film. For this
reason, do not affix any decals or adhe-
sive stickers on the inside of these win-
dows unless they are to be placed there
permanently.
Wash the glass with clean water. If nec-
essary, you may add a commercially-
available mild household cleaner. Do
not use abrasive cleaners.
If the windows are fogged or iced over,
treat them with an anti-misting cloth or
a deicer spray – do not use an ice
scraper. <
Clean the wiper blades with soapy wa-
ter. The wiper blades should be re-
placed twice a year, before and after
the cold season.
Use only wiper blades which have
been approved by BMW. <
Caring for other vehicle
components and materials
Light-alloy wheels should be treated
with alloy wheel cleaner, especially
during the winter months. However, do
not use aggressive products contain-
ing acids, strong alkalis or abrasives.
Do not use steam cleaners operating at
temperatures above 140 7 (60 6).
(Follow the manufacturer's instruc-
tions.)
If your vehicle has chrome parts
* such
as window moldings, door handles or
other items, clean these parts carefully
with ample clean water, especially if
they have an accumulation of road salt.
Use a chrome polish for an additional
treatment.
Plastic components, vinyl upholstery,
headliners, lamp lenses, the clear cover
of the instrument cluster and compo-
nents with a sprayed dull black surface
can be cleaned with water (add plastic
cleaner as required). Do not allow mois-
ture to soak through the seats or head-
liner. Never use solvents such as lac-
quer thinner, heavy-duty grease
remover, fuels, etc. Rubber components should be cleaned
with water only; a rubber treatment or
silicone spray may also be applied.
The safety belts should be cleaned with
a mild soap and water solution without
being removed from the vehicle. Never
attempt chemical or dry cleaning, as
damage to the belt fabric could result.
After cleaning, never allow the inertia
reel to retract the belts until they are
completely dry. Dirty safety belts pre-
vent the inertia reel mechanism from
retracting the strap properly, and thus
constitute a safety hazard.
Heavily soiled floor carpets and mats
*
can be cleaned with an interior cleaner.
The floor mats can be removed from
the vehicle for cleaning.
Please use only a damp cloth to clean
wooden fascia panels and components.
Follow up by drying with a soft cloth.
Use cleaning and car-care
products that you can obtain
at your BMW center. <
Page 175 of 238

Index
Data
Technology
Repairs
Car care
Controls
Overview
175nCaring for your car
Leather care
The leather* upholstery used by BMW
is a natural product of the highest qual-
ity, processed using state-of-the-art
methods to ensure that it will maintain
its high quality for years to come, pro-
vided that it is properly cared for.
Because this product is manufactured
using natural materials, you must make
allowance for its special characteristics
as well as for the peculiarities of its use
and care.
Regular periodic cleaning and care are
essential, as dust and road dirt act as
abrasives in the pores and creases of
the material. This leads to wear spots
and premature brittleness on the sur-
face of the leather. We therefore sug-
gest that you clean the leather with a
vacuum cleaner or dust cloth at fre-
quent intervals.
For cleaning, use BMW leather cleaning
foam.
Since dirt and grease gradually affect
the protective surface layer of the
leather, the cleaned surfaces should be
treated with a BMW leather care agent.
This also acts as an antistatic agent. For protection against dampness or
moisture, treat the leather with a BMW
impregnating agent.
We recommend that you perform this
procedure twice a year on leather ex-
posed to normal use.
Spills should be wiped up immediately.
Remove grease and oil stains without
rubbing, but rather by dabbing with
spot remover.
If the upholstery is to be exposed to in-
tense sunlight or if the vehicle is to be
stored for an extended period, cover all
leather surfaces (or, better yet, the win-
dows) to prevent fading.
Use cleaning and car-care
products that you can obtain
at your BMW center. <
Cleaning agents can contain sub-
stances that are dangerous or
pose health risks. Therefore, always
comply with the warnings and danger
notices on the package.
Open the doors or windows on your ve-
hicle before cleaning the interior. Never
clean your vehicle with cleaning agents
(or solvents) not specifically intended
for this purpose. <
Page 177 of 238

Index
Data
Technology
Repairs
Car care
Controls
Overview
177n
Any BMW center will be glad to inform
you of the advisability, legal require-
ments and factory recommendations
with regard to technical modifications
on the car. For this purpose, the center
requires the Vehicle Identification Num-
ber and, in some cases, also the engine
number.
Light-Emitting Diodes (LEDs)
Light-emitting diodes installed behind
translucent lenses serve as the light
source for many of the controls and dis-
plays in your vehicle. The concept be-
hind their operation is related to that
employed for lasers, and they are offi-
cially designated as Class 1 light-emit-
ting diodes. Do not remove the protective lens
and avoid staring directly at the
unfiltered beam for extended periods
(several hours), as inflammation of the
iris could result. <
California laws require us to state the
following warning:
Engine exhaust, some of its con-
stituents, and certain vehicle com-
ponents contain or emit chemicals
known to the State of California to
cause cancer and birth defects or other
reproductive harm. <
Technical modifications California Proposition 65 Warning
Page 178 of 238
178nOBD interface socket
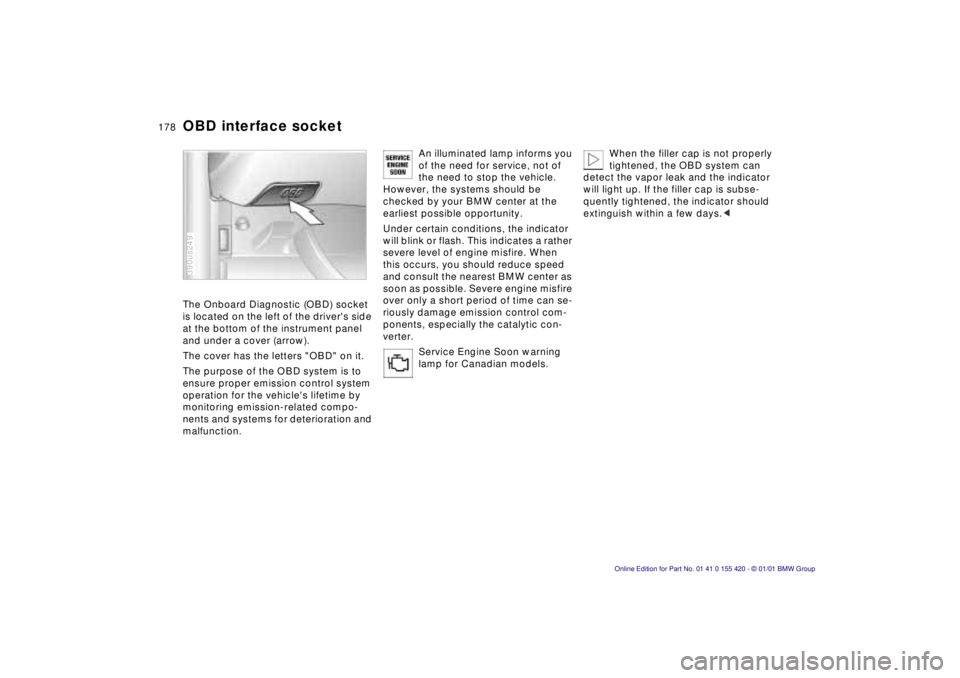
The Onboard Diagnostic (OBD) socket
is located on the left of the driver's side
at the bottom of the instrument panel
and under a cover (arrow).
The cover has the letters "OBD" on it.
The purpose of the OBD system is to
ensure proper emission control system
operation for the vehicle's lifetime by
monitoring emission-related compo-
nents and systems for deterioration and
malfunction.
390us249
An illuminated lamp informs you
of the need for service, not of
the need to stop the vehicle.
However, the systems should be
checked by your BMW center at the
earliest possible opportunity.
Under certain conditions, the indicator
will blink or flash. This indicates a rather
severe level of engine misfire. When
this occurs, you should reduce speed
and consult the nearest BMW center as
soon as possible. Severe engine misfire
over only a short period of time can se-
riously damage emission control com-
ponents, especially the catalytic con-
verter.
Service Engine Soon warning
lamp for Canadian models.When the filler cap is not properly
tightened, the OBD system can
detect the vapor leak and the indicator
will light up. If the filler cap is subse-
quently tightened, the indicator should
extinguish within a few days. <
Page 182 of 238
182n
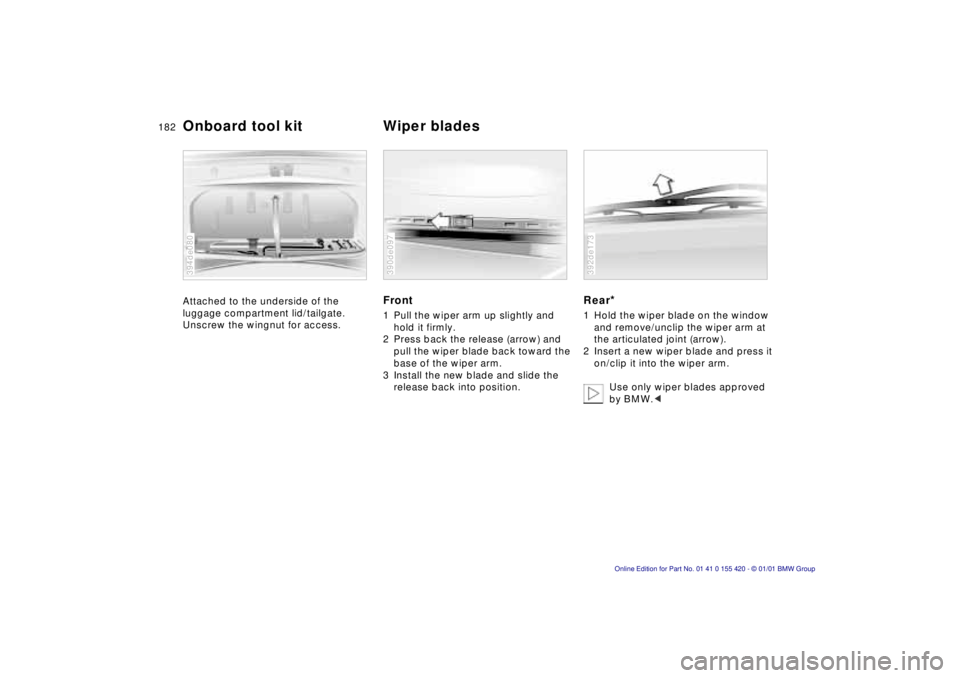
Attached to the underside of the
luggage compartment lid/tailgate.
Unscrew the wingnut for access.
394de080
Front
1 Pull the wiper arm up slightly and hold it firmly.
2 Press back the release (arrow) and pull the wiper blade back toward the
base of the wiper arm.
3 Install the new blade and slide the release back into position.
390de097
Rear*
1 Hold the wiper blade on the window and remove/unclip the wiper arm at
the articulated joint (arrow).
2 Insert a new wiper blade and press it on/clip it into the wiper arm.
Use only wiper blades approved
by BMW. <
392de173
Onboard tool kit Wiper blades
Page 184 of 238
184nLamps and bulbs
Xenon lamps*
The operating life of these lamp units is
extremely long and the likelihood of fail-
ure very low, provided that they are not
switched on and off a very great num-
ber of times. If one of these bulbs
should nevertheless fail, it is possible to
continue driving with great caution us-
ing the fog lamps, provided traffic laws
in your area do not prohibit this.
Because of the extremely high
voltages involved, any work on the
lighting system should be carried out by
technically-qualified personnel only.
Otherwise, there is a risk of fatal in-
jury. <
Parking lamp
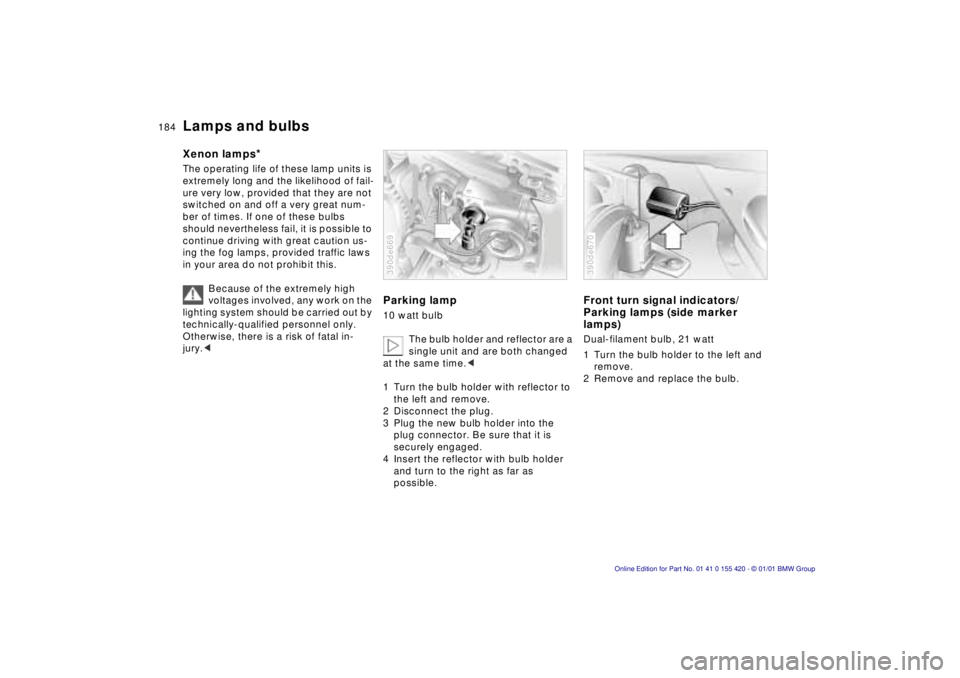
10 watt bulb
The bulb holder and reflector are a
single unit and are both changed
at the same time. <
1 Turn the bulb holder with reflector to the left and remove.
2 Disconnect the plug.
3 Plug the new bulb holder into the plug connector. Be sure that it is
securely engaged.
4 Insert the reflector with bulb holder and turn to the right as far as
possible.
390de669
Front turn signal indicators/
Parking lamps (side marker
lamps)
Dual-filament bulb, 21 watt
1 Turn the bulb holder to the left and
remove.
2 Remove and replace the bulb.
390de670
Page 188 of 238
188nLamps and bulbs
License plate lamps
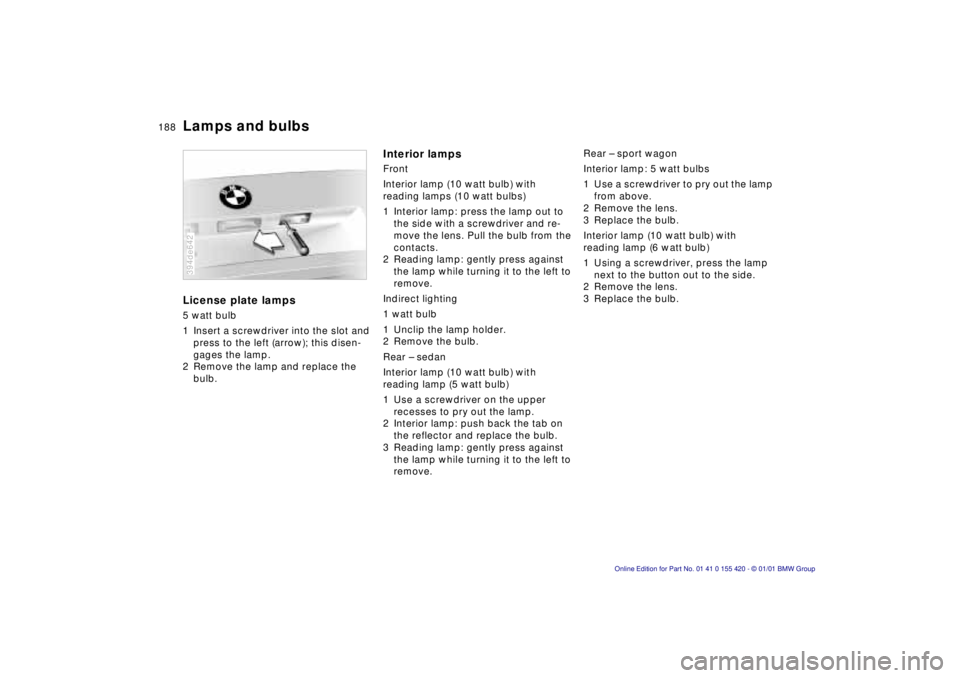
5 watt bulb
1 Insert a screwdriver into the slot and
press to the left (arrow); this disen-
gages the lamp.
2 Remove the lamp and replace the bulb.
394de642
Interior lamps
Front
Interior lamp (10 watt bulb) with
reading lamps (10 watt bulbs)
1 Interior lamp: press the lamp out to the side with a screwdriver and re-
move the lens. Pull the bulb from the
contacts.
2 Reading lamp: gently press against the lamp while turning it to the left to
remove.
Indirect lighting
1 watt bulb
1 Unclip the lamp holder.
2 Remove the bulb.
Rear – sedan
Interior lamp (10 watt bulb) with
reading lamp (5 watt bulb)
1 Use a screwdriver on the upper recesses to pry out the lamp.
2 Interior lamp: push back the tab on the reflector and replace the bulb.
3 Reading lamp: gently press against the lamp while turning it to the left to
remove. Rear – sport wagon
Interior lamp: 5 watt bulbs
1 Use a screwdriver to pry out the lamp
from above.
2 Remove the lens.
3 Replace the bulb.
Interior lamp (10 watt bulb) with
reading lamp (6 watt bulb)
1 Using a screwdriver, press the lamp next to the button out to the side.
2 Remove the lens.
3 Replace the bulb.
Page 192 of 238
192nChanging a wheel
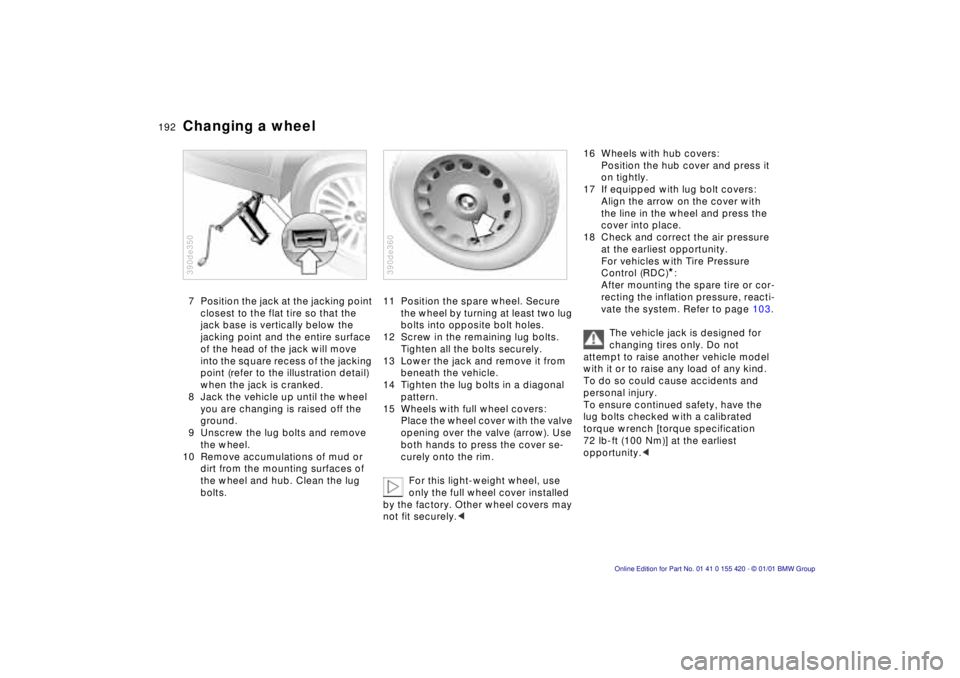
7 Position the jack at the jacking point
closest to the flat tire so that the
jack base is vertically below the
jacking point and the entire surface
of the head of the jack will move
into the square recess of the jacking
point (refer to the illustration detail)
when the jack is cranked.
8 Jack the vehicle up until the wheel you are changing is raised off the
ground.
9 Unscrew the lug bolts and remove the wheel.
10 Remove accumulations of mud or
dirt from the mounting surfaces of
the wheel and hub. Clean the lug
bolts.
390de350
11 Position the spare wheel. Secure the wheel by turning at least two lug
bolts into opposite bolt holes.
12 Screw in the remaining lug bolts. Tighten all the bolts securely.
13 Lower the jack and remove it from beneath the vehicle.
14 Tighten the lug bolts in a diagonal pattern.
15 Wheels with full wheel covers: Place the wheel cover with the valve
opening over the valve (arrow). Use
both hands to press the cover se-
curely onto the rim.
For this light-weight wheel, use
only the full wheel cover installed
by the factory. Other wheel covers may
not fit securely. <
390de360
16 Wheels with hub covers:
Position the hub cover and press it
on tightly.
17 If equipped with lug bolt covers: Align the arrow on the cover with
the line in the wheel and press the
cover into place.
18 Check and correct the air pressure at the earliest opportunity.
For vehicles with Tire Pressure
Control (RDC)
*:
After mounting the spare tire or cor-
recting the inflation pressure, reacti-
vate the system. Refer to page 103.
The vehicle jack is designed for
changing tires only. Do not
attempt to raise another vehicle model
with it or to raise any load of any kind.
To do so could cause accidents and
personal injury.
To ensure continued safety, have the
lug bolts checked with a calibrated
torque wrench [torque specification
72 lb-ft (100 Nm)] at the earliest
opportunity. <