2001 BMW 540I SEDAN engine
[x] Cancel search: enginePage 28 of 238
28n
RefuelingFuel filler door
Before refueling, shut the engine
off. If the engine is running, fuel
cannot be filled into the tank and the
Service Engine Soon lamp may come
on.<
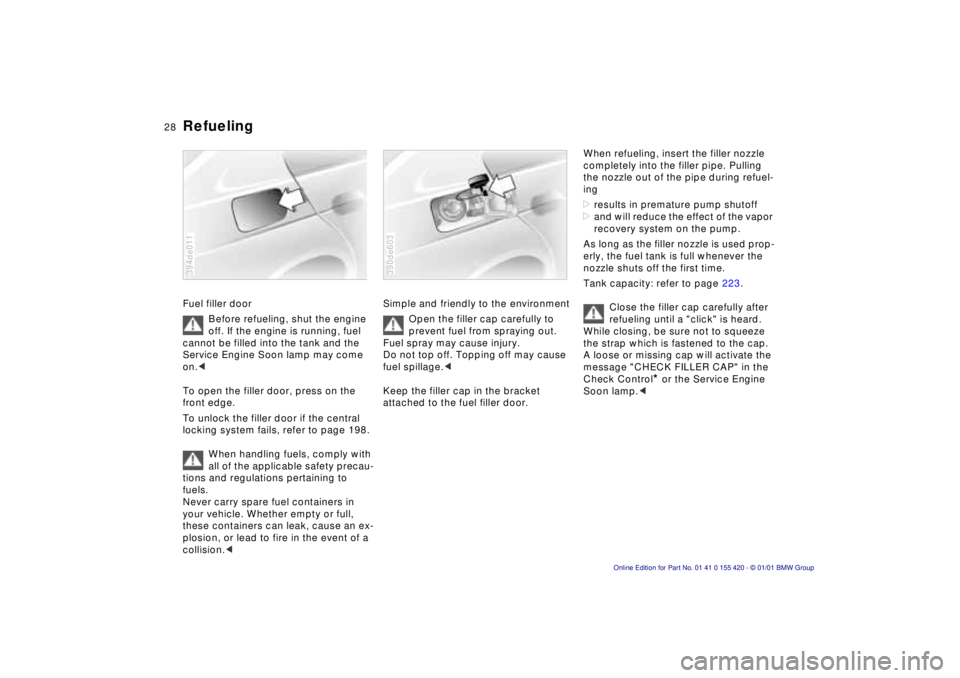
To open the filler door, press on the
front edge.
To unlock the filler door if the central
locking system fails, refer to page 198.
When handling fuels, comply with
all of the applicable safety precau-
tions and regulations pertaining to
fuels.
Never carry spare fuel containers in
your vehicle. Whether empty or full,
these containers can leak, cause an ex-
plosion, or lead to fire in the event of a
collision.< 394de011
Simple and friendly to the environment
Open the filler cap carefully to
prevent fuel from spraying out.
Fuel spray may cause injury.
Do not top off. Topping off may cause
fuel spillage.<
Keep the filler cap in the bracket
attached to the fuel filler door.390de603
When refueling, insert the filler nozzle
completely into the filler pipe. Pulling
the nozzle out of the pipe during refuel-
ing
>results in premature pump shutoff
>and will reduce the effect of the vapor
recovery system on the pump.
As long as the filler nozzle is used prop-
erly, the fuel tank is full whenever the
nozzle shuts off the first time.
Tank capacity: refer to page 223.
Close the filler cap carefully after
refueling until a "click" is heard.
While closing, be sure not to squeeze
the strap which is fastened to the cap.
A loose or missing cap will activate the
message "CHECK FILLER CAP" in the
Check Control
* or the Service Engine
Soon lamp.<
Page 29 of 238
IndexDataTechnologyRepairsCar careControlsOverview
29n
Fuel specifications Tire inflation pressureThe engine uses lead-free gasoline
only.
Required fuel:
>Premium Unleaded Gasoline,
min. 91 AKI
AKI = Anti Knock Index
Do not use leaded fuels. The use
of leaded fuels will cause perma-
nent damage to the system's oxygen
sensor and the catalytic converter.<
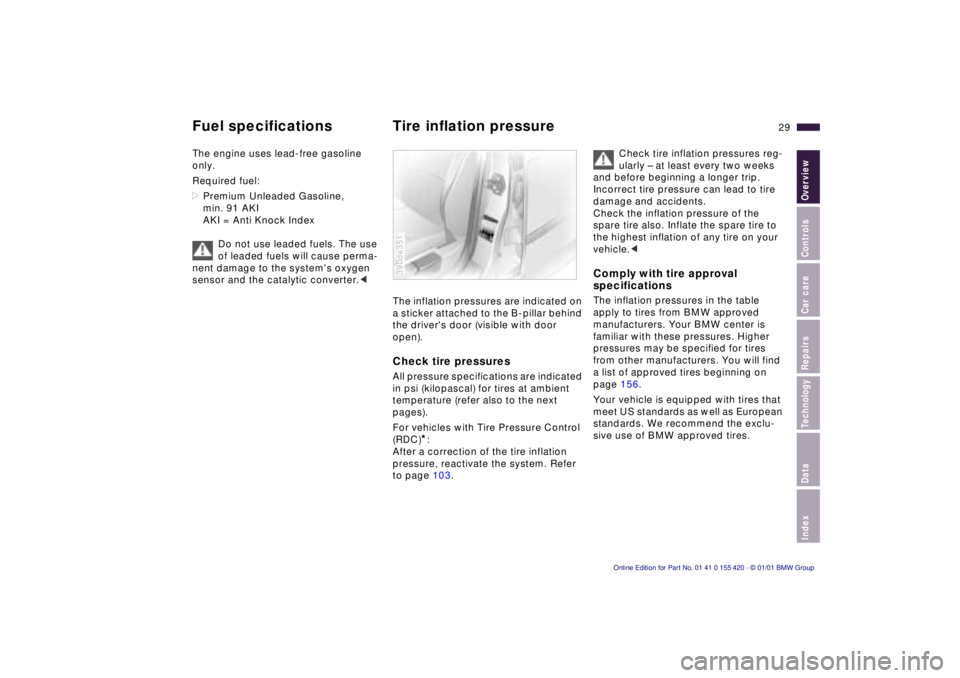
The inflation pressures are indicated on
a sticker attached to the B-pillar behind
the driver's door (visible with door
open).Check tire pressuresAll pressure specifications are indicated
in psi (kilopascal) for tires at ambient
temperature (refer also to the next
pages).
For vehicles with Tire Pressure Control
(RDC)
*:
After a correction of the tire inflation
pressure, reactivate the system. Refer
to page 103.
390de351
Check tire inflation pressures reg-
ularly – at least every two weeks
and before beginning a longer trip.
Incorrect tire pressure can lead to tire
damage and accidents.
Check the inflation pressure of the
spare tire also. Inflate the spare tire to
the highest inflation of any tire on your
vehicle.<
Comply with tire approval
specificationsThe inflation pressures in the table
apply to tires from BMW approved
manufacturers. Your BMW center is
familiar with these pressures. Higher
pressures may be specified for tires
from other manufacturers. You will find
a list of approved tires beginning on
page 156.
Your vehicle is equipped with tires that
meet US standards as well as European
standards. We recommend the exclu-
sive use of BMW approved tires.
Page 34 of 238

34n
Locks and security systems:
Keys 36
Electronic vehicle immobilizer 37
Central locking system 38
Opening and closing –
from the outside 38
With the key 38
With the remote control 38
Opening and closing – from the inside 42
Luggage compartment lid/ Tailgate 43
Rear window 44
Luggage compartment 46
Alarm system 47
Electric power windows 49
Sliding/Tilt sunroof 50
Adjustments:
Seats 52
Steering wheel 56
Mirrors 56
Seat, mirror and steering wheel memory 58
Car Memory, Key Memory 60
Passenger safety systems:
Safety belts 61
Airbags 62
Transporting children safely 66Driving:
Steering/Ignition lock
68
Starting the engine 68
Switching off the engine 69
Parking brake 70
Manual transmission 70
Automatic transmission 72
Automatic transmission with Steptronic 75
Indicator/Headlamp flasher 78
Wiper/Washer system 78
Rear window defroster 80
Cruise control 81
Everything under control:
Odometer, outside temperature display 83
Tachometer 84
Energy control 84
Fuel gauge 84
Coolant temperature gauge 85
Service Interval Display 85
Check Control 86
Computer 89
Multi-information display (MID) 91
Digital clock in the MID 92
Computer in the MID 95
Page 37 of 238
IndexDataTechnologyRepairsCar careControlsOverview
37n
Electronic vehicle immobilizerThe key to security Your BMW is equipped with a passive
anti-theft system. This electronic immo-
bilization system is designed to reduce
the susceptibility of your vehicle to theft
by making it impossible to start the en-
gine using any means other than the
special keys furnished with the vehicle.
Your BMW center can cancel the elec-
tronic system authorization for individ-
ual keys (in the event of loss, for in-
stance). A deactivated key can no
longer be used to start the engine.463de042
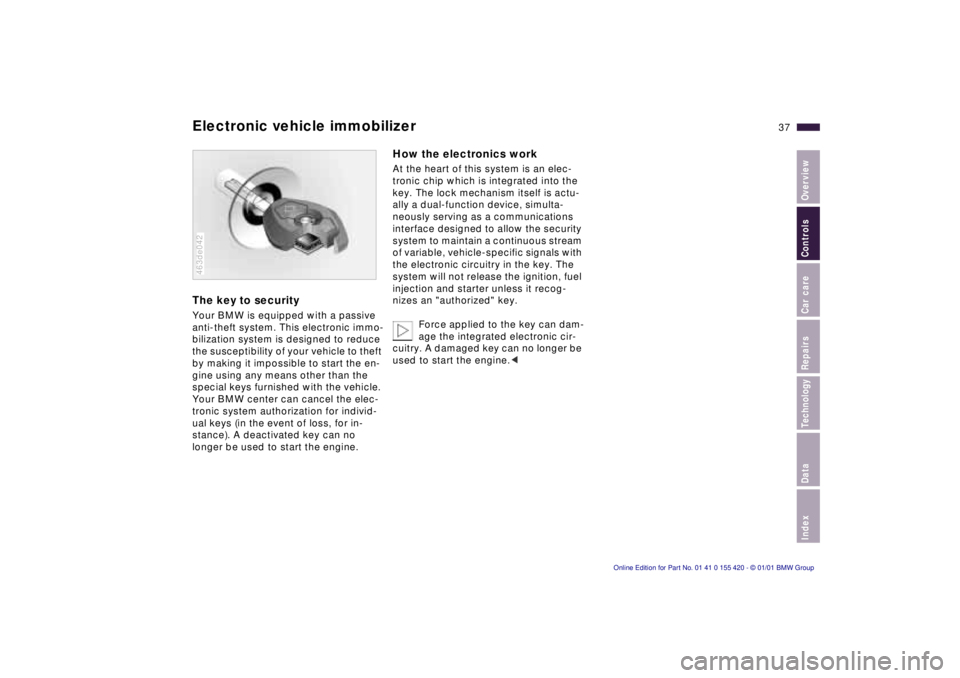
How the electronics workAt the heart of this system is an elec-
tronic chip which is integrated into the
key. The lock mechanism itself is actu-
ally a dual-function device, simulta-
neously serving as a communications
interface designed to allow the security
system to maintain a continuous stream
of variable, vehicle-specific signals with
the electronic circuitry in the key. The
system will not release the ignition, fuel
injection and starter unless it recog-
nizes an "authorized" key.
Force applied to the key can dam-
age the integrated electronic cir-
cuitry. A damaged key can no longer be
used to start the engine.<
Page 50 of 238
50n
Electric power windows Sliding/Tilt sunroof
*
Safety switchWith the safety switch, you can prevent
the rear windows from being opened or
closed via the switch in the rear pas-
senger area (by children, for example).
Press the safety switch whenever
children are riding in the rear of
the vehicle. Careless use of the power
windows can lead to injury.< 390de131
To prevent injuries, exercise care
when closing the sliding/tilt sun-
roof and keep it in your field of vision
until it is shut.
Before leaving the car, switch off the
electric sunroof mechanism by taking
out the ignition key. Do not leave chil-
dren unattended in the vehicle with ac-
cess to vehicle keys. Use of the key can
result in starting of the engine and op-
eration of vehicle systems such as
power sunroof, etc. Unsupervised use
of these systems can result in serious
personal injury.<
You can avoid pressure or drafts in the
passenger compartment when the sun-
roof is open or lifted by keeping the air
vents in the instrument panel open and
increasing the air supply as required.
Refer to pages 108 or 114.
If the sunroof is completely open, air
disturbances may be caused in the ve-
hicle when you are driving at higher
speeds. Close the roof as far as is nec-
essary until this natural phenomenon
ceases.
For the convenience mode via the door
lock or the remote control, refer to
page 38 or 40.
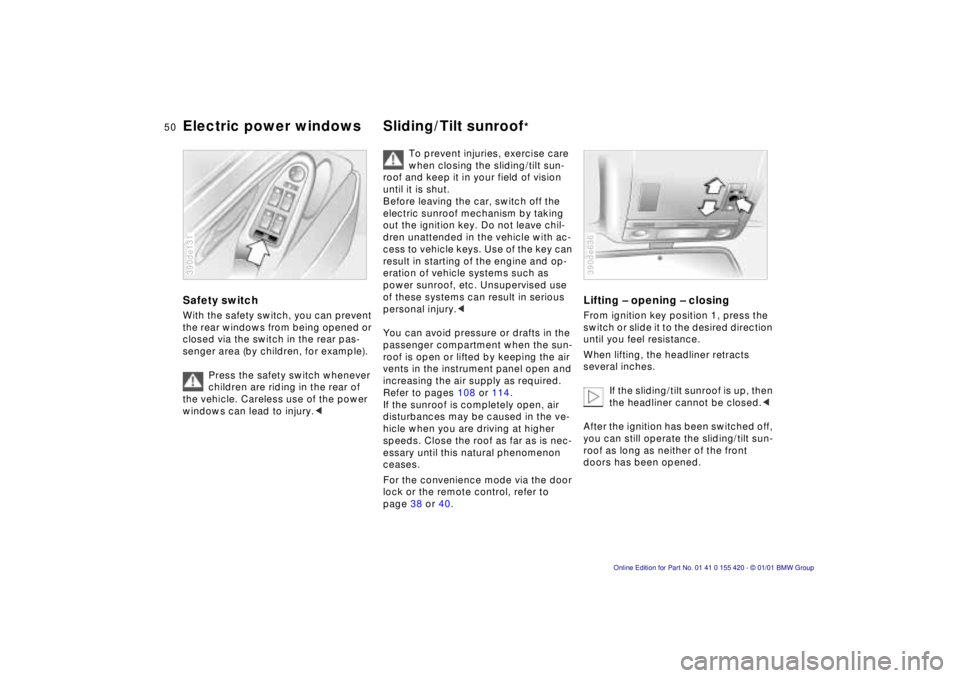
Lifting – opening – closingFrom ignition key position 1, press the
switch or slide it to the desired direction
until you feel resistance.
When lifting, the headliner retracts
several inches.
If the sliding/tilt sunroof is up, then
the headliner cannot be closed.<
After the ignition has been switched off,
you can still operate the sliding/tilt sun-
roof as long as neither of the front
doors has been opened.390de636
Page 68 of 238
68n
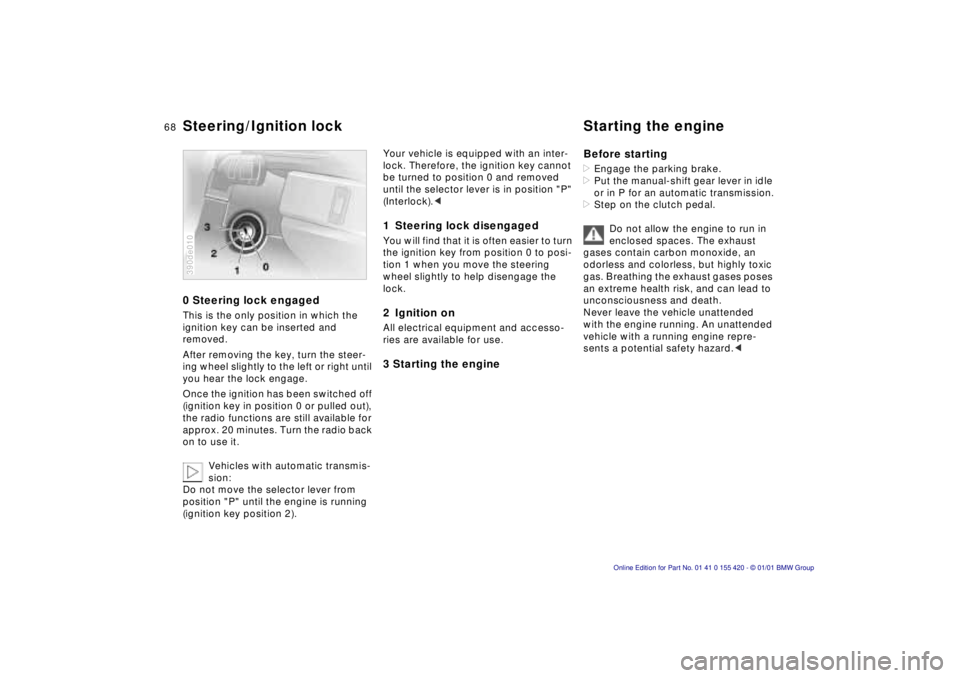
0 Steering lock engagedThis is the only position in which the
ignition key can be inserted and
removed.
After removing the key, turn the steer-
ing wheel slightly to the left or right until
you hear the lock engage.
Once the ignition has been switched off
(ignition key in position 0 or pulled out),
the radio functions are still available for
approx. 20 minutes. Turn the radio back
on to use it.
Vehicles with automatic transmis-
sion:
Do not move the selector lever from
position "P" until the engine is running
(ignition key position 2).390de010
Your vehicle is equipped with an inter-
lock. Therefore, the ignition key cannot
be turned to position 0 and removed
until the selector lever is in position "P"
(Interlock).< 1 Steering lock disengagedYou will find that it is often easier to turn
the ignition key from position 0 to posi-
tion 1 when you move the steering
wheel slightly to help disengage the
lock.2 Ignition onAll electrical equipment and accesso-
ries are available for use.3 Starting the engineBefore starting
>Engage the parking brake.
>Put the manual-shift gear lever in idle
or in P for an automatic transmission.
>Step on the clutch pedal.
Do not allow the engine to run in
enclosed spaces. The exhaust
gases contain carbon monoxide, an
odorless and colorless, but highly toxic
gas. Breathing the exhaust gases poses
an extreme health risk, and can lead to
unconsciousness and death.
Never leave the vehicle unattended
with the engine running. An unattended
vehicle with a running engine repre-
sents a potential safety hazard.<
Steering/Ignition lock Starting the engine
Page 69 of 238

IndexDataTechnologyRepairsCar careControlsOverview
69n
Starting the engine Switching off the engineStarting the engine>Start the engine. Do not press the
accelerator pedal.
Do not actuate the starter for too
short a time. Do not turn it for
more than approx. 20 seconds. Release
the ignition key immediately as soon as
the engine starts.
Do not allow the engine to warm up by
leaving it running while the vehicle re-
mains stationary. Instead, begin driving
immediately at a moderate engine
speed.
BMW 540i with automatic transmission:
Your BMW is equipped with the conve-
nience starting feature. Simply turn the
key to position 3 (starter) and then re-
lease it immediately.
The starter continues to operate auto-
matically.
The automatic starting mode will not
operate if the battery voltage is low.
Should this condition arise, it remains
possible to jump-start the engine (refer
to page 200).<
Should the engine fail to start on the
first attempt (if it is very hot or cold, for
instance):
>Press the accelerator pedal halfway
down while engaging the starter.
Cold starts at extremely low tempera-
tures, from approx. +57 (–156)
and at elevations above 3,300 ft
(1,000 meters):
>Be sure to let the starter remain
engaged somewhat longer the first
time (approx. 10 seconds).
>Press the accelerator pedal halfway
down while engaging the starter.
Engine idle speed is controlled by the
engine computer system. Increased
speeds at start-up are normal and
should decrease as the engine warms
up. If engine speed does not decrease,
service is required.
To prevent the battery from discharg-
ing, always deactivate electrical de-
vices which are not in use. Switch the
ignition off when the vehicle is not
being driven.Turn the ignition key to position 1 or 0.
Never remove the ignition key
while the vehicle is rolling. The
steering locks, making it impossible to
steer the vehicle.
Always remove the ignition key and en-
gage the steering lock before leaving
the vehicle.
Vehicles with manual transmission:
Always engage the parking brake
when parking on slopes and inclined
surfaces, since not even placing the
lever in 1st gear or reverse may not
provide adequate resistance to rolling.
Vehicles with automatic transmission:
Place the selector lever in "Park."<
Vehicles with automatic transmission
*:
The vehicle must be stationary and the
selector lever in "Park" before you can
remove the ignition key.
Page 70 of 238
70n
Parking brake Manual transmissionThe parking brake is primarily designed
to prevent the vehicle from rolling while
parked. It operates against the rear
wheels.To engageThe lever engages automatically and
the "PARK BRAKE" or "BRAKE" (in
Canada "P") indicator lamp comes on in
the instrument cluster in ignition key
position 2. Refer to pages 22 and 23.To releasePull up slightly on the lever, press the
button and lower the lever.390de042
If, in exceptional circumstances, it
should be necessary to engage
the parking brake while the vehicle is in
motion, do not pull it with excessive
pressure. Keep your thumb pressed
against the release button while care-
fully pulling up the lever to apply mod-
erate pressure.
Excessive pressure can lead to over-
braking and loss of traction (fishtailing)
at the rear.
The brake lamps do not come on when
the parking brake is applied.
Vehicles with manual transmission:
Always engage the parking brake
when parking on slopes and inclined
surfaces, since not even placing the
lever in 1st gear or reverse may not
provide adequate resistance to rolling.
Vehicles with automatic transmission:
Place the selector lever in "Park."<
To avoid corrosion, apply the parking
brake lightly from time to time when
coasting to a standstill (at a traffic sig-
nal, for instance), provided that it is safe
to do so.
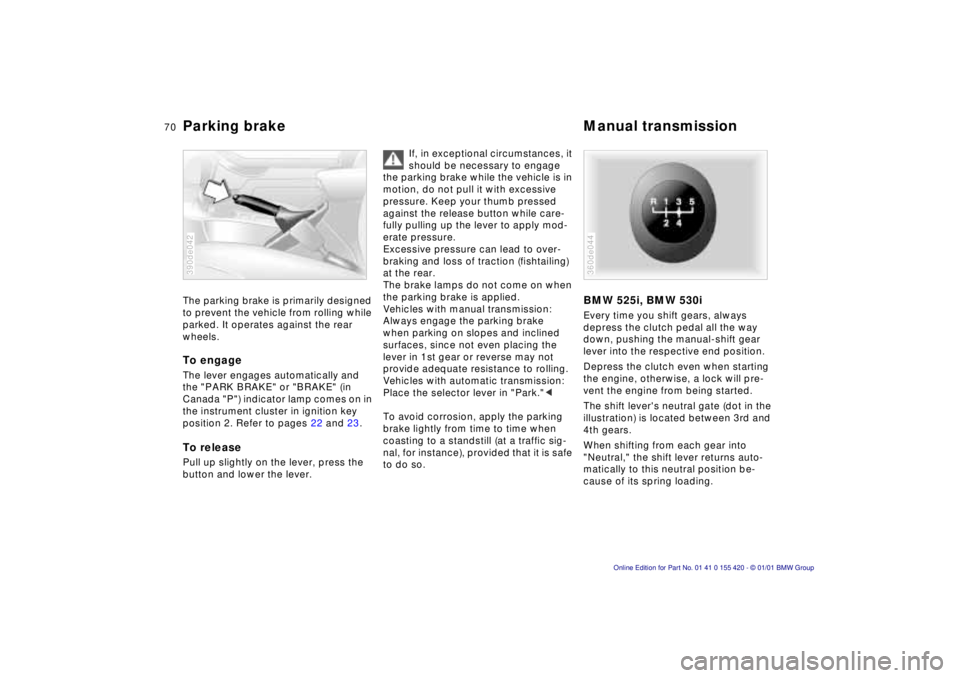
BMW 525i, BMW 530iEvery time you shift gears, always
depress the clutch pedal all the way
down, pushing the manual-shift gear
lever into the respective end position.
Depress the clutch even when starting
the engine, otherwise, a lock will pre-
vent the engine from being started.
The shift lever's neutral gate (dot in the
illustration) is located between 3rd and
4th gears.
When shifting from each gear into
"Neutral," the shift lever returns auto-
matically to this neutral position be-
cause of its spring loading.360de044