Page 2 of 118

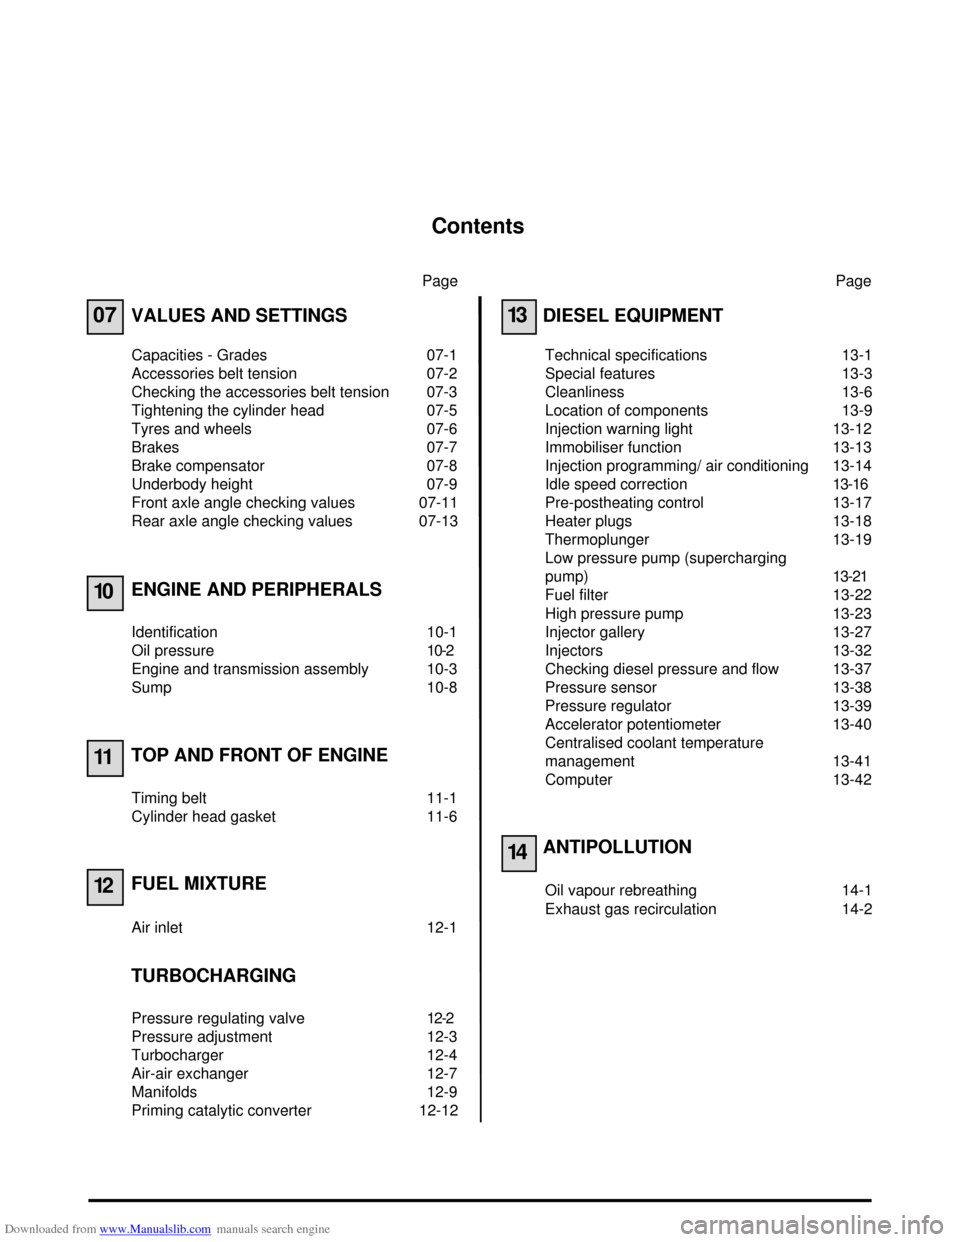
Downloaded from www.Manualslib.com manuals search engine Contents
Page
07
10
11
12
VALUES AND SETTINGS
Capacities - Grades 07-1
Accessories belt tension 07-2
Checking the accessories belt tension 07-3
Tightening the cylinder head 07-5
Tyres and wheels 07-6
Brakes 07-7
Brake compensator 07-8
Underbody height 07-9
Front axle angle checking values 07-11
Rear axle angle checking values 07-13
ENGINE AND PERIPHERALS
Identification 10-1
Oil pressure 10-2
Engine and transmission assembly 10-3
Sump 10-8
TOP AND FRONT OF ENGINE
Timing belt 11-1
Cylinder head gasket 11-6
FUEL MIXTURE
Air inlet 12-1
TURBOCHARGING
Pressure regulating valve 12-2
Pressure adjustment 12-3
Turbocharger 12-4
Air-air exchanger 12-7
Manifolds 12-9
Priming catalytic converter 12-12Page
13
14
DIESEL EQUIPMENT
Technical specifications 13-1
Special features 13-3
Cleanliness 13-6
Location of components 13-9
Injection warning light 13-12
Immobiliser function 13-13
Injection programming/ air conditioning 13-14
Idle speed correction13-16
Pre-postheating control 13-17
Heater plugs 13-18
Thermoplunger 13-19
Low pressure pump (supercharging
pump)13-21
Fuel filter 13-22
High pressure pump 13-23
Injector gallery 13-27
Injectors 13-32
Checking diesel pressure and flow 13-37
Pressure sensor 13-38
Pressure regulator 13-39
Accelerator potentiometer 13-40
Centralised coolant temperature
management 13-41
Computer 13-42
ANTIPOLLUTION
Oil vapour rebreathing 14-1
Exhaust gas recirculation 14-2
Page 34 of 118
Downloaded from www.Manualslib.com manuals search engine TOP AND FRONT OF ENGINE
Cylinder head gasket
11
11 - 8
Remove:
– the air filter assembly and the air inlet pipe,
– the air ducts (A) and (B),
– the injector connectors and the heater plugs,
– the connectors (1) and (2),
– the oil rebreather pipe (3),
16871R
Page 39 of 118
Downloaded from www.Manualslib.com manuals search engine FUEL MIXTURE
Air intake
12
112
FUEL MIXTURE
Air intake
AIR INTAKE CIRCUIT DIAGRAM
1 Air-air exchanger
2 Air filter
3 Flow meter
4 Inlet manifold
5 Turbocharger
A Air inlet
12-1
Page 56 of 118

Downloaded from www.Manualslib.com manuals search engine DIESEL EQUIPMENT
Special notes
13
13-5
POST-REPAIR CHECK
A fuel cock is fitted to the fuel filter at the level of the diesel return pipe leading to the tank. It should be in open
position for normal operation.
However, to carry out a circuit reignition after an intervention, a filter change or a fuel fault, you should:
– close the fuel cock,
– start the low pressure pump by switching on the ignition several times,
– start the engine,
– OPEN THE FUEL COCK (the valve is open when the two coloured lines are aligned).
NOTE: certain vehicles are not fitted with a fuel cock. In this case, ignore this operation.
IMPORTANT: the engine must not run with diesel containing more than 10 % diester.
The system can inject the diesel into the engine up to a pressure of 1350 bars. Before any intervention, check
that the injector rail is depressurised.
It is absolutely vital that you observe the tightening torque:
– of the high pressure pipes,
– of the injector on the cylinder head,
– of the pressure regulator,
– of the pressure sensor.
When the high pressure pump, injectors, supply, return and high pressure output unions are repaired or
removed, the bores should be fitted with new and appropriate core seals to avoid impurities.
When replacing a high pressure pipe, the following procedure should be observed:
– remove the high pressure pipe,
– fit the cleanliness plugs,
– loosen the high pressure rail and the pump/rail pipe,
– fit the high pressure pipe,
– tighten the injector side union to torque,
– tighten the connection on the high pressure pump side to torque,
– tighten the high pressure rail fastenings to torque.
– tighten the pump/rail pipe to torque (pump side first).
It is prohibited to remove the interior of the pump.
It is vital that you replace the fuel return pipe placed on the injectors during removal.
The diesel temperature sensor is not removable. It is part of the fuel return rail.
It is forbidden to loosen a high pressure pipe connection when the engine is running.After any operation, check that there are no diesel leaks. Start the engine at idling speed until the fan starts up,
then accelerate several times under no load.
Page 57 of 118

Downloaded from www.Manualslib.com manuals search engine DIESEL EQUIPMENT
Cleanliness
13
13-6
Cleanliness
CLEANLINESS INSTRUCTIONS WHICH MUST BE FOLLOWED WHEN WORKING ON THE HIGH PRESSURE
DIRECT INJECTION SYSTEM
Risks relating to contamination
The system is very sensitive to contamination. The risks caused by the introduction of pollution are:
– damage to or destruction of the high pressure injection system,
– seizing of a component or a component which is not sealed.
All after-sales operations must be performed under very good cleanliness conditions. This means that no impurities
(particles a few microns in size) have penetrated into the system during removal or into the circuits via the fuel
unions.
The cleanliness principle must be applied from the filter to the injectors.
WHAT ARE THE POLLUTING ELEMENTS?
The elements which pollute are:
– metal or plastic splinters,
– paint,
– fibres:
!of cardboard,
!of brushes,
!of paper,
!of clothing,
!of cloths.
– foreign bodies such as hair,
– ambient air,
– etc.
WARNING: it is impossible to clean the engine using a high pressure washer at the risk of damaging connections.
Also the moisture may collect in the connectors and cause electrical connection problems.
INSTRUCTIONS TO BE FOLLOWED BEFORE
ANY WORK IS CARRIED OUT ON THE INJECTION SYSTEM
!Ensure that you have plugs for the unions to be opened (bag of plugs sold by the Parts Department).
Plugs are to be used once only. After use, they must be thrown away (once used they are soiled and cleaning is
not sufficient to make them reusable).
Unused plugs must be thrown away.
!Ensure that you have the resealable plastic bags for storing removed parts. There is less risk of parts stored in this
way being subjected to impurities. The bags can be used only once, and once used they must be thrown away.
!Ensure that lint-free cleaning wipes are available (cloths with SODICAM part numbers). The use of conventional
cloth or paper is prohibited. In fact, these create lint and may contaminate the system's fuel circuit. A lint-free
cloth should only be used once.
Page 95 of 118
Downloaded from www.Manualslib.com manuals search engine ANTIPOLLUTION
Oil vapour rebreathing
14
14-1
114ANTIPOLLUTION
Oil vapour rebreathing
CIRCUIT DIAGRAM
1Engine
2Oil separator
3Air filter unit
4Inlet manifold
CHECKING
To ensure the correct operation of the anti-pollution
system, the oil vapour rebreathing circuit must be kept
clean and in good condition.AOil vapour rebreathing pipe for the bottom of engine
BOil vapour rebreathing pipe for the top of engine
COil separator
DOil vapour rebreathing pipe linked to the intake
pipes
13042R
DI1322
Page 99 of 118

Downloaded from www.Manualslib.com manuals search engine STARTING - CHARGING
Alternator
16
16-2
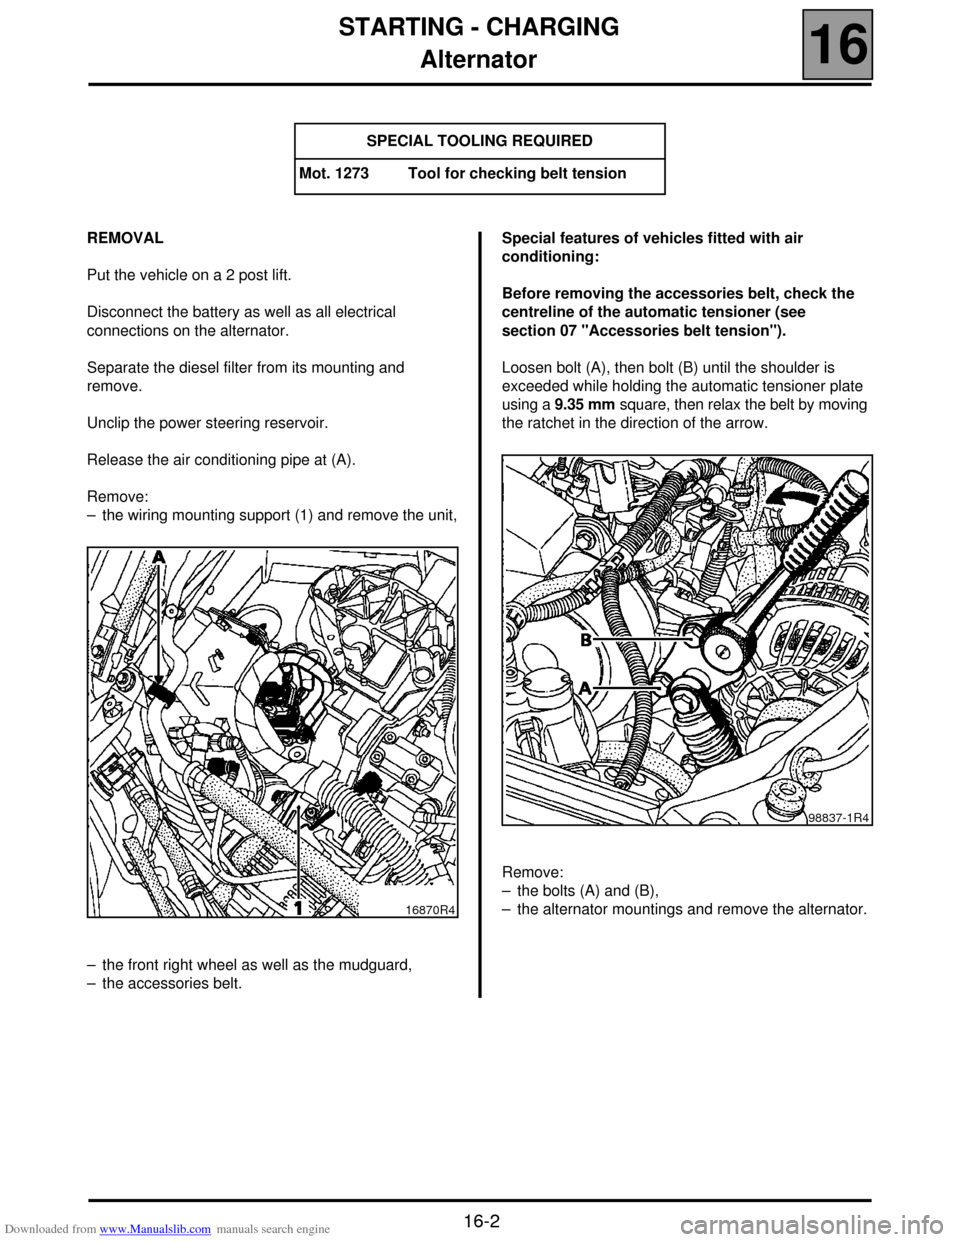
REMOVAL
Put the vehicle on a 2 post lift.
Disconnect the battery as well as all electrical
connections on the alternator.
Separate the diesel filter from its mounting and
remove.
Unclip the power steering reservoir.
Release the air conditioning pipe at (A).
Remove:
– the wiring mounting support (1) and remove the unit,
– the front right wheel as well as the mudguard,
– the accessories belt.Special features of vehicles fitted with air
conditioning:
Before removing the accessories belt, check the
centreline of the automatic tensioner (see
section 07 "Accessories belt tension").
Loosen bolt (A), then bolt (B) until the shoulder is
exceeded while holding the automatic tensioner plate
using a 9.35 mm square, then relax the belt by moving
the ratchet in the direction of the arrow.
Remove:
– the bolts (A) and (B),
– the alternator mountings and remove the alternator. SPECIAL TOOLING REQUIRED
Mot. 1273 Tool for checking belt tension
16870R4
98837-1R4