Page 42 of 280

SEATS AND SEATBELTS
3–14
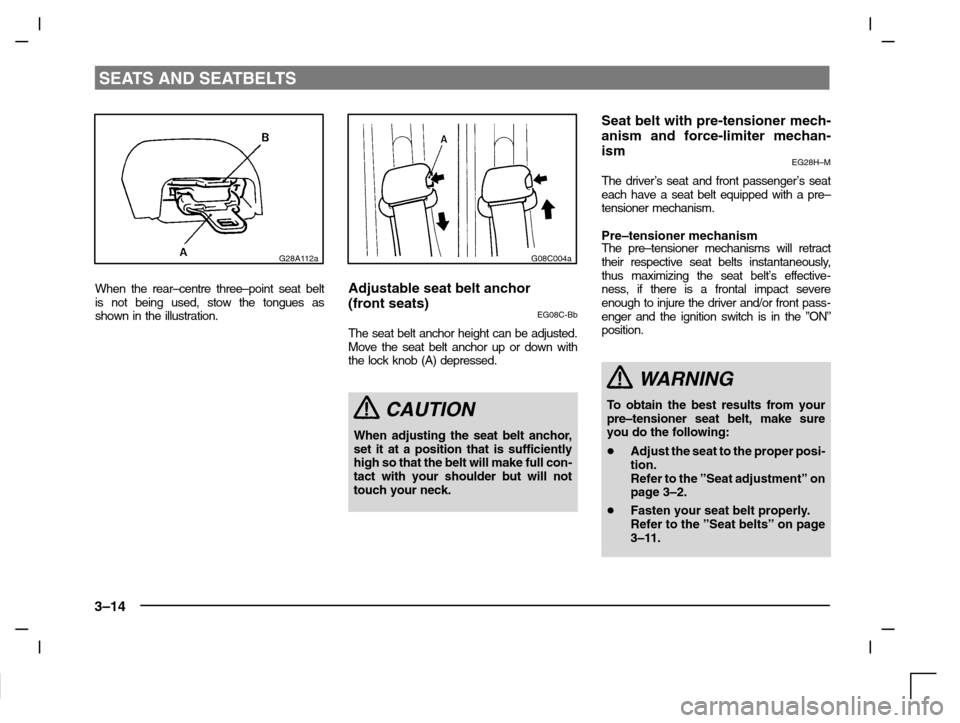
G28A112a
When the rear–centre three–point seat belt
is not being used, stow the tongues as
shown in the illustration.
G08C004a
Adjustable seat belt anchor
(front seats)
EG08C-Bb
The seat belt anchor height can be adjusted.
Move the seat belt anchor up or down with
the lock knob (A) depressed.
CAUTION
When adjusting the seat belt anchor,
set it at a position that is sufficiently
high so that the belt will make full con-
tact with your shoulder but will not
touch your neck.
Seat belt with pre-tensioner mech-
anism and force-limiter mechan-
ism
EG28H–M
The driver’s seat and front passenger’s seat
each have a seat belt equipped with a pre–
tensioner mechanism.
Pre–tensioner mechanismThe pre–tensioner mechanisms will retract
their respective seat belts instantaneously,
thus maximizing the seat belt’s effective-
ness, if there is a frontal impact severe
enough to injure the driver and/or front pass-
enger and the ignition switch is in the ”ON”
position.
WARNING
To o btain the best results from your
pre–tensioner seat belt, make sure
you do the following:
�Adjust the seat to the proper posi-
tion.
Refer to the ”Seat adjustment” on
page 3–2.
�Fasten your seat belt properly.
Refer to the ”Seat belts” on page
3–11.
Page 64 of 280

SEATS AND SEATBELTS
3–36
WARNING
(7) Never install a rear-facing child
restraint in the front passenger
seat. A forward-facing child re-
straint should be used in the rear
seat only, whenever possible. If a
forward-facing child restraint
must be used in the front passen-
ger seat, adjust the seat to the
fully backward position and take
care to ensure that the child stays
in the child restraint and away
from the door.
Do not allow the child to lean
against or close to the front door
even if the child is seated in a
child restraint system.
The child’s head should also not
be leaned against or be close to
the area of the seat where the side
air bag is located. It is dangerous
if the side air bag inflates.
Failure to follow all of these in-
structions could lead to serious
or fatal injury to the child.
WARNING
(8) Work around and on the side air
bag system components should
only be done by an authorized
MITSUBISHI dealer. Improper
work could result in inadvertent
deployment of a side air bag or
could render a side air bag inop-
erative; either situation could re-
sult in serious injury.
G28G153a
SRS warning lampEG29F-Ac
There is a supplemental restraint system
(“SRS”) warning lamp on the instrument
panel. The system checks itself and the
lamp tells you if there is a problem. When the
ignition key is turned to the “ON” or “START”
position, the warning lamp should illuminate
for several seconds and then should go out.
This means the system is ready.
The SRS warning lamp is shared by the fol-
lowing:
�Driver’s front air bag
�Front passenger’s front air bag
�Side air bags
�Seat belt pre-tensioners
Page 69 of 280

INSTRUMENTS AND CONTROLS
4–3
Type 2
D03A083a
Type 2The speedometer indicates the vehicle’s
speed in miles per hour (mph) and kilo-
metres per hour (km/h).
D03F036a
Odometer/TripmeterED03FANb
When the ignition switch is turned “ON”, the
odometer display is given in the lower dis-
play window (1). The upper display window
(2) shows the tripmeter A and tripmeter B
distances in that sequence. It then shows
the distance that was displayed before the
ignition switch was last turned to the “OFF”.
Every time the reset button (3) is pressed
lightly (less than one second), the upper dis-
play is changed as below.
D03F055a
OdometerThe odometer indicates the total distance
the vehicle has travelled.
TripmeterThere are two tripmeters: A and B. These
indicate the distance travelled during a par-
ticular trip or period.
4– Tripmeter A indicates the distance tra-
velled since the current trip begins.
5– Tripmeter B indicates the distance from
an intermediate location.
To r e t u r n the indication to 0, press the
reset button for more than 1 second.
Only the currently displayed value will
be reset.
Page 70 of 280
INSTRUMENTS AND CONTROLS
4–4
NOTE
(1) Display A and B each have a maximum
distance of 999.9 mile (km).
(2) When disconnecting the battery ter-
minal for a long time, the memory of trip-
meter display A and B are cleared, and
the display returns to “0”.
D04A067a
TachometerED04A-Ac
The tachometer indicates the engine speed
(r/min). The tachometer can help you obtain
more economical driving and also warns you
of excessive engine speeds.
CAUTION
During travel, watch the tachometer
making sure that the engine speed in-
dication does not rise to the red zone
(excessive engine rpm).
Type 1
D05A020a
Fuel gaugeED15A-Ea
The fuel gauge indicates the fuel level in the
fuel tank irrespective of the ignition switch
position.
0- Empty
1- Full
CAUTION
Do not drive with an extremely low
fuel level; running out of fuel could
cause damage to the catalytic con-
verter.
Page 71 of 280
INSTRUMENTS AND CONTROLS
4–5
Type 2
D05A024a
NOTE(1) The fuel lid mark (A) indicates the side
where the fuel lid (fuel filler port) is lo-
cated on the vehicle.
Refer to “Fuel usage” on page 5–3.
(2) Just after refueling, it takes time for the
correct fuel level to be indicated after
switching on the ignition.
Type 1
D06A035a
Water temperature gaugeED06A - Ld
The water temperature gauge indicates the
engine coolant temperature when the igni-
tion switch is “ON”.
CAUTION
If the indication needle enters the
overheating zone while the engine is
running, it indicates that the engine is
possibly overheating. Immediately
park your vehicle in a safe place and
make the necessary corrections.
(Refer to “Engine overheating” on
page 8–15.)
While driving, care should always be
taken to maintain the normal operat-
ing temperature.
Type 2
D06A024a
Page 74 of 280

INSTRUMENTS AND CONTROLS
4–8
Rear fog lamp indication lamp - amber
ED74A-B
This lamp illuminates while the rear fog lamp is on.
Door-ajar warning lamp - redED56A-Ca
This lamp illuminates when a door or the tailgate is
either open or incompletely closed.
CAUTION
Before moving your vehicle, check that the
warning lamp is OFF.
Brake warning lamp - redED23AAKb
With the ignition switch “ON”, the brake warning lamp
illuminates under the following conditions:
(1) When the parking brake lever has been en-
gaged.
(2) When the brake fluid level in the reservoir falls to
a low level.
CAUTION
(1) In the situations listed below, brake per-
formance may be compromised, if brakes
are applied suddenly; consequently,
avoid driving at high speeds or applying
the brakes suddenly. Furthermore, the ve-
hicle should be brought to a stop in a safe
location and your nearest authorized MIT-
SUBISHI dealer should be contacted.
�The brake warning lamp does not il-
luminate when the parking brake is ap-
plied or does not turn off when the
parking brake is released.
�The brake warning lamp remains il-
luminated during driving.
(2) The vehicle should be brought to a halt in
the following manner when brake per-
formance has deteriorated.
�Depress the brake pedal harder than
usual.
�Should the brakes fail, use engine
braking to reduce your speed and
slowly pull the parking brake lever to
park your vehicle.
Depress the brake pedal to operate the
stop lamp (brake lamp) to alert the ve-
hicles behind you.
Page 75 of 280

INSTRUMENTS AND CONTROLS
4–9
Charge warning lamp - redED54A–Ra
This lamp illuminates when the ignition key is turned
“ON”, and goes off after the engine has started.
CAUTION
If it illuminates while the engine is running,
there is a problem in the charging system. In
this case, immediately park your vehicle in a
safe place and contact your nearest author-
ized MITSUBISHI dealer.
�Abnormality in the charging system
�Broken alternator belt
Check engine indication lamp - amberED85AAKa
This lamp is a part of an onboard diagnostic system
which monitors the emissions, engine and automatic
transmission control systems.
If a problem is detected in one of these systems, this
lamp illuminates or flashes. Although your vehicle will
usually be drivable and not need towing, have the sys-
tem checked as soon as possible at an authorized
MITSUBISHI dealer.
This lamp will also illuminate for a few seconds when
the ignition key is turned to the “ON” position. If it does
not go off after a few seconds, take the vehicle to an
authorized MITSUBISHI dealer.
CAUTION
(1) Prolonged driving with this lamp on may
cause further damage to the emission
control system. It could also affect fuel
economy and drivability.
(2) If the lamp does not illuminate when the
ignition key is turned to the “ON” posi-
tion, have the system checked at an auth-
orized MITSUBISHI dealer.
Page 76 of 280

INSTRUMENTS AND CONTROLS
4–10
CAUTION
(3) If the lamp illuminates or flashes while the
engine is running, avoid driving at high
speeds and have the system checked at
an authorized MITSUBISHI dealer.
During vehicle operation with the lamp il-
luminated or flashing, the vehicle may not
accelerate when you depress the acceler-
ator pedal.
When the vehicle is stationary with the
lamp illuminated or flashing, you must de-
press the brake pedal more firmly than
usual since the engine idling speed is
higher than usual and the vehicle with an
automatic transmission has a stronger
tendency to creep forward.
NOTE
The engine electronic control module accommodat-
ing the onboard diagnostic system has various fault
data (especially about the exhaust emission) stored.
This data will be erased if a battery cable is discon-
nected, which will make rapid diagnosis difficult. Do
not disconnect a battery cable when the check engine
indication lamp is ON.
Oil pressure warning lamp - redED25A-Ai
This lamp illuminates when the ignition key is turned
“ON”, and goes off after the engine has started. If it il-
luminates while the engine is running, the oil pressure
is too low.
If the warning lamp illuminates while the engine is run-
ning, turn the engine off and contact your nearest
authorized MITSUBISHI dealer for inspection.
CAUTION
(1) If this lamp illuminates when the engine
oil level is not low, contact your nearest
authorized MITSUBISHI dealer for inspec-
tion.
(2) This warning lamp does not indicate the
amount of oil in the crankcase. This must
be determined by checking the oil level on
the dipstick, while the engine is switched
off.
(3) If you continue driving with low engine oil
level or with this warning lamp illumi-
nated, engine seizure may occur.
NOTE
The oil pressure warning lamp should not be treated
as an indication of the engine’s oil level. The oil level
must be checked using the dipstick.