2000 MERCEDES-BENZ CLK-CLASS manual radio set
[x] Cancel search: manual radio setPage 127 of 299

Audio system
Te ch n ica l
data Instruments
and controlsOperationDrivingInstrument
cluster displayPractical hints Car care Index Operation
Switching on and off
Press the control knob .
The radio is switched off when the ignition key is turned
to position 0 or removed from the ignition. The radio is
switched on again when the ignition key is turned to
position 1 or 2.
Note:
The radio can also be switched on even if the ignition
key is not inserted, but will switch itself off
automatically after one hour to conserve vehicle battery
power.
Adjusting the volume
Turn the control knob - turning the knob clockwise will
increase the volume, counterclockwise will decrease the
volume.Audio functions
The AUD key is used to select the BASS, TREBLE and
BALANCE functions. Settings for bass and treble are
stored separately for the cassette and CD modes. Tone
level settings are identified by the vertical bars. The
center (flat) setting is shown by one longer bar in the
center of the display.
Bass
Press the AUD key repeatedly
until “BASS” appears in the
display.
Treble
Press the AUD key repeatedly
until “TREBLE” appears in the
display.
Press the “+” key to increase
or the “-” key to decrease the level.
127
ProCarManuals.com
Page 131 of 299

Audio system
Te ch n ica l
data Instruments
and controlsOperationDrivingInstrument
cluster displayPractical hints Car care Index Cassette mode
Note:
Vehicles equipped with the COMAND system do not
come with a factory installed cassette mechanism.
A standard 1/8” stereo phono plug for auxiliary audio
input (located in glove box) is provided for connection of
a portable battery operated cassette player or any other
portable device which uses a headphone output. Please
refer to the COMAND operating manual for information
concerning the activation of the audio input.
Playing cassettes
Press the “TAPE” button. When the eject (EJ) key is
pressed, the display folds down and the cassette slot
becomes visible. Push the cassette into the slot until it
engages. The cassette will be pulled in automatically.
Note:
Do not press directly on the radio display face.
Return the display panel to its normal position by
folding it back up and pressing gently on the display
frame to lock in place. Important!
If the display is in the down position for more than
20 seconds, 2 successive beeps will be heard. This will
continue at 5 second intervals until the display is
returned to its normal position.
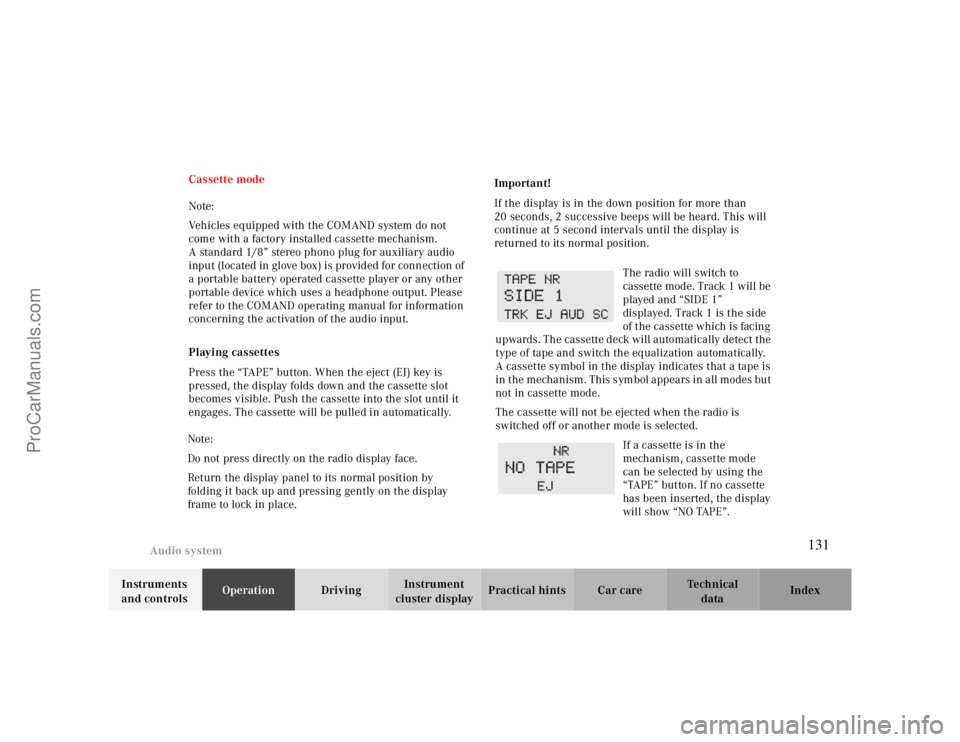
The radio will switch to
cassette mode. Track 1 will be
played and “SIDE 1”
displayed. Track 1 is the side
of the cassette which is facing
upwards. The cassette deck will automatically detect the
type of tape and switch the equalization automatically.
A cassette symbol in the display indicates that a tape is
in the mechanism. This symbol appears in all modes but
not in cassette mode.
The cassette will not be ejected when the radio is
switched off or another mode is selected.
If a cassette is in the
mechanism, cassette mode
can be selected by using the
“TAPE” button. If no cassette
has been inserted, the display
will show “NO TAPE”.
131
ProCarManuals.com
Page 132 of 299

Audio system
Te ch n ica l
data Instruments
and controlsOperationDrivingInstrument
cluster displayPractical hints Car care Index
Cassette eject
Press the eject (EJ) key. The display will fold down and
the cassette will be ejected. Remove the cassette, then
fold the display back up manually. The radio will switch
back to radio mode automatically.
Note:
The cassette will not be ejected when the radio is
switched off.
Important!
If the display is in the down position for more than
20 seconds, 2 successive beeps will be heard. This will
continue at 5 second intervals until the display is
returned to its normal position.
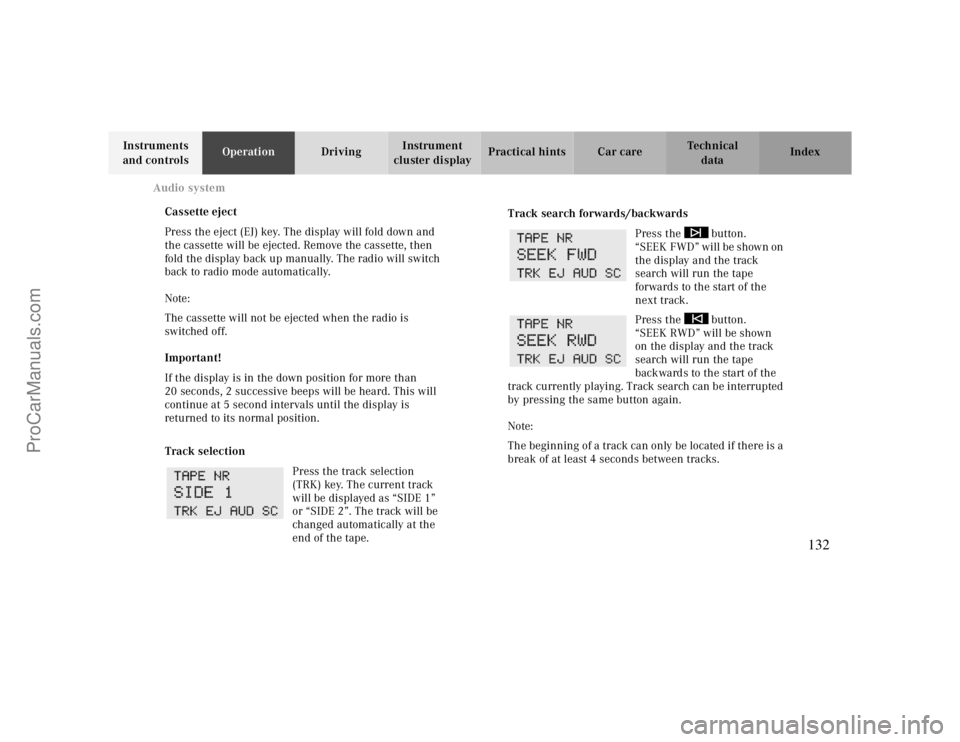
Track selection
Press the track selection
(TRK) key. The current track
will be displayed as “SIDE 1”
or “SIDE 2”. The track will be
changed automatically at the
end of the tape.
Track search forwards/backwards
Press the button.
“SEEK FWD” will be shown on
the display and the track
search will run the tape
forwards to the start of the
next track.
Press the button.
“SEEK RWD” will be shown
on the display and the track
search will run the tape
backwards to the start of the
track currently playing. Track search can be interrupted
by pressing the same button again.
Note:
The beginning of a track can only be located if there is a
break of at least 4 seconds between tracks.
132
ProCarManuals.com
Page 135 of 299

Audio system
Te ch n ica l
data Instruments
and controlsOperationDrivingInstrument
cluster displayPractical hints Car care Index
CD changer installed
1CD changer
1
2CD magazine
3CD tray
4CD
If a CD changer1 is installed, it can be operated from the
front control panel of the radio. A loaded magazine must
be installed for CD playing.
1 Optional equipment
Loading/emptying the CD magazine
Slide the changer door to the right and press the eject
button . The magazine will be ejected. Remove the
magazine. Pull out the CD tray until its stop is reached
and place the CDs in the recess of the tray, label side up.
Push the tray into the magazine in the direction shown
by the arrow. Insert the loaded magazine into the
changer.
Important!
Close the door after the magazine has been inserted.
Playing CDs
Press the “CD” button. The CD most recently played will
start at the point where it was last switched off. CDs
stored in the magazine can be selected by using the
station preset buttons 1-6.
The magazine slot number of
the selected CD will then be
displayed after “CD”. The
number of the track being
played will be displayed after
“TRACK”.
3
2
2
1
4
135
ProCarManuals.com
Page 170 of 299

Tele Aid
Te ch n ica l
data Instruments
and controlsOperationDrivingInstrument
cluster displayPractical hints Car care Index
Should a higher priority call be initiated while you are
connected, an upgrade (alternating) tone will be heard,
and the appropriate indicator lamp will flash. If certain
information such as vehicle identification number or
client information is not available, the operator may
need to retransmit. During this time you will hear a
chirp and voice contact will be interrupted. Voice
contact will resume once the retransmission is
completed. Once a call is concluded, a chirp will be
heard and the appropriate indicator lamp will stop
flashing. The COMAND system operation will resume
(only vehicles with COMAND).
Important!
If the indicator lamp continues to flash or the system
does not reset, contact the Response Center at
1-800-756-9018 (in the USA) or 1-888-923-8367 (in
Canada), or Mercedes-Benz Client Assistance at
1-800-FOR-MERCedes (1-800-367-6372) in the USA or
Customer Service at 1-800-387-0100 in Canada.Notes:
The indicator lamp in the respective button f lashes until
the call is concluded. Calls can only be terminated by a
Response Center or Client Assistance Center
representative
.
When a Tele Aid call has been initiated, the audio
system or the COMAND system audio (only vehicles
with COMAND) is muted and the selected mode (radio,
tape or CD) pauses. The optional cellular phone (if
installed) switches off. If you must use this phone, the
vehicle must be parked. Disconnect the coiled cord and
place the call. The navigation system (if engaged) will
continue to run. The display in the instrument cluster is
available for use and spoken commands are only
available by pressing the RPT button on the COMAND
unit. A pop-up window will appear in the COMAND
display to indicate that a Tele Aid call is in progress.
170
ProCarManuals.com
Page 291 of 299

IndexAABS (Antilock brake system)………………………….198ABS-SYSTEM - malfunction and
warning messages .................................................. 216
Adjusting headlamp aim ........................................... .261Adjusting telescoping steering column ........................73Air conditioner refrigerant........................................ 285Airbag OFF indicator lamp ..........................................212Airbags ........................................................................64Antilock brake system (ABS) ...................................... 198
Malfunction indicator lamp ....................................211
Antitheft alarm system..................................................41Aquaplaning .............................................................. .188Ashtray
Center console, front ..............................................150Rear seats ..............................................................151
Audio system
Anti-theft system ....................................................125Button and soft key operation ................................126Cassette mode.........................................................131CD changer ............................................................135
CD mode................................................................ 134Operating and display elements ............................. 124Operating safety .................................................... 123Operation .............................................................. 127Operation Audio and telephone .............................. 123Radio mode ........................................................... 129Telephone operation .............................................. 138
Audio systems ............................................................. 89
Cassette player ........................................................ 91CD player................................................................. 90Radio ....................................................................... 89
Automatic climate control............................................ 116
Air distribution ..................................................... .120Air recirculation .................................................... .121Air volume ............................................................ .120Basic setting.......................................................... 118Defogging windows ................................................ 119Defrosting............................................................... 119Display and controls ............................................... 118Dust filter .............................................................. .122Economy................................................................. 119Rear window defroster ........................................... .120Residual engine heat utilization (REST) ................ .121Special settings....................................................... 119
291
ProCarManuals.com