Page 97 of 272

cellular phone. If the second call is not terminated, it will be forwarded
to a local cellular carrier operator. In this situation, you can provide the
operator with the number you are dialing (Lincoln Security Response
Center at 1±888±99RESCU [1±888±997±3728]) and your credit card
number or ask to be connected to the local 911 or other emergency
services.
Registration requirement
In order to receive effective service, it is highly recommended that you
register with the Lincoln Security Response Center shortly after
receiving your vehicle. The registration process is simple and can be
accomplished by calling the Lincoln Security Response Center at
1±888±99RESCU (1±888±997±3728). Alternatively, the registration
process can be completed on-line during an acquaintance period
activation. (See ªAcquaintance activationsº later in this section for
details.) The information requested will aid in servicing you more
efficiently during an assistance request.
Acquaintance activations
It is required that you initiate an acquaintance activation shortly after
receiving your vehicle and having your phone activated. An acquaintance
activation is initiated by pressing either the roadside or emergency
control. When voice communication is established with the Lincoln
Security Response Center, indicate that you are a new user and the
operator will follow special acquaintance period support procedures
which are intended to familiarize you with your Lincoln RESCU System.
As described previously, the acquaintance call can also be used to
complete the registration for new customers.
Service charges
For four years, beginning with your vehicle's warranty period, you will be
entitled to unlimited emergency and roadside assistance activations
without facing service charges. (These activations should be made only
when emergency or roadside assistance is required.) You will be
responsible, however, for any charges imposed by your cellular phone
carrier for the 1±800 phone call to the Lincoln Security Response Center.
After your initial service period expires, you will be required to pay a
monitoring fee if you elect to continue emergency and roadside
assistance. Your dealer can provide you with specific information
regarding post-initial service period fees.
Controls and features
97
Page 98 of 272
Relinquishing your vehicle
At the time you relinquish your vehicle, it is important that you contact
the Lincoln Security Response Center at 1±888±99RESCU
(1±888±997±3728) and cancel your security service. Personal information
provided to the response center at the time of your registration will be
removed from the vehicle's file.
POWER WINDOWS
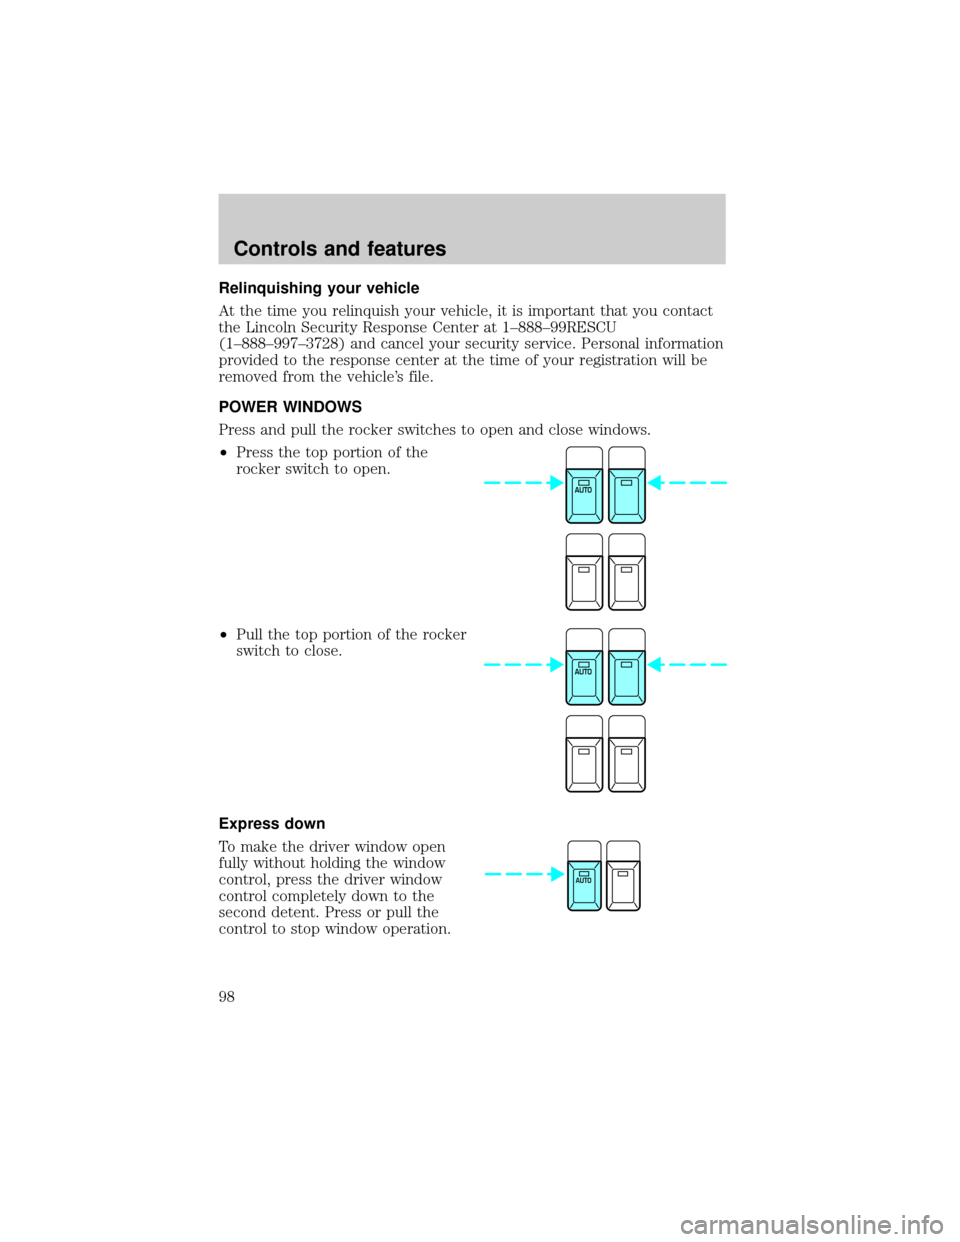
Press and pull the rocker switches to open and close windows.
²Press the top portion of the
rocker switch to open.
²Pull the top portion of the rocker
switch to close.
Express down
To make the driver window open
fully without holding the window
control, press the driver window
control completely down to the
second detent. Press or pull the
control to stop window operation.
AUTO
AUTO
AUTO
Controls and features
98
Page 99 of 272

Window lock
The window lock feature allows only
the driver to operate the rear power
windows.
To lock out the rear window
controls press the left side of the
control. Press the right side to restore the window controls.
Accessory delay
With accessory delay, the window switches may be used for up to ten
minutes after the ignition switch is turned to the OFF position or until
either front door is opened.
POWER DOOR LOCKS
Press the top of the control to
unlock all doors and the bottom to
lock all doors.
Smart locks
With the key in the ignition, in any switch position, and either the
driver's or passenger's door open, the doors cannot be locked using the
front door lock switches.
While the key is in the ignition, the vehicle can be locked by manually
pressing the lock control, operating the remote entry transmitter, or
operating the drivers door lock with the key.
Central locking/Two step unlocking
When unlocking the driver door with the key, turn it once toward the
front of the vehicle to unlock that door only. Turn the key a second time
to unlock all doors. When locking, turn the key toward the back of the
vehicle to lock all doors.
Controls and features
99
Page 100 of 272

CHILDPROOF DOOR LOCKS
When these locks are set, the rear
doors cannot be opened from the
inside. The rear doors can be
opened from the outside when the
doors are unlocked.
The childproof locks are located on
rear edge of each rear door and
must be set separately for each
door. Setting the lock for one door
will not automatically set the lock
for both doors.
Rotate lock control in the direction of arrow to engage the lock. Rotate
control in the opposite direction to disengage childproof locks.
CENTER CONSOLE
Your vehicle may be equipped with a variety of console features. These
include:
²Utility compartment
²Traction control (if equipped)
²Cellular phone (if equipped)
²Cupholders
²Air vents to the rear seating positions
POSITIVE RETENTION FLOOR MAT
Position the floor mat so that the
eyelet is over the pointed end of the
retention post and rotate forward to
lock in. Make sure that the mat does
not interfere with the operation of
the accelerator or the brake pedal.
To remove the floor mat, reverse the
installation procedure.
Controls and features
100
Page 101 of 272

REMOTE ENTRY SYSTEM
Your remote entry system contains two remote transmitters which
provide remote control of several features. Each remote transmitter will
allow you to:
²unlock the vehicle doors without a key.
²lock all the vehicle doors without a key.
²open the trunk without a key.
²activate the personal alarm.
²open all windows and moonroof (if equipped).
²arm and disarm the perimeter anti-theft system.
²operate the illuminated entry feature.
²operate the memory seat/mirror/steering column feature (if equipped).
The remote transmitter features only operate with the ignition in the
OFF or ACC positions. For vehicles equipped with an automatic
transmission, the remote transmitter features also operate if the ignition
is in the RUN position and the gear shift is in P (Park). The personal
alarm feature, however, will not operate when the ignition is in the RUN
position.
If there is any potential remote keyless entry problem with your vehicle,
ensureALL key fobs(remote entry transmitters) are brought to the
dealership, to aid in troubleshooting.
Unlocking the doors
Press this control to unlock the
driver door and disarm the
perimeter alarm (if armed). The
interior lamps will illuminate and
the turn signal lamps will display
two short flashes (to indicate
disarming of the perimeter alarm).
If the memory seat/mirror/steering
column feature (if equipped) is
activated, the corresponding
seat/mirror/steering column
positions will be recalled.
Refer toMemory seat/mirror/steering column featurefor more
information.
Controls and features
101
Page 102 of 272

Press the control a second time within three seconds to unlock all the
doors.
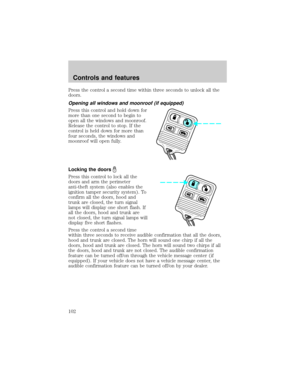
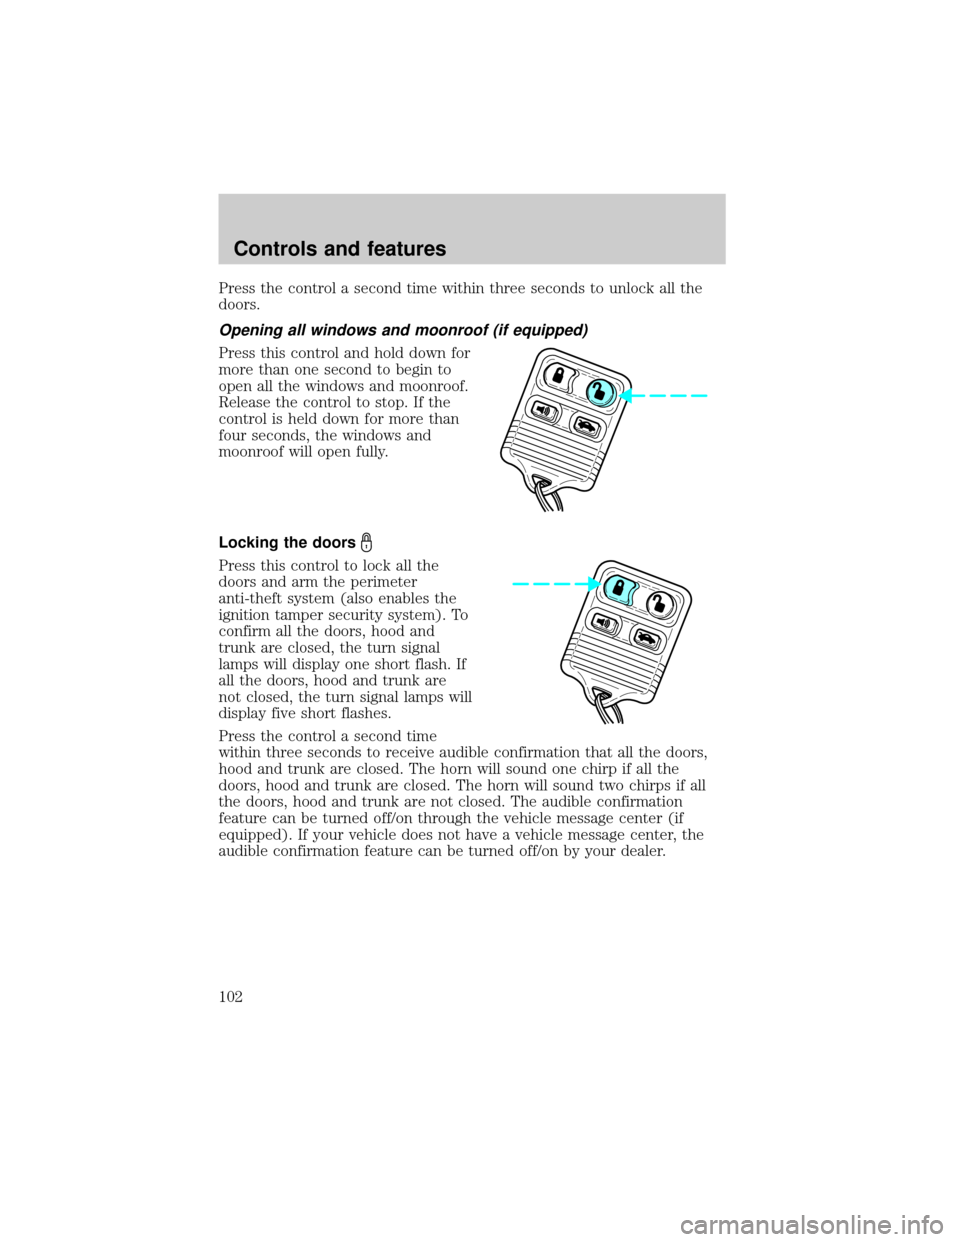
Opening all windows and moonroof (if equipped)
Press this control and hold down for
more than one second to begin to
open all the windows and moonroof.
Release the control to stop. If the
control is held down for more than
four seconds, the windows and
moonroof will open fully.
Locking the doors
Press this control to lock all the
doors and arm the perimeter
anti-theft system (also enables the
ignition tamper security system). To
confirm all the doors, hood and
trunk are closed, the turn signal
lamps will display one short flash. If
all the doors, hood and trunk are
not closed, the turn signal lamps will
display five short flashes.
Press the control a second time
within three seconds to receive audible confirmation that all the doors,
hood and trunk are closed. The horn will sound one chirp if all the
doors, hood and trunk are closed. The horn will sound two chirps if all
the doors, hood and trunk are not closed. The audible confirmation
feature can be turned off/on through the vehicle message center (if
equipped). If your vehicle does not have a vehicle message center, the
audible confirmation feature can be turned off/on by your dealer.
Controls and features
102
Page 103 of 272

Opening the trunk
Press this control to open the trunk.
Be certain the trunk is closed before
driving your vehicle. The trunk may
appear closed, but it may not be
latched. Failure to do so may cause
objects to fall out of the trunk or
block rear view vision.
Activating the personal alarm
Press this control to turn on the
personal alarm.
Press the control a second time to
turn off the personal alarm. The
personal alarm will also turn off if
the remote transmitter unlock
control is pressed, or if the ignition
switch is turned to the RUN
position, or after 30 seconds of
operation.
This device complies with part 15 of the FCC rules and with RS-210 of
Industry Canada. Operation is subject to the following two conditions:
(1) This device may not cause harmful interference, and (2) This device
must accept any interference received, including interference that may
cause undesired operation.
Changes or modifications not expressly approved by the party
responsible for compliance could void the user's authority to
operate the equipment.
Illuminated entry
The illuminated entry feature will automatically turn on the interior
lamps when the remote transmitter unlock control is pressed.
The illuminated entry feature will automatically turn off the interior
lamps if the ignition switch is turned to the RUN position, or if the
remote transmitter lock control is pressed, or after 20 seconds of
illumination.
Controls and features
103
Page 104 of 272

The interior lamps will not turn off if:
²they have been turned on with the instrument panel dimmer control
switch or
²any door is open.
The battery saver will turn off the interior lamps 40 minutes after the
last door is closed even if the dimmer control switch is on.
Replacing the battery
The remote transmitter is powered by one coin type three-volt lithium
battery CR2032 or equivalent. Typical operating range will allow you to
be up to 10 meters (33 feet) away from your vehicle. A decrease in
operating range can be caused by:
²weather conditions
²nearby radio towers
²structures around the vehicle
²other vehicles parked next to the vehicle
To replace the battery:
1. Twist a thin coin between the two
halves of the transmitter near the
key ring. DO NOT TAKE THE
FRONT PART OF THE
TRANSMITTER APART.
2. Place the positive (+) side of new
battery in the same orientation.
Refer to the diagram inside the
transmitter unit.
3. Snap the two halves back
together.
Replacement of the battery willnotcause the remote transmitter to
become deprogrammed from your vehicle. The remote transmitter should
operate normally after battery replacement.
Controls and features
104