2000 HONDA ODYSSEY Cable
[x] Cancel search: CablePage 260 of 352
Battery
Check the condition of your vehicle's
battery monthly. You should check
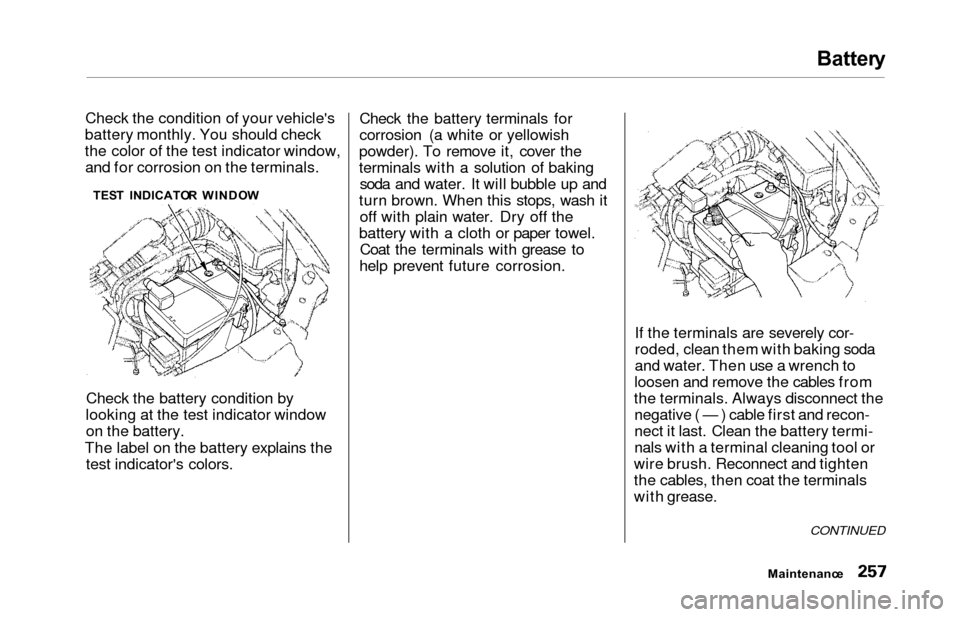
the color of the test indicator window, and for corrosion on the terminals.
TES T INDICATO R WINDO W
Check the battery condition by
looking at the test indicator window on the battery.
The label on the battery explains the test indicator's colors. Check the battery terminals for
corrosion (a white or yellowish
powder). To remove it, cover the
terminals with a solution of baking soda and water. It will bubble up and
turn brown. When this stops, wash it off with plain water. Dry off the
battery with a cloth or paper towel. Coat the terminals with grease to
help prevent future corrosion.
If the terminals are severely cor-
roded, clean them with baking soda
and water. Then use a wrench to
loosen and remove the cables from
the terminals. Always disconnect the negative ( — ) cable first and recon-
nect it last. Clean the battery termi-
nals with a terminal cleaning tool or
wire brush. Reconnect and tighten
the cables, then coat the terminals
with grease.
Maintenanc e
CONTINUED
Page 261 of 352
Battery
If you need to connect the battery to
a charger, disconnect both cables to
prevent damage to the vehicle's electrical system.On EX model
If your vehicle's battery is
disconnected or goes dead, the audio
system will disable itself. The next
time you turn on the radio you will
see in the frequency
display. Use the Preset buttons to
enter the five-digit code (see page
186).
Charging the battery with the cables
connected can seriously damage your
vehicle's electronic controls. Detach the battery cables before connecting
the battery to a charger.
On EX model
If your vehicle's battery is
disconnected or goes dead while thesliding doors are open, the power
sliding door system needs to be
resynchronized (see page 93).
Maintenanc e
The battery gives off explosive
hydrogen gas during normal
operation.
A spark or flame can cause the battery to explode with enough
force to kill or seriously hurt you.
Wear protective clothing and a
face shield, or have a skilled mechanic do the battery
maintenance.
NOTIC E
Page 272 of 352
Tires
Snow Tires
If you mount snow tires on your
Honda, make sure they are radial
tires of the same size and load range as the original tires. Mount snow
tires on all four wheels to balance
your vehicle's handling in all weather conditions. Keep in mind the traction
provided by snow tires on dry roads
may not be as high as your vehicle's
original equipment tires. You should
drive cautiously even when the roads
are clear. Check with the tire dealer
for maximum speed recommenda-
tions.
Tire Chains
Because your Honda has limited tire
clearance, mount only SAE Class "S"
cable-type traction devices on the
front tires. Use traction devices only
when required by driving conditions or local laws. Make sure they are the
correct size for your tires.
Metal link-type "chains" should not
be used. No matter how tight they seem to be installed, they can come
into contact with the body and suspension, causing serious damage.
When installing cables, follow the manufacturer's instructions and
mount them as tightly as you can.Drive slowly with them installed. If
you hear them coming in contact
with the body or chassis, stop and investigate. Make sure the cables are
installed tightly, and that they are
not contacting the brake lines or
suspension.
Remove them as soon as you begin driving on cleared roads.
Traction devices that are the wrong
size or improperly installed can
damage your vehicle's brake lines,
suspension, body, and wheels. Stop driving if they are hitting any part of
the vehicle.
Maintenanc e
NOTICE
Page 307 of 352
Jump Startin g
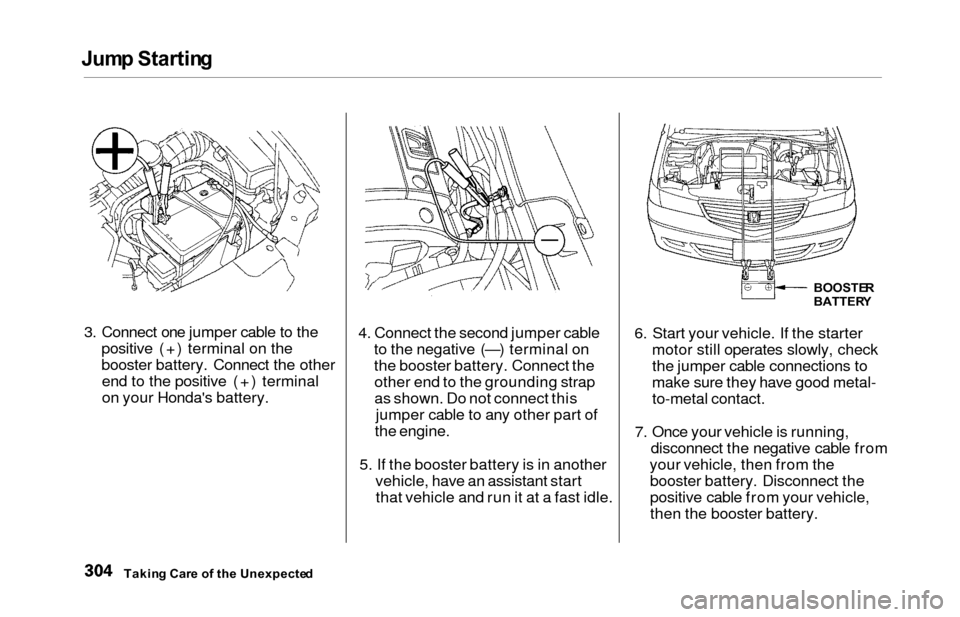
3. Connect one jumper cable to the
positive (+) terminal on the
booster battery. Connect the otherend to the positive (+) terminal
on your Honda's battery. 4. Connect the second jumper cable
to the negative (—) terminal on
the booster battery. Connect theother end to the grounding strap
as shown. Do not connect this jumper cable to any other part of
the engine.
5. If the booster battery is in another vehicle, have an assistant startthat vehicle and run it at a fast idle. 6. Start your vehicle. If the starter
motor still operates slowly, check
the jumper cable connections to
make sure they have good metal-
to-metal contact.
7. Once your vehicle is running, disconnect the negative cable from
your vehicle, then from the booster battery. Disconnect the
positive cable from your vehicle,
then the booster battery.
Takin g Car e o f th e Unexpecte d
BOOSTER
BATTER Y
Page 320 of 352
Emergenc
y Towin g
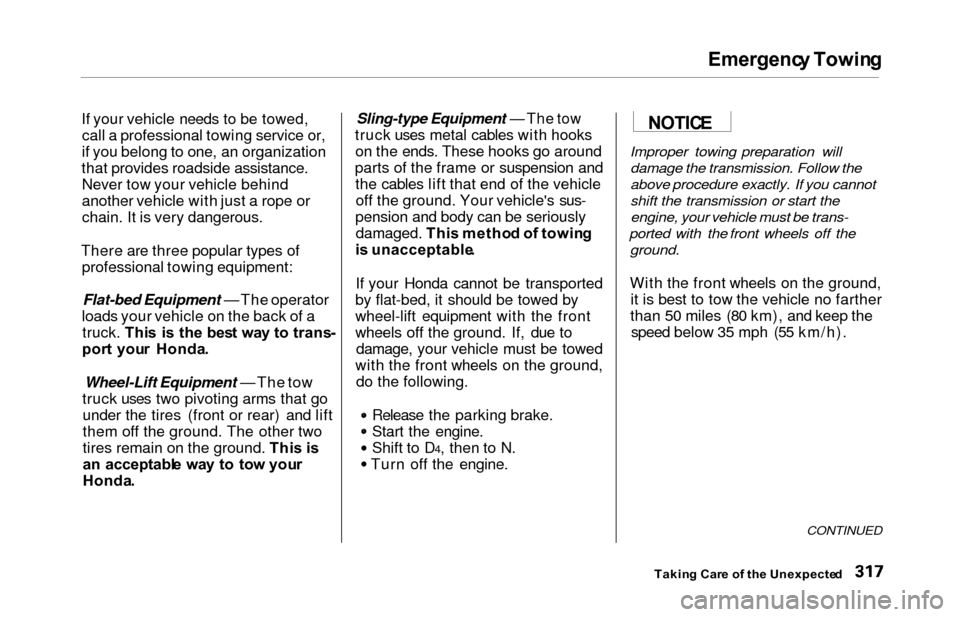
If your vehicle needs to be towed, call a professional towing service or,
if you belong to one, an organization
that provides roadside assistance. Never tow your vehicle behind
another vehicle with just a rope or
chain. It is very dangerous.
There are three popular types of professional towing equipment:
Flat-bed Equipment — The operator
loads your vehicle on the back of a truck. Thi s i s th e bes t wa y t o trans -
por t you r Honda .
Wheel-Lift Equipment — The tow
truck uses two pivoting arms that go under the tires (front or rear) and lift
them off the ground. The other two
tires remain on the ground. Thi s i s
a n acceptabl e wa y t o to w you r
Honda .
Sling-type Equipment — The tow
truck uses metal cables with hooks on the ends. These hooks go around
parts of the frame or suspension and the cables lift that end of the vehicleoff the ground. Your vehicle's sus-
pension and body can be seriously damaged. Thi s metho d o f towin g
i s unacceptable .
If your Honda cannot be transported
by flat-bed, it should be towed by
wheel-lift equipment with the front
wheels off the ground. If, due to damage, your vehicle must be towed
with the front wheels on the ground, do the following.
Release the parking brake.
Start the engine.
Shift to D4, then to N.
Turn off the engine.
Improper towing preparation will
damage the transmission. Follow the
above procedure exactly. If you cannot
shift the transmission or start the
engine, your vehicle must be trans-
ported with the front wheels off the
ground.
With the front wheels on the ground,it is best to tow the vehicle no farther
than 50 miles (80 km), and keep the speed below 35 mph (55 km/h).
CONTINUED
Takin g Car e o f th e Unexpecte d
NOTIC
E
Page 327 of 352
DOT Tir e Qualit y Gradin g (U.S . Vehicles )
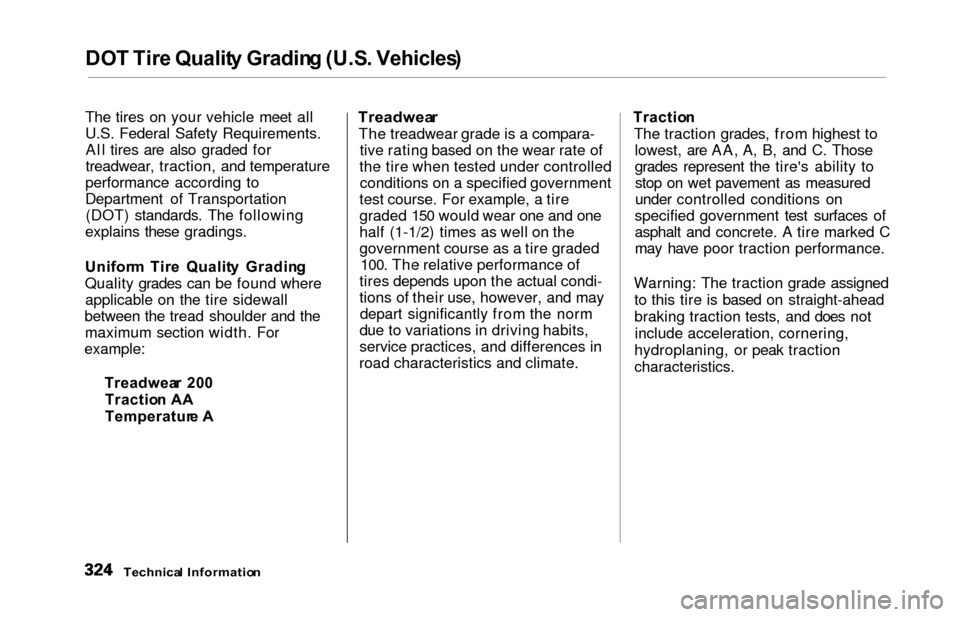
The tires on your vehicle meet all
U.S. Federal Safety Requirements.
All tires are also graded for
treadwear, traction, and temperature
performance according to
Department of Transportation (DOT) standards. The following
explains these gradings.
Unifor m Tir e Qualit y Gradin g
Quality grades can be found where applicable on the tire sidewall
between the tread shoulder and the maximum section width. For
example:
Treadwea r 20 0
Tractio n A A
Temperatur e ATreadwea r
The treadwear grade is a compara-
tive rating based on the wear rate of
the tire when tested under controlled conditions on a specified government
test course. For example, a tire
graded 150 would wear one and one
half (1-1/2) times as well on the
government course as a tire graded 100. The relative performance of
tires depends upon the actual condi-
tions of their use, however, and may depart significantly from the norm
due to variations in driving habits,
service practices, and differences in
road characteristics and climate. Tractio
n
The traction grades, from highest to lowest, are AA, A, B, and C. Those
grades represent the tire's ability tostop on wet pavement as measured
under controlled conditions on
specified government test surfaces of
asphalt and concrete. A tire marked C
may have poor traction performance.
Warning: The traction grade assigned to this tire is based on straight-ahead
braking traction tests, and does notinclude acceleration, cornering,
hydroplaning, or peak traction
characteristics.
Technica l Informatio n
Page 343 of 352
Index
Battery
Charging SystemIndicator............................ 58, 308
Jump Starting............................. 303
Maintenance............................... 257
Specifications............................. 323
Before Driving.............................. . 187
Belts, Seat.................................... . 8, 4 5
Beverage Holder............................ 118
Body Repair.................................... 289
Brakes Anti-lock System (ABS)............
211
Break-in, Ne
w Linings .............. 188
Fluid............................................ 250
Light, Burned-out...................... 274
Parking........................................ 116
System Indicator.................. 58, 310
Wear Indicators......................... 210
Brakes, ABS Operation................................... . 211
System Indicator.................. 59, 212
Braking System............................. . 210
Break-in, New Vehicle .................. 188
Brightness Control, Instruments...
67 Brights, Headlights......................... 66
Bulb Replacement
Back-up Lights........................... 275
Brake Lights............................... 274
Cargo Area Light....................... 278
Front Parking Lights................. 273
Front Side Marker Lights......... 273 Headlights.................................. 272
High-mount Brake Light.......... 276
Individual Map Lights............... 278
License Plate Light.................... 277
Rear Bulbs.......................... 274, 275
Specifications............................. 323
Turn Signal Lights..................... 273
Bulbs, Halogen............................... 272
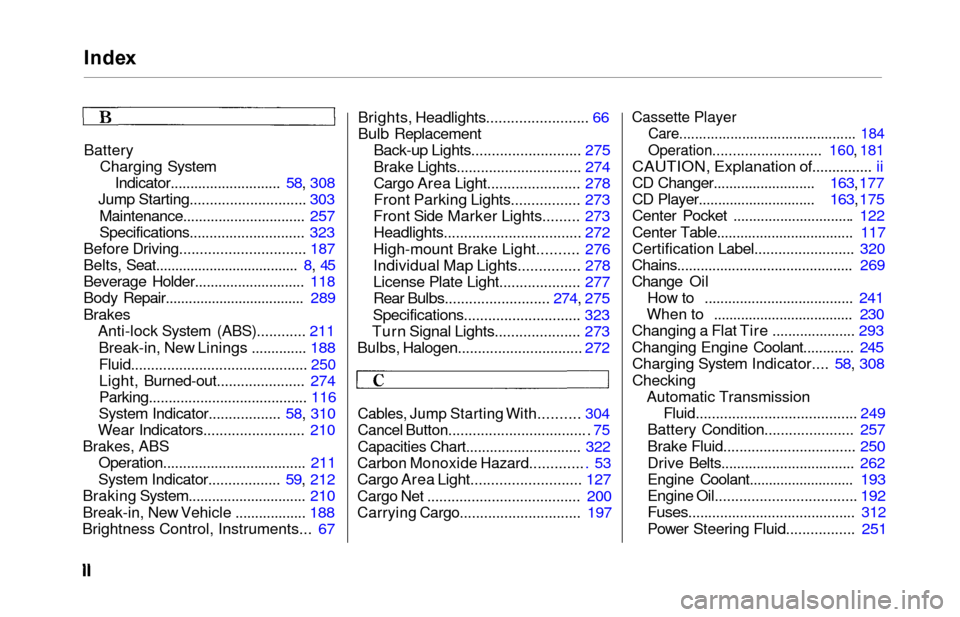
Cables, Jump Starting With.......... 304
Cancel Button.................................. . 75
Capacities Chart............................. 322
Carbon Monoxide Hazard............. . 53
Cargo Area Light........................... 127
Cargo Net ...................................... 200
Carrying Cargo.............................. 197
Cassette Player
Care............................................. 184
Operation........................... 160, 181
CAUTION, Explanation of............... ii
CD Changer.......................... 163, 177
CD Player.............................. 163, 175
Center Pocket .............................. . 122
Center Table................................... 117
Certification Label......................... 320
Chains............................................. 269
Change Oil How to ......................................
241
When to ....................................
230
Changing a Flat Tire ..................... 293
Changing Engine Coolant............. 245 Charging System Indicator.... 58, 308
Checking Automatic Transmission Fluid....................................... . 249
Battery Condition...................... 257
Brake Fluid................................ . 250
Drive Belts.................................. 262
Engine Coolant........................... 193
Engine Oil................................... 192
Fuses.......................................... 312
Power Steering Fluid................. 251