Page 6 of 429
Table of Contents (cont'd)
Maintenance Schedule Service and Appearance Care
Section
7
Section
6
Scheduled Maintenance
Owner Checks and Services
Periodic Maintenance InspectionsRecommended Fluids and Lubricants
Maintenance Records Fuel
Checking Fluids and Lubricants
GM Oil Life System™
Engine Air Cleaner/Filter
Passenger Compartment Air Filter
Brakes
Bulb ReplacementWindshield Wiper Blade Replacement
Tires and Wheels
Appearance Care
Electrical System/Fuses and Circuit Breakers
Capacities and Specifications
Normal Maintenance Replacement Parts
iv
Page 160 of 429

2-56 Turn Signal and Lane Change Indicator
The turn signal has two upward (for right) and two
downward (for left) positions. These positions allow you
to signal a turn or a lane change.
To signal a turn, move the lever all the way up or down.
When the turn is finished, the lever will return automatically.
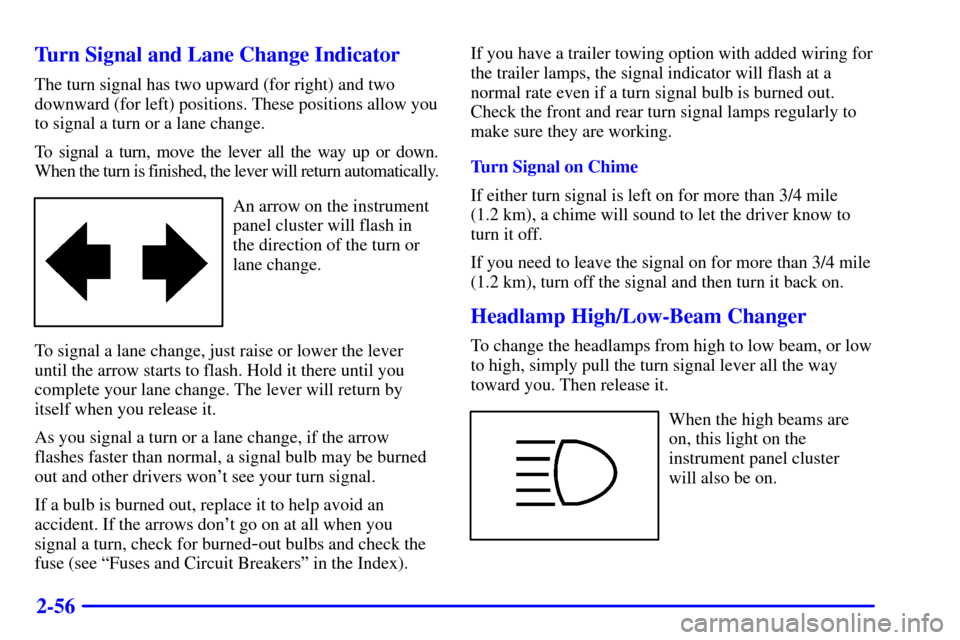
An arrow on the instrument
panel cluster will flash in
the direction of the turn or
lane change.
To signal a lane change, just raise or lower the lever
until the arrow starts to flash. Hold it there until you
complete your lane change. The lever will return by
itself when you release it.
As you signal a turn or a lane change, if the arrow
flashes faster than normal, a signal bulb may be burned
out and other drivers won't see your turn signal.
If a bulb is burned out, replace it to help avoid an
accident. If the arrows don't go on at all when you
signal a turn, check for burned
-out bulbs and check the
fuse (see ªFuses and Circuit Breakersº in the Index).If you have a trailer towing option with added wiring for
the trailer lamps, the signal indicator will flash at a
normal rate even if a turn signal bulb is burned out.
Check the front and rear turn signal lamps regularly to
make sure they are working.
Turn Signal on Chime
If either turn signal is left on for more than 3/4 mile
(1.2 km), a chime will sound to let the driver know to
turn it off.
If you need to leave the signal on for more than 3/4 mile
(1.2 km), turn off the signal and then turn it back on.
Headlamp High/Low-Beam Changer
To change the headlamps from high to low beam, or low
to high, simply pull the turn signal lever all the way
toward you. Then release it.
When the high beams are
on, this light on the
instrument panel cluster
will also be on.
Page 289 of 429

4-39 Turn Signals When Towing a Trailer
When you tow a trailer, your vehicle has to have
extra wiring.
The arrows on your instrument panel will flash
whenever you signal a turn or lane change. Properly
hooked up, the trailer lamps will also flash, telling other
drivers you're about to turn, change lanes or stop.
When towing a trailer, the arrows on your instrument
panel will flash for turns even if the bulbs on the trailer
are burned out. Thus, you may think drivers behind you
are seeing your signal when they are not. It's important
to check occasionally to be sure the trailer bulbs are
still working.
Driving On Grades
Reduce speed and shift to a lower gear before you start
down a long or steep downgrade. If you don't shift
down, you might have to use your brakes so much that
they would get hot and no longer work well.
If you are towing a trailer that weighs more than
1,000 lbs. (450 kg), you may prefer to drive in
THIRD (3) instead of AUTOMATIC OVERDRIVE (D)
(or, as you need to, a lower gear). This will minimize
heat build
-up and extend the life of your transaxle.
Parking on Hills
CAUTION:
You really should not park your vehicle, with a
trailer attached, on a hill. If something goes
wrong, your rig could start to move. People can
be injured, and both your vehicle and the trailer
can be damaged.
But if you ever have to park your rig on a hill, here's
how to do it:
1. Apply your regular brakes, but don't shift into
PARK (P) yet.
2. Have someone place chocks under the trailer wheels.
3. When the wheel chocks are in place, release the
regular brakes until the chocks absorb the load.
4. Reapply the regular brakes. Then apply your parking
brake, and then shift to PARK (P).
5. Release the regular brakes.
Page 325 of 429

6-
6-1
Section 6 Service and Appearance Care
Here you will find information about the care of your vehicle. This section begins with service and fuel information,
and then it shows how to check important fluid and lubricant levels. There is also technical information about your
vehicle, and a part devoted to its appearance care.
6
-2 Service
6
-3 Fuel
6
-5 Fuels in Foreign Countries
6
-5 Filling Your Tank
6
-7 Filling a Portable Fuel Container
6
-8 Checking Things Under the Hood
6
-11 Engine Oil
6
-15 Engine Air Cleaner/Filter
6
-16 Passenger Compartment
Air Filter Replacement
6
-18 Automatic Transaxle Fluid
6
-21 Engine Coolant
6
-24 Radiator Pressure Cap
6
-24 Power Steering Fluid
6
-25 Windshield Washer Fluid
6
-26 Brakes6
-30 Battery
6
-31 Bulb Replacement
6
-38 Windshield Wiper Blade Replacement
6
-40 Tires
6
-48 Appearance Care
6
-48 Cleaning the Inside of Your Vehicle
6
-52 Cleaning the Outside of Your Vehicle
6
-55 Underbody Maintenance
6
-55 Chemical Paint Spotting
6
-56 GM Vehicle Care/Appearance Materials
6
-57 Vehicle Identification Number (VIN)
6
-57 Electrical System
6
-65 Replacement Bulbs
6
-65 Capacities and Specifications
6
-66 Normal Maintenance Replacement Parts
Page 355 of 429
6-31
Bulb Replacement
For the type of bulbs, see ªReplacement Bulbsº in
the Index.
For any bulb changing procedure not listed in this
section, contact your dealer's service department.
Halogen Bulbs
CAUTION:
Halogen bulbs have pressurized gas inside and
can burst if you drop or scratch the bulb. You or
others could be injured. Be sure to read and
follow the instructions on the bulb package.
Headlamps
1. Open the hood.
2. Remove the front turn signal/parking lamp assembly.
See ªFront Turn Signal/Parking Lampsº later in
this section.
3. Remove the two wing nuts located on top of the
headlamp assembly.
Page 356 of 429
6-32
4. Unscrew the black retainer ring that holds the bulb
assembly in place.
5. Pull the bulb assembly straight up from the
lamp housing.
6. Unhook the electrical connector by lifting up the
blue tabs and pulling the bulb out.7. Install the new bulb through the black retainer ring
and into the electrical connector. Push the bulb
firmly enough so that the blue tabs hook over the tab
on the bulb.
Page 357 of 429
6-33
8. Carefully put the bulb assembly back into the lamp
housing and tighten the black retainer ring in place.
Be careful not to damage the bulb on the headlamp
aiming bar.9. Align the pins on the bottom of the headlamp
assembly with the holes in the lamp support bracket
while placing the holes in the assembly over the
bolts where the wing nuts attach.
10. Reinstall and tighten the wing nuts.
11. Reinstall the parking/turn signal lamp assembly by
lining up the tabs at the back of the assembly with
the holes in the fender.
12. Tighten the bolt connecting the parking/turn signal
lamp assembly. Be sure the tab from the
parking/turn signal lamp assembly is inboard of the
tab from the headlamp assembly.
Page 358 of 429
6-34 Front Turn Signal/Parking Lamps
1. Open the hood.
2. Remove the thumb screw attaching the parking/turn
signal lamp assembly to the headlamp assembly.
3. Pull the parking/turn signal lamp assembly away
from the vehicle.
4. Unscrew the bulb socket from the lamp assembly by
pressing the tab while turning it counterclockwise.
5. Replace the bulb by pulling the old one out and
gently pushing the new one into the lamp socket.
6. Line up the tabs on the sockets with the gaps in the
socket holes and screw the bulb socket back into the
lamp housing until a click is heard (the tab popping
back out).