Page 121 of 365
yellowblue
2-58
The Instrument Panel -- Your Information System
The main components of your instrument panel are:
A. Instrument Panel Fuse Block
B. Multifunction Lever
C. Hazard Warning Flasher Switch
D. Audio System
E. Climate ControlsF. Center Console Shift Lever
(If Equipped)
G. Ignition Switch
H. Steering Wheel Cruise
Control SwitchesI. Hood Release
J. Remote Trunk Release
K. Lamp Controls
Page 127 of 365

yellowblue
2-64 Brake System Warning Light
Your vehicle's hydraulic brake system is divided into
two parts. If one part isn't working, the other part can
still work and stop you. For good braking, though, you
need both parts working well.
If the warning light comes on, there is a brake problem.
Have your brake system inspected right away.
United States Canada
This light should come on briefly when you turn the
ignition key to ON. If it doesn't come on then, have it
fixed so it will be ready to warn you if there's a problem.If the light comes on while you are driving, pull off the
road and stop carefully. You may notice that the pedal is
harder to push. Or, the pedal may go closer to the floor.
It may take longer to stop. If the light is still on, have the
vehicle towed for service. (See ªAnti
-Lock Brake
System Warning Lightº and ªTowing Your Vehicleº in
the Index.)
CAUTION:
Your brake system may not be working properly
if the brake system warning light is on. Driving
with the brake system warning light on can lead
to an accident. If the light is still on after you've
pulled off the road and stopped carefully, have
the vehicle towed for service.
When the ignition is on, the brake system warning light
will also come on when you set your parking brake. The
light will stay on if your parking brake doesn't release
fully. If it stays on after your parking brake is fully
released, it means you have a brake problem.
Page 128 of 365

The anti-lock brake system warning light should come on
for a few seconds when you turn the ignition key to ON.
If the anti
-lock b")
yellowblue
2-65 Anti-Lock Brake System Warning
Light (Option)
The anti-lock brake system warning light should come on
for a few seconds when you turn the ignition key to ON.
If the anti
-lock brake system warning light stays on longer
than normal after you've started your engine, turn the
ignition off. Or, if the light comes on and stays on when
you're driving, stop as soon as possible and turn the
ignition off. Then start the engine again to reset the
system. If the light still stays on, or comes on again while
you're driving, the anti
-lock brake system needs service
and you don't have anti
-lock brakes. The brake pedal may
be harder to push, or it may go to the floor. It may take
longer to stop. Adjust your driving accordingly.
The anti
-lock brake system warning light should come
on briefly when you turn the ignition key to ON. If the
light doesn't come on then, have it fixed so it will be
ready to warn you if there is a problem.
Traction Control System Warning Light
(3800 V6 Engine)
The traction control system warning light may come on
for the following reasons:
�If you turn the system off by pressing the traction
control button located on the instrument panel, a
chime will sound and the warning light will come on
and stay on. To turn the system back on, press the
button again. The warning light should go off.
(See ªTraction Control Systemº in the Index for
more information.)
�If there's a brake system problem that is specifically
related to traction control, the traction control system
will turn off and the warning light will come on. If
your brakes begin to overheat, the traction control
system will turn off and the warning light will come
on until your brakes cool down.
Page 137 of 365
yellowblue
2-74
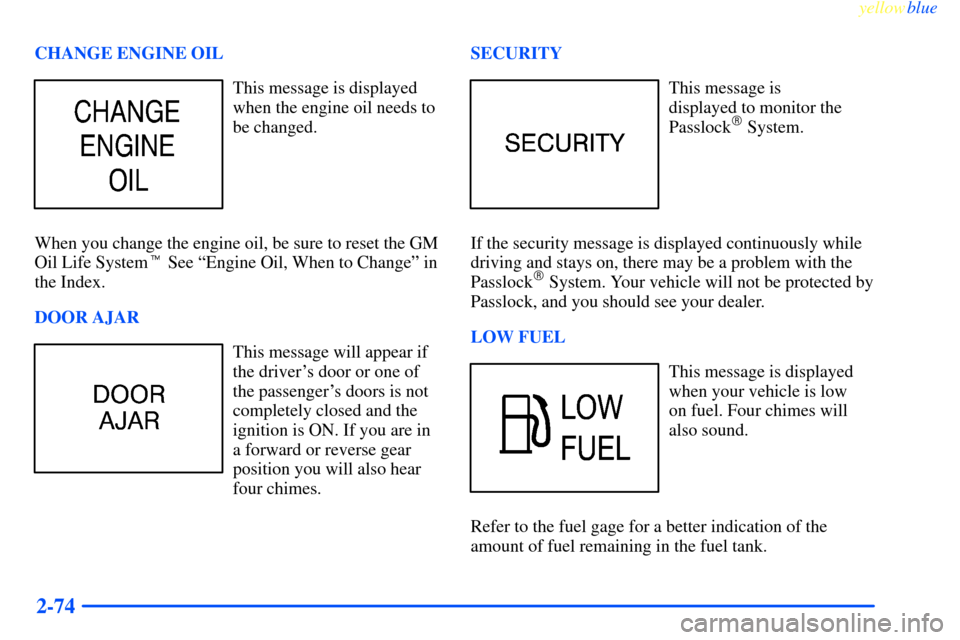
CHANGE ENGINE OIL
This message is displayed
when the engine oil needs to
be changed.
When you change the engine oil, be sure to reset the GM
Oil Life System� See ªEngine Oil, When to Changeº in
the Index.
DOOR AJAR
This message will appear if
the driver's door or one of
the passenger's doors is not
completely closed and the
ignition is ON. If you are in
a forward or reverse gear
position you will also hear
four chimes.SECURITY
This message is
displayed to monitor the
Passlock
� System.
If the security message is displayed continuously while
driving and stays on, there may be a problem with the
Passlock
� System. Your vehicle will not be protected by
Passlock, and you should see your dealer.
LOW FUEL
This message is displayed
when your vehicle is low
on fuel. Four chimes will
also sound.
Refer to the fuel gage for a better indication of the
amount of fuel remaining in the fuel tank.
Page 144 of 365

3-
yellowblue
3-1
Section 3 Comfort Controls and Audio Systems
In this section, you'll find out how to operate the comfort control and audio systems offered with your vehicle.
Be sure to read about the particular systems supplied with your vehicle.
3
-2 Comfort Controls
3
-2 Manual Single Zone Climate Control
3
-4 Dual ComforTemp Climate Control
(If Equipped)
3
-6 Air Conditioning
3
-6 Heating
3
-6 Ventilation
3
-6 Defogging and Defrosting
3
-7 Rear Window Defogger
3
-8 Ventilation System
3
-9 Audio Systems
3
-9 Setting the Clock for Systems
without Radio Data System
3
-9 Setting the Clock for Systems
with Radio Data System
3
-10 AM-FM Stereo
3
-12 AM-FM Stereo with Cassette Tape Player
with Radio Data System (RDS) and Automatic
Tone Control (If Equipped)3
-21 AM-FM Stereo with Compact Disc Player
with Radio Data System (RDS) and
Automatic Tone Control (If Equipped)
3
-27 AM-FM Stereo with Cassette Tape and
Compact Disc Player with Radio Data System
(RDS) and Automatic Tone Control
(If Equipped)
3
-35 Theft-Deterrent Feature
3
-35 Theft-Deterrent Feature (If Equipped)
RDS Radios
3
-35 Audio Steering Wheel Controls (If Equipped)
3
-36 Understanding Radio Reception
3
-37 Tips About Your Audio System
3
-38 Care of Your Cassette Tape Player
3
-39 Care of Your Compact Discs
3
-39 Care of Your Compact Disc Player
3
-40 Backglass Antenna
3
-40 Vehicle Customization Settings
Page 145 of 365

yellowblue
3-2
Comfort Controls
Manual Single Zone Climate Control
With this system, you can control the heating, cooling
and ventilation in your vehicle. The system works best if
you keep your windows closed while using it.
Fan Knob
The knob on the left side of the climate control panel controls
the fan speed. To turn the fan off, turn the knob to OFF.
If airflow seems very low when the fan knob is turned to
the highest setting, regardless of the mode setting, your
passenger compartment air filter (if equipped) may need
to be replaced. See ªMaintenance Scheduleº in the Index.Temperature Knob
The center knob on the control panel changes the
temperature of the air coming through the system. Turn
this knob toward red (clockwise) for warmer air. Turn it
toward blue (counterclockwise) for cooler air.
Mode Knob
The right knob on the control panel has several settings
to control the direction of airflow:
UPPER: This setting directs air through the
instrument panel outlets.
BI-LEVEL: This setting directs air two ways.
Half of the air is directed through the instrument panel
outlets. Most of the remaining air is directed through the
floor vents and a little to the windshield defroster and
side window outlets.
LOWER: This setting sends most of the air
through the ducts near the floor. The remaining air
comes out of the defroster and side window outlets.
Page 152 of 365

yellowblue
3-9
Audio Systems
Your audio system has been designed to operate easily
and give years of listening pleasure. You will get the
most enjoyment out of it if you acquaint yourself with it
first. Find out what your audio system can do and how
to operate all its controls, to be sure you're getting the
most out of the advanced engineering that went into it.
Setting the Clock for Systems without Radio
Data System
Press and hold the HR or MIN arrow for two seconds.
Then press the HR arrow until the correct hour appears.
Press and hold the MIN arrow until the correct
minute appears.
Setting the Clock for Systems with Radio
Data System
Press and hold HR or MN for two seconds. Then press
and hold HR until the correct hour appears. AM or PM
will appear on the display. Press and hold MN until the
correct minute appears. The clock may be set with the
ignition on or off. The clock symbol will appear on the
display in time
-set mode.
To set the clock to the time of a station broadcasting
Radio Data System (RDS) information, press and hold
HR and MN at the same time for two seconds until
UPDATED and the clock symbol appear on the display.
If the time is not available from the station, NO UPDAT
will appear on the display instead.
Page 153 of 365

yellowblue
3-10 AM FM Stereo
Playing the Radio
PWR VOL: Press this knob to turn the system on and
off. To increase volume, turn the knob clockwise. Turn
it counterclockwise to decrease volume.
RCL TUNE: Press this knob to recall the station being
played or to display the clock.
Finding a Station
AM FM: Press this button to switch between AM, FM1
and FM2. The display shows your selection.
RCL TUNE: Turn this knob to choose radio stations.SEEK: Press the right arrow to tune to the next higher
station and the left arrow to tune to the next lower
station and stay there.
PRESET SCAN: Press and hold one of the SEEK
arrows for more than two seconds until you will hear a
beep. Use PRESET SCAN to listen to each of your
preset stations for a few seconds. The radio will go to
the first preset station stored on your pushbuttons, stop
for a few seconds, then go on to the next preset station.
Press one of the SEEK arrows again to stop scanning
presets. The channel number (P1
-P6) will appear
momentarily just before the frequency is displayed.
PUSHBUTTONS: The six numbered pushbuttons let
you return to your favorite stations. You can set up to
18 stations (six AM, six FM1 and six FM2). Just:
1. Turn the radio on.
2. Press AM FM to select the band.
3. Tune in the desired station.
4. Press and hold one of the six numbered buttons until
you hear a beep. Whenever you press that numbered
button, the station you set will return.
5. Repeat the steps for each pushbutton.