Page 78 of 189

78n
The PDC assists you when you back
into a parking space. A signal warns
you of the distance to an obstacle. To
do this, four ultrasonic sensors in the
rear bumper measure the distance to
the nearest object. The monitoring
range of the two corner sensors ex-
tends to approx. 2 feet (60 cm) behind
the bumper. The two center sensors
cover a distance of approx. 4.9 feet
(1.50 meters).
The system starts to operate automati-
cally about one second after you select
reverse with the ignition key in position 2.
PDC is deactivated when you shift back
out of reverse.
Acoustical signalsThe distance to the nearest object is in-
dicated by a tone sounding at various
intervals. As the distance between vehi-
cle and object decreases, the intervals
between the tones become shorter.
A continuous warning tone sounds if
the distance to a recognized object is
less than 1 foot (30 cm).
The warning signal is canceled after
approx. three seconds if the distance to
the obstacle remains constant during
this time (if you are moving parallel to
a wall, for instance).
System malfunctions will be indicated
by a continuous high-pitched tone
when the system is activated the first
time. Please refer the problem to your
BMW center.The PDC does not remove the
driver's personal responsibility for
evaluating the distance between the
vehicle and any obstacles. Even when
sensors are involved, there is a blind
spot in which objects cannot be de-
tected. This applies especially in those
cases where the system approaches
the physical limits of ultrasonic mea-
surement, as occurs with tow bars and
trailer couplings, and in the vicinity of
thin and painted objects.
Certain sources of sound, such as a
loud radio, could drown the PDC signal
tone.<
Keep the sensors clean and free
of ice or snow in order to ensure
that they continue to operate effec-
tively.
Do not apply high-pressure spray to the
sensors for a prolonged period of time.
Maintain an adequate distance of more
than approx. 4 inches (10 cm).<
Park Distance Control (PDC)
*
Page 79 of 189

79n
IndexDataTechnologyRepairsCar careControlsOverview
Dynamic Stability Control (DSC) The conceptDSC maintains vehicle stability, even in
critical driving situations.
The system optimizes vehicle stability
during acceleration and when starting
from a full stop, as well as optimizing
traction. In addition, the system recog-
nizes unstable vehicle conditions (un-
dersteering or oversteering, for example)
and holds the vehicle on a sure course
by intervening via the engine and by
braking intervention at the individual
wheels.
The system activates automatically each
time you start the engine.462us284
Indicator lamp
The indicator lamp in the instru-
ment cluster goes out shortly
after you switch on the ignition.
Refer to pages 21 and 22.
Indicator lamp flashes:
The system is actively regulating drive
torque in response to monitored vehicle
operating conditions.
If the indicator lamp fails to go out after
the engine is started, or comes on dur-
ing the course of normal vehicle opera-
tion:
If the system was not switched off,
there is a system malfunction. The vehi-
cle remains operational, but without
DSC. Please consult your BMW center
for repairs.
To deactivate the systemPress the button. The indicator lamp
flashes.
The illustration depicts the arrangement
of the buttons if the vehicle is fully
equipped. This may vary, depending on
the equipment actually installed.
When the DSC is deactivated, you are
operating the vehicle in the conven-
tional drive mode.
In exceptional instances, it is effective
to deactivate the system:
>when rocking the vehicle or starting
off in deep snow or on loose surfaces
>or when driving with snow chains.
Refer also to page 110.To reactivate the systemPress the button again; the indicator
lamp goes out.
The laws of physics cannot be re-
pealed, even with DSC. Any con-
sequences arising from traction loss
due to excessive vehicle speed remain
the responsibility of the driver. For this
reason, do not take risks by using the
additional safety margin provided by
the system as an excuse.<
For additional details concerning DSC,
please refer to the chapter describing
"Advanced technology" on page 163.
Page 80 of 189

80n
Tire Pressure Control (RDC)
*
The conceptRDC monitors the tire pressures at all
four wheels, even when the vehicle is
moving. The system provides an alert
whenever the inflation pressure drops
significantly below the specified pres-
sure in one or more tires.
In order for the system to "learn" the
correct tire inflation pressure, check the
inflation pressure in all tires. Refer to
the table of "Tire inflation pressures"
(page 28) and correct the pressures if
necessary. Then activate the system.
This indicator lamp in the instru-
ment cluster will inform you if
the tire pressure is not correct.
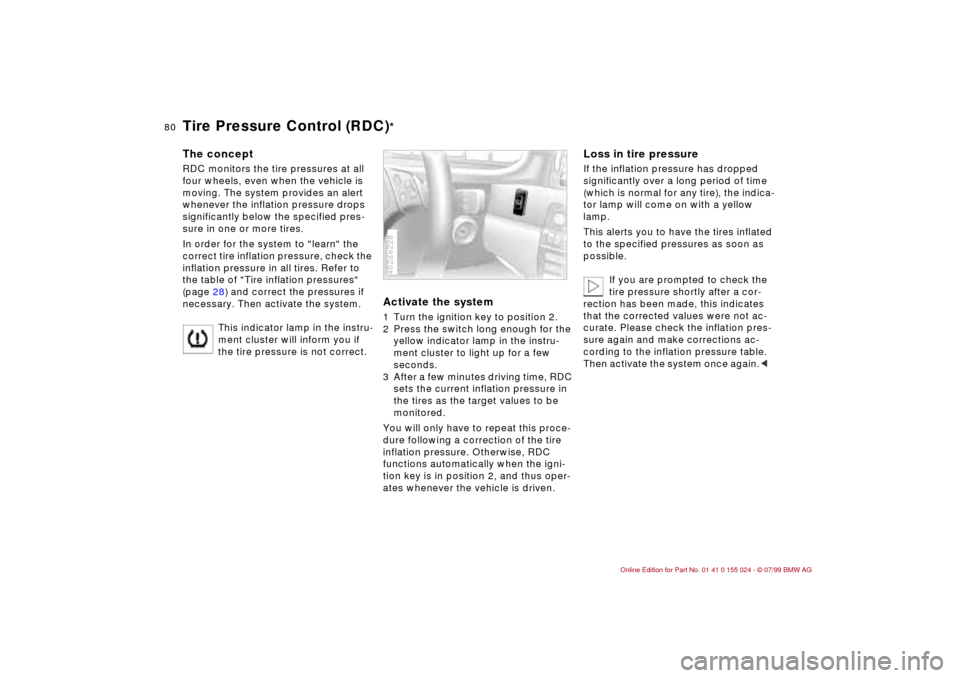
Activate the system1 Turn the ignition key to position 2.
2 Press the switch long enough for the
yellow indicator lamp in the instru-
ment cluster to light up for a few
seconds.
3 After a few minutes driving time, RDC
sets the current inflation pressure in
the tires as the target values to be
monitored.
You will only have to repeat this proce-
dure following a correction of the tire
inflation pressure. Otherwise, RDC
functions automatically when the igni-
tion key is in position 2, and thus oper-
ates whenever the vehicle is driven.462de228
Loss in tire pressureIf the inflation pressure has dropped
significantly over a long period of time
(which is normal for any tire), the indica-
tor lamp will come on with a yellow
lamp.
This alerts you to have the tires inflated
to the specified pressures as soon as
possible.
If you are prompted to check the
tire pressure shortly after a cor-
rection has been made, this indicates
that the corrected values were not ac-
curate. Please check the inflation pres-
sure again and make corrections ac-
cording to the inflation pressure table.
Then activate the system once again.<
Page 82 of 189

82n
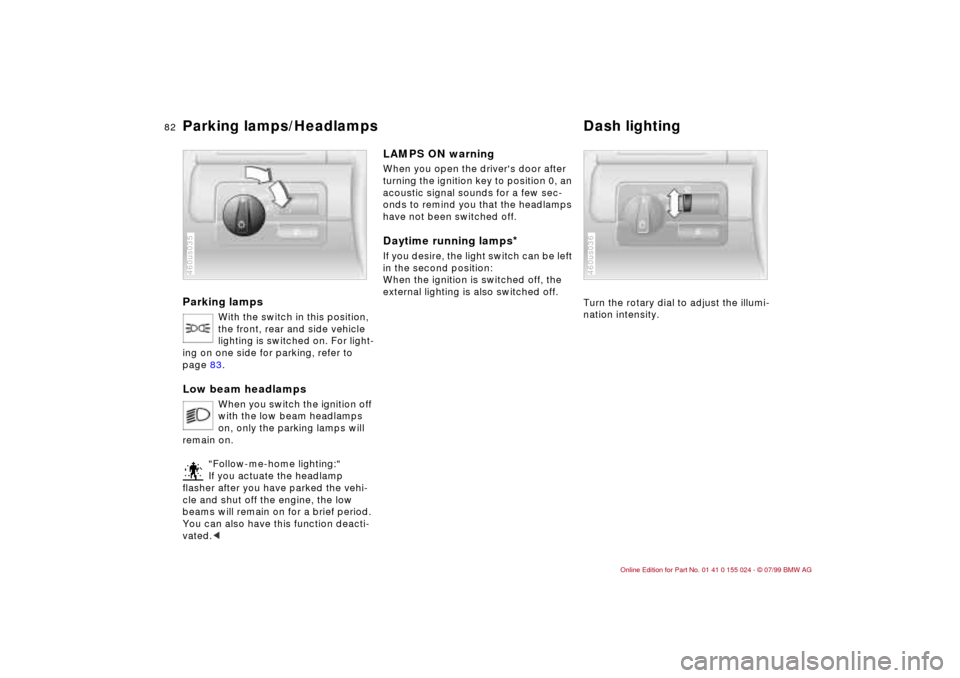
Parking lamps
With the switch in this position,
the front, rear and side vehicle
lighting is switched on. For light-
ing on one side for parking, refer to
page 83.
Low beam headlamps
When you switch the ignition off
with the low beam headlamps
on, only the parking lamps will
remain on.
"Follow-me-home lighting:"
If you actuate the headlamp
flasher after you have parked the vehi-
cle and shut off the engine, the low
beams will remain on for a brief period.
You can also have this function deacti-
vated.<
460us035
LAMPS ON warningWhen you open the driver's door after
turning the ignition key to position 0, an
acoustic signal sounds for a few sec-
onds to remind you that the headlamps
have not been switched off.Daytime running lamps
*
If you desire, the light switch can be left
in the second position:
When the ignition is switched off, the
external lighting is also switched off.
Turn the rotary dial to adjust the illumi-
nation intensity.
460us036
Parking lamps/Headlamps Dash lighting
Page 83 of 189
83n
IndexDataTechnologyRepairsCar careControlsOverview
High beams/Parking lampsFog lamps
* Interior lamps
1 High beams (blue indicator lamp)
2 Headlamp flasher (blue indicator
lamp)
3 Parking lamps Parking lamp, left or rightWith the ignition key in position 0,
engage the lever in the appropriate
turn-signal position.460de085
A green indicator lamp appears
in the instrument cluster to indi-
cate that the front fog lamps are
on.
460us038
The illustration provides an example of
the interior lamps when equipped with
reading lamps.
The interior lamps operate automati-
cally.To switch the interior lamps on
and off manuallyPress the button briefly.
If you want the interior lamps to remain
off all the time, press and hold the but-
ton for approximately 3 seconds.
To revert to normal operation, press the
button briefly.Footwell lamps
*
The footwell lamps operate in the same
way as the interior lamp.460de039
Page 84 of 189
84n
Reading lamps
*
The reading lamps are located in the
front
* near the interior lamp and in the
rear
* (illustration). They can be switched
on and off with the switch adjacent to
each lamp.
In order to prevent battery dis-
charge, all of the lamps in the
vehicle are switched off automatically
approx. 15 minutes after the ignition
key is turned to position 0.<
460de155
Page 91 of 189
91n
IndexDataTechnologyRepairsCar careControlsOverview
Seat heating
*
Roller sun blind
*
The seat cushion and backrest can
be heated with the ignition key in posi-
tion 2.
You can call up different heating modes
by repeatedly pressing the keys.
When the three indicator lamps are illu-
minated, the highest heating mode is
activated. One lamp indicates the low-
est heating mode. The temperature is
regulated with a thermostat in each
mode.
You can also switch the higher heating
modes off directly:
Press and hold the button slightly
longer.460us285
To actuate, press the button briefly with
the ignition key in position 2.
The illustration depicts the arrangement
of the buttons if the vehicle is fully
equipped. This may vary, depending on
the equipment actually installed.460us286
Page 92 of 189

92n
HiFi system Ð harman kardonSpecial acoustical effects are activated
or deactivated every time you press the
button.
When the system is activated, the im-
pression of a significantly larger pas-
senger compartment is created at all
seating areas, together with an im-
provement of the stereo effect.
When reception is weak, the system
frequently switches between stereo and
mono operation. Switch the feature off
if this occurs.460us287
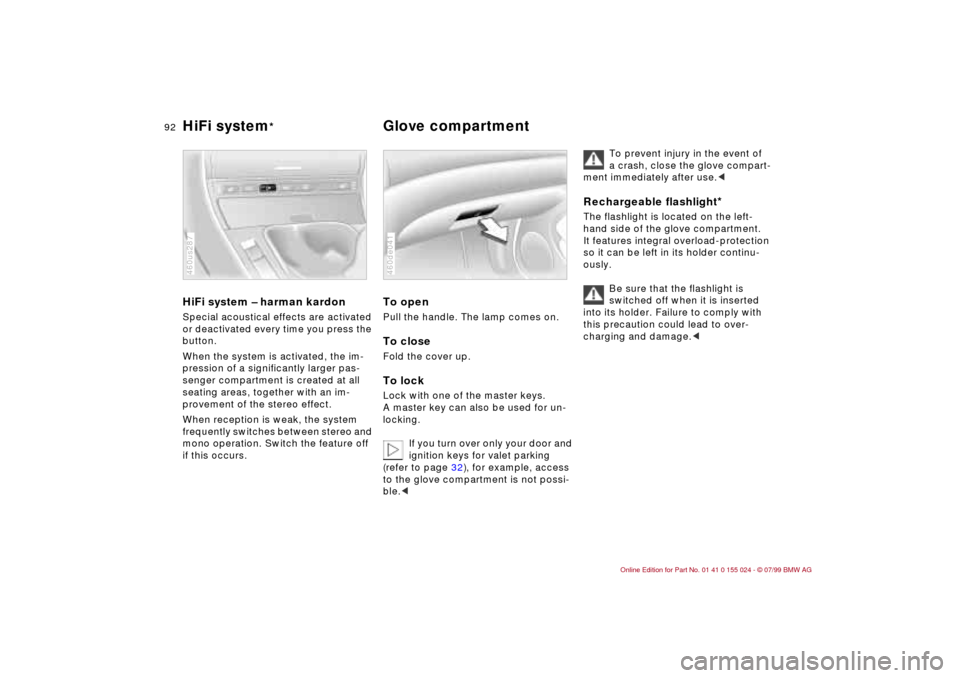
To openPull the handle. The lamp comes on.To closeFold the cover up.To lockLock with one of the master keys.
A master key can also be used for un-
locking.
If you turn over only your door and
ignition keys for valet parking
(refer to page 32), for example, access
to the glove compartment is not possi-
ble.<460de041
To prevent injury in the event of
a crash, close the glove compart-
ment immediately after use.<
Rechargeable flashlight
*
The flashlight is located on the left-
hand side of the glove compartment.
It features integral overload-protection
so it can be left in its holder continu-
ously.
Be sure that the flashlight is
switched off when it is inserted
into its holder. Failure to comply with
this precaution could lead to over-
charging and damage.<
HiFi system
* Glove compartment