Page 25 of 71
‒ Unscrew the hexagon socket-head bolt -
arrow- and then pull the slave cylinder to
the rear out of the gearbox. → Fig.3 Detaching slave cylinder from hose/pipe assembly
Removing
‒ To remove the hose/pipe assembly, lever
out clip -A- to the stop using a screwdriver. Only then can the hose/pipe assembly be
pulled out.
Installing
‒ Press in clip -A- to stop.
‒ Push hose/pipe assembly into slave
cylinder until it engages audibly.
‒ To check, pull on the hose/pipe assembly. → Fig.4 Coat clutch slave cylinder with grease before installing
‒ Lightly lubricate contact surface for push
rod at clutch release lever with copper
grease, e.g. Z 381 351 TE.
‒ Before fitting slave cylinder into gearbox
housing, lubricate area -a- on boot with
lithium grease G 052 150 A2. → Fig.5 Installing clutch slave cylinder Notes:
◆ If the clutch slave cylinder -4- is inserted Page 5 of 65-Speed Manual Gearbox 01A 4WD4.3.2014vw-wi://rl/A.en-GB.4B-S-S01AA.wi::21141314.xml?xsl=2
Page 26 of 71
off-line there is a danger that the push rod
will be guided past the clutch release
lever.
◆ When installing, press in the clutch slave
cylinder far enough so that the securing
bolt can be fitted easily.
◆ Renew securing bolt -2-.
◆ Carefully press the clutch pedal after the
slave cylinder has been installed. If an unusually hard pressure point is noticeable when the pedal is pressed, the clutch
pedal must not be pressed any further.
The tappet of the slave cylinder has
probably been moved past the clutch
release lever. The slave cylinder will be
destroyed with a pedal force of approx.
300 N and above.
‒ Engage bracket for hose/pipe assembly -3- at the slave cylinder -4- and bolt to
gearbox with slave cylinder.
‒ When inserting the clutch slave cylinder
into the mounting bore of the gearbox
housing, keep it aligned with the working
direction of the push rod. Page 6 of 65-Speed Manual Gearbox 01A 4WD4.3.2014vw-wi://rl/A.en-GB.4B-S-S01AA.wi::21141314.xml?xsl=2
Page 27 of 71

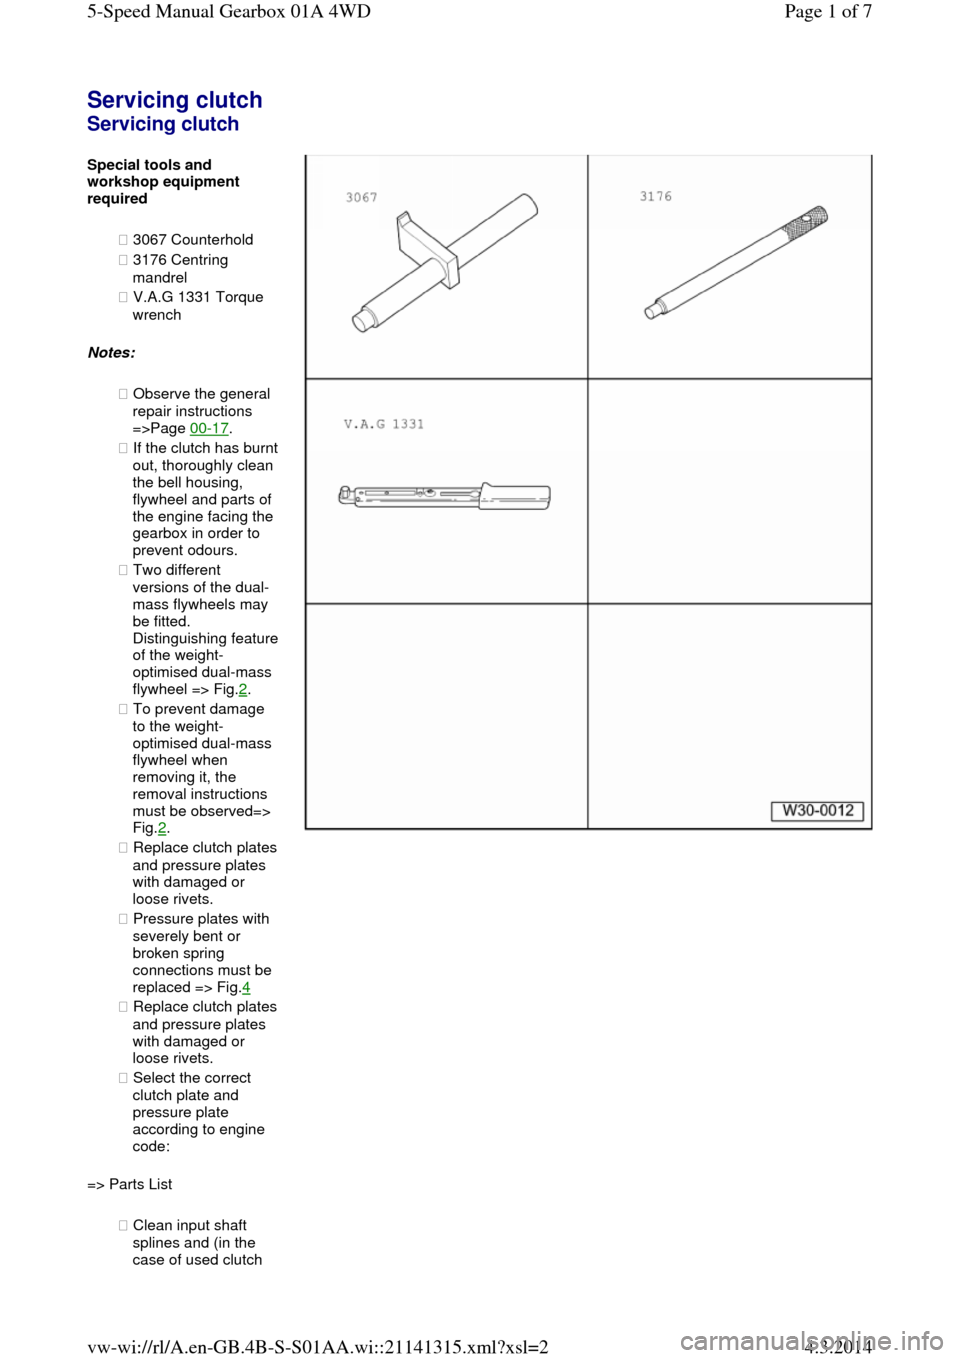
Servicing clutch Servicing clutch Special tools and workshop equipment
required
◆ 3067 Counterhold
◆ 3176 Centring
mandrel
◆ V.A.G 1331 Torque
wrench
Notes:
◆ Observe the general
repair instructions
=>Page 00-17.
◆ If the clutch has burnt out, thoroughly clean
the bell housing,
flywheel and parts of
the engine facing the
gearbox in order to
prevent odours.
◆ Two different
versions of the dual-
mass flywheels may
be fitted. Distinguishing feature of the weight-
optimised dual-mass
flywheel => Fig.2.
◆ To prevent damage
to the weight-
optimised dual-mass
flywheel when
removing it, the
removal instructions
must be observed=>
Fig.2.
◆ Replace clutch plates and pressure plates
with damaged or
loose rivets.
◆ Pressure plates with
severely bent or
broken spring
connections must be
replaced => Fig.4
◆ Replace clutch plates and pressure plates
with damaged or
loose rivets.
◆ Select the correct
clutch plate and
pressure plate
according to engine
code:
=> Parts List
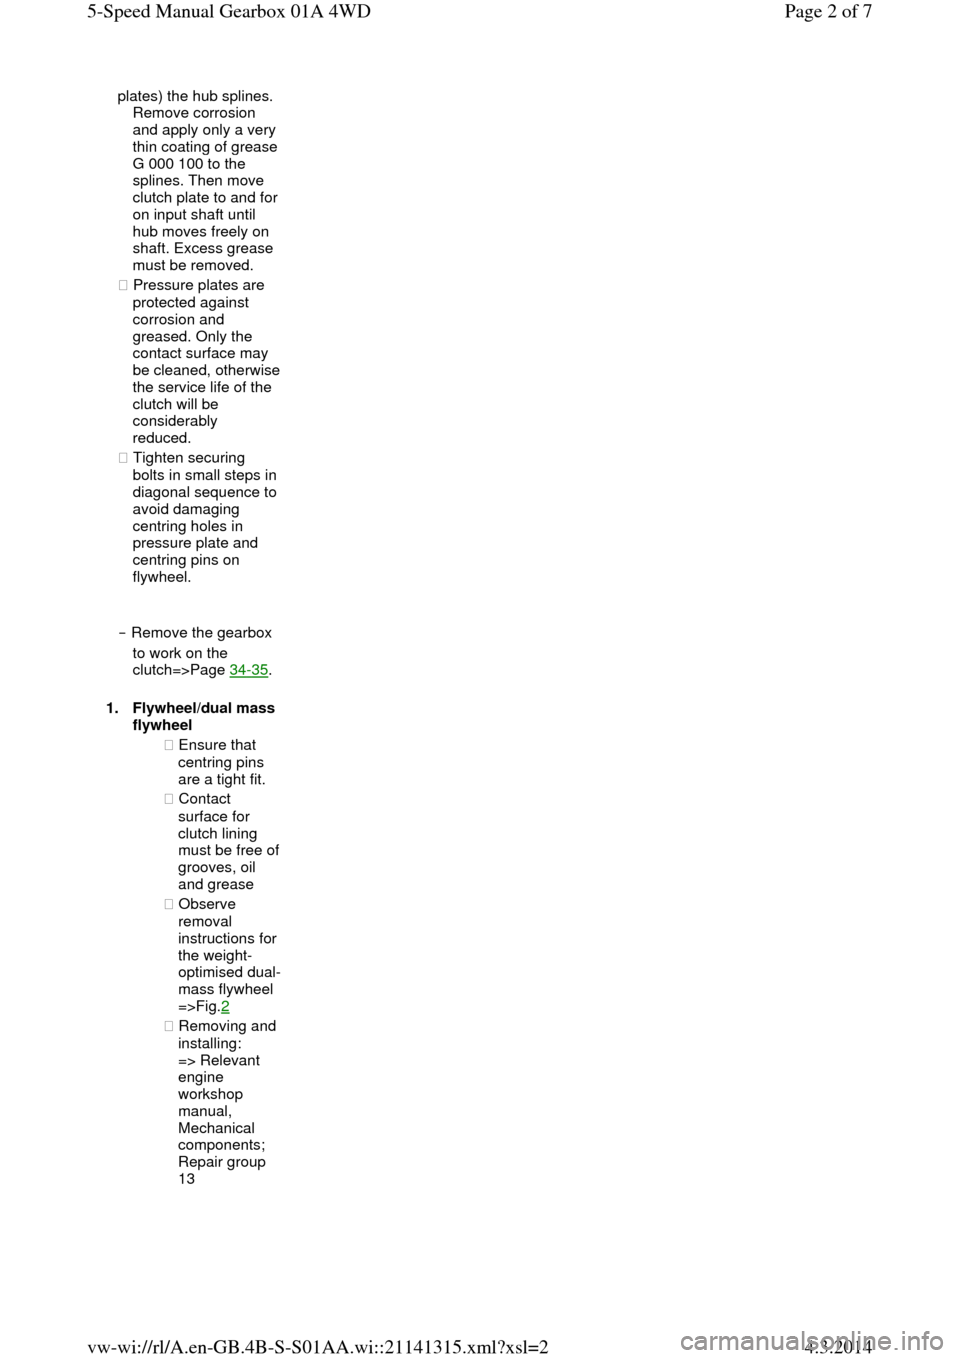
◆ Clean input shaft
splines and (in the
case of used clutch Page 1 of 75-Speed Manual Gearbox 01A 4WD4.3.2014vw-wi://rl/A.en-GB.4B-S-S01AA.wi::21141315.xml?xsl=2
Page 28 of 71

plates) the hub splines.
Remove corrosion
and apply only a very thin coating of grease G 000 100 to the
splines. Then move clutch plate to and for on input shaft until
hub moves freely on
shaft. Excess grease
must be removed.
◆ Pressure plates are
protected against
corrosion and
greased. Only the
contact surface may be cleaned, otherwise the service life of the
clutch will be
considerably
reduced.
◆ Tighten securing
bolts in small steps in
diagonal sequence to
avoid damaging
centring holes in
pressure plate and
centring pins on
flywheel.
‒ Remove the gearbox
to work on the
clutch=>Page 34-35.
1.Flywheel/dual mass
flywheel
◆ Ensure that
centring pins
are a tight fit.
◆ Contact
surface for
clutch lining must be free of grooves, oil
and grease
◆ Observe
removal
instructions for
the weight-
optimised dual-
mass flywheel
=>Fig.2
◆ Removing and
installing:
=> Relevant
engine
workshop
manual,
Mechanical
components;
Repair group
13 Page 2 of 75-Speed Manual Gearbox 01A 4WD4.3.2014vw-wi://rl/A.en-GB.4B-S-S01AA.wi::21141315.xml?xsl=2
Page 29 of 71
2.Bolt for flywheel ◆ Always replace ◆ Vehicles
without dual
mass flywheel
60 Nm + turn
90° further
◆ With dual-
mass flywheel ‒ Screw length
22.5 mm
60 Nm + turn
90° further
‒ Screw length
43 mm
60 Nm + turn
180° further
3.Detach clutch plate
◆ Installation
position:
‒ Spring pack
(coil springs)
towards thrust
and gearbox
‒ Clutch lining
must make full Page 3 of 75-Speed Manual Gearbox 01A 4WD4.3.2014vw-wi://rl/A.en-GB.4B-S-S01AA.wi::21141315.xml?xsl=2
Page 30 of 71
contact with
flywheel
‒ Marking "Getriebeseite" (if present) must
face towards
thrust plate and
gearbox
◆ Do not grease
◆ Clutch plate diameter => from Page 00-3
◆ Centring =>Fig.1 ◆ Lightly grease
splines 4.Thrust plate ◆ Removing and
installing
=>Fig.1
◆ Check ends of
diaphragm
spring=> Fig.3 ◆ Checking
spring
connection
and riveted
fastenings =>
Fig.4
◆ Check wire
ring => Fig.5
5.Bolt - 25 Nm
◆ Loosen and
tighten
gradually in
several stages
working
diagonally
6.Needle bearing
◆ Check for
damage and
wear
◆ Removing and Page 4 of 75-Speed Manual Gearbox 01A 4WD4.3.2014vw-wi://rl/A.en-GB.4B-S-S01AA.wi::21141315.xml?xsl=2
Page 31 of 71
installing:
=> Relevant
engine
workshop
manual,
Mechanical
components;
Repair group
13 → Fig.1 Centring clutch plate and removing and installing thrust plate
‒ Loosen and tighten bolts gradually in
several stages working diagonally.
Tightening torque: 25 Nm.
‒ Reverse position of retainer 3067 when
removing.
‒ Installation position of clutch plate: spring
pack (coil springs) or marking
"Getriebeseite" towards pressure plate and
gearbox.
‒ Clutch lining and contact surface of
pressure plate must make full contact with
flywheel before securing bolts are inserted. ‒ Use mandrel 3176 to centre clutch plate.
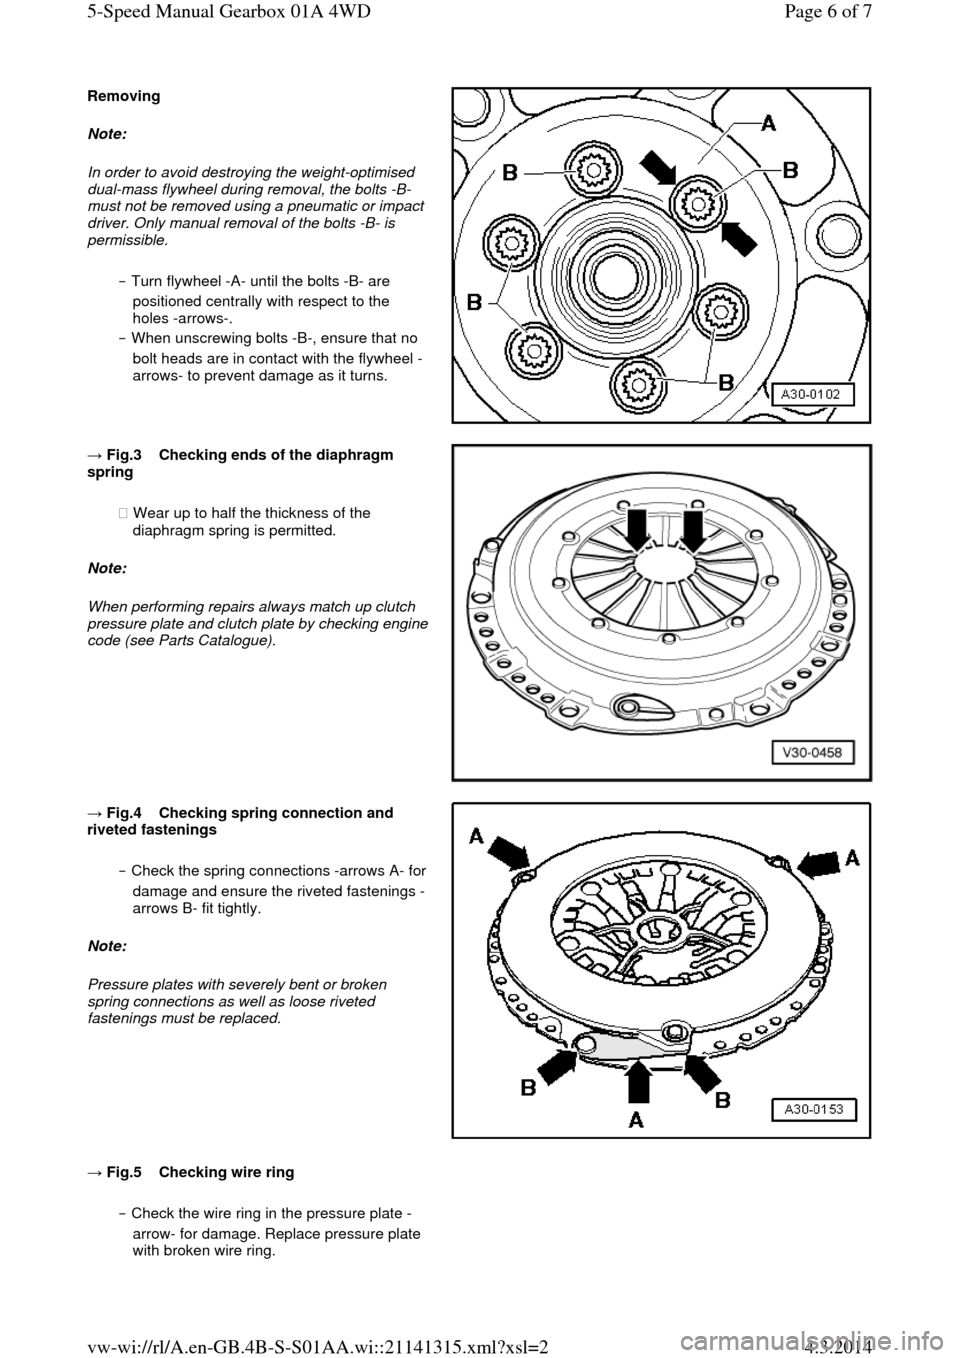
→ Fig.2 Weight-optimised dual-mass flywheel
Identification: Cheese-head bolts -B- are
countersunk in the flywheel -A-. Page 5 of 75-Speed Manual Gearbox 01A 4WD4.3.2014vw-wi://rl/A.en-GB.4B-S-S01AA.wi::21141315.xml?xsl=2
Page 32 of 71

Removing Note:
In order to avoid destroying the weight-optimised
dual-mass flywheel during removal, the bolts -B-
must not be removed using a pneumatic or impact
driver. Only manual removal of the bolts -B- is permissible.
‒ Turn flywheel -A- until the bolts -B- are
positioned centrally with respect to the
holes -arrows-.
‒ When unscrewing bolts -B-, ensure that no
bolt heads are in contact with the flywheel -
arrows- to prevent damage as it turns. → Fig.3 Checking ends of the diaphragm spring
◆ Wear up to half the thickness of the
diaphragm spring is permitted.
Note:
When performing repairs always match up clutch pressure plate and clutch plate by checking engine code (see Parts Catalogue).
→ Fig.4 Checking spring connection and riveted fastenings
‒ Check the spring connections -arrows A- for damage and ensure the riveted fastenings -
arrows B- fit tightly.
Note:
Pressure plates with severely bent or broken
spring connections as well as loose riveted
fastenings must be replaced.
→ Fig.5 Checking wire ring ‒ Check the wire ring in the pressure plate -
arrow- for damage. Replace pressure plate
with broken wire ring. Page 6 of 75-Speed Manual Gearbox 01A 4WD4.3.2014vw-wi://rl/A.en-GB.4B-S-S01AA.wi::21141315.xml?xsl=2